1. Product Overview
The VIOFO VS1 Mini Dash Cam is a compact and discreet car camera designed to record your driving. It features 2K 1440P resolution, a STARVIS 2 sensor for enhanced low-light performance, 5GHz Wi-Fi for fast data transfer, and voice control for hands-free operation. This manual provides detailed instructions for setup, operation, and maintenance.
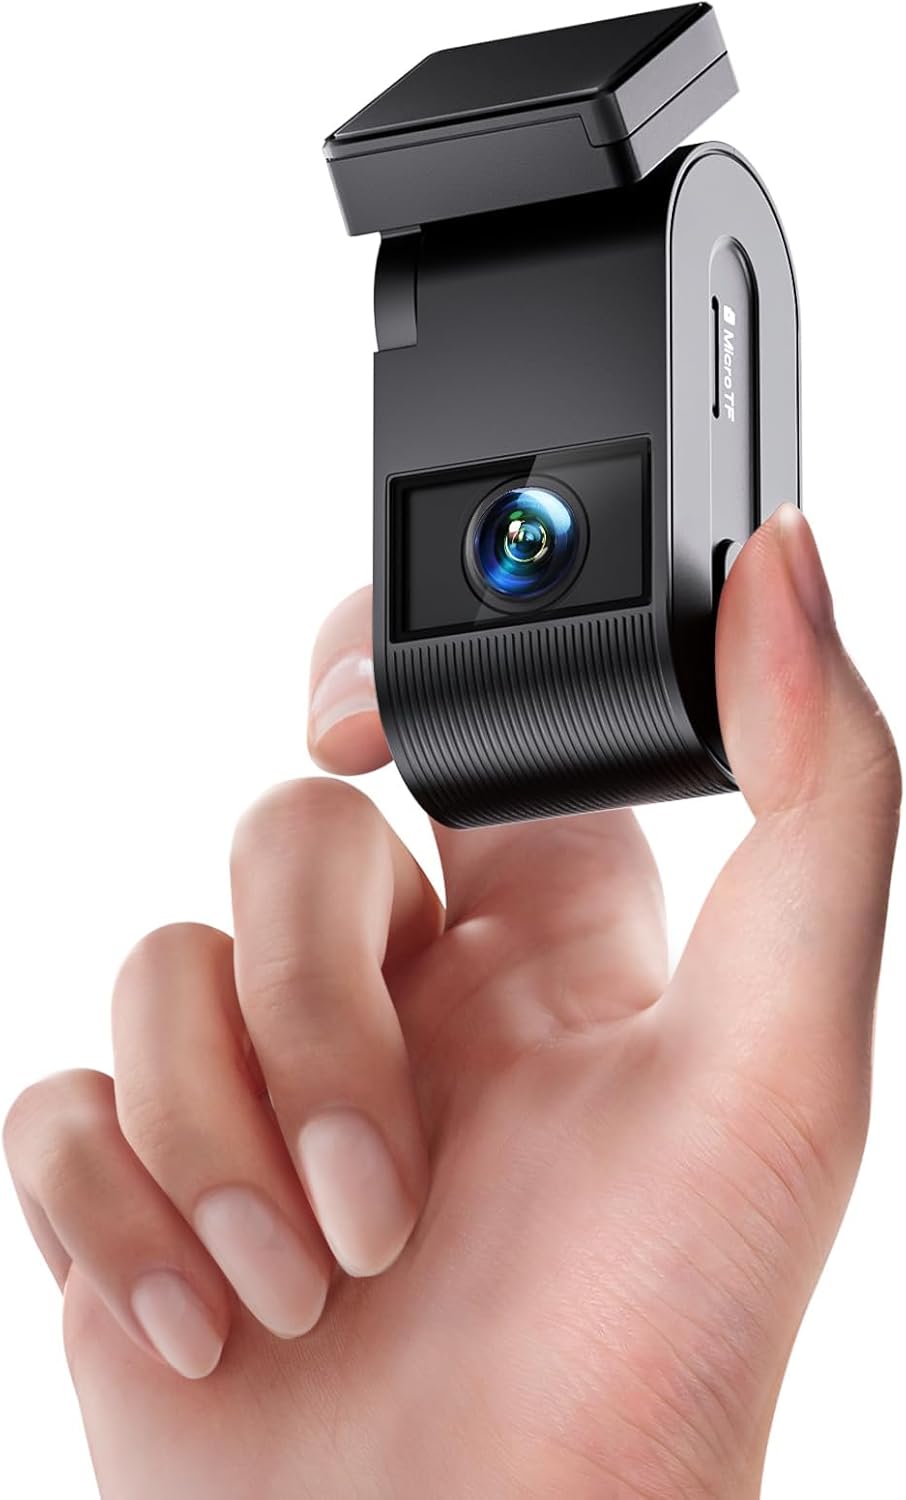
Figure 1: VIOFO VS1 Mini Dash Cam, highlighting its small size and design.
What's in the Box
- 1x VS1 Cam
- 1x VIOFO 32GB microSD card
- 1x Car Charger (3.5m)
- 1x Type-C data cable
- 1x 3M Sticker
- 2x Static (Windshield) Stickers
- 1x Trim Removal Tool
- 1x User Manual
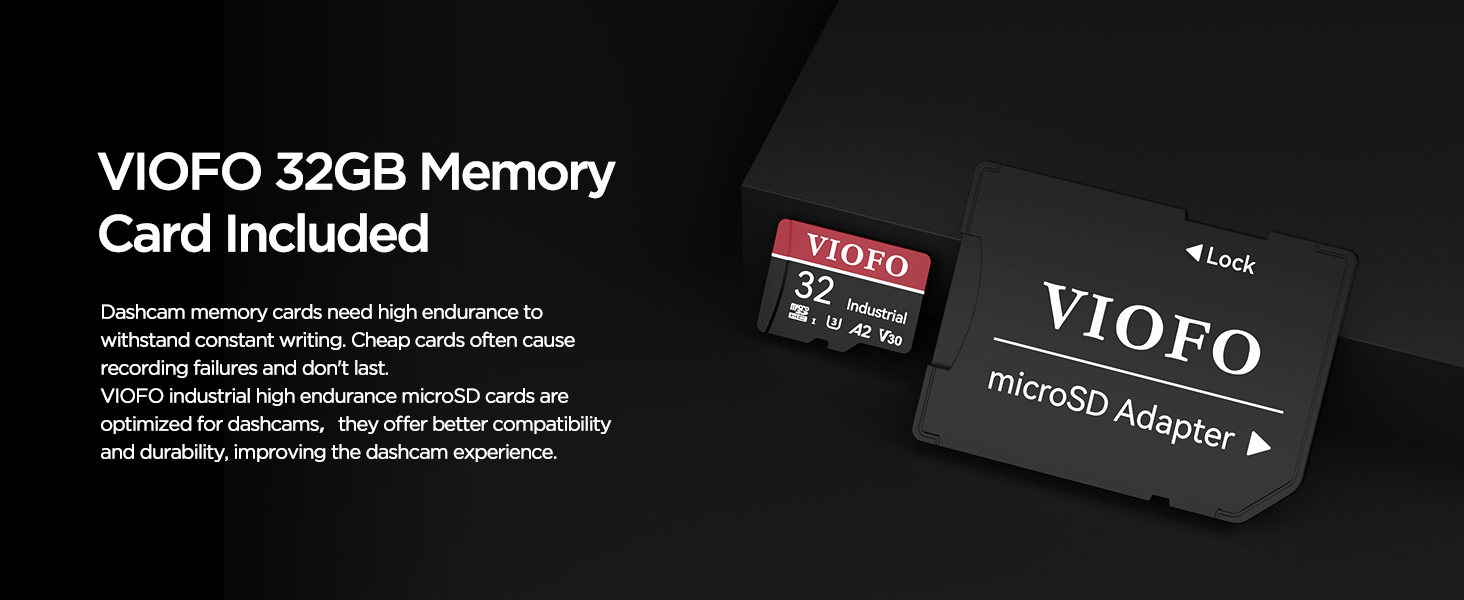
Figure 2: Contents of the VIOFO VS1 Mini Dash Cam package.
2. Setup and Installation
2.1 Inserting the Memory Card
Ensure the camera is turned off before inserting or removing the memory card. Hold the memory card in the correct orientation and slide it into the card slot until you hear a click.
Video 1: Demonstrates how to insert the memory card into the VIOFO VS1 Dash Cam.
2.2 Mounting the Dash Cam
Select a location on the windshield next to the rear-view mirror that does not obstruct the driver's view and is within the area covered by the wipers. Clean the installation surface with a dry cloth. Peel the red protective film off the static sticker and attach it to the windscreen, pressing firmly to remove air bubbles. Then, peel the green protective film off the static sticker. Peel the protection films off the sticky pad on the camera mount. Attach the camera to the static sticker, pressing hard for a few seconds to ensure it is firmly attached.
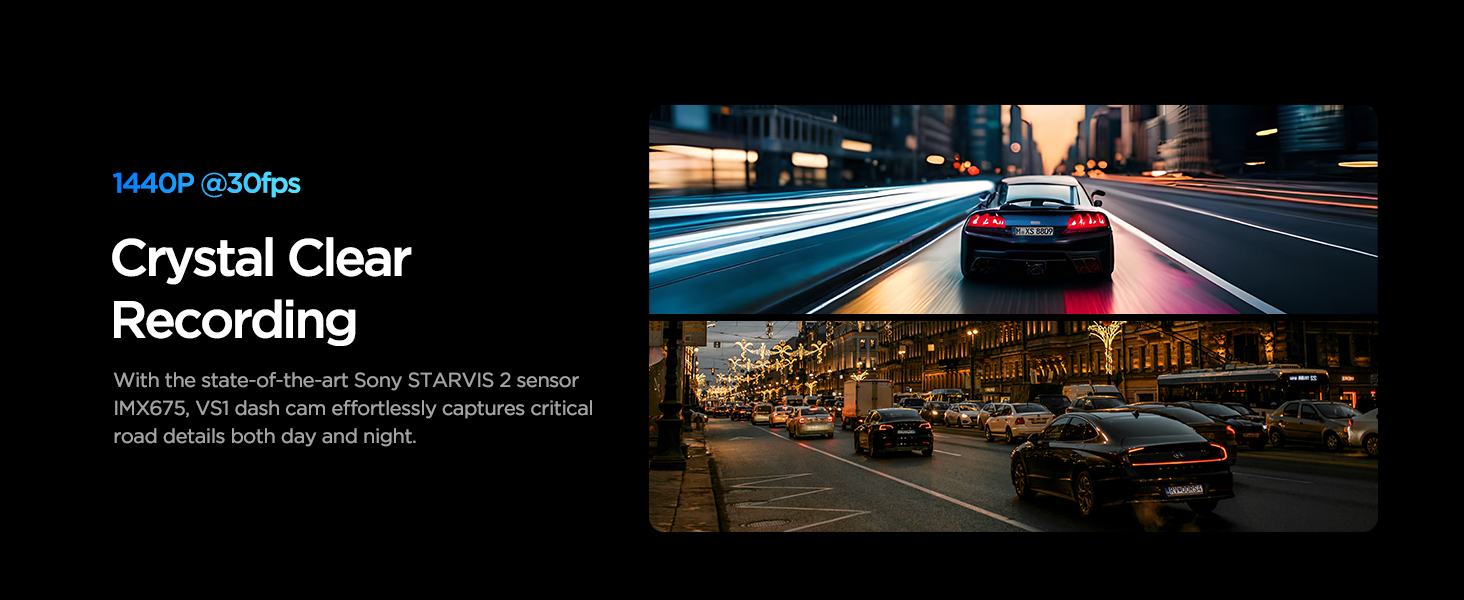
Figure 3: Flexible installation options for the VIOFO VS1 Dash Cam.
Video 2: Demonstrates how to install the VIOFO VS1 Dash Cam using the static sticker.
2.3 Powering the Device
Power up the VS1 by connecting the car charger. The camera starts recording automatically once powered on.
3. Operating Instructions
3.1 Button Operations
- Lock Video: Short press the button during recording to lock the current video file.
- Wi-Fi On/Off: Long press the button for 5 seconds to turn Wi-Fi on or off.
- Audio Recording: Audio recording is on by default. Short press the button to disable it, and press again to enable it.
Video 3: Demonstrates button operations including locking video, Wi-Fi control, and audio recording.
3.2 Voice Control
The VS1 supports 7 voice commands for hands-free operation:
- "Take Photo"
- "Turn Off Audio"
- "Turn On Audio"
- "Turn On WiFi"
- "Turn Off WiFi"
- "Lock the Video"
Video 4: Demonstrates the voice control features of the VIOFO VS1 Dash Cam.
3.3 Connecting to the VIOFO App (Wi-Fi)
To connect your phone to the dash cam:
- Long press the Wi-Fi button on the dash cam for 5 seconds to turn on Wi-Fi.
- On your smartphone, go to Wi-Fi settings and connect to the VIOFO_VS1_xxxx network. The default password is 12345678.
- Open the VIOFO app and choose "Connect your camera".
- You can now see the live view, adjust settings, and check files on the app.
Video 5: Guides through connecting the VIOFO VS1 Dash Cam to the VIOFO app via Wi-Fi.
3.4 Adjusting Lens Angle
Adjust the lens angle up or down according to the needs of video recording to ensure optimal view.
3.5 Parking Modes
The VS1 offers three advanced parking mode options (optional HK3 hardware kit needed):
- Auto Event Detection: Records 5 seconds before and 30 seconds after an event.
- Low Bitrate Recording: Continuously records at a lower bitrate to save storage space.
- Time Lapse Recording: Records video at a low frame rate to capture long periods of time in a short video.
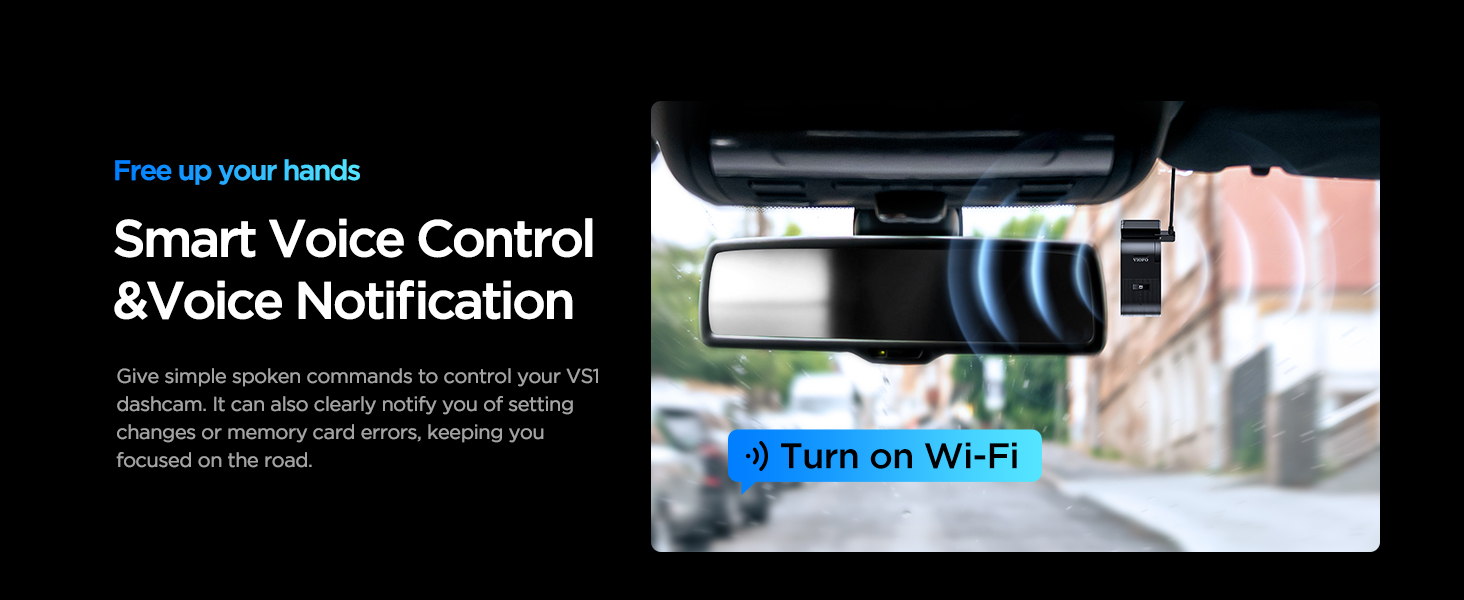
Figure 4: Overview of the three advanced parking modes.
4. Maintenance
4.1 Formatting the Memory Card
It is recommended to format the memory card regularly to ensure optimal performance and prevent recording issues. Long press the audio recording button for at least 8 seconds to format the memory card. After formatting, the camera will start recording automatically.
Video 6: Instructions on how to format the memory card.
4.2 Resetting the Dash Cam
To reset the dash cam to its factory settings, press the audio recording button 5 times consecutively.
Video 7: Demonstrates how to reset the dash cam.
4.3 Removing the Camera
To remove the camera from its bracket, power it off first. Then, slide the camera to the right and pull it out of the mounting bracket.
Video 8: Instructions on how to remove the camera from its mount.
5. Troubleshooting
If you encounter any issues with your VIOFO VS1 Dash Cam, please refer to the following common solutions:
- Recording Issues: Ensure the memory card is properly inserted and formatted. Use a high-endurance VIOFO microSD card for reliable performance.
- Wi-Fi Connection Problems: Verify that Wi-Fi is enabled on the dash cam and your phone is connected to the correct network. Double-check the password.
- Voice Control Not Responding: Ensure the voice control feature is enabled in the app settings. Speak clearly and use the supported commands.
- General Malfunctions: Try resetting the dash cam to factory settings as described in Section 4.2.
For more detailed troubleshooting or persistent issues, please contact VIOFO customer support.
6. Specifications
| Feature | Detail |
|---|---|
| Product Dimensions | 1.22 x 1.3 x 3.15 inches |
| Item Weight | 13.4 ounces |
| Video Capture Resolution | 1440P 30fps |
| Connectivity Technology | Type-C, Wi-Fi (5GHz) |
| Special Features | HDR, Super Night Vision, App Control, Automatic Incident Detection, Loop Recording, Built-In GPS, Voice Control, STARVIS 2 Sensor, Compact Design |
| Mounting Type | Windshield Mount |
| Supported Memory Card | Up to 512GB microSD card (32GB included) |
7. Warranty & Customer Support
The VIOFO VS1 Mini Dash Cam comes with an extensive 18-month warranty, which includes a 6-month registered extended warranty. VIOFO is committed to providing high-quality products and dedicated customer support.
- 30-Day Money-Back Guarantee
- 24/7 Dedicated Customer Support
- 24-Month Warranty Coverage Extended
For any inquiries or assistance, please contact VIOFO customer care:
- Email: support@viofo.com
- Phone (US): +1 323 505 9898
Figure 5: VIOFO Customer Service and Warranty Information.