1. Product Overview
This document provides instructions for the Generic Mini PC Fan, designed for use with Beelink SER SER5, SER5-E, SER5-E-16500EJ0W64PRO, SER5-E-16500EJ0W64PRO-D, 5500U, 5600H, and 5700U models. This fan operates at DC 5V and 0.5A, and is constructed from durable plastic. It serves as a replacement or upgrade component for your mini PC's cooling system.
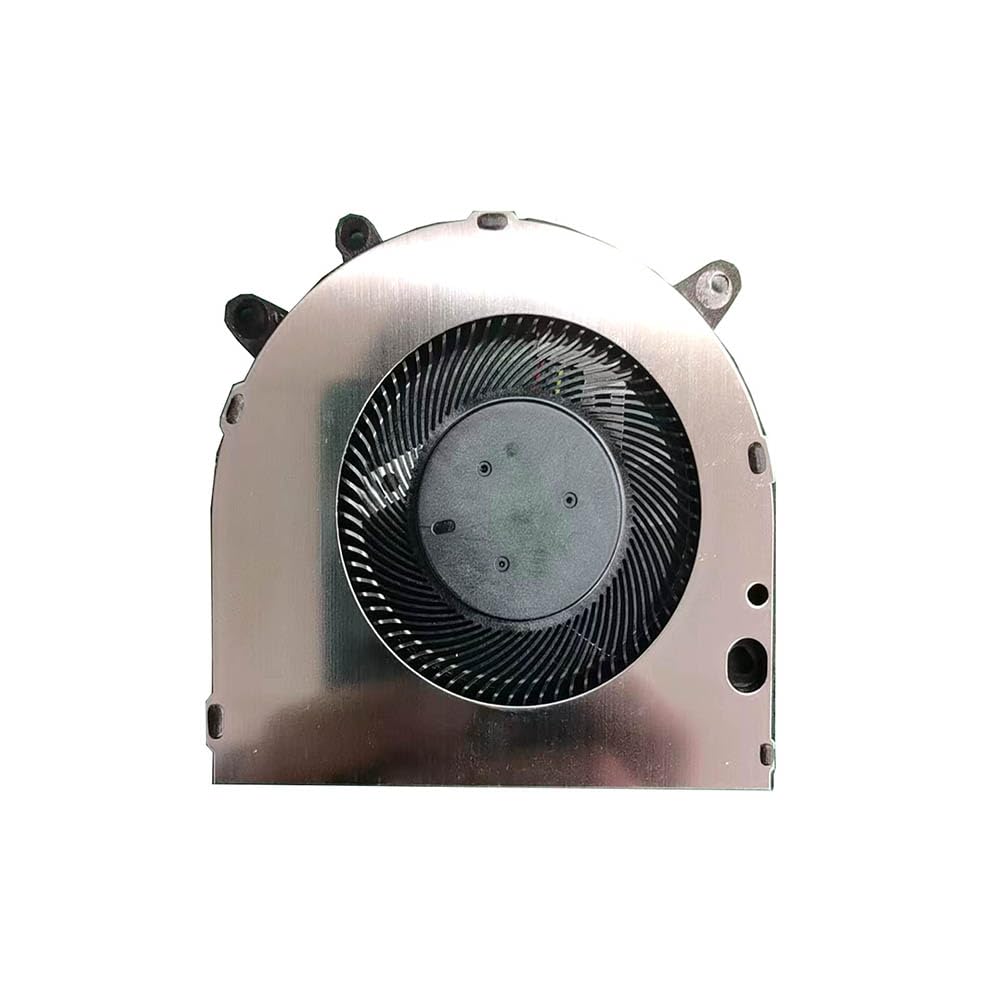
Image 1.1: The Generic Mini PC Fan. This fan is designed to provide efficient cooling for compatible Beelink mini PC models.
2. Important Notice Regarding Wire Sequences
Please note: This fan may have various wire sequences. The order of the wires can differ and may not be universally compatible with all Beelink SER5 series models. It is crucial to verify the wire sequence of your existing fan against this replacement fan before installation.
Incorrect wire sequence can lead to malfunction or damage to your device. If you are unsure about compatibility, please contact the seller for assistance before proceeding with the purchase or installation.

Image 2.1: Close-up of the fan's connector, highlighting the wire arrangement. Always compare this to your original fan's connector.
3. Setup and Installation
This section outlines general steps for replacing a mini PC fan. Specific disassembly and reassembly procedures may vary depending on your Beelink SER5 model. Always refer to your mini PC's specific service manual or manufacturer guidelines for detailed instructions.
- Preparation: Power off your mini PC and disconnect all cables (power, display, peripherals).
- Access: Carefully open the mini PC casing to access the internal components, including the existing fan.
- Disconnect Old Fan: Gently disconnect the old fan's power connector from the motherboard. Note the orientation and wire sequence.
- Remove Old Fan: Unscrew and remove the old fan from its mounting points.
- Install New Fan: Place the new Generic Mini PC Fan into position, ensuring it aligns with the mounting holes. Secure it with screws.
- Connect New Fan: Carefully connect the new fan's power connector to the motherboard. Ensure the wire sequence matches your original fan's connector. If the sequences do not match, do not force the connection and consult the Important Notice section (Section 2).
- Reassembly: Close the mini PC casing, ensuring all screws are tightened appropriately.
- Testing: Reconnect all cables and power on the mini PC to verify fan operation. Listen for unusual noises and check for proper airflow.
4. Operating Instructions
The Mini PC Fan operates automatically, controlled by your mini PC's system. It will adjust its speed based on the internal temperature to maintain optimal cooling performance. No manual intervention is typically required for its operation.
5. Maintenance
Regular maintenance helps ensure the longevity and efficiency of your fan.
- Dust Removal: Periodically (e.g., every 3-6 months), power off and unplug your mini PC. Open the casing and use compressed air to gently remove dust accumulation from the fan blades and heatsink. Hold the fan blades to prevent them from spinning rapidly during cleaning, which can damage the bearings.
- Inspection: Visually inspect the fan for any signs of damage, loose wires, or obstructions.
6. Troubleshooting
If you encounter issues with your fan, consider the following troubleshooting steps:
- Fan Not Spinning:
- Ensure the fan connector is securely seated on the motherboard.
- Verify that the wire sequence matches your original fan.
- Check for any physical obstructions preventing the blades from turning.
- Excessive Noise:
- Clean the fan blades to remove dust or debris.
- Ensure the fan is securely mounted and not vibrating against other components.
- If the noise persists and is a grinding sound, the fan bearings may be worn, requiring replacement.
- Overheating:
- Confirm the fan is spinning correctly.
- Ensure proper airflow within the mini PC case; check for blocked vents.
- Clean the heatsink fins, as dust can significantly reduce cooling efficiency.
7. Specifications
| Feature | Specification |
|---|---|
| Model Number | SER5 FAN |
| Voltage | DC 5V |
| Current | 0.5A |
| Material | Plastic |
| Product Dimensions | 11.81 x 7.87 x 3.94 inches |
| Item Weight | 1.32 pounds |
8. Warranty and Support
This product comes with a 90-day warranty from the date of purchase. This warranty covers manufacturing defects under normal use.
For technical support, warranty claims, or inquiries regarding wire sequence compatibility, please contact the seller or manufacturer directly. Ensure you have your purchase details and product model number (SER5 FAN) available when contacting support.


