1. Introduction
Thank you for choosing the Philips Walita Airfryer 3000 Series Grill Edition. This appliance utilizes patented Rapid Air Technology to cook your favorite foods with little to no added oil, resulting in crispy exteriors and tender interiors. Please read this instruction manual carefully before using the appliance and save it for future reference.

Image 1.1: Front view of the Philips Walita Airfryer 3000 Series Grill Edition.
2. Important Safety Instructions
Always follow basic safety precautions when using electrical appliances to reduce the risk of fire, electric shock, and injury.
- Read all instructions.
- Do not touch hot surfaces. Use handles or knobs.
- To protect against electric shock, do not immerse cord, plugs, or appliance in water or other liquid.
- Close supervision is necessary when any appliance is used by or near children.
- Unplug from outlet when not in use and before cleaning. Allow to cool before putting on or taking off parts.
- Do not operate any appliance with a damaged cord or plug or after the appliance malfunctions or has been damaged in any manner.
- The use of accessory attachments not recommended by the appliance manufacturer may cause injuries.
- Do not use outdoors.
- Do not let cord hang over edge of table or counter, or touch hot surfaces.
- Do not place on or near a hot gas or electric burner, or in a heated oven.
- Extreme caution must be used when moving an appliance containing hot oil or other hot liquids.
- Always attach plug to appliance first, then plug cord into the wall outlet. To disconnect, turn any control to "off", then remove plug from wall outlet.
- Do not use appliance for other than intended use.
- This appliance is for household use only.
3. Product Overview
Familiarize yourself with the components of your Philips Walita Airfryer.
- Temperature Control Knob (80-200°C)
- Timer Knob (up to 30 minutes)
- Power Indicator Light
- Air Inlet
- Air Outlet Openings
- Food Basket
- Removable Grill Plate
- Pan
- Handle

Image 3.1: Front panel with temperature and timer controls.
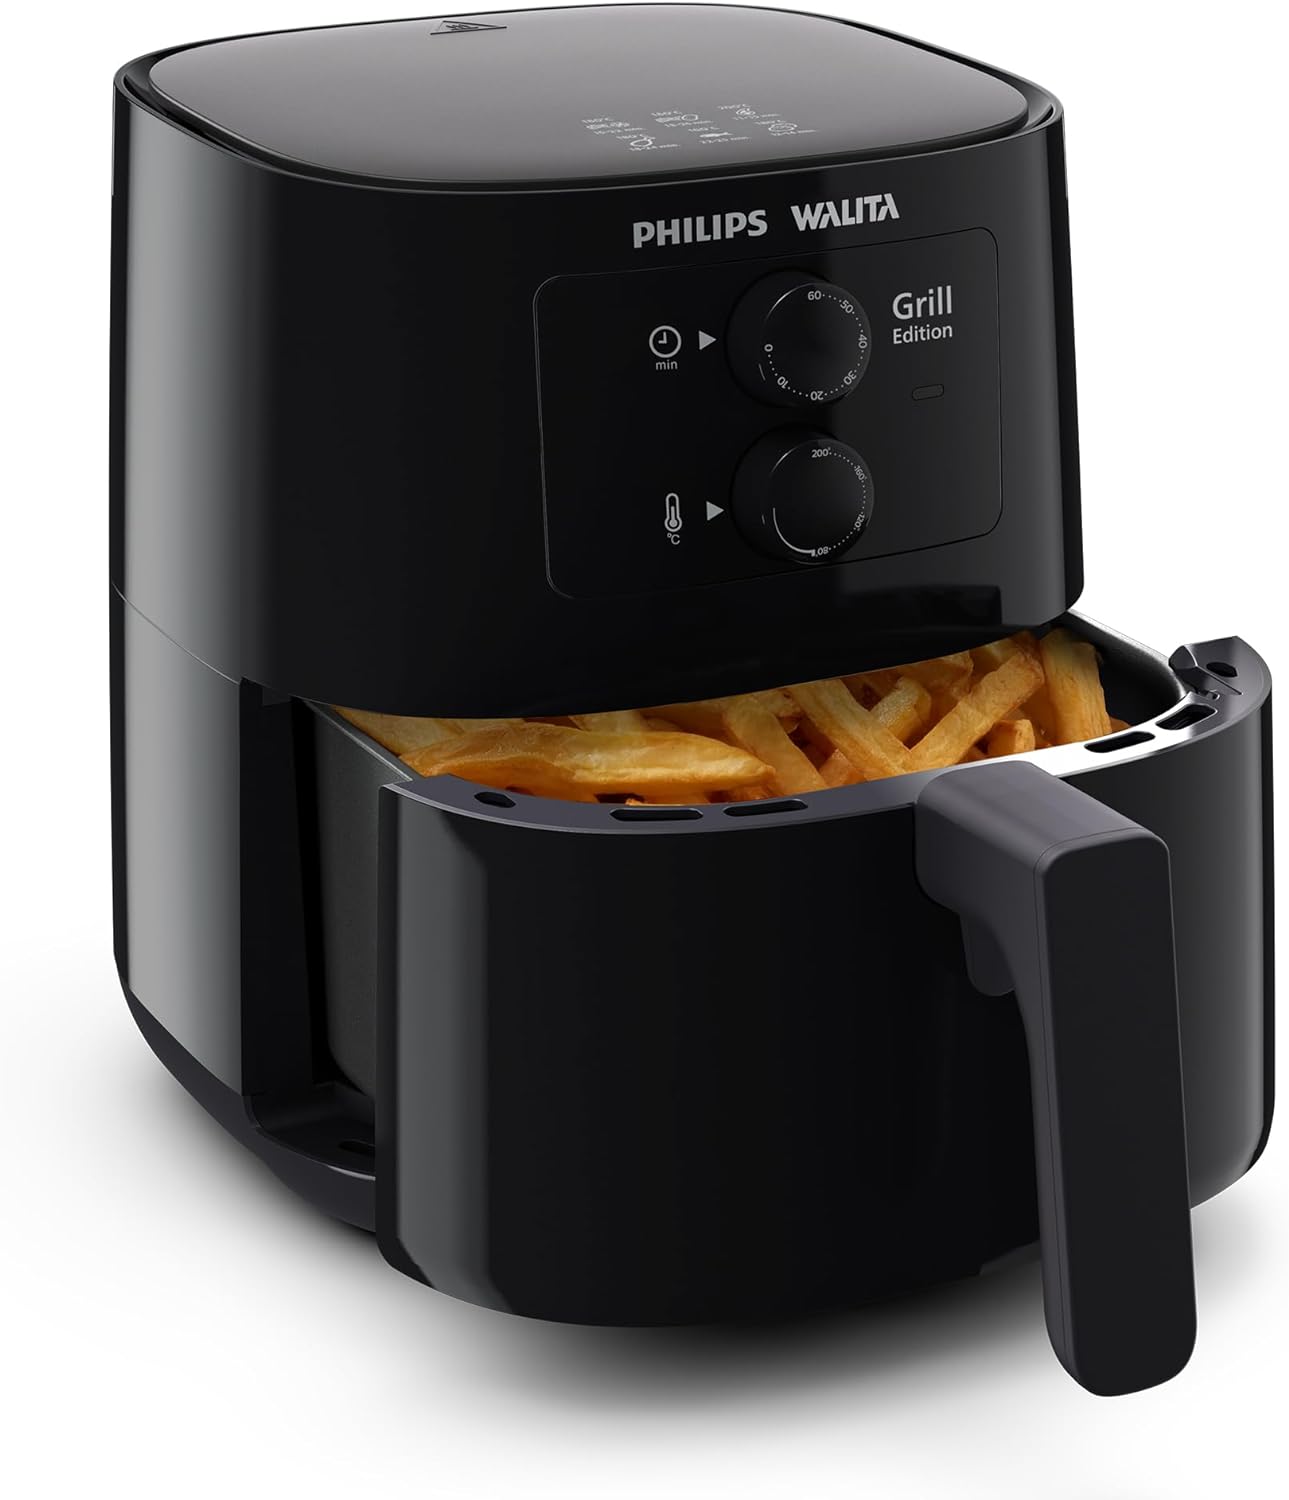
Image 3.2: The removable grill plate and food basket.
4. Setup
- Unpack: Remove all packaging materials and stickers.
- Clean: Wash the basket and grill plate thoroughly with hot water, dish soap, and a non-abrasive sponge. Wipe the inside and outside of the appliance with a moist cloth.
- Placement: Place the appliance on a stable, horizontal, and level surface. Ensure there is at least 10 cm (4 inches) of free space at the back and sides of the appliance, and 10 cm (4 inches) of free space above it.
- Power Connection: Ensure the voltage indicated on the appliance corresponds to your local mains voltage before you connect the appliance. This model operates on 110 Volts.
5. Operating Instructions
5.1 Preheating
- Plug the main plug into a grounded wall outlet.
- Pull the pan out of the appliance.
- Set the desired temperature using the temperature control knob.
- Turn the timer knob to 3-5 minutes for preheating. The power indicator light will turn on.
- Once the preheating time has elapsed, the appliance is ready for use.
5.2 Air Frying
- Carefully pull the pan out of the Airfryer.
- Place the ingredients into the basket. Do not exceed the MAX indication on the basket.
- Slide the pan back into the Airfryer.
- Set the desired temperature (80-200°C) and cooking time (up to 30 minutes) using the respective knobs. Refer to the cooking guide for recommended settings.
- The timer will start counting down. The power indicator light will illuminate during operation.
- Some ingredients require shaking halfway through the preparation time. To shake the ingredients, pull the pan out of the appliance by the handle and shake it. Then slide the pan back into the Airfryer.
- When you hear the timer bell, the set preparation time has elapsed. Pull the pan out of the appliance and place it on a heat-resistant surface.
- Check if the ingredients are ready. If not, slide the pan back into the appliance and set the timer for a few extra minutes.
- Empty the basket into a bowl or onto a plate.
- Unplug the appliance and allow it to cool down before cleaning.

Image 5.1: Example of food (chicken) in the Airfryer basket.

Image 5.2: Example of food (french fries) in the Airfryer basket.
The Philips Walita Airfryer uses Rapid Air Technology for efficient cooking. This technology ensures even heat distribution for optimal results.

Image 5.3: Illustration of Rapid Air Technology airflow.

Image 5.4: Close-up of the star-shaped bottom of the basket, designed for optimal air circulation.
Cooking with the Airfryer requires significantly less oil compared to traditional frying methods, reducing fat content by up to 90%.
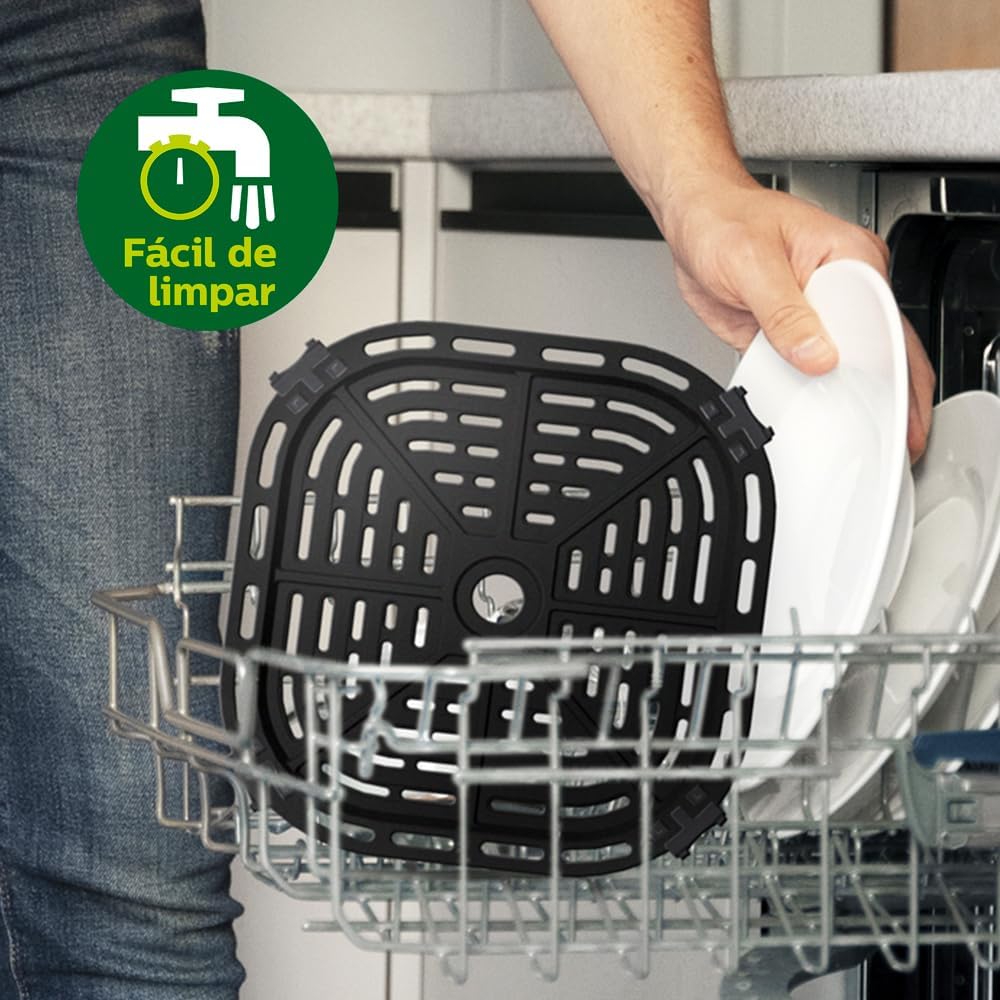
Image 5.5: Demonstrating reduced oil usage with the Airfryer.
6. Maintenance and Cleaning
Clean the appliance after every use. The pan and basket are dishwasher-safe.
- Cool Down: Unplug the appliance and let it cool down completely before cleaning.
- Clean Pan and Basket: Remove the pan and basket. They can be washed in the dishwasher or with hot water, dish soap, and a non-abrasive sponge. For stubborn food residues, soak the pan and basket in hot water with dish soap for approximately 10 minutes.
- Clean Grill Plate: The grill plate is also dishwasher-safe. For manual cleaning, use a brush to remove food particles from the grooves.
- Wipe Exterior: Wipe the outside of the appliance with a moist cloth.
- Clean Interior: Clean the inside of the appliance with hot water and a non-abrasive sponge.
- Heating Element: Clean the heating element with a cleaning brush to remove any food residues.

Image 6.1: The Airfryer can be used for various recipes, including baking.
Image 6.2: The removable parts are dishwasher-safe for easy cleaning.
7. Troubleshooting
| Problem | Possible Cause | Solution |
|---|---|---|
| The Airfryer does not work. | The appliance is not plugged in. | Plug the main plug into a grounded wall outlet. |
| Ingredients are not cooked evenly. | Too many ingredients in the basket. Ingredients need shaking. | Reduce the amount of ingredients. Shake the basket halfway through cooking. |
| Fried snacks are not crispy. | Incorrect temperature or cooking time. | Increase temperature or cooking time. Ensure ingredients are dry before adding oil. |
| White smoke comes out of the appliance. | Fat residues from previous use. Excess oil on ingredients. | Clean the pan and basket thoroughly. Remove excess oil from ingredients. |
8. Specifications
| Feature | Detail |
|---|---|
| Model Number | HD9202/91 |
| Capacity | 4.1 Liters |
| Power | 1400 Watts |
| Voltage | 110 Volts |
| Temperature Range | 80°C - 200°C |
| Timer | Up to 30 minutes with automatic shut-off |
| Material | Stainless Steel |
| Special Features | Programmable, Rapid Air Technology, Dishwasher-safe parts |
| Dimensions (Packaging) | 36.2 x 33.79 x 33.6 cm |
| Weight | 4.45 kg |
9. Warranty and Support
This Philips Walita Airfryer comes with a 2-year worldwide warranty from the date of purchase. Please retain your proof of purchase for warranty claims.
For further assistance, product registration, or to access the HomeID app with over 200 recipes, please visit the official Philips Walita website or contact their customer support.
The appliance is designed for quiet operation, ensuring a pleasant cooking experience.
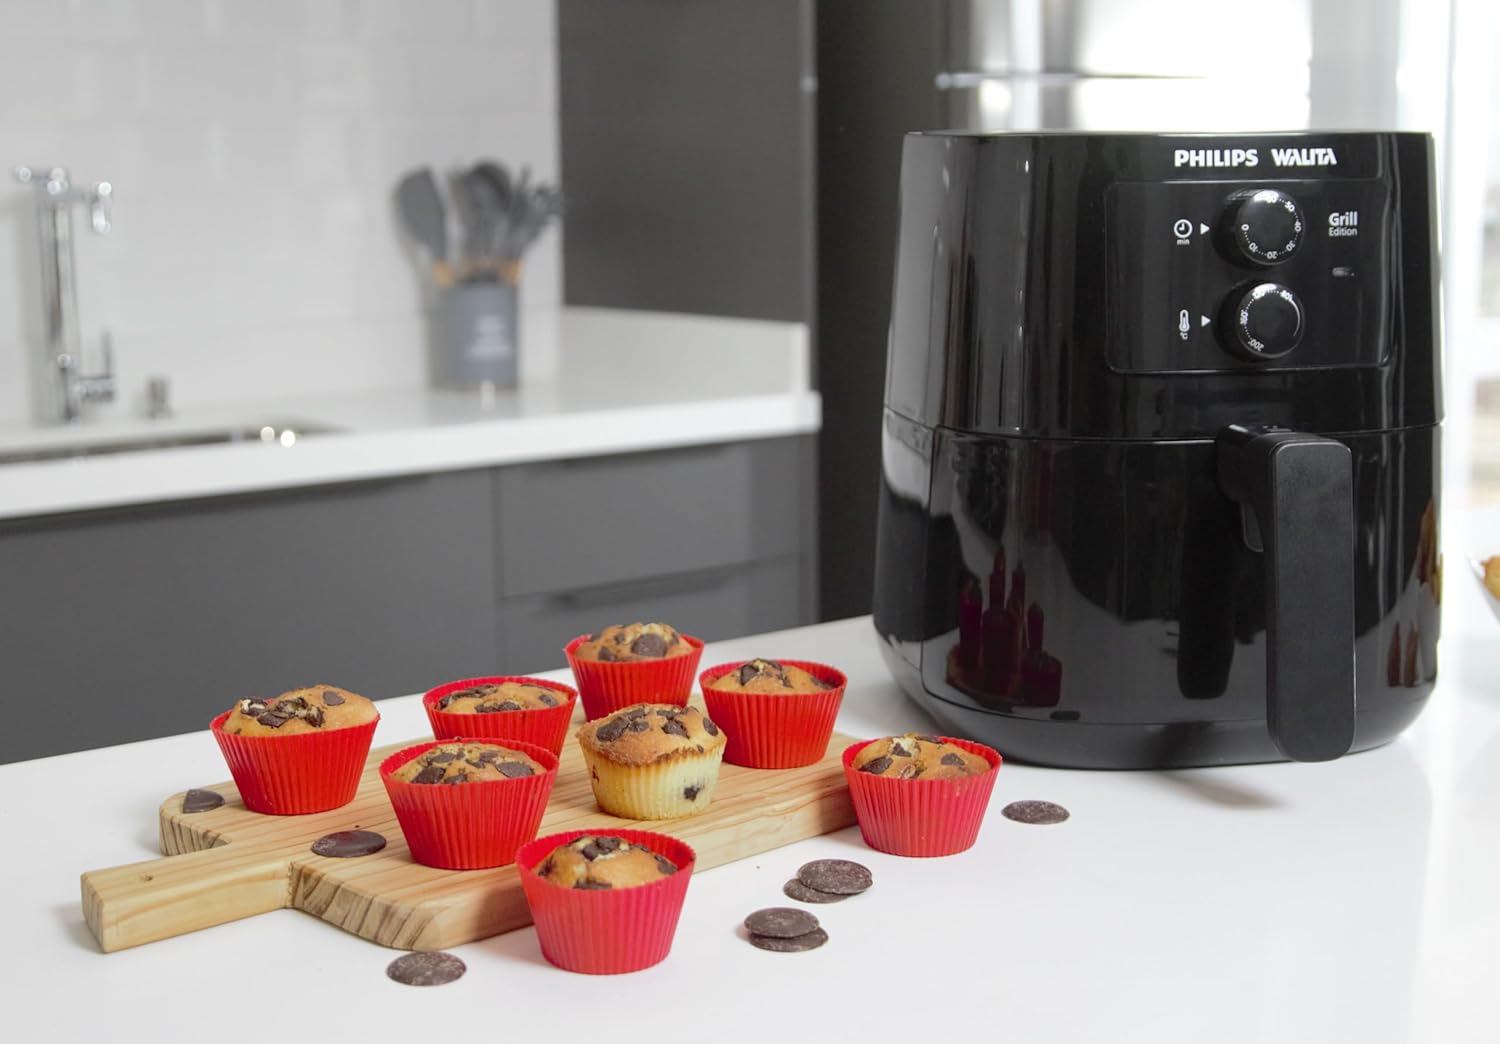
Image 9.1: The Airfryer operates quietly.
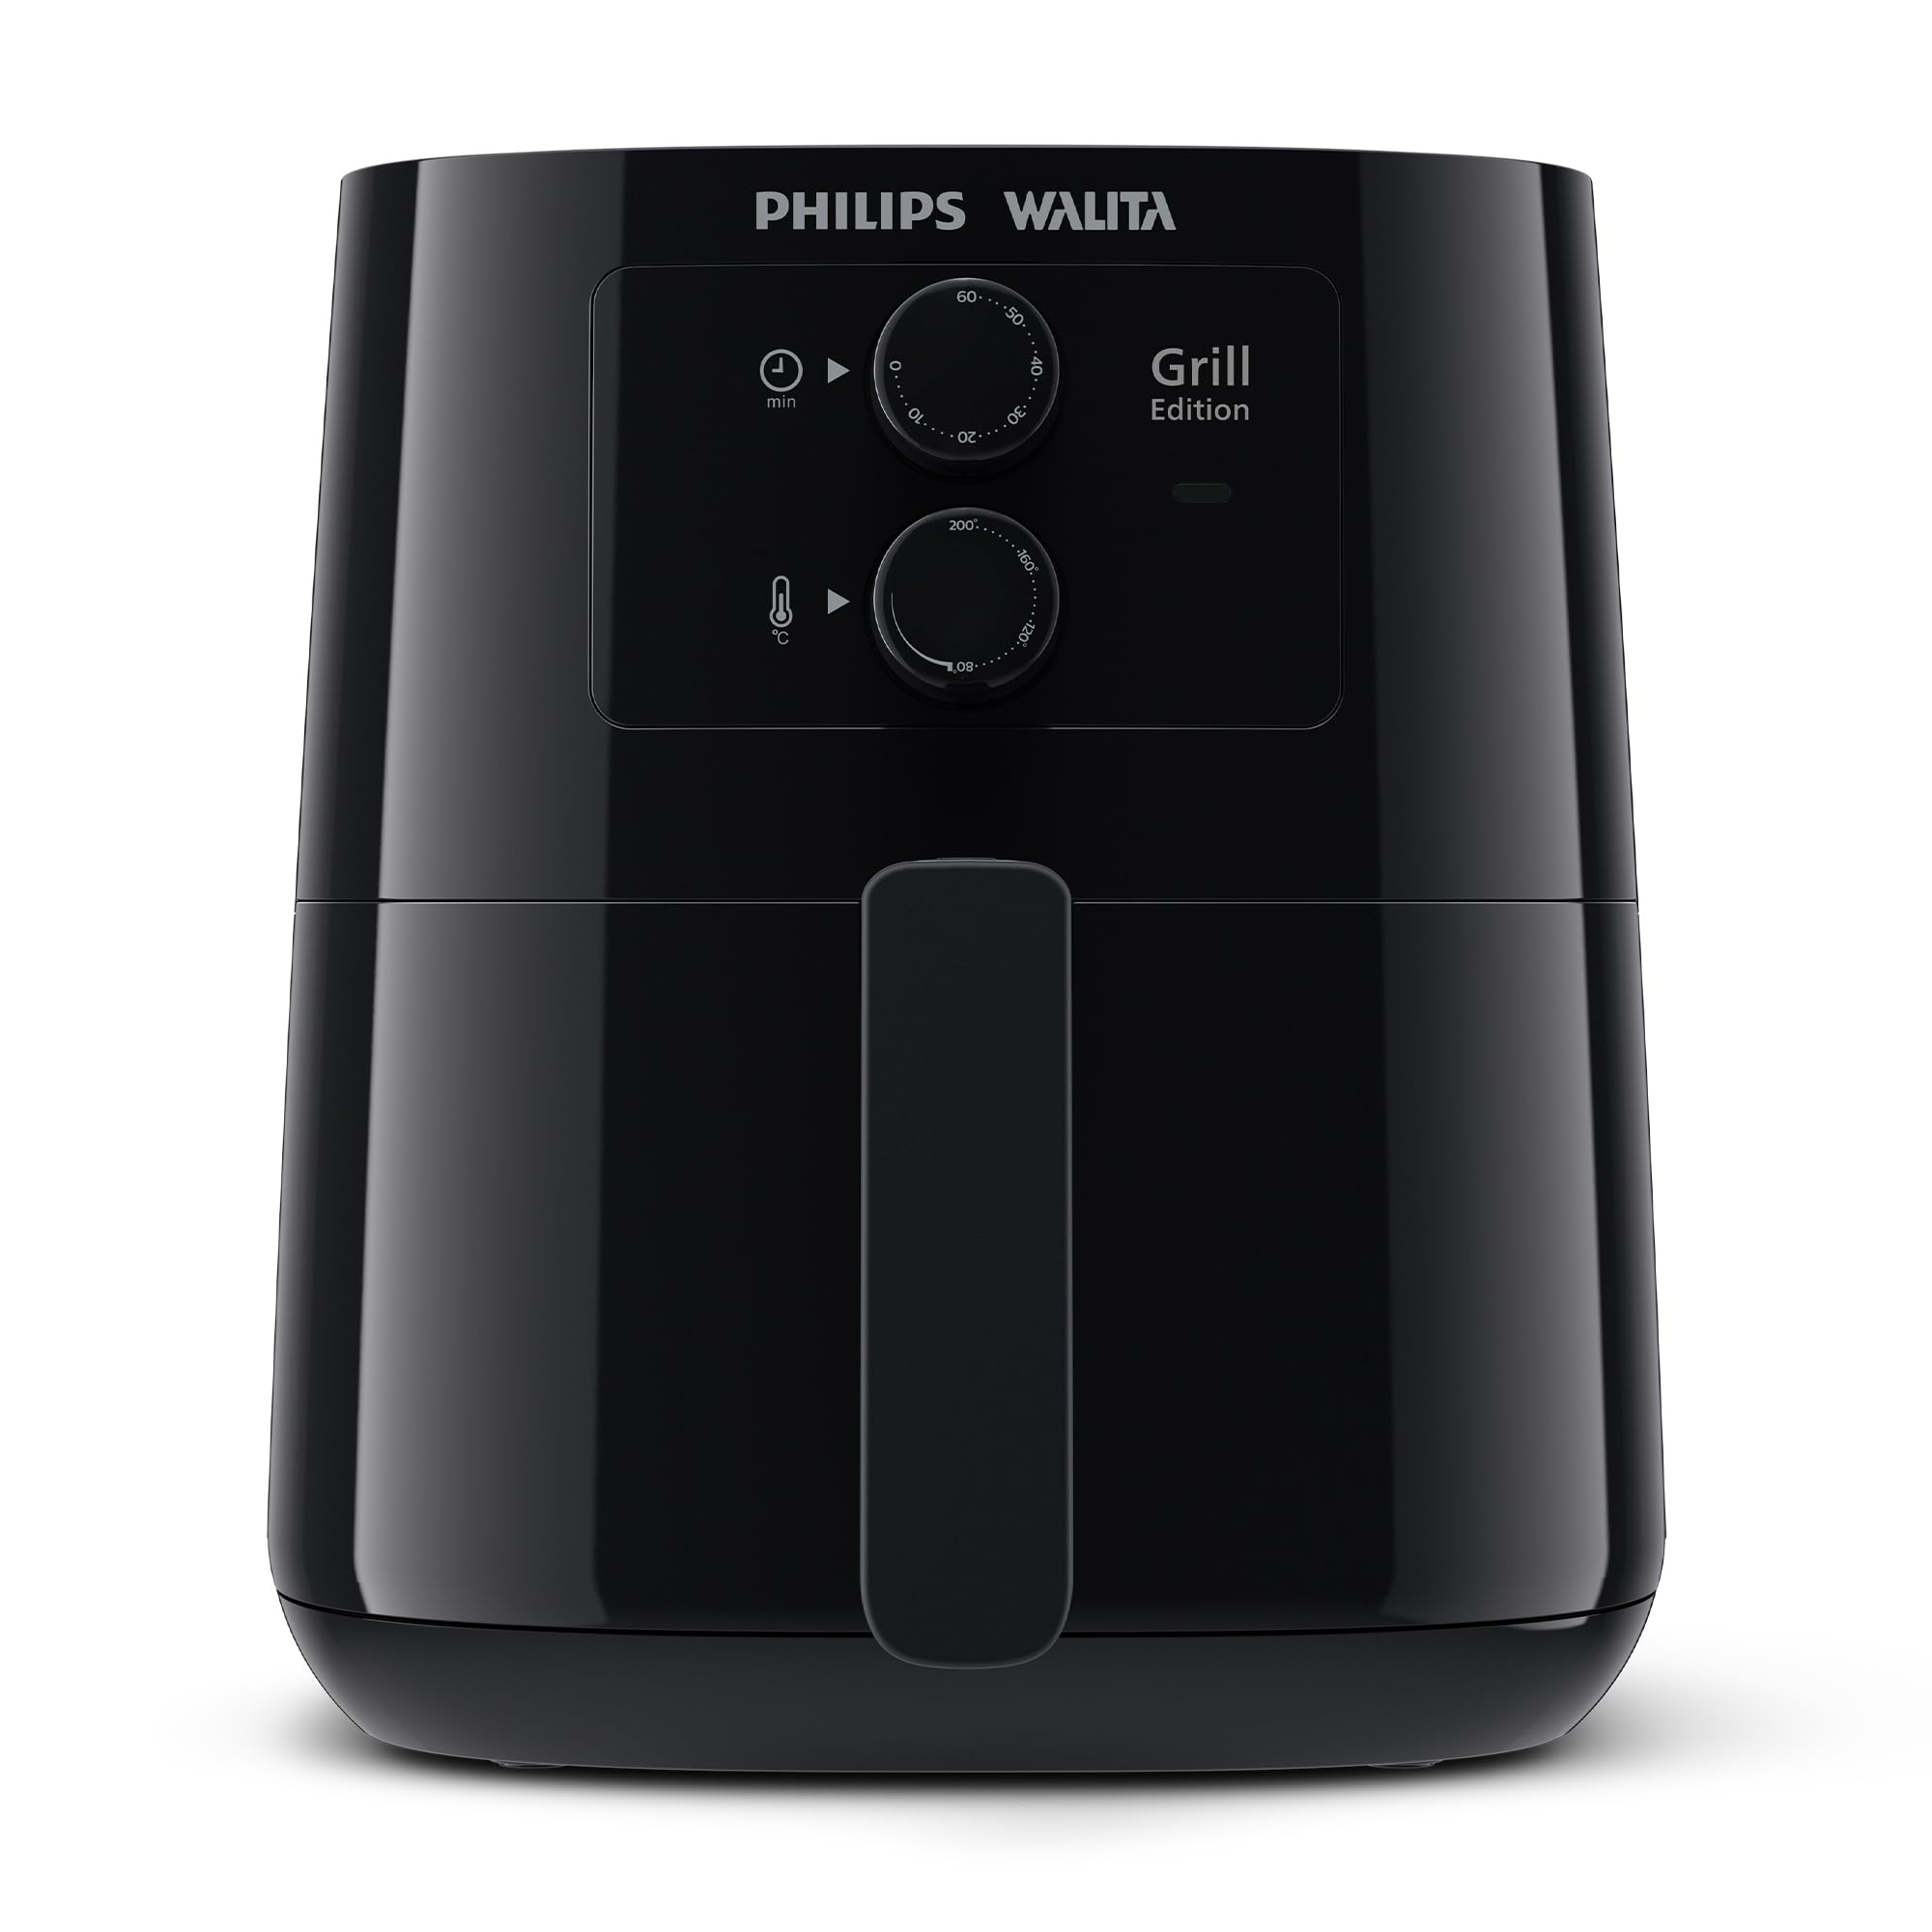
Image 9.2: The product includes a 2-year warranty.