1. Product Overview
This manual provides essential information for the installation and maintenance of The ROP Shop Ignition Coil. This component is designed as a replacement part for specific Briggs & Stratton engine models, ensuring reliable ignition performance. Please read this manual thoroughly before installation to ensure proper fitment and safe operation.

Image 1: The ROP Shop Ignition Coil shown with its product packaging. The coil is black with metal mounting brackets and a black insulated wire.
2. Product Compatibility
This ignition coil is compatible with the following Briggs & Stratton engine models:
- Briggs & Stratton 31R607
- Briggs & Stratton 31R608
- Briggs & Stratton 31R609
- Briggs & Stratton 31R610
- Briggs & Stratton 31R611
Important: To ensure correct fitment, it is crucial to verify your engine's specific model, spec, type/code, and serial number. Compare these details with the original equipment manufacturer (OEM) part number. If you are uncertain about compatibility, please contact The ROP Shop customer support with your engine's full details before proceeding with installation.
3. What's in the Box
Your package should contain the following item:
- (1) Ignition Coil
4. Specifications
| Brand | The ROP Shop |
| Model Number | 100704_121 |
| Item Weight | 9 ounces |
| Product Dimensions | 9 x 2.88 x 2.5 inches |
| Exterior Finish | Multiple Finishes |
Dimensional Details:

Image 2: Side view of the ignition coil showing a width of 2 1/2 inches between mounting points and a total length of 2 15/16 inches.

Image 3: Top view of the ignition coil showing a width of 2 5/16 inches and a height of 1 3/8 inches.
5. Installation and Setup
Safety First: Always disconnect the spark plug wire and the battery (if applicable) before working on engine components to prevent accidental starting or electrical shock. Wear appropriate personal protective equipment (PPE) such as gloves and eye protection.
- Locate the Old Ignition Coil: Identify the existing ignition coil on your Briggs & Stratton engine. It is typically mounted near the flywheel.
- Disconnect Wires: Carefully disconnect any electrical wires attached to the old ignition coil. Note their positions for reinstallation.
- Remove Mounting Bolts: Unscrew the bolts or fasteners securing the old ignition coil to the engine block.
- Remove Old Coil: Gently remove the old ignition coil.
- Install New Coil: Position the new ROP Shop Ignition Coil in the same location. Ensure the mounting holes align.
- Set Air Gap (Crucial Step): Before tightening the mounting bolts, an air gap must be set between the ignition coil's laminations and the flywheel magnets. Use a feeler gauge or a business card of appropriate thickness (refer to your engine's specific service manual for the exact gap, typically around 0.010-0.014 inches or 0.25-0.35 mm). Place the gauge between the coil and the flywheel, push the coil against the flywheel, then tighten the mounting bolts. Once tightened, remove the gauge.
- Reconnect Wires: Reattach all electrical wires to the new ignition coil in their original positions.
- Reconnect Spark Plug Wire: Connect the spark plug wire to the spark plug.
- Test: Reconnect the battery (if applicable) and attempt to start the engine to verify proper operation.
If you are not confident in performing this installation, it is recommended to seek assistance from a qualified service technician.

Image 4: An angled view of the ignition coil, highlighting its overall shape and the attached wire.
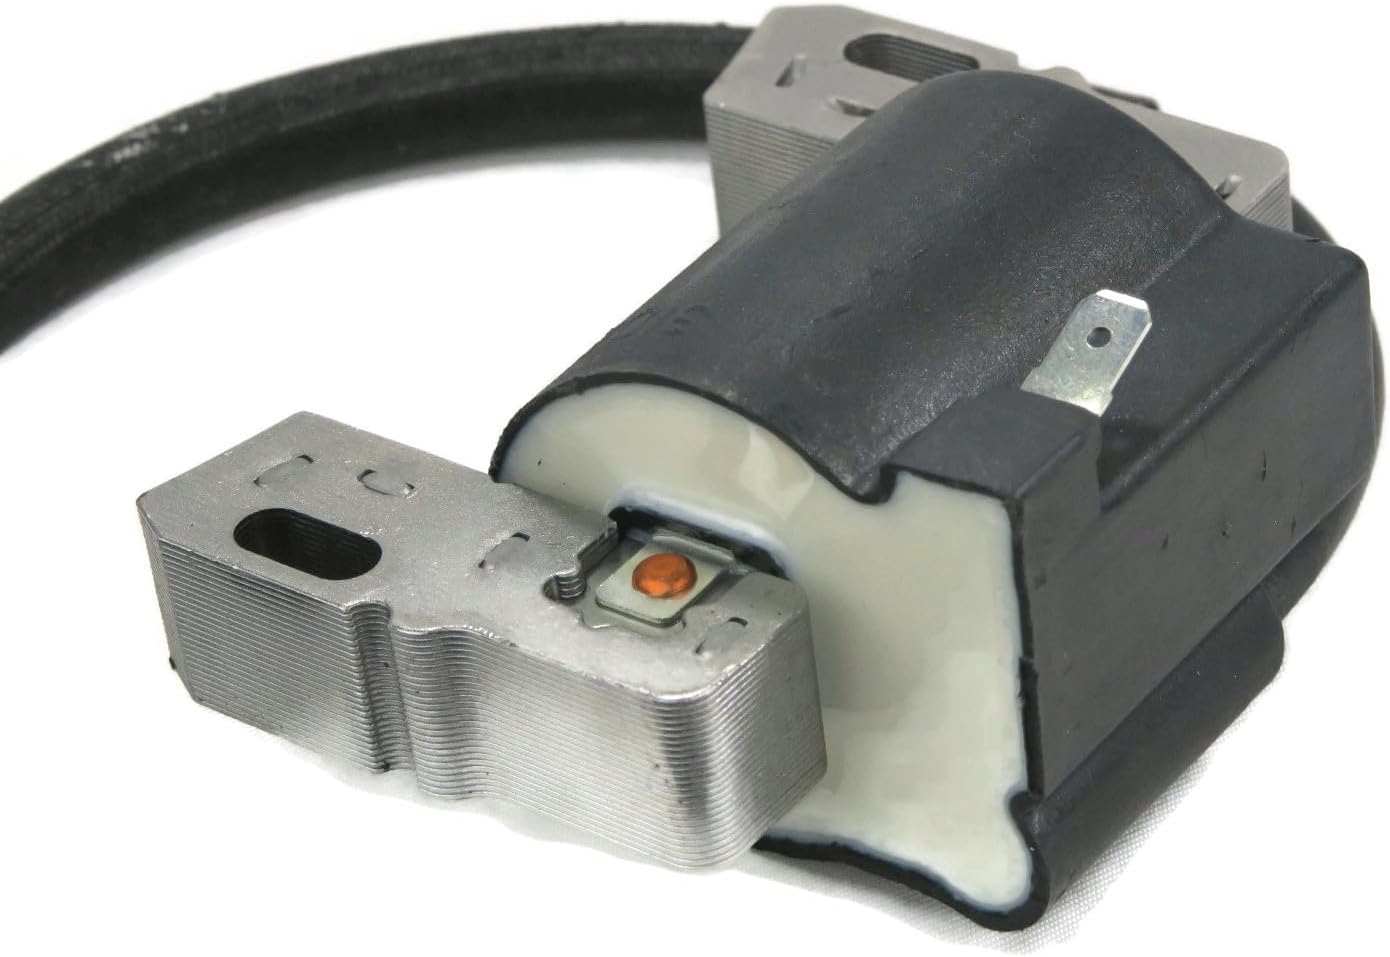
Image 5: A close-up view showing the internal winding and core of the ignition coil.

Image 6: Another perspective of the ignition coil, showing the mounting brackets and the insulated wire.

Image 7: Bottom view of the ignition coil, showing the underside of the mounting brackets.
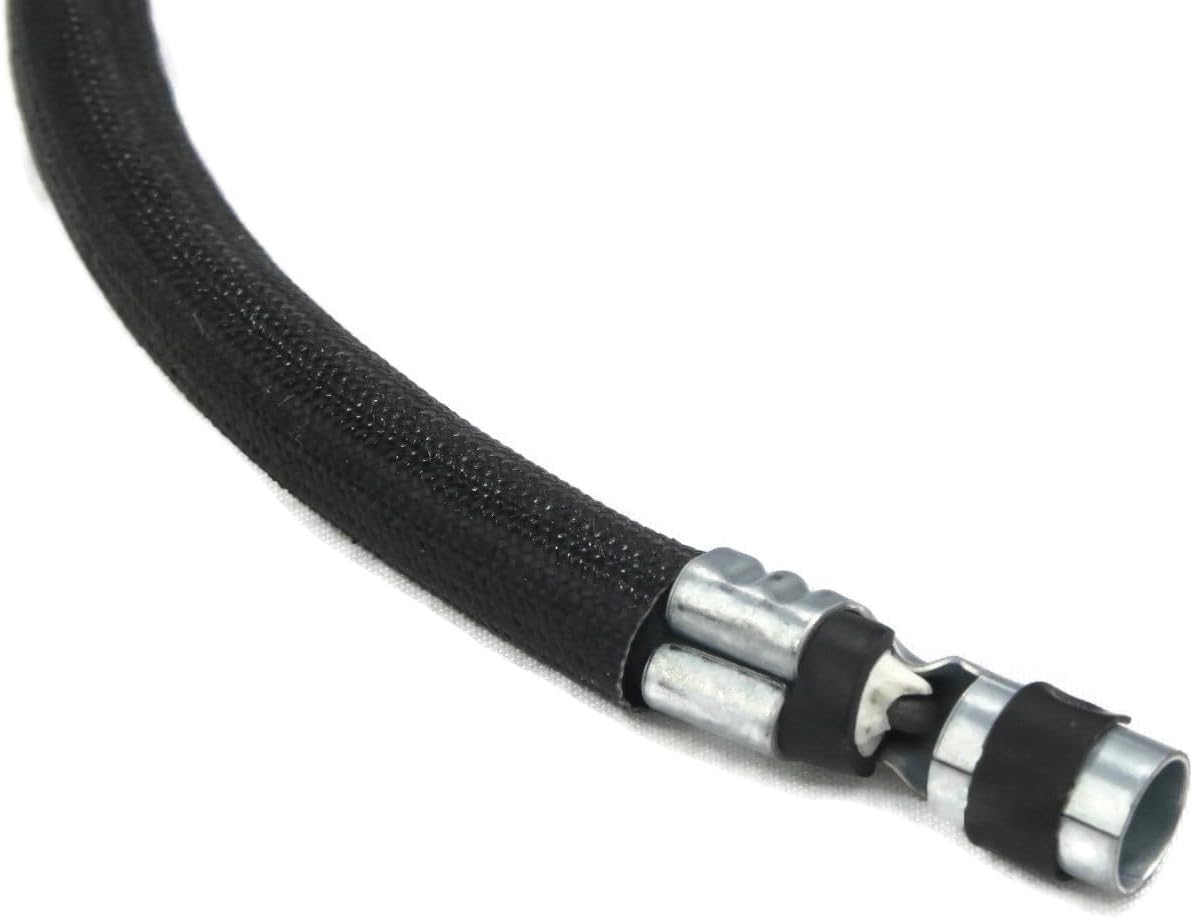
Image 8: A detailed view of the end of the ignition coil wire, showing the connection point.
6. Maintenance
Ignition coils generally require minimal maintenance. However, regular inspection can help prolong their lifespan and ensure optimal engine performance:
- Inspect Wires and Connections: Periodically check the spark plug wire and other electrical connections to the coil for signs of wear, fraying, or corrosion. Ensure all connections are secure.
- Keep Clean: Keep the coil and surrounding area free from dirt, debris, and oil buildup, which can affect heat dissipation and electrical conductivity.
- Check for Cracks: Inspect the coil body for any visible cracks or damage, which could indicate internal failure or exposure to moisture.
7. Troubleshooting Common Issues
If your engine experiences ignition-related problems after installing a new coil, consider the following:
- No Spark:
- Verify all electrical connections are tight and correctly installed.
- Ensure the air gap between the coil and flywheel is set correctly.
- Check the spark plug for fouling or damage.
- Inspect the kill switch wire for proper connection or damage.
- Engine Misfires or Runs Roughly:
- Confirm the spark plug wire is securely attached to the spark plug.
- Check for proper air gap.
- Ensure the spark plug is the correct type and gapped properly for your engine.
If troubleshooting steps do not resolve the issue, it is advisable to consult a professional engine mechanic or contact The ROP Shop customer support.
8. Important Safety Information
- Always disconnect the spark plug wire and battery before performing any maintenance or installation.
- Wear appropriate safety gear, including eye protection and gloves.
- Keep hands and clothing clear of moving engine parts.
- Do not operate the engine without proper guards or covers in place.
- High voltage is present in the ignition system. Exercise extreme caution.
- Store replacement parts in a safe, dry place away from children.
9. Support and Contact
For further assistance, technical support, or questions regarding product compatibility, please contact The ROP Shop customer service. You can find contact information on their official website or through your purchase platform.
Visit The ROP Shop Store on Amazon for more products and information.
10. Warranty Information
Specific warranty details for this product are not provided in the available information. Please refer to The ROP Shop's official website or contact their customer service directly for current warranty terms and conditions.