1. Introduction
This manual provides detailed instructions for the installation, operation, and maintenance of your DEWIN 12V Digital Programmable Weekly Timer. This device is designed for precise control of electrical equipment, offering daily and weekly programming capabilities.
- Functionality: Features daily and weekly preset functions, allowing for programming up to a week in advance. It is designed for easy configuration and offers a long operational lifespan.
- Programmable: The LCD display allows for programming up to 16 repeatable on/off settings with high precision, enabling minimal setting accuracy.
- Digital Display: The LCD shows real-time hours/minutes and automatic on/off status. It can automatically switch various electrical equipment on/off based on user-defined schedules.
- High Precision: Equipped with an integrated industrial-grade chip, ensuring high accuracy, strong anti-interference capabilities, and extended service life.
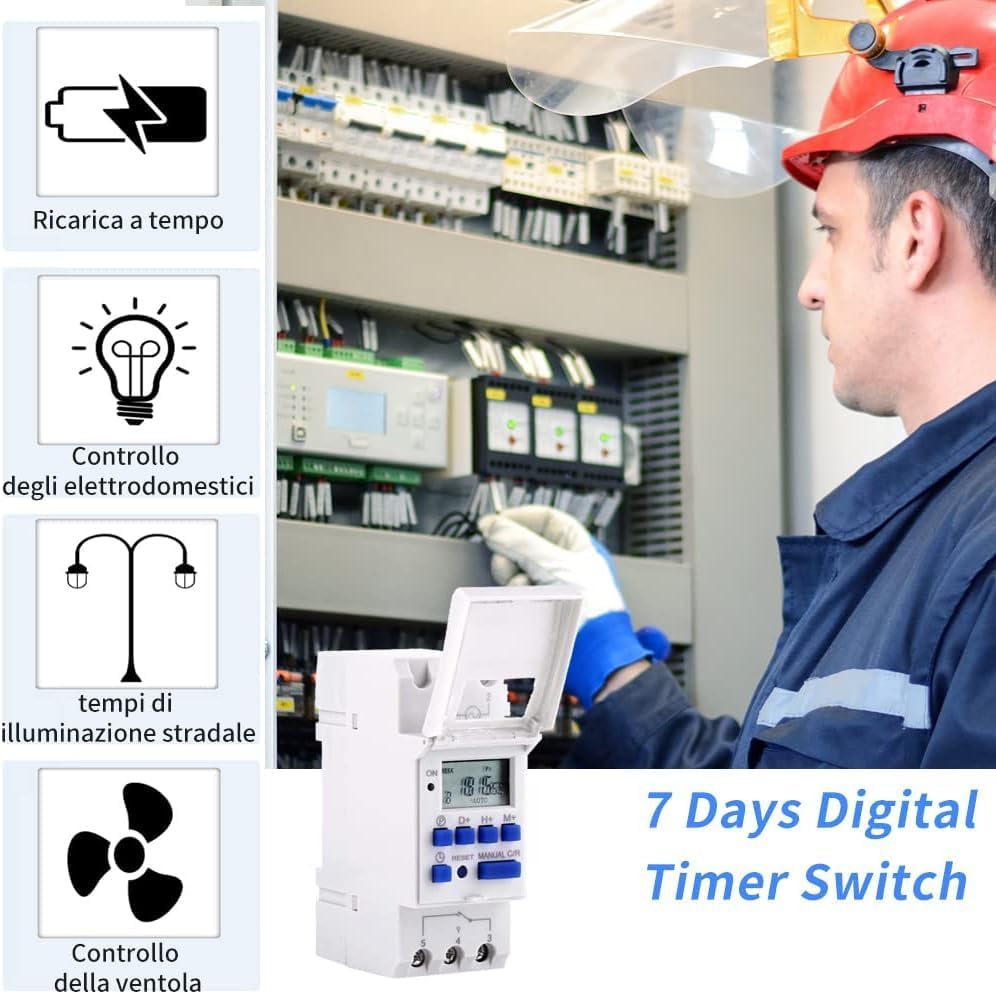
- Wide Applications: Suitable for controlling street lights, neon signs, advertising billboards, production equipment, radio and television equipment, and other electrical appliances requiring timed switching.
2. Safety Information
Please read all safety instructions before installing or operating the timer. Failure to follow these instructions may result in electric shock, fire, or serious injury.
- Installation should only be performed by a qualified electrician.
- Ensure the power supply is disconnected before any installation or maintenance work.
- Verify that the voltage and current ratings of the timer match your application requirements.
- Do not expose the device to moisture or extreme temperatures.
- Keep out of reach of children.
3. Product Overview
The DEWIN Digital Programmable Weekly Timer is a compact, DIN rail-mountable device designed for automated control of electrical circuits. It features an LCD display for easy programming and status monitoring, along with intuitive control buttons.

The timer includes a clear LCD screen, programming buttons (P, D+, H+, M+), a reset button, and a manual control button (MANUAL C/R). The terminals are clearly marked for power input and load output.
4. Installation
4.1 Mounting
The DEWIN timer is designed for DIN rail mounting. Securely attach the timer to a standard 35mm DIN rail within an electrical enclosure.

4.2 Wiring
Connect the timer according to the wiring diagram provided. Ensure all connections are tight and secure. Pay close attention to the input voltage (DC 12V) and load capacity.

Important: This model is specified for DC 12V input. Confirm your power source matches this requirement. Incorrect voltage can damage the device.
5. Initial Setup
5.1 Power On and Reset
Upon first power-up or after a prolonged power outage, the display may be blank. Press the 'RESET' button to clear all previous settings and initialize the timer. The display should then show the current time (e.g., 00:00) and day.
5.2 Setting Current Time and Day
- Press the 'P' button once. The hour digits will flash.
- Use the 'H+' button to adjust the hour.
- Use the 'M+' button to adjust the minute.
- Press the 'D+' button to set the current day of the week (e.g., MO, TU, WE, TH, FR, SA, SU).
- Press the 'P' button again to confirm and exit time setting mode.
6. Programming Operations
The timer supports up to 16 ON/OFF programs. Each program consists of an ON time and an OFF time.
6.1 Setting ON/OFF Programs
- Press the 'P' button repeatedly until '1 ON' appears on the display. This is the first ON program.
- Use 'D+' to select the day(s) for this program (e.g., individual days, weekdays, weekends, all days).
- Use 'H+' and 'M+' to set the desired ON hour and minute.
- Press 'P' again. '1 OFF' will appear.
- Use 'D+' to select the day(s) for this OFF program (usually matching the ON program).
- Use 'H+' and 'M+' to set the desired OFF hour and minute.
- Repeat steps 1-6 for additional programs (2 ON, 2 OFF, up to 16 ON, 16 OFF).
- After setting all desired programs, press the 'P' button until the current time is displayed, or wait for approximately 30 seconds for the timer to automatically return to normal operation mode.
6.2 Manual Control
The 'MANUAL C/R' button allows you to override the programmed settings temporarily or permanently.
- Press once: Changes output from AUTO to ON.
- Press twice: Changes output from ON to OFF.
- Press three times: Changes output from OFF to AUTO.
In AUTO mode, the timer follows the programmed schedule. In ON or OFF mode, the output remains continuously ON or OFF, overriding the schedule.
7. Specifications
| Feature | Specification |
|---|---|
| Brand | DEWIN |
| Model | IXDBICQQA-GS00885-01 |
| Color | One Color |
| Product Dimensions | 10 x 8 x 7 cm |
| Material | Metal |
| Special Features | Programmable |
| Item Weight | 110 g |
| Number of Settings | 16 (ON/OFF programs) |
| Power Supply | DC 12V |
8. Troubleshooting
- Display is blank or unresponsive: Ensure the timer is properly connected to a DC 12V power source. Press the 'RESET' button to reinitialize the device.
- Timer not switching load:
- Verify the wiring connections are correct and secure, especially the load output terminals.
- Check if the timer is in 'AUTO' mode. If it's in 'ON' or 'OFF' manual mode, it will override programmed settings. Press 'MANUAL C/R' to cycle back to 'AUTO'.
- Confirm that the programmed ON/OFF times and days are correctly set.
- Difficulty in programming: The programming sequence can be complex initially. Refer to Section 6.1 and practice setting a simple program. Use the 'RESET' button if you need to start over.
- Incorrect time display: After a power interruption, the internal battery might be low. Reset the timer and set the current time and day again. The internal battery recharges during normal operation.
9. Maintenance
The DEWIN Digital Programmable Weekly Timer requires minimal maintenance. Follow these guidelines to ensure optimal performance and longevity:
- Keep the device clean and free from dust. Use a soft, dry cloth for cleaning.
- Do not use abrasive cleaners or solvents.
- Ensure the operating environment is within the specified temperature and humidity ranges.
- Periodically check wiring connections for tightness, especially in environments with vibration.
10. Warranty and Support
For warranty information and technical support, please refer to the documentation provided with your purchase or contact DEWIN customer service through the retailer where the product was purchased. Keep your proof of purchase for warranty claims.