1. Introduction
This manual provides essential instructions for the safe and efficient use of your YAREMYEYE 53.5V 2A Scooter Charger. Please read this manual thoroughly before operating the charger to ensure proper function and to prevent damage to the product or your scooter. Keep this manual for future reference.
2. Safety Information
Always adhere to the following safety guidelines to prevent electric shock, fire, or damage to the charger and your scooter.
- Use the charger only with compatible electric scooters as specified in this manual.
- Do not expose the charger to water, moisture, or extreme temperatures.
- Avoid dropping or subjecting the charger to strong impacts.
- Do not attempt to disassemble, modify, or repair the charger yourself. Contact customer support for assistance.
- Ensure proper ventilation during charging. Do not cover the charger.
- Unplug the charger from the power outlet when not in use or during electrical storms.
- Keep out of reach of children.

Image: The charger incorporates multiple protection features for safe operation.

Image: The charger is designed with comprehensive protection mechanisms.
3. Package Contents
Verify that all items are present in the package:
- 1 x YAREMYEYE 53.5V 2A Scooter Charger
- 1 x Power Cable (US Standard Plug)

Image: The charger unit and its accompanying power cable.
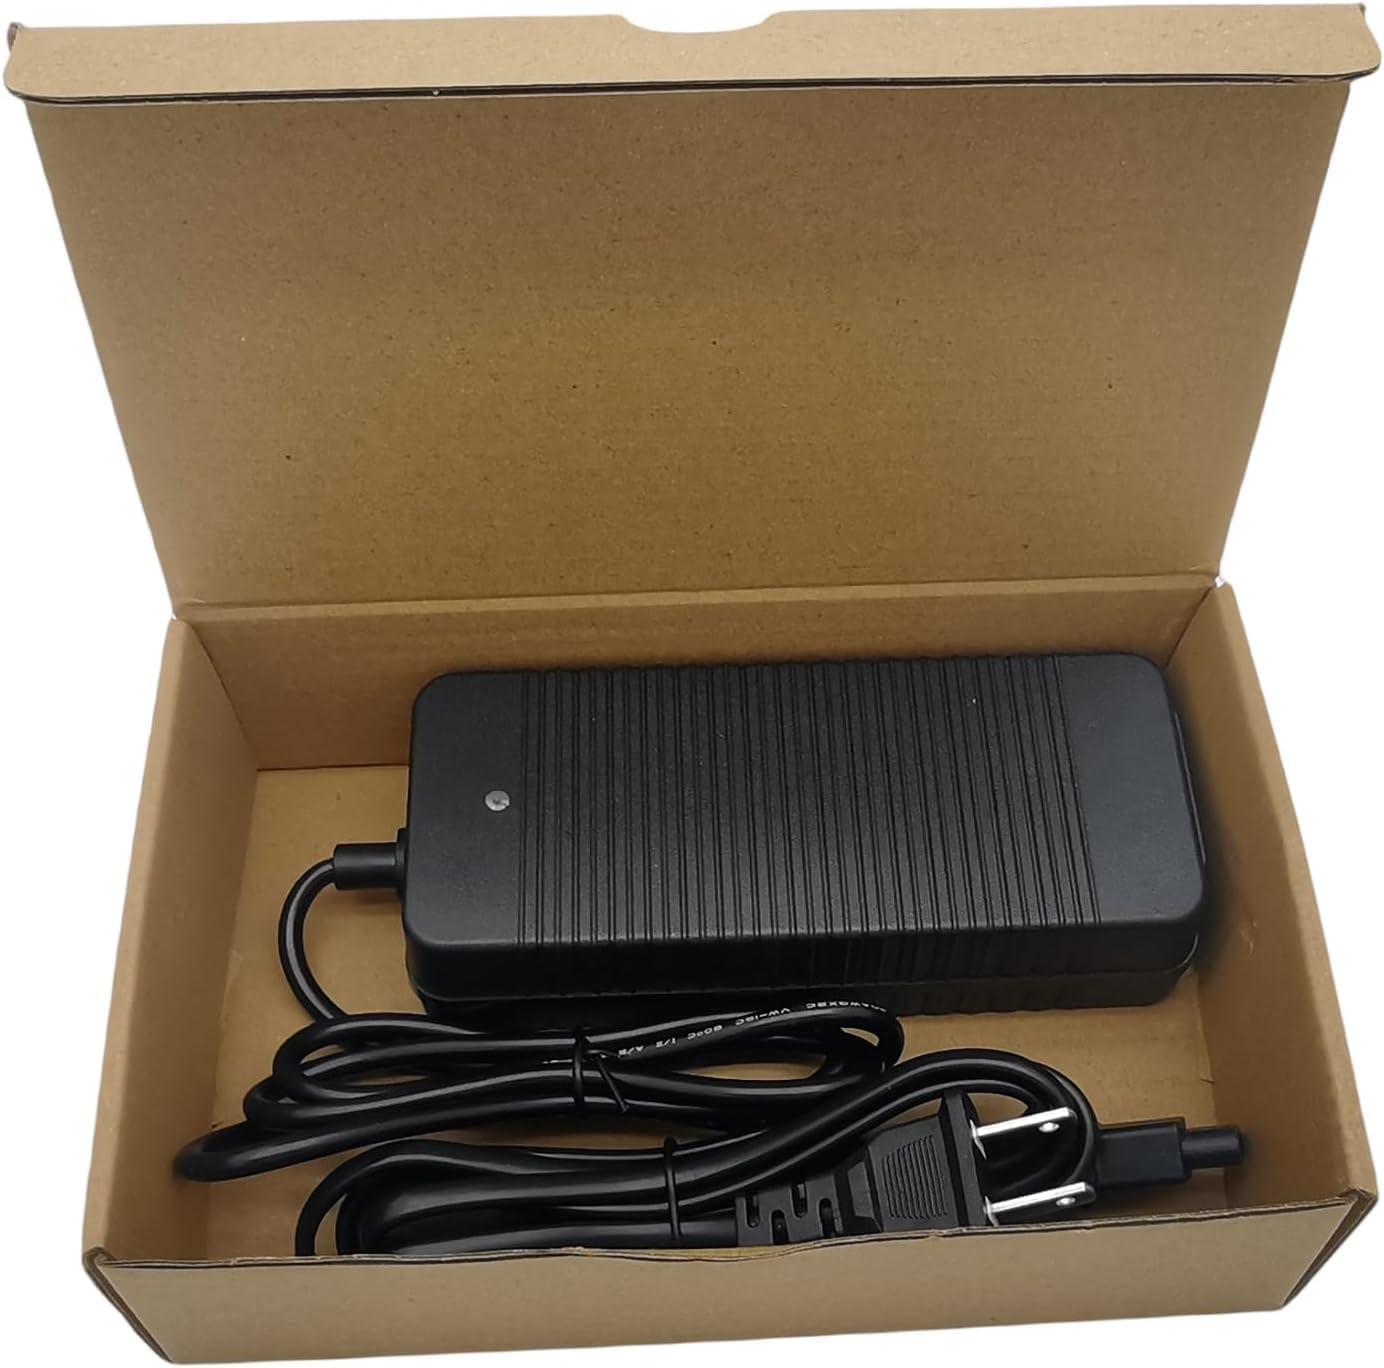
Image: The charger and power cable as received in their packaging.
4. Specifications
| Feature | Specification |
|---|---|
| Input Voltage | AC 100-240V, 50-60Hz, 2A MAX |
| Output Voltage & Current | DC 53.5V, 2A |
| Color | Black |
| Item Weight | 11.3 ounces |
| Package Dimensions | 7.36 x 4.57 x 2.01 inches |
| Certifications | UL, CE, FCC |
5. Compatibility
This charger is specifically designed for the following NIU electric scooter models:
- NIU KQi Air / Air X
- NIU KQi3 / KQi3 Pro / KQi3 Max / KQi3 Sport
- NIU KQi2 Pro
- NIU KQi1 Pro / KQi1 Sport
NOTE: This charger is NOT compatible with NIU KQi YOUTH+ models.

Image: Visual confirmation of compatible NIU scooter models.
6. Setup
Follow these steps to set up your scooter charger:
- Unpack the charger and power cable from the box.
- Connect the AC power cable to the charger's input port.
- Plug the AC power cable into a standard wall outlet (AC 100-240V). The charger's indicator light should turn green, indicating power is supplied.
- Locate the charging port on your NIU electric scooter.
- Carefully insert the charger's output connector into the scooter's charging port. Ensure a secure connection.

Image: Key components of the charger, including the LED indicator and magnetic interface.
7. Operating Instructions
Once the charger is set up, follow these steps to charge your scooter:
- After connecting the charger to both the power outlet and the scooter, the indicator light on the charger will turn red, signifying that the scooter is actively charging.
- Monitor the charging process. Charging time may vary depending on the scooter's battery level and model.
- When the scooter's battery is fully charged, the indicator light on the charger will change from red to green.
- Once fully charged, disconnect the charger from the scooter first, then unplug the power cable from the wall outlet.
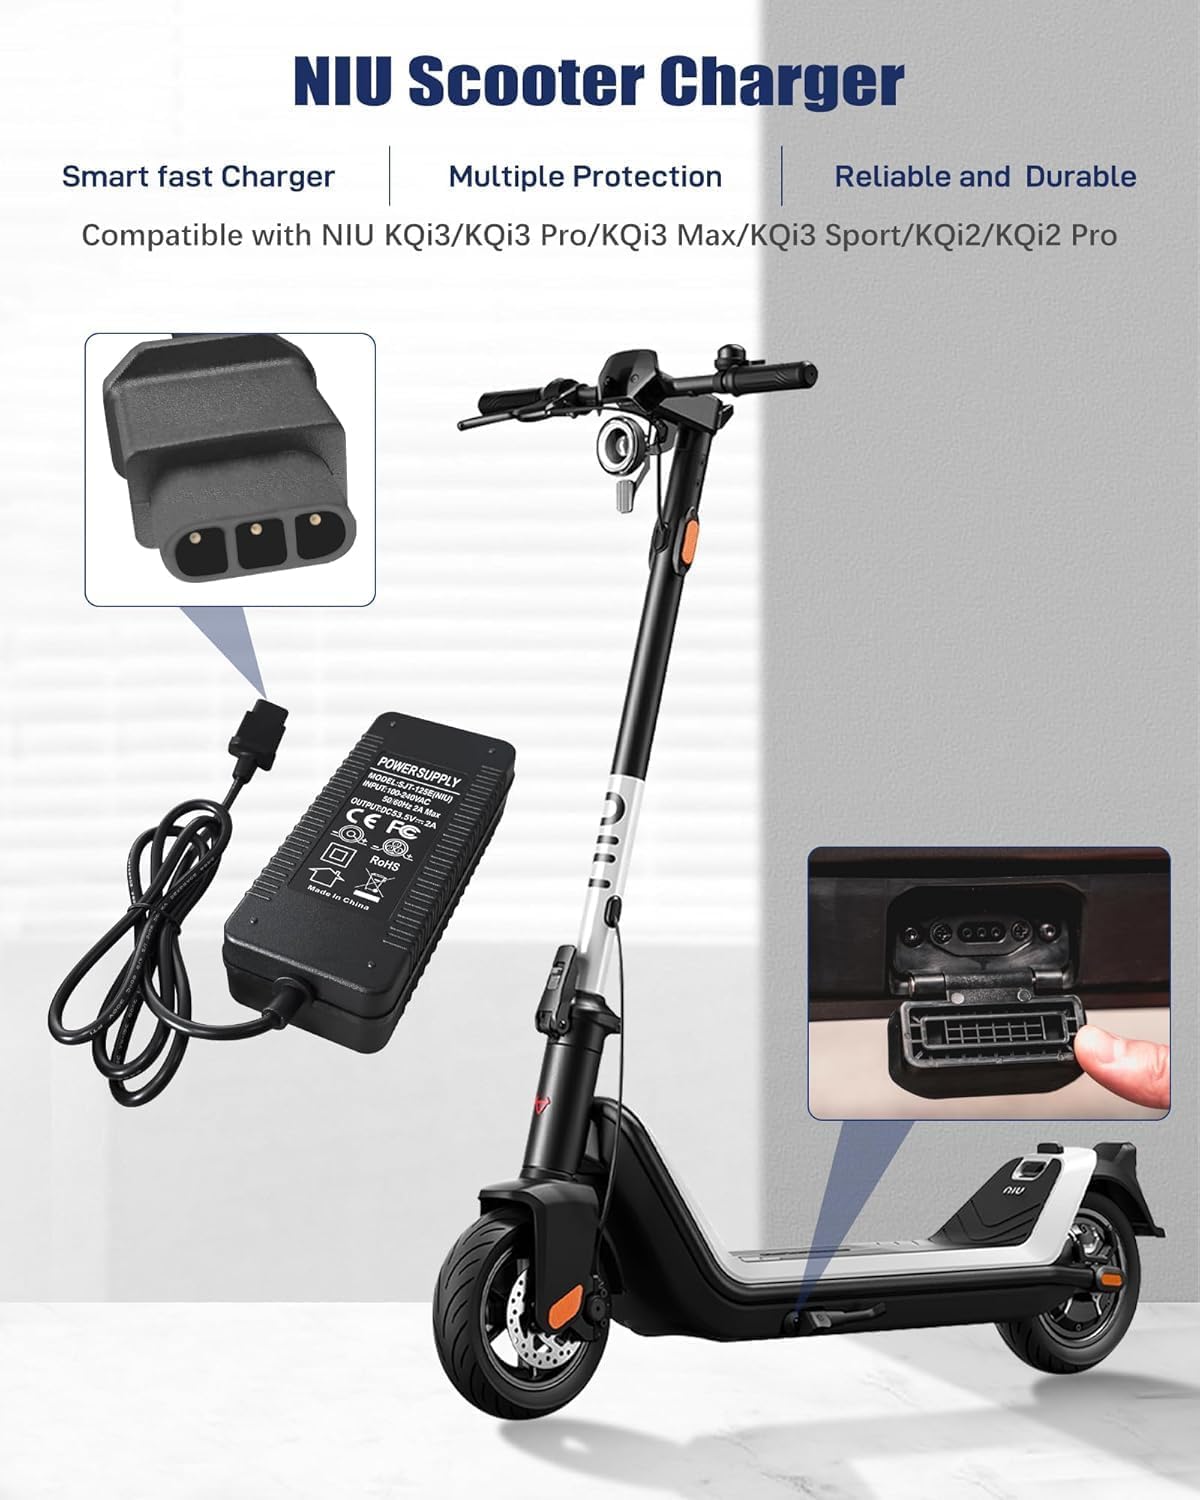
Image: The charger in use, connected to a compatible NIU scooter.
8. Maintenance
To ensure the longevity and optimal performance of your charger:
- Keep the charger clean and free from dust and debris. Use a soft, dry cloth for cleaning.
- Store the charger in a cool, dry place when not in use.
- Avoid wrapping the cables too tightly, which can cause damage over time.
- Regularly inspect the cables and connectors for any signs of wear or damage. If damage is found, discontinue use and replace the charger.
9. Troubleshooting
If you encounter issues with your charger, refer to the following common problems and solutions:
| Problem | Possible Cause | Solution |
|---|---|---|
| Charger indicator light does not turn on. | No power from outlet; loose connection; faulty charger. | Check wall outlet with another device. Ensure all cables are securely connected. If problem persists, contact support. |
| Charger indicator light remains green when connected to scooter. | Scooter battery is already full; loose connection to scooter; incompatible scooter model. | Verify scooter battery level. Ensure charger is firmly connected to scooter. Confirm scooter model is listed in compatibility section. |
| Scooter charges slowly or not at all. | Loose connection; damaged cable/charger; scooter battery issue. | Check all connections. Inspect cables for damage. If issues persist, consult scooter's manual or contact support. |
10. Warranty and Support
Your YAREMYEYE scooter charger comes with a 12-month warranty from the date of purchase. Additionally, a 30-day money-back guarantee is offered. For any inquiries, technical assistance, or warranty claims, please contact our customer support team. We provide 24 x 7 email support.
For support, please refer to the contact information provided with your purchase or visit the YAREMYEYE official website.