1. Introduction
Thank you for choosing the Pumwoy 2 Way Wireless Intercom System. This system provides reliable two-way voice communication for various indoor environments, including homes, hospitals, and hotels. With its long-range capability and simple operation, it offers a convenient solution for staying connected.
This manual provides detailed instructions for the proper setup, operation, and maintenance of your intercom system. Please read it thoroughly before use to ensure optimal performance and longevity of the product.
2. Product Overview
The Pumwoy Wireless Intercom System consists of two portable intercom units, each with a charging base and USB cable. Key features include dual-channel communication, a built-in 2000mAh battery, and a transmission range of up to 1000 meters in open areas.
2.1 Package Contents
- 2 x Wireless Intercom Units
- 2 x Charging Bases
- 2 x USB Charging Cables
2.2 Component Identification
Refer to the diagram below to identify the various parts of your intercom unit.

Figure 1: Intercom Unit Components. This image displays the front, side, and back views of a single intercom unit, with labels pointing to the Speaker, Call Button, Microphone (MIC), Talk Button, Intercom Indicator, Power Light, Charging Base, Power Switch, Volume Button (3 levels), and Ringtone button.
- Speaker: Outputs audio from the other intercom unit.
- Call Button: Initiates a call to the other unit.
- MIC (Microphone): Captures your voice during communication.
- Talk Button: Press and hold to speak, release to listen.
- Intercom Indicator: Lights up during active communication.
- Power Light: Indicates power status and charging.
- Charging Base: Dock for charging the intercom unit.
- Power Switch: Turns the unit On or Off.
- Volume Button: Adjusts the speaker volume (3 levels).
- Ringtone Button: Selects the desired ringtone.
3. Setup
3.1 Initial Charging
Before first use, fully charge both intercom units. Connect the provided USB cables to the charging bases and plug them into standard 5V 1-2A USB power adapters (not included, typically phone chargers). Place the intercom units onto their respective charging bases. The Power Light will indicate charging status.
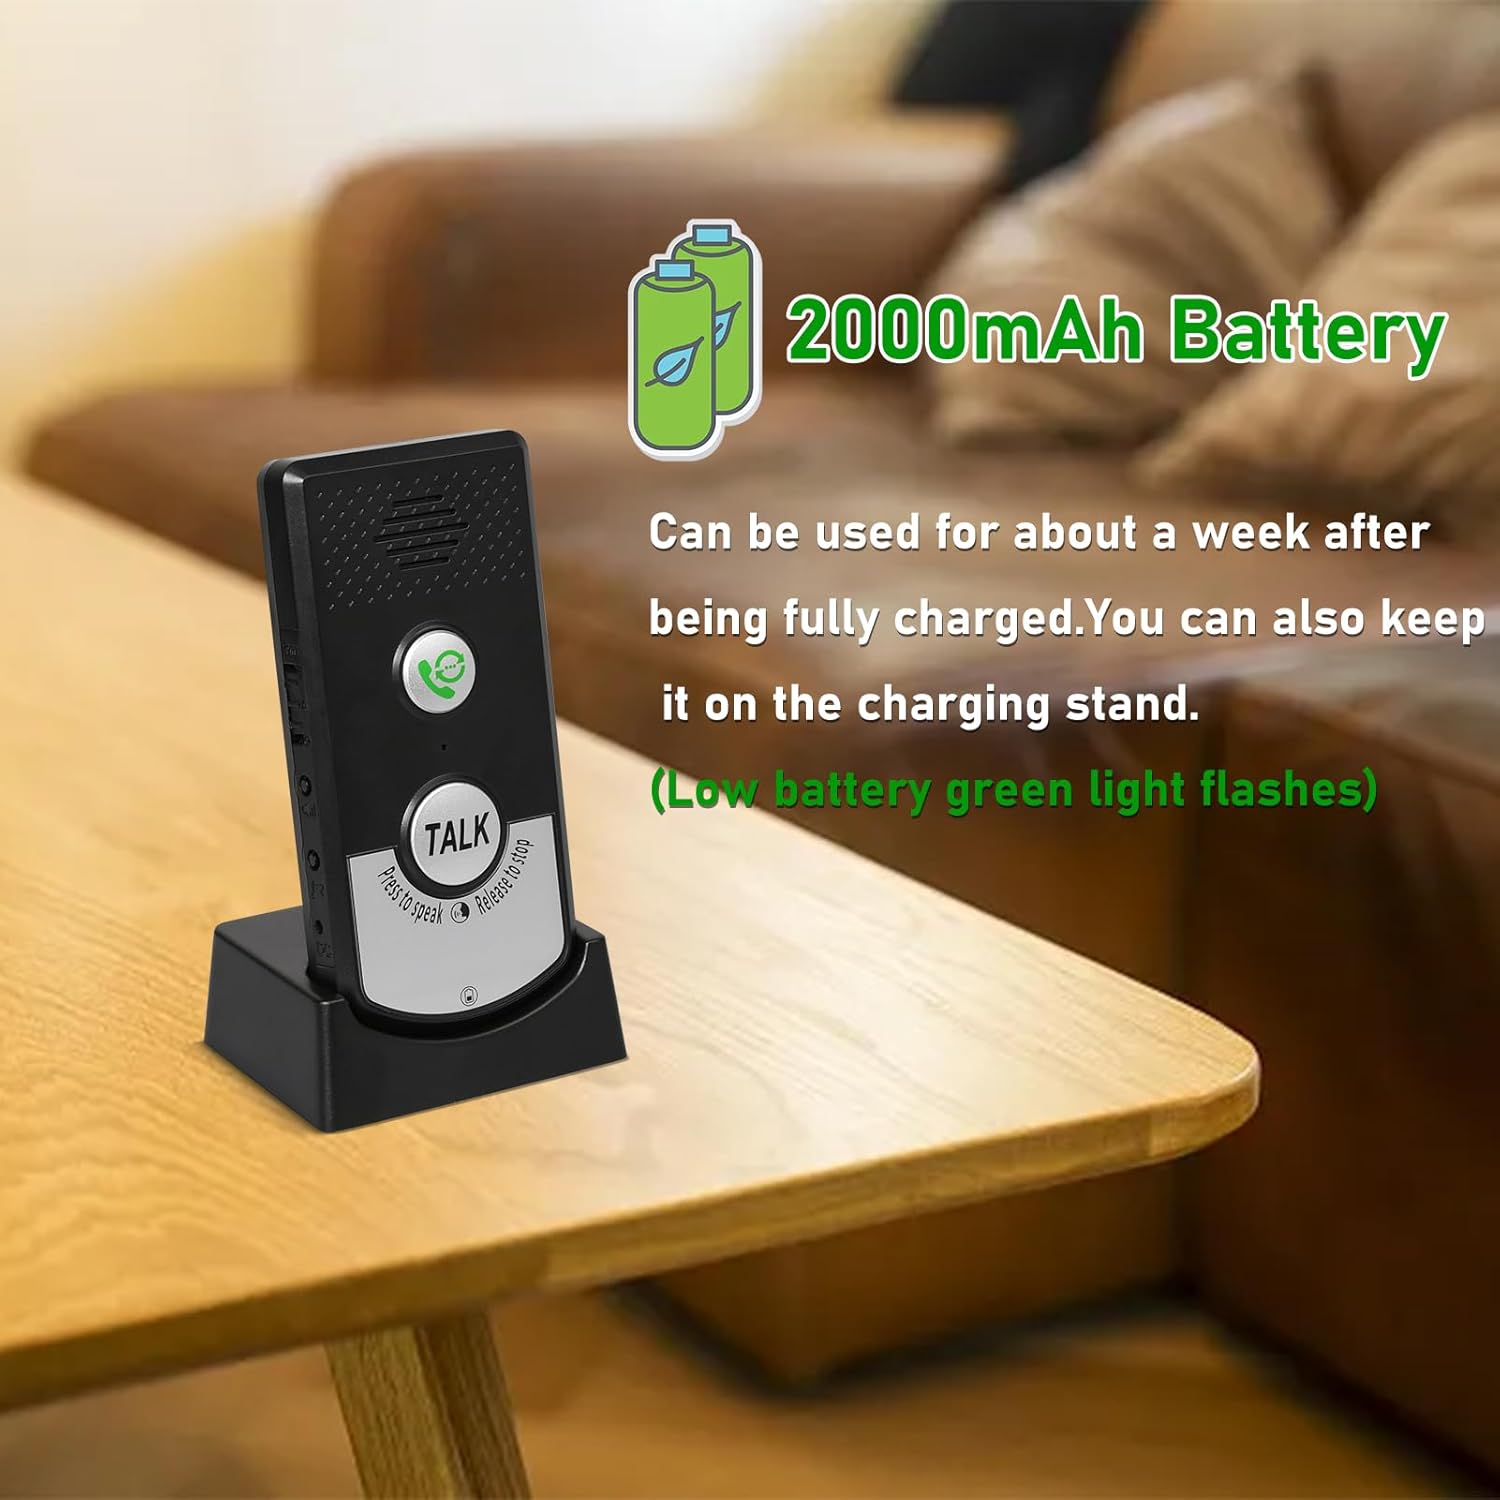
Figure 2: Intercom Unit on Charging Stand. The image shows an intercom unit docked in its charging base, highlighting its 2000mAh battery capacity and the convenience of charging.
A full charge can last for approximately 3 days of typical use. For continuous operation, units can remain plugged into an outlet while on their charging stands.
3.2 Powering On/Off
- To turn on an intercom unit, slide the Power Switch to the "ON" position.
- To turn off an intercom unit, slide the Power Switch to the "OFF" position.
3.3 Placement Considerations
For optimal performance, place the intercom units in locations that minimize obstructions between them. While the system offers a range of 20-50 meters through walls, direct line of sight or fewer obstacles will improve signal strength and clarity. The maximum range in open areas is up to 1000 meters.

Figure 3: Transmission Range Illustration. This image visually represents the intercom's transmission capabilities, showing signal waves and indicating a range of 1000m in open space and 20-100m through walls.
4. Operating Instructions
4.1 Making a Call
- Ensure both intercom units are powered on.
- Press the Call Button on your unit. The other unit will ring.
- To answer an incoming call, press the Call Button on the receiving unit.
4.2 Two-Way Communication
The intercom system operates like a walkie-talkie:
- To speak, press and hold the Talk Button. Speak clearly into the MIC.
- Release the Talk Button to listen for a response.
- The Intercom Indicator will illuminate during active transmission.

Figure 4: Example of Two-Way Communication. This image illustrates a practical use case of the intercom system for communication within a home.
4.3 Adjusting Volume and Ringtones
- Volume: Use the Volume Button on the side of the unit to cycle through 3 available volume levels.
- Ringtone: Press the Ringtone Button to select from 38 available ringtones.
4.4 Dual Channel Operation
The system supports dual channels (A and B). If you have multiple intercom systems or wish to avoid interference, you can adjust the channel settings. Refer to the specific instructions provided with your product for channel selection, if applicable. (Note: The provided product information does not detail how to switch channels A/B, only that it supports them.)
5. Maintenance
- Cleaning: Wipe the intercom units with a soft, dry cloth. Do not use abrasive cleaners or solvents.
- Battery Care: To prolong battery life, avoid fully discharging the units frequently. Charge them regularly, especially if they will be stored for an extended period.
- Storage: Store the units in a cool, dry place away from direct sunlight and extreme temperatures.
6. Troubleshooting
| Problem | Possible Cause | Solution |
|---|---|---|
| No power / Unit does not turn on | Battery is depleted; Power switch is off. | Charge the unit fully. Ensure the Power Switch is in the "ON" position. |
| Poor sound quality / Static | Units are out of range; Obstructions between units; Low battery. | Move units closer together. Reduce obstacles. Ensure units are fully charged. |
| Short battery life | Frequent use; Battery degradation over time. | Keep units on charging stands when not in active use. Ensure regular charging. |
| Cannot communicate with other unit | Units are off; Out of range; Incorrect channel (if applicable). | Verify both units are on and charged. Move closer. Check channel settings if available. |
| Volume too loud or too quiet | Volume setting is not optimal. | Adjust the Volume Button to your preferred level. |
7. Specifications
| Feature | Detail |
|---|---|
| Model Number | JY00007 |
| Brand | Pumwoy |
| Transmission Range (Open Area) | Up to 1000 meters (approx. 3280 feet) |
| Transmission Range (Through Wall) | 20 to 50 meters (approx. 65 to 164 feet) |
| Battery Capacity | 2000mAh (built-in) |
| Power Input | 5V 1-2A (via USB, adapter not included) |
| Product Dimensions | 5.9 x 5.9 x 1.96 inches |
| Item Weight | 10.5 ounces |
| Included Components | 2 x Wireless Intercom Units |
| Application Scenarios | Home, Hospital, Hotel, Factory, Teahouse, Office |
8. Warranty and Support
For warranty information and customer support, please refer to the documentation provided at the time of purchase or contact Pumwoy customer service directly. You can typically find support contact details on the manufacturer's official website or through your retailer.
For further assistance, please visit the Pumwoy Store on Amazon.
