1. Introduction
This manual provides detailed instructions for the installation, operation, and maintenance of your LIKARVA Automatic Single-Arm Swing Gate Opener. Please read this manual thoroughly before installation and use to ensure proper function and safety. This gate opener is designed for single swing gates up to 2 meters in width and 150 kg (325 lbs) in weight.
2. Safety Information
WARNING: Failure to follow these safety instructions may result in serious injury or death.
- Ensure all electrical connections are performed by a qualified electrician and comply with local electrical codes.
- Keep children and pets away from the gate area during operation.
- Do not operate the gate opener if any part is damaged or malfunctioning.
- Never attempt to repair or modify the gate opener yourself. Contact qualified service personnel.
- Install the gate opener on a structurally sound gate and posts.
- Ensure proper grounding to prevent electrical shock.
- Always use the manual release key in case of power failure or emergency.
- Install safety devices such as photo-electric sensors to prevent the gate from closing on obstacles.
3. Package Contents
Verify that all components listed below are present in your package:
- 1x Gate Opener Actuator
- 1x Control Box
- 2x Remote Controls
- 1x Manual Release Key
- Mounting Hardware (bolts, anchors, brackets)
- Installation Accessories (e.g., rubber stopper, pins)

Image 3.1: Gate Opener Actuator Arm. This is the main motor unit that extends and retracts to open and close the gate.

Image 3.2: Control Box. This unit houses the electronics for operating the gate opener.

Image 3.3: Remote Controls, Manual Release Key, and Mounting Hardware. Includes two remote controls, a key for manual operation, and various bolts and anchors for installation.
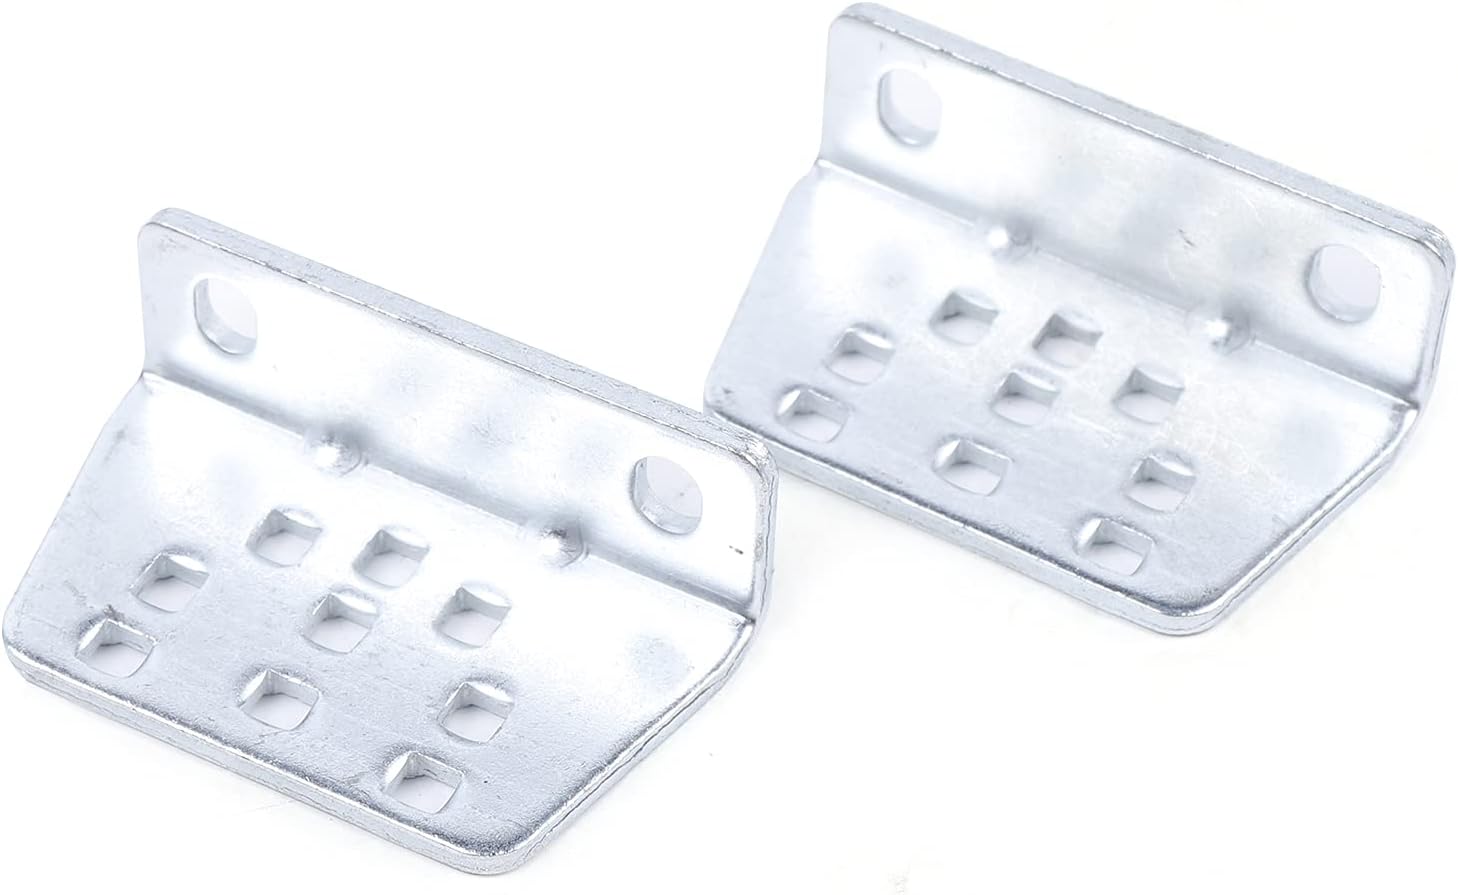
Image 3.4: Flat Mounting Brackets. These brackets are used to secure the gate opener to the gate post or gate frame.
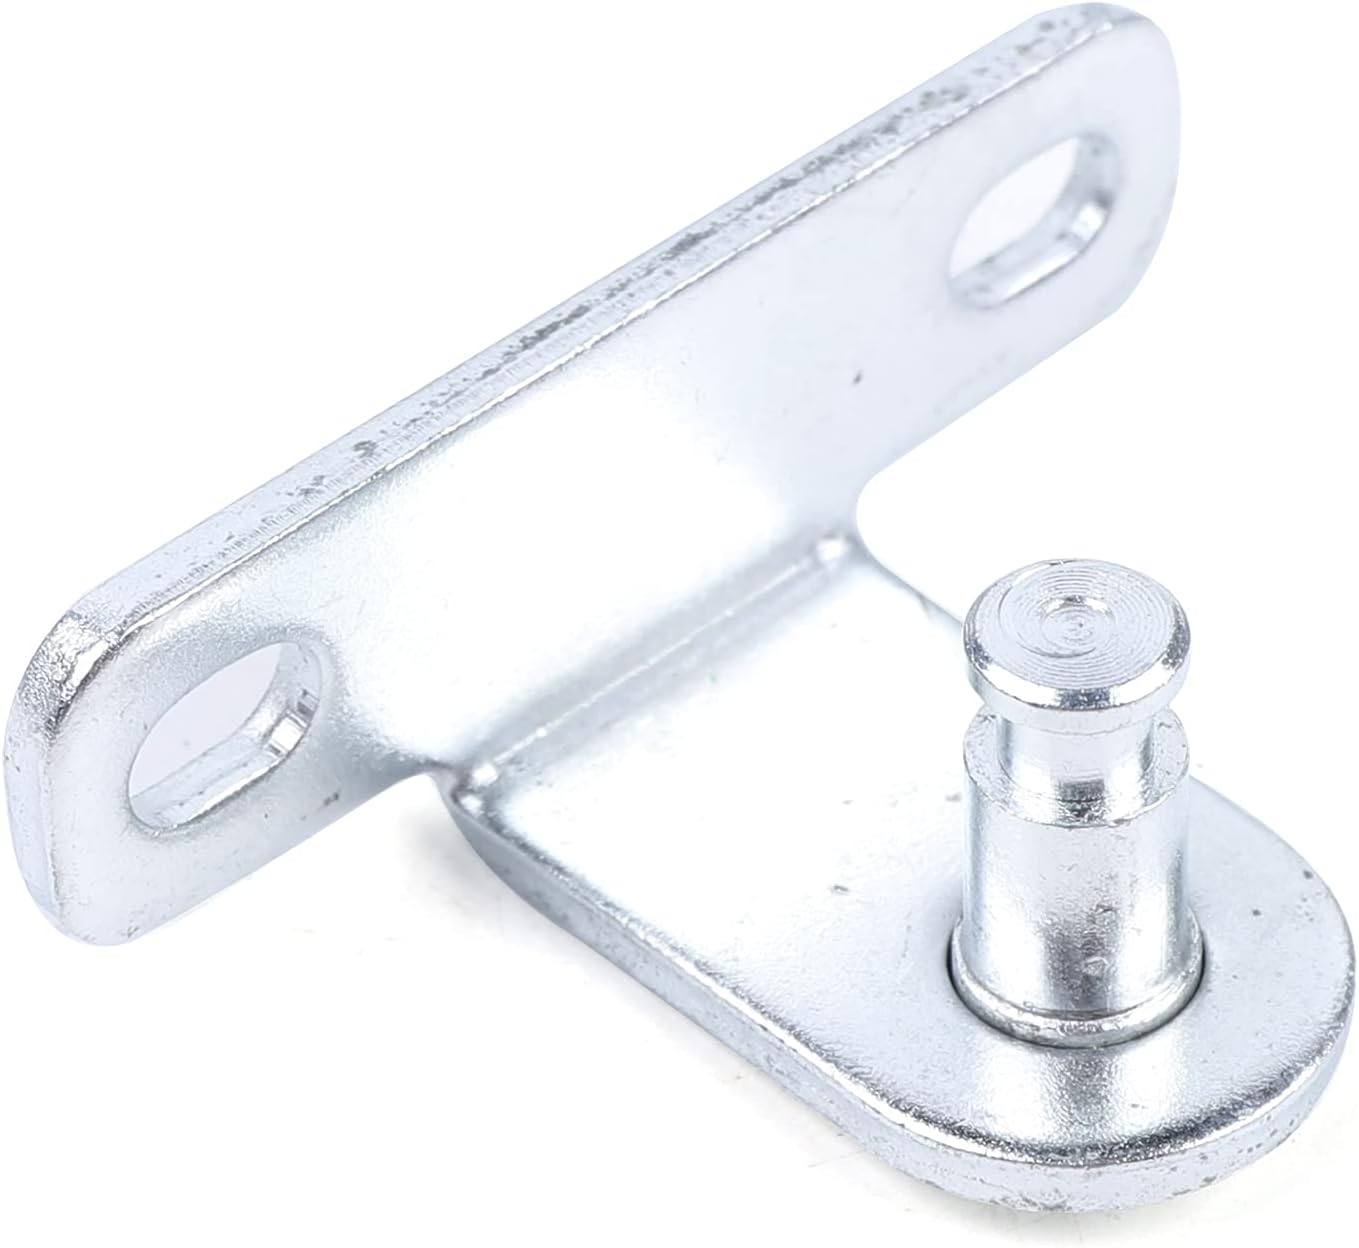
Image 3.5: L-shaped Mounting Bracket with Pin. This bracket provides a pivot point for the actuator arm.

Image 3.6: Long Slotted Mounting Plate. A versatile mounting plate with multiple slots for adjustment.
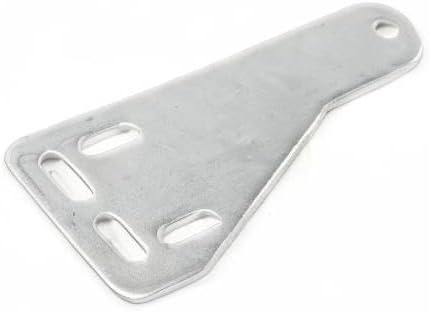
Image 3.7: Angled Slotted Mounting Plate. Another mounting plate option, possibly for specific gate or post configurations.

Image 3.8: Rubber Stopper. Used to provide a soft stop for the gate or actuator.

Image 3.9: Actuator Arm End Detail. Close-up view of the actuator arm's mounting point.
4. Specifications
| Feature | Specification |
|---|---|
| Power Supply | 110V AC |
| Motor Power | 24VDC 40W |
| Current | 5A |
| Motor Speed | 250RPM |
| Actuator Running Speed | 1.6 CM/S |
| Actuator Stroke | 300MM |
| Max Single Leaf Width | 2M (approx. 6.5 feet) |
| Max Single Leaf Weight | 150KG (approx. 325 LBS) |
| Working Temperature | -20°C ~ 50°C (-4°F ~ 122°F) |
| Protection Class | IP55 |
| Item Weight | 22 pounds |
| Product Dimensions | 33.07 x 16.92 x 26.96 inches (packaged) |
| Material | Metal |

Image 4.1: Actuator Arm Dimensions. The image shows the actuator arm with key dimensions: 255mm, 340mm, 90mm, and a total length of 455mm.
5. Setup and Installation
This section provides general guidelines for installing the LIKARVA Automatic Single-Arm Swing Gate Opener. For detailed, step-by-step instructions, refer to the specific installation manual provided with your product. Professional installation is recommended.
5.1 Pre-Installation Checks
- Ensure your gate operates smoothly manually and is properly balanced.
- Verify that the gate posts are strong enough to support the opener's weight and forces.
- Confirm access to a 110V AC power supply near the control box location.
5.2 Mounting the Actuator
- Determine the optimal mounting positions for the actuator on both the gate post and the gate frame. Consider the gate's swing angle and the actuator's stroke length (300mm).
- Attach the rear mounting bracket to the gate post using appropriate fasteners (e.g., expansion bolts from Image 3.3). Ensure it is level and securely fixed.
- Attach the front mounting bracket to the gate frame. This bracket will connect to the end of the actuator arm (refer to Image 3.9).
- Connect the actuator arm to both mounting brackets using the provided pins and hardware.
5.3 Electrical Connections
- Mount the control box (Image 3.2) in a secure, weather-protected location near the gate.
- Connect the 24VDC motor wires from the actuator to the control board inside the control box, following the wiring diagram in the detailed manual.
- Connect the 110V AC power supply to the control box. Ensure proper grounding.
- If using optional accessories (e.g., photo-electric sensors, keypads), connect them to the designated terminals on the control board.
5.4 Initial Setup and Programming
- Power on the system.
- Follow the programming instructions in the detailed manual to set the opening/closing limits and remote control codes.
- Adjust the opening/closing interval time for the single gate leaf as needed.
- Set the force of the single gate leaf.
- Test the auto-stop function by placing a soft obstacle in the gate's path.
6. Operating Instructions
6.1 Remote Control Operation
- Press the designated button on your remote control (Image 3.3) once to open or close the gate.
- Pressing the button again during operation will stop the gate. A third press will reverse its direction.
6.2 Manual Release
In case of power failure or emergency, the gate can be operated manually:
- Locate the manual release mechanism on the actuator arm.
- Insert the manual release key (Image 3.3) into the lock and turn it to disengage the motor.
- You can now manually push the gate open or closed.
- To re-engage the motor, turn the key back to its original position and remove it.
7. Maintenance
Regular maintenance ensures the longevity and safe operation of your gate opener.
- Monthly: Inspect the gate and hinges for smooth operation. Lubricate hinges if necessary.
- Quarterly: Check all mounting hardware for tightness. Inspect electrical wiring for any signs of wear or damage.
- Annually: Test the safety features, such as the auto-stop function and any installed photo-electric sensors. Clean the actuator arm and ensure it is free from debris.
- Keep the area around the gate and opener clear of obstructions.
8. Troubleshooting
This section addresses common issues you might encounter. For more complex problems, consult a qualified technician.
| Problem | Possible Cause | Solution |
|---|---|---|
| Gate does not respond to remote. |
|
|
| Gate opens partially or stops unexpectedly. |
|
|
| Gate makes unusual noises. |
|
|
9. Warranty and Support
The LIKARVA Automatic Single-Arm Swing Gate Opener comes with a standard manufacturer's warranty. Please refer to the warranty card included in your package for specific terms and conditions, including coverage duration and claim procedures.
For technical support, replacement parts, or warranty claims, please contact LIKARVA customer service through your original point of purchase or visit the official LIKARVA website for contact information.