1. Introduction
This manual provides detailed instructions for the proper installation, maintenance, and troubleshooting of MaNzzo replacement left and right wheels for the Xiaomi Mijia Mi Robot Vacuum Mop 2 Pro (models MJST1S and MJSTS1). Adhering to these guidelines will help ensure optimal performance and longevity of your robot vacuum cleaner.
2. Setup and Installation
Before beginning, ensure your robot vacuum is powered off and disconnected from its charging base. Gather the necessary tools, which typically include a small Phillips head screwdriver.
2.1 Identifying the Wheels
The replacement wheels are designed specifically for the left and right sides of your robot vacuum. Observe the markings (L for Left, R for Right) on the wheel assemblies to ensure correct placement.

Image: A pair of replacement wheel modules, clearly indicating the 'R' for right and 'L' for left wheel, ready for installation.
2.2 Removal of Existing Wheels
- Carefully flip your robot vacuum cleaner upside down on a clean, soft surface to prevent scratches.
- Locate the screws securing the wheel modules. These are typically visible on the underside of the robot.
- Using a Phillips head screwdriver, remove the screws holding the wheel module in place.
- Gently lift the old wheel module out of its compartment. Disconnect any electrical connectors attached to the module. Note the orientation of the connector for reinstallation.

Image: Close-up view of the wheel assembly's underside, illustrating the wheel's connection point, internal gears, and circuit board.
2.3 Installation of New Wheels
- Take the new replacement wheel module (Left or Right, as appropriate).
- Carefully connect the electrical wiring harness to the corresponding port inside the robot vacuum. Ensure a secure connection.
- Align the new wheel module with its compartment and gently press it into place.
- Secure the module with the screws previously removed. Do not overtighten.
- Repeat the process for the other wheel if replacing both.

Image: Displaying both the left and right wheel replacement units, including their respective housings and wiring harnesses.
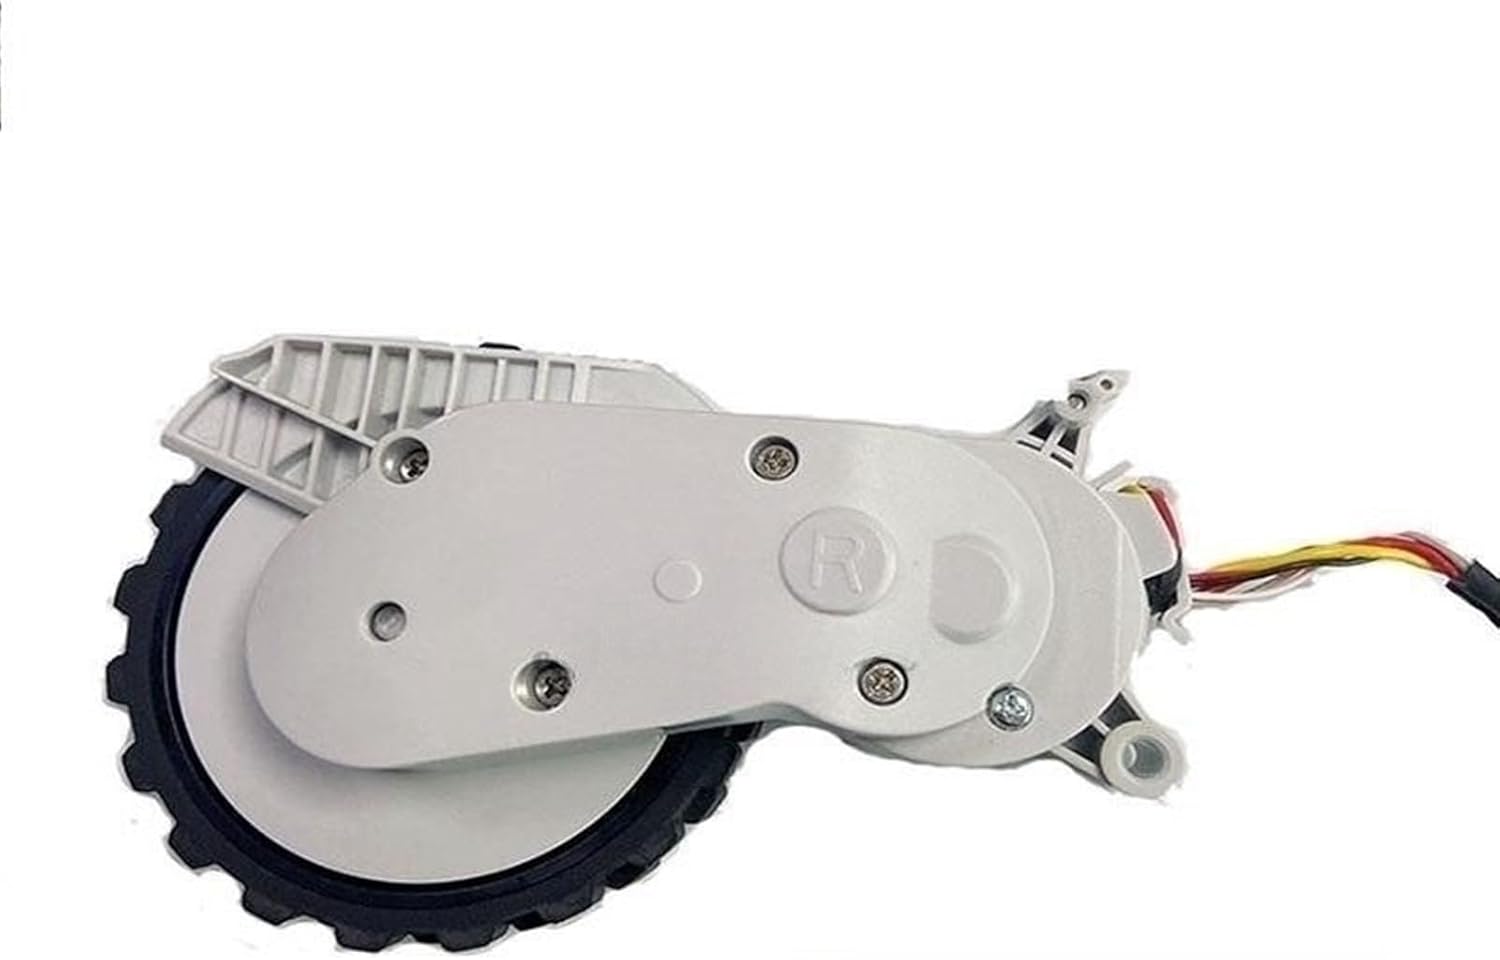
Image: Showing a single replacement wheel assembly, typically the right wheel, with its housing and electrical connector.

Image: Side view of two wheel assemblies, showcasing the integrated wiring harnesses that connect to the robot vacuum's main board.
2.4 Post-Installation Check
Once both wheels are installed, gently turn the robot vacuum right side up. Power it on and observe its movement. Ensure it moves smoothly and in a straight line.
3. Operating the Robot Vacuum After Wheel Replacement
After successful installation, your Xiaomi Mijia Mi Robot Vacuum Mop 2 Pro should resume normal operation. The new wheels are designed to provide the same mobility and traction as the original parts.
4. Maintenance
Regular maintenance of the wheels is crucial for optimal performance.
- Inspect Regularly: Periodically check the wheels for any tangled hair, threads, or debris that may impede their movement.
- Clean Wheels: Use a small brush or cloth to remove any accumulated dust or dirt from the wheel treads and axles.
- Check for Wear: Over time, the wheel treads may show signs of wear. If traction significantly decreases, consider replacing the wheels again.
5. Troubleshooting
If you encounter issues after replacing the wheels, refer to the following common problems and solutions:
- Robot Not Moving Straight: Ensure both left and right wheels are installed correctly and are free of obstructions. Check that the electrical connectors are firmly seated.
- Unusual Noises from Wheels: This could indicate debris caught in the wheel mechanism or improper installation. Power off the robot, remove the wheels, clean thoroughly, and reinstall.
- Wheels Not Turning: Verify that the electrical connections are secure. If the issue persists, the wheel module itself might be faulty.
6. Specifications
| Feature | Detail |
|---|---|
| Part Type | Replacement Wheel Module |
| Compatibility | Xiaomi Mijia Mi Robot Vacuum Mop 2 Pro MJST1S, MJSTS1 |
| Material | ABS |
| Item Weight (per pair) | Approximately 50 Grams (1.76 ounces) |
| Package Dimensions | 1.18 x 0.79 x 0.39 inches (approximate) |
7. Warranty Information
For specific warranty details regarding your MaNzzo replacement wheels, please refer to the product packaging or contact the seller directly. Warranty terms may vary based on the point of purchase.
8. Support
If you require further assistance with installation, troubleshooting, or have questions about the product, please contact the MaNzzo customer support team or the retailer from whom you purchased the wheels. Provide your product model and purchase details for efficient support.
