
1. Introduction
The SOPHIA DK500 Automatic Hydraulic Door Closer is designed for both residential and commercial applications, providing controlled and silent door closing. This Grade 3 door closer meets UL228 production standards and UL 10C fire resistance testing, ensuring durability and safety. It is suitable for various door types and can operate effectively in a wide range of temperatures. This manual provides detailed instructions for installation, operation, and maintenance to ensure optimal performance and longevity of your door closer.
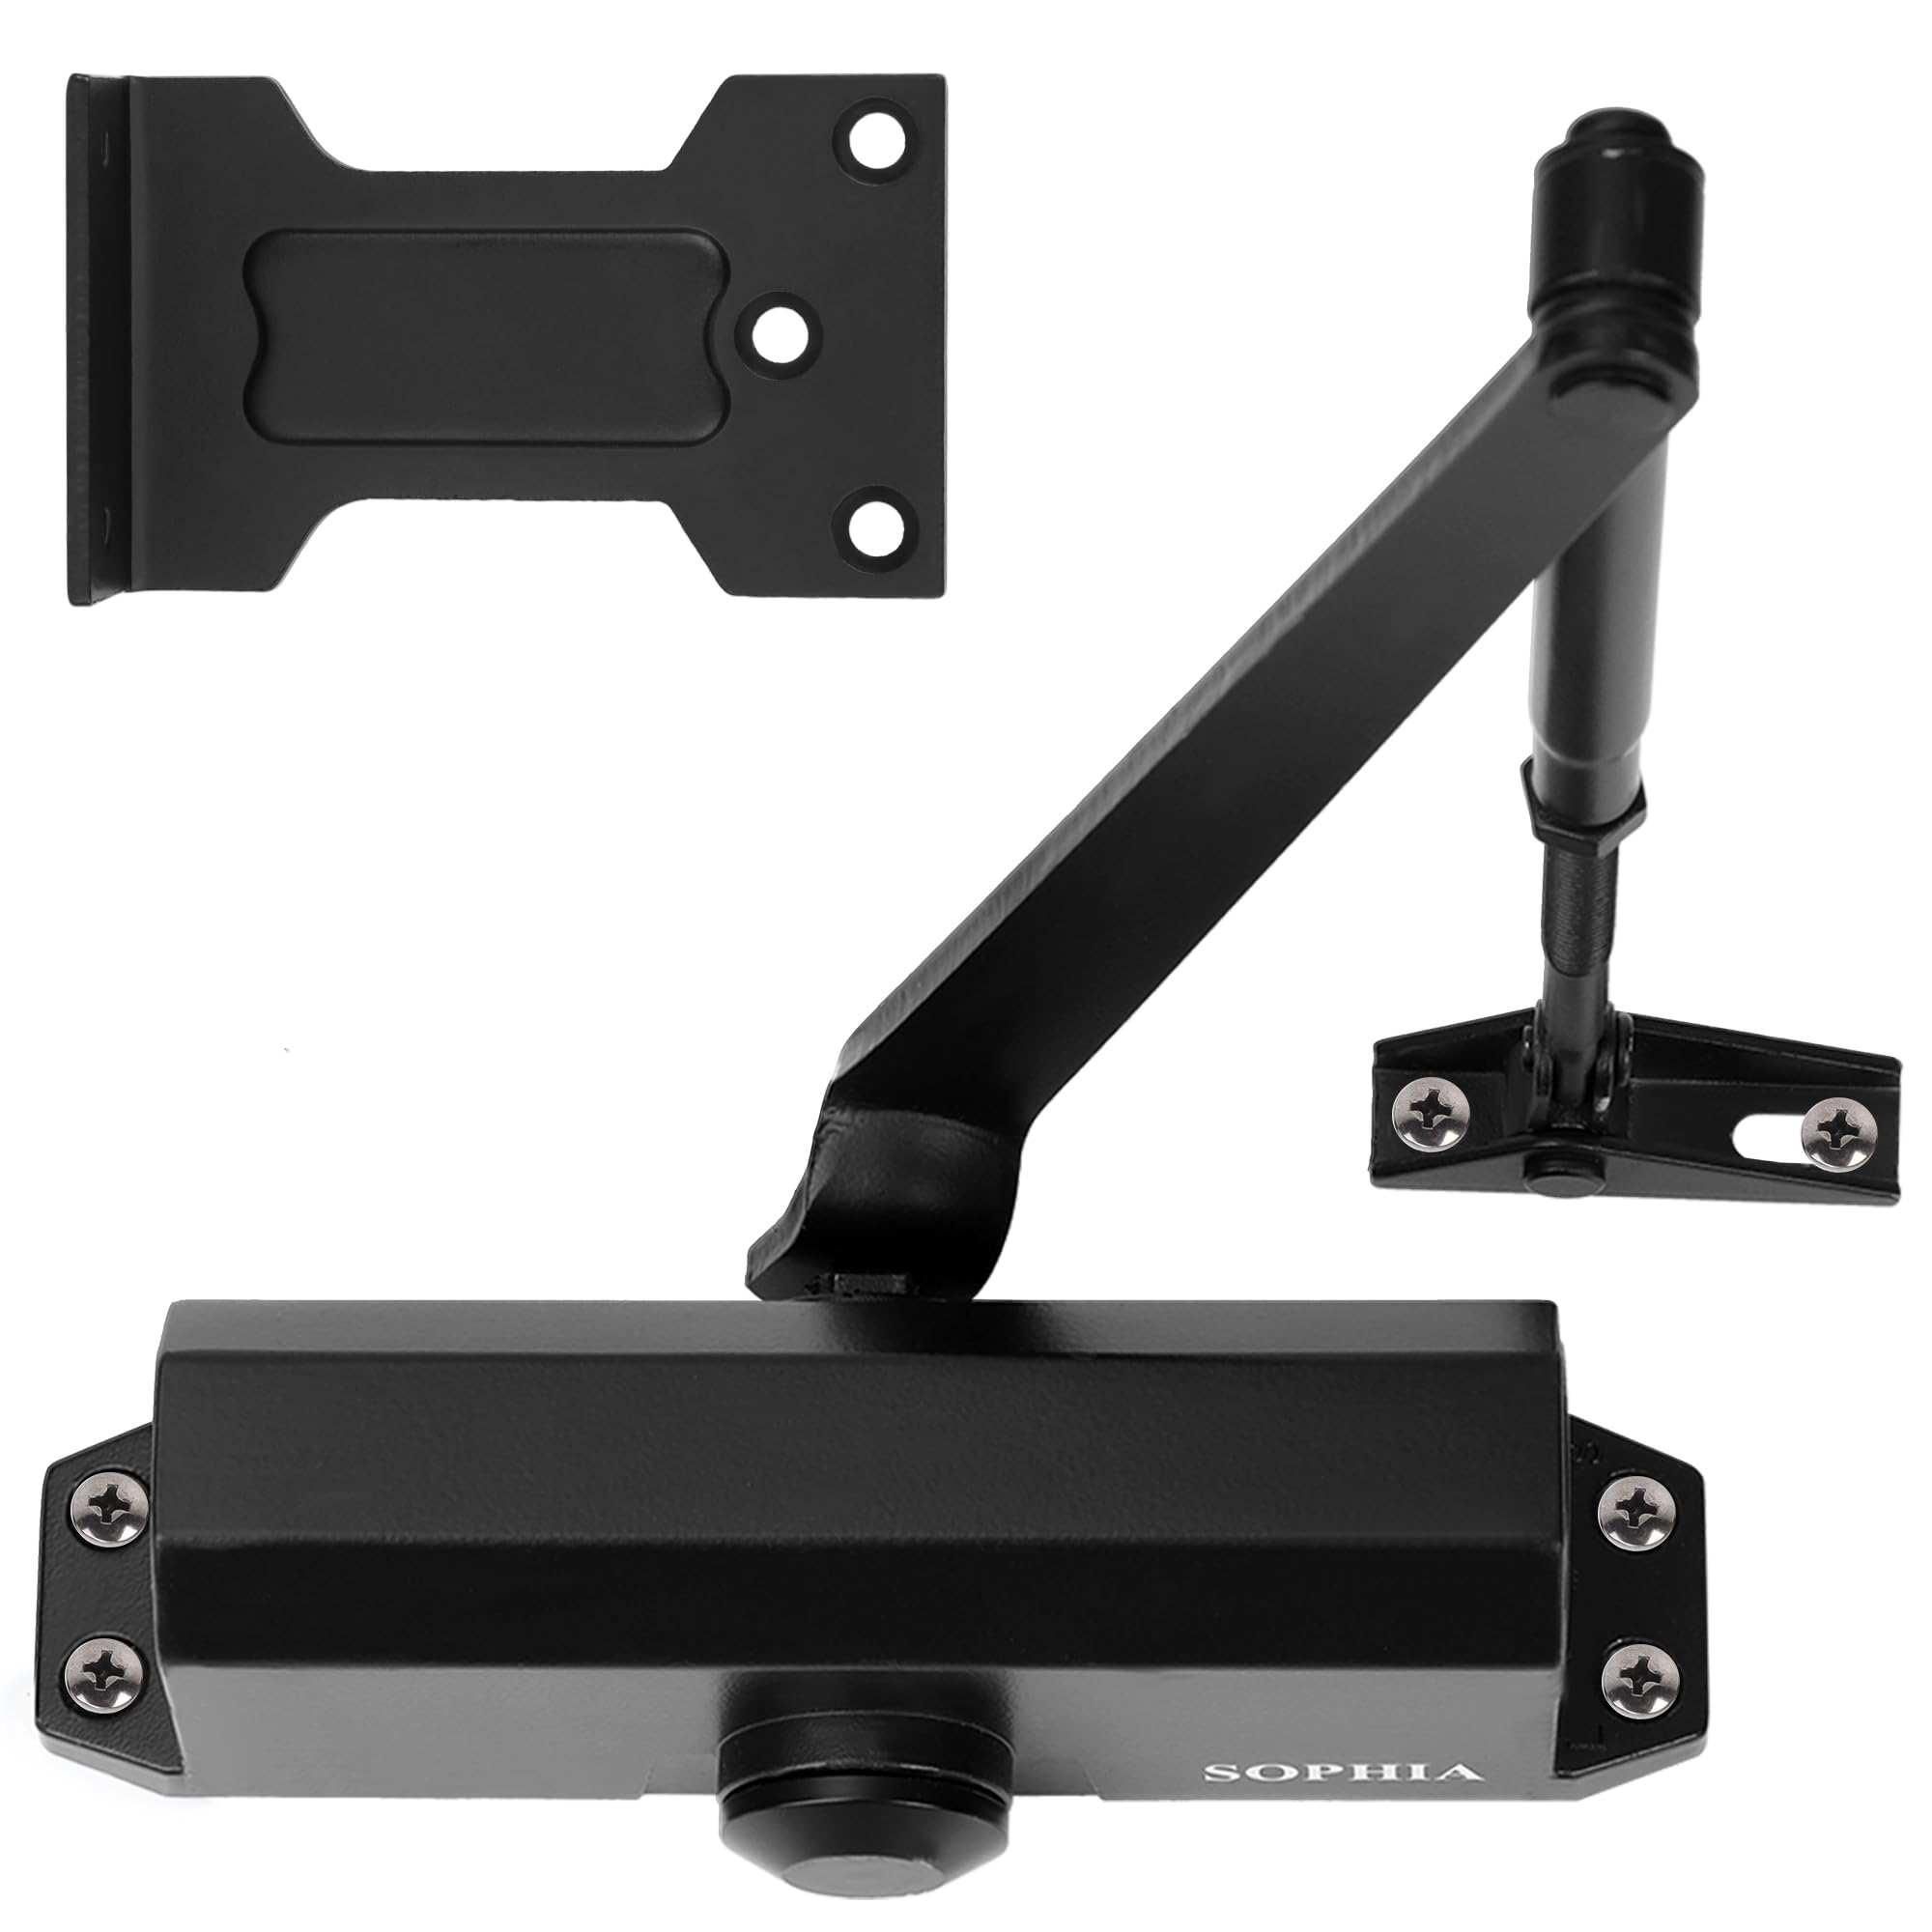
Figure 1: SOPHIA DK500 Automatic Hydraulic Door Closer (Matte Black)
2. Safety Information
- Read all instructions carefully before installation and use.
- Wear appropriate safety gear, including eye protection, during installation.
- Ensure the door closer is installed on a structurally sound door and frame.
- Do not attempt to modify the door closer or its components.
- Adjustments should only be made using the provided tools and according to the instructions to prevent damage or injury.
- Keep children and pets away from the door during installation and adjustment.
- This door closer is fire-rated for 3 hours; ensure proper installation to maintain this rating on fire doors.
3. Package Contents
Verify that all components are present before beginning installation.
- Door Closer Body
- Connecting Arm Assembly
- Parallel Mounting Bracket
- Screws (for wood and metal doors)
- Life Size Fitting Templates (for left-hand or right-hand doors, regular mounting, top jamb mounting, and parallel mounting)
- Instruction Manual (this document)

Figure 2: Included Components

Figure 3: Detailed Product Parts Diagram
4. Specifications
| Feature | Specification |
|---|---|
| Model | DK500 |
| Material | Die-cast Aluminum |
| Grade | Grade 3 |
| Spring Tension | Size 3 |
| Max Door Weight | 88-143 lbs (40-65 kg) |
| Max Door Width | 37.4 inches (950 mm) |
| Max Opening Angle | 180° |
| Fire Rating | 3 Hours (UL 10C standard) |
| Certifications | UL Listed, ANSI Grade 3, CE, CCCF, IFT |
| Temperature Range | -22°F to 131°F (-30°C to 55°C) |
| Product Dimensions (L x W x H) | 7.1" x 1.57" x 2.36" |
| Item Weight | 1.61 kg |

Figure 4: DK500 Specifications and Dimensions
5. Installation
The SOPHIA DK500 door closer offers versatile installation options to suit various door configurations. Refer to the included life-size fitting templates for precise drilling locations.
5.1 Mounting Types
The door closer supports three primary mounting configurations:
- Regular Arm Mounting (Pull Side): The closer body is mounted on the door, and the arm is attached to the door frame. This is typically used on the pull side of the door.
- Top Jamb Mounting (Push Side): The closer body is mounted on the door frame, and the arm is attached to the door. This is typically used on the push side of the door.
- Parallel Arm Mounting (Push Side): The closer body is mounted on the door, and the arm is attached to a parallel mounting bracket on the door frame. This is also typically used on the push side of the door and is often preferred for aesthetic reasons or when the door frame is narrow.

Figure 5: Regular Arm Mounting

Figure 6: Top Jamb Mounting

Figure 7: Parallel Arm Mounting
5.2 Installation Steps
- Prepare the Door and Frame: Ensure the door and frame are clean and free of obstructions.
- Select Mounting Type: Choose the appropriate mounting method (Regular, Top Jamb, or Parallel) based on your door and desired operation.
- Position Template: Attach the life-size fitting template to the door and/or frame according to your chosen mounting type. Ensure it is level and correctly aligned.
- Drill Pilot Holes: Using the template as a guide, drill pilot holes for the closer body and arm assembly. Use appropriate drill bits for wood or metal doors.
- Mount Closer Body: Secure the door closer body to the door or frame using the provided screws.
- Assemble and Mount Arm: Assemble the connecting arm. Attach the arm to the door frame or door, depending on the mounting type. For parallel arm mounting, attach the parallel mounting bracket first.
- Connect Arm to Closer: Connect the arm assembly to the closer body's gear shaft.
- Adjust Arm Length: Adjust the length of the telescopic connecting arm to ensure it is perpendicular to the door frame at a 90-degree angle when the door is closed.
- Final Tightening: Securely tighten all screws and connections.

Figure 8: Screw Types and Usage
5.3 Installation Videos
Video: SOPHIA Hydraulic Door Closer Universal Standard Installation
This video demonstrates the universal standard installation process for the SOPHIA hydraulic door closer, providing a visual guide to complement the written instructions.
Video: Sophia DK500 Hydraulic Door Closer Residential Installation
This video specifically illustrates the installation of the Sophia DK500 hydraulic door closer for residential applications, offering practical steps for home users.
6. Operation and Adjustment
The SOPHIA DK500 door closer features adjustable sweeping and latching speeds to customize door closing behavior.
6.1 Speed Adjustment
There are two adjustment valves on the closer body:
- Sweeping Speed Valve (S): Controls the speed of the door from its maximum open position (e.g., 180°) down to approximately 15°. Turning the valve clockwise slows the door, counter-clockwise speeds it up.
- Latching Speed Valve (L): Controls the speed of the door for the final 15° of closing, ensuring the door latches securely without slamming. Turning the valve clockwise slows the latching action, counter-clockwise speeds it up.
Adjust these valves incrementally, testing the door's closing action after each small adjustment. Avoid over-tightening the valves.

Figure 9: Speed Adjustment Valves
6.2 Silent Closing Feature
Proper adjustment of the sweeping and latching speeds will result in a silent and controlled closing action, preventing door slams and providing a peaceful environment.

Figure 10: Silent Closing Operation
7. Maintenance
The SOPHIA DK500 door closer is designed for minimal maintenance.
- Regular Inspection: Periodically check all screws and connections to ensure they are tight.
- Cleaning: Wipe the closer body and arm with a soft, damp cloth to remove dust and grime. Avoid abrasive cleaners.
- Lubrication: No internal lubrication is required. The hydraulic system is sealed.
- Oil Leaks: If any oil leakage is observed, discontinue use and contact customer support.
8. Troubleshooting
| Problem | Possible Cause | Solution |
|---|---|---|
| Door slams shut | Latching speed (L valve) is too fast. | Turn the L valve clockwise in small increments to slow down the latching speed. |
| Door closes too slowly | Sweeping speed (S valve) is too slow. | Turn the S valve counter-clockwise in small increments to increase the sweeping speed. |
| Door does not close completely | Latching speed (L valve) is too slow or arm is not properly adjusted. | Turn the L valve counter-clockwise to increase latching speed. Check arm assembly for correct length and angle. |
| Oil leakage | Internal seal damage. | Discontinue use immediately. Contact SOPHIA customer support for assistance. Do not attempt to repair. |
| Door closer makes noise | Loose screws or improper installation. | Check all mounting screws and arm connections for tightness. Re-verify installation steps. |
9. Warranty and Support
The SOPHIA DK500 Automatic Hydraulic Door Closer is guaranteed for 5 years from the date of purchase against defects in materials and workmanship.
If you encounter any product quality issues within this period, SOPHIA will provide accessories or exchange the item to resolve your issue as soon as possible. For returns or exchanges within 30 days of purchase, please refer to your retailer's policy.
For technical support, warranty claims, or any questions regarding your SOPHIA product, please contact SOPHIA customer service through the retailer where the product was purchased or visit the official SOPHIA website.