Besuso 500382836
Besuso TempU 03 USB Temperature Humidity Data Logger User Manual
Model: 500382836
Brand: Besuso
Introduction
The Besuso TempU 03 is a reusable USB temperature and humidity data logger designed for precise monitoring and recording of environmental conditions. It is ideal for applications requiring accurate data logging, such as in refrigerated containers, cold storage, laboratories, and various warehouse management scenarios. This device simplifies data retrieval by automatically generating PDF and CSV reports upon connection to a computer, eliminating the need for specialized software.
This manual provides comprehensive instructions for the setup, operation, maintenance, and troubleshooting of your TempU 03 data logger to ensure optimal performance and longevity.

Figure 1: Front view of the Besuso TempU 03 data logger, showing the LCD display and control buttons.
Key Features
- Automatic Report Generation: No software is needed to generate PDF and CSV temperature and humidity reports directly from the device.
- Programmable Parameters: Device parameters can be configured using dedicated software, allowing customization of logging intervals, start delay, alarm thresholds, and time zone.
- Multi-use Functionality: Capable of measuring and recording both temperature and humidity.
- High Accuracy & Large Memory: Offers a wide measuring range with high accuracy and a data memory capacity of 32,000 readings.
- LCD Screen Statistics: Provides real-time statistics directly on the LCD screen for quick data overview.
- Power Saving: The LCD screen automatically turns off after 10 seconds of inactivity to conserve battery life.

Figure 2: Visual representation of the TempU 03's key features, including long battery life, temperature and humidity recording, high precision, and USB data export.
Setup Guide
1. Component Identification
Familiarize yourself with the main components of your TempU 03 data logger:

Figure 3: Diagram showing the LCD Display, Indicator Light (OK/ALARM), Start/Scroll/Mark Button, Stop Button, and Removable Case.
- LCD Display: Shows current temperature, humidity, battery status, and recording status.
- Indicator Light (OK/ALARM): Indicates operational status and alarm conditions.
- Start/Scroll/Mark Button (Triangle): Used to initiate recording, scroll through display data, or mark specific points.
- Stop Button (Square): Used to stop recording.
- Removable Case: Protects the USB connector and battery compartment.
2. Battery Installation
The TempU 03 uses one 3V 210mAh CR2032 button battery. Ensure the battery is correctly installed before first use or after replacement.
- Carefully remove the removable case from the bottom of the device to expose the battery compartment.
- Insert the CR2032 battery with the positive (+) side facing upwards.
- Replace the removable case, ensuring it clicks securely into place.
3. Initial Configuration (Optional)
While the device can generate reports without software, advanced parameters such as logging interval, start delay, alarm thresholds, and time zone can be configured using a dedicated software. Connect the device to a computer via its USB interface to access these settings.
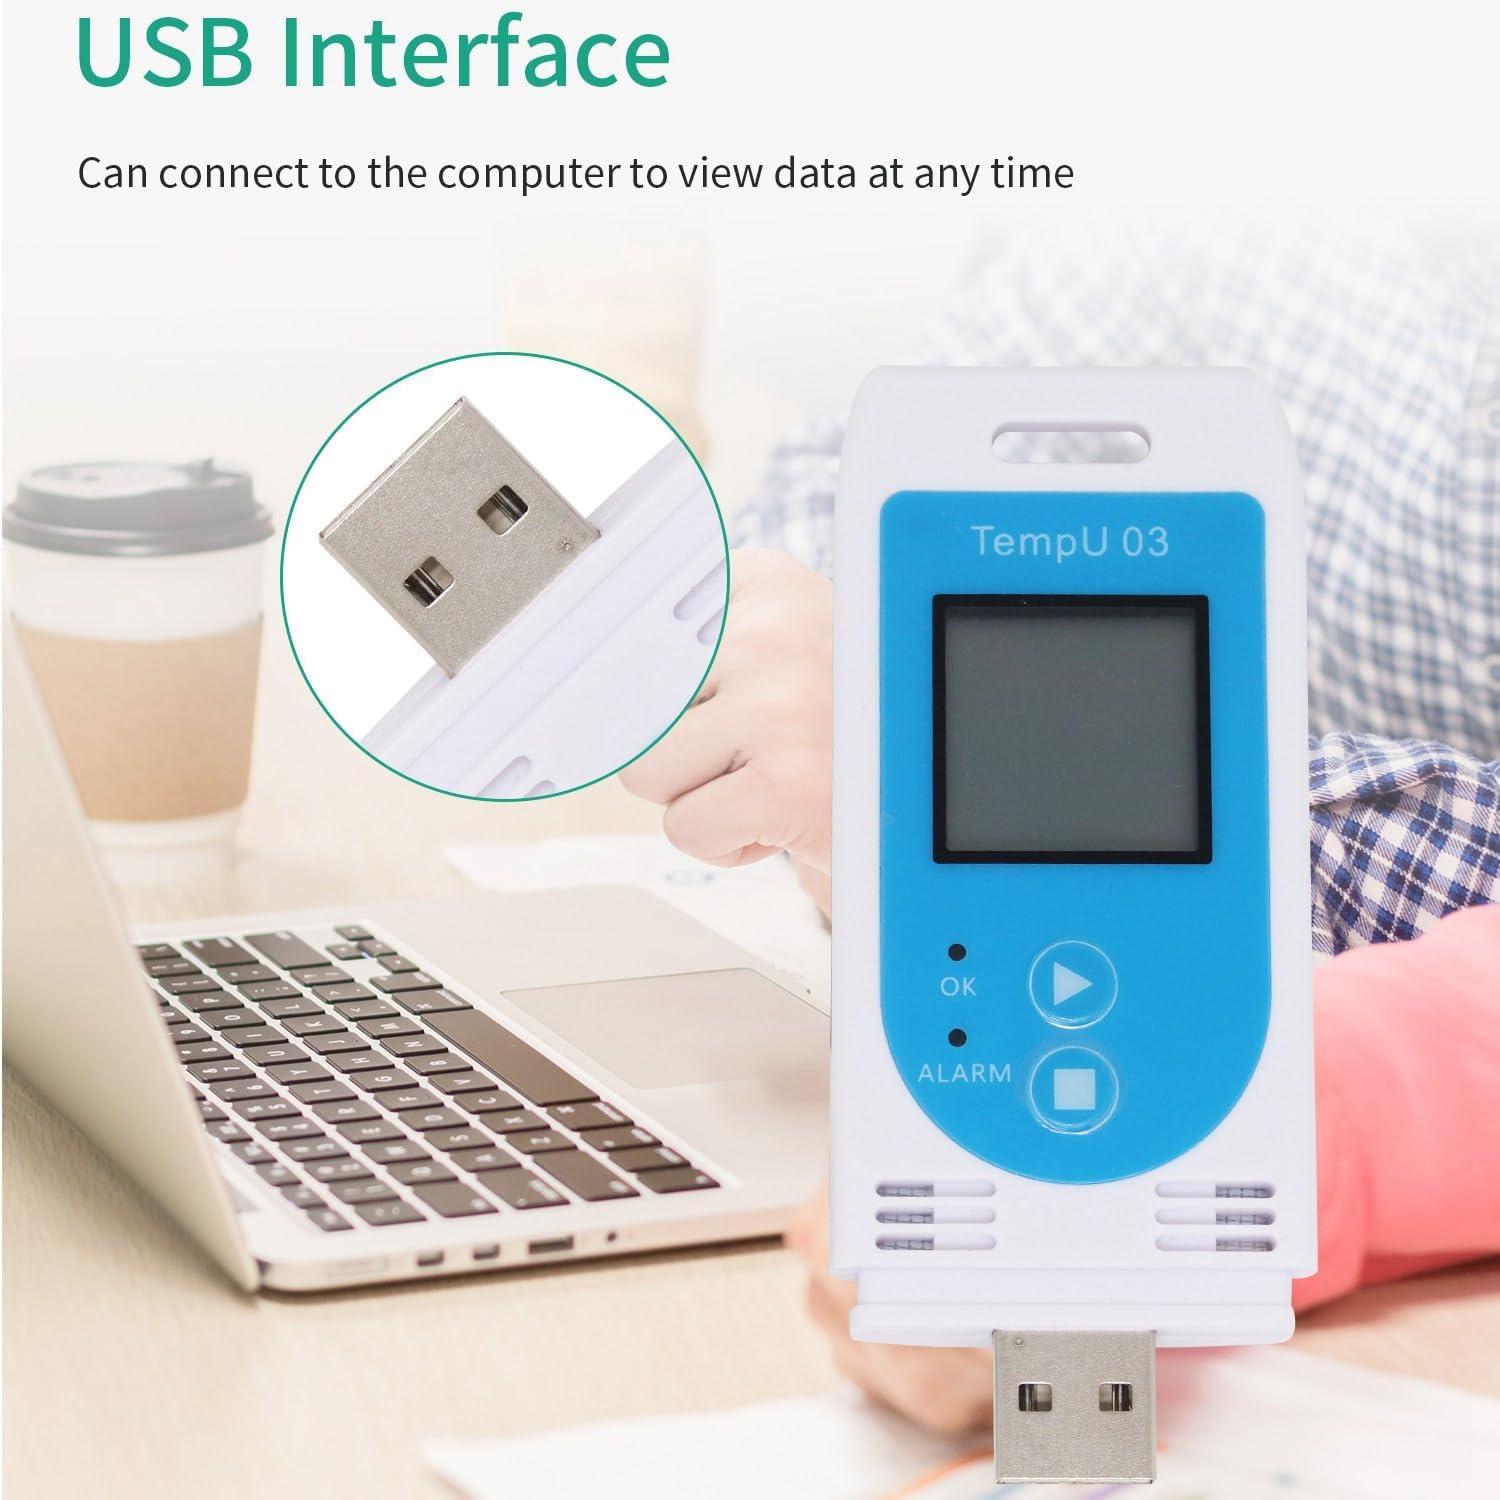
Figure 4: The TempU 03 data logger connected to a computer via its integrated USB interface for data access and configuration.
Operating Instructions
1. Starting Data Logging
The TempU 03 can be started in two ways: by button press or via software configuration.
- Button Start: Press and hold the Start/Scroll/Mark Button (Triangle) for approximately 3 seconds until the "REC" icon appears on the LCD, indicating that recording has begun.
- Software Start: If configured via software, the device may start logging automatically after a set delay (default: 30 minutes) or upon a specific event.
2. Monitoring Data
The LCD display shows real-time temperature and humidity readings. Press the Start/Scroll/Mark Button (Triangle) briefly to cycle through different display modes, such as current readings, maximum/minimum values, and alarm status.
3. Stopping Data Logging
To stop recording, press and hold the Stop Button (Square) for approximately 3 seconds until the "END" icon appears on the LCD. Once stopped, the device will finalize the data and prepare it for report generation.
4. Generating Reports
After logging is complete, connect the TempU 03 to a computer's USB port. The device will automatically generate a PDF report and a CSV data file in its root directory. These files can be accessed and saved like any standard USB drive.
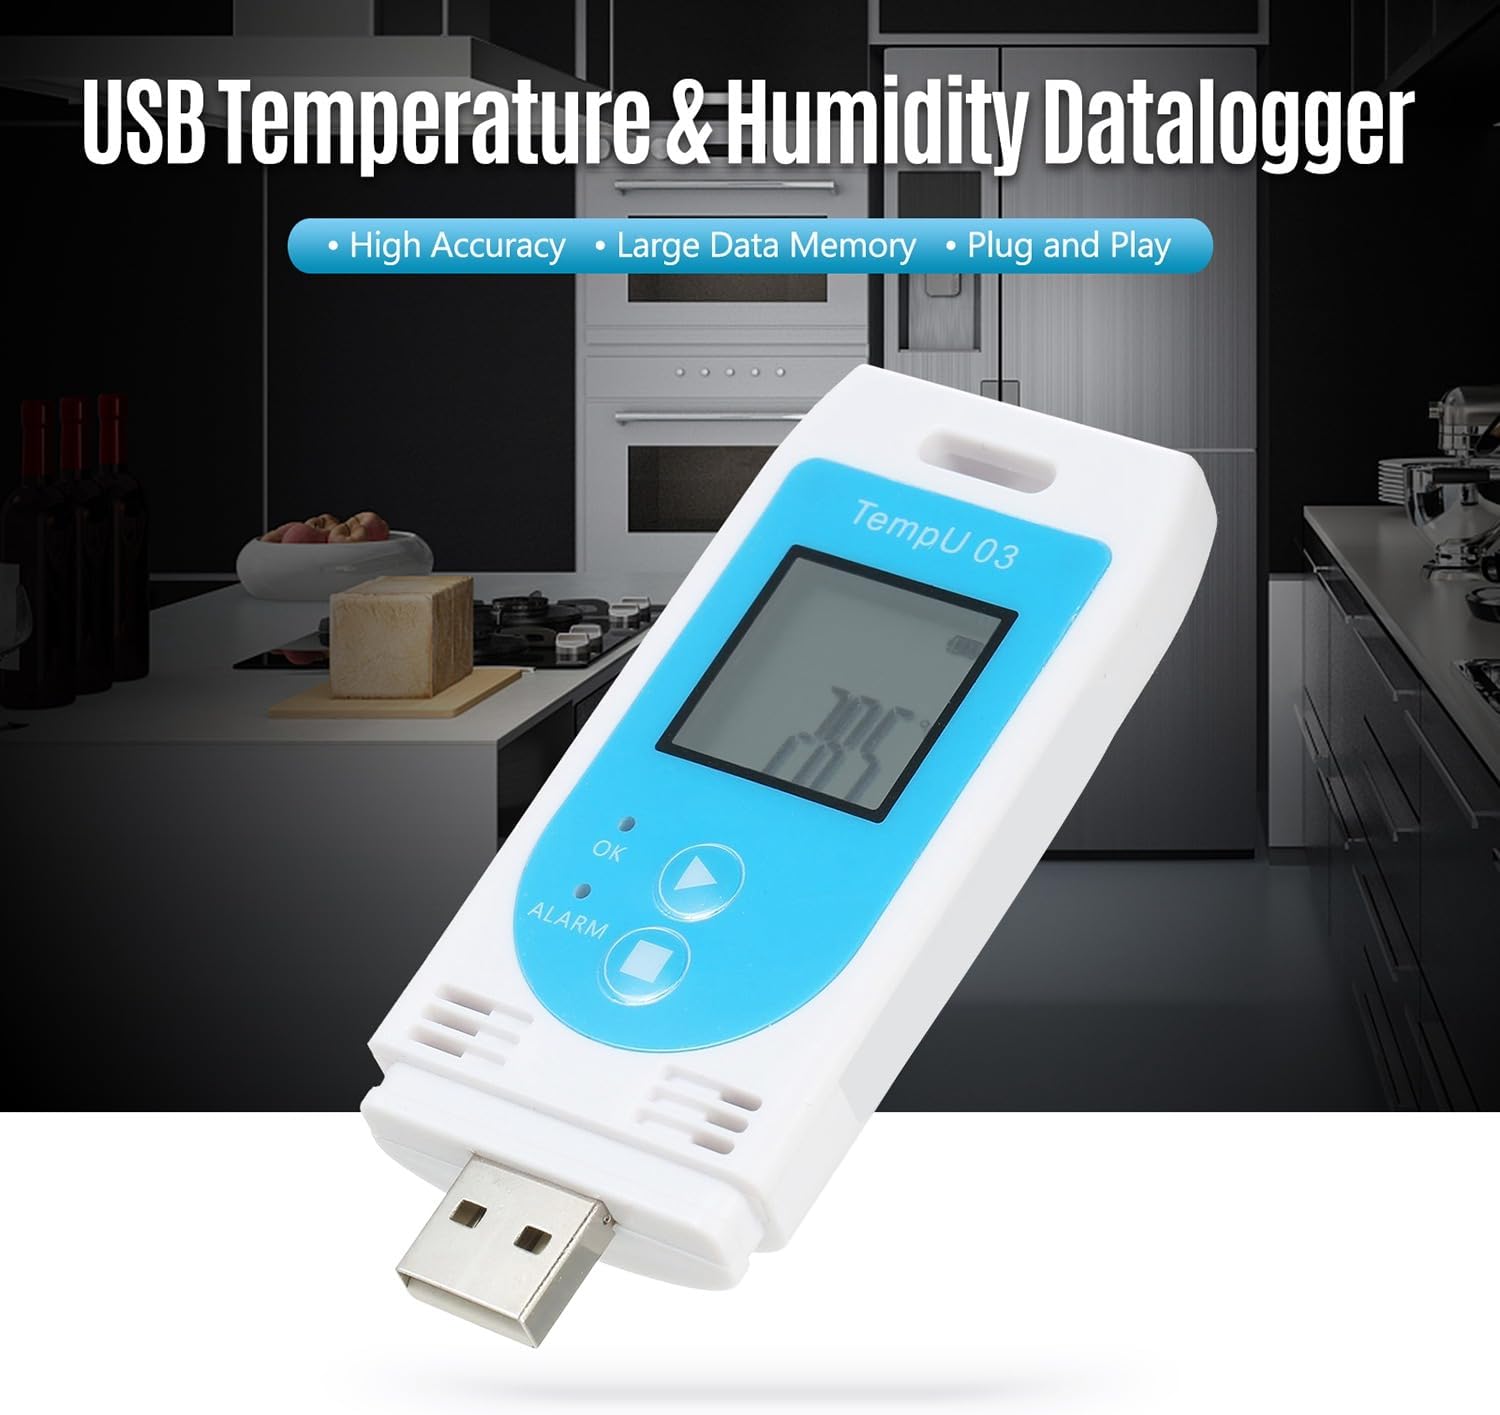
Figure 5: The TempU 03 with its USB connector extended, ready for connection to a computer to retrieve logged data and reports.
Maintenance
1. Battery Replacement
When the battery indicator on the LCD shows low power, replace the CR2032 battery as described in the "Battery Installation" section under Setup Guide. Always use a fresh, high-quality CR2032 battery for optimal performance.
2. Cleaning
Wipe the device with a soft, dry cloth. Do not use abrasive cleaners or immerse the device in water. Ensure the USB port and sensor vents are free from dust and debris.
3. Storage
Store the data logger in a cool, dry place away from direct sunlight and extreme temperatures when not in use. If storing for extended periods, it is recommended to remove the battery to prevent leakage.
Troubleshooting
| Problem | Possible Cause | Solution |
|---|---|---|
| Device not turning on or LCD blank. | Low or dead battery; incorrectly installed battery. | Replace the CR2032 battery. Ensure it is installed with correct polarity. |
| No data recorded after starting. | Device not properly started; memory full; incorrect configuration. | Ensure "REC" icon is displayed after pressing start button. Check if memory capacity (32,000 readings) has been reached. Verify configuration settings via software. |
| Cannot generate PDF/CSV reports. | Device not stopped; USB connection issue; computer driver issue. | Ensure logging is stopped ("END" icon displayed). Try a different USB port or computer. No special drivers are usually needed, but ensure your OS recognizes USB mass storage devices. |
| LCD screen turns off quickly. | This is a power-saving feature. | This is normal behavior. The screen will reactivate upon button press. |
| Inaccurate readings. | Sensor obstruction; extreme environmental conditions; device malfunction. | Ensure sensor vents are clear. Operate within specified temperature/humidity ranges. If problem persists, contact support. |
Specifications

Figure 6: Diagram illustrating key specifications such as temperature and humidity ranges, accuracy, and resolution.
| Parameter | Value |
|---|---|
| Temperature Scale | ℃ / ℉ (selectable) |
| Temperature Resolution | 0.1 |
| Temperature Accuracy | ±0.5℃ (-20~40℃), ±1.0℃ (others) |
| Temperature Range | -30~60℃ |
| Humidity Accuracy | ±3%RH |
| Humidity Range | 0~85%RH |
| Capacity | 32,000 readings |
| Startup Mode | Button or software |
| Logging Interval | Optional (default: 10 mins) |
| Start Delay | Optional (default: 30 mins) |
| Alarm Delay | Optional (default: 10 mins) |
| Alarm Range | Optional (default: <2℃ or >8℃, <40%RH or >80%RH) |
| Report Format | Automatic PDF and CSV |
| Time Zone | UTC +0:00 (default) |
| Power Supply | 1 x 3V 210mAh CR2032 button battery |
| Dimensions | 11 x 7 x 2 cm |
| Weight | 47 g |
Warranty and Support
Warranty Information
Please refer to your purchase documentation or the product packaging for specific warranty terms and conditions. Standard warranty typically covers manufacturing defects for a limited period from the date of purchase.
Customer Support
For technical assistance, troubleshooting beyond this manual, or warranty claims, please contact the retailer or manufacturer directly. Keep your purchase receipt and product model number (500382836) ready when contacting support.
no relevant documents
Ask a question about this manual
Ask about setup, troubleshooting, compatibility, parts, safety, or missing instructions. Manuals+ will review the question and use this page’s manual context to help answer it.