Important Safety Instructions
Please read and understand all instructions before assembling and using this product. Keep this manual for future reference.
- Anti-Tipping: Always use the provided anti-tipping kit to secure the dresser to a wall. Failure to do so can result in serious injury or death.
- Electrical Safety: Ensure the power outlet is connected to a grounded electrical source. Do not overload the outlets. Keep liquids away from electrical components.
- Assembly: Assemble on a soft, clean surface to prevent scratches. Ensure all fasteners are tightened securely. Do not use power tools unless specified, as overtightening can damage components.
- Weight Capacity: Do not exceed the recommended weight capacity for drawers or the top surface. Distribute weight evenly.
- Children: Keep children away from the assembly area. Do not allow children to climb on or play with the dresser.
Package Contents
Before beginning assembly, verify that all parts and hardware listed in the included parts list are present and undamaged. If any parts are missing or damaged, please contact customer support.

Image: Overview of dresser components and dimensions.
Setup & Assembly
Assembly of the Gyfimoie 6-Drawer Floating Dresser is designed to be straightforward with pre-drilled components. Follow the step-by-step instructions provided in the separate assembly guide included with your package. Ensure you have adequate space and the necessary tools (typically a screwdriver and hammer) before starting.
- Prepare the Area: Clear a spacious, clean, and soft area for assembly to prevent damage to the dresser components and your floor.
- Identify Parts: Lay out all components and hardware, matching them against the parts list in your assembly guide.
- Assemble the Frame: Follow the numerical steps in the assembly guide to construct the main frame of the dresser. Pay close attention to the orientation of each panel.
- Install Drawer Slides: Attach the drawer slides to the inner panels of the dresser frame as instructed. Ensure they are level and securely fastened for smooth drawer operation.
- Assemble Drawers: Construct each of the six drawers according to the guide. Insert the drawer bottoms and attach the front panels.
- Install Power Outlet: Integrate the power outlet unit into the designated slot on the top panel of the dresser. Secure it with the provided screws.
- Attach LED Strip: Adhere the LED light strip to the underside of the dresser's base, ensuring the cable is routed through the designated wire hole for a clean setup.
- Insert Drawers: Carefully slide each assembled drawer into its respective slot. Test for smooth movement.
- Secure with Anti-Tipping Kit: Attach the anti-tipping hardware to the back of the dresser and to a wall stud using appropriate wall anchors. This step is crucial for safety.
Operating Instructions
LED Lighting System
The integrated LED lighting system offers customizable illumination for your room. It can be controlled via a physical key control or a dedicated mobile application.
- Power On/Off: Use the power button on the key control or within the app to turn the LED lights on or off.
- Color Selection (RGB): Cycle through various RGB colors using the key control or select specific colors from a palette in the mobile app.
- Light Modes: Choose from different pre-set light modes (e.g., static, fade, flash) to suit your ambiance.
- Music Sync Mode: Activate the music mode via the app or key control to synchronize the LED lights with audio.
- Timing Mode: Set timers for the lights to automatically turn on or off at specified times using the mobile app.

Image: LED light features and control options.
Integrated Charging Station
The dresser features a convenient power outlet with AC and USB ports for charging your devices.
- AC Outlets: Two 125V/12A AC outlets are available for standard electrical devices.
- USB Ports: Two 5V/2A USB ports are provided for charging smartphones, tablets, and other USB-powered devices.
- Usage: Simply plug your devices into the appropriate ports. Ensure the dresser is connected to a wall outlet for the charging station to function.

Image: Integrated power outlet with AC and USB ports.
Drawer Usage
The dresser features six deep and spacious drawers designed for organized storage. The drawers operate on smooth slides for easy opening and closing.
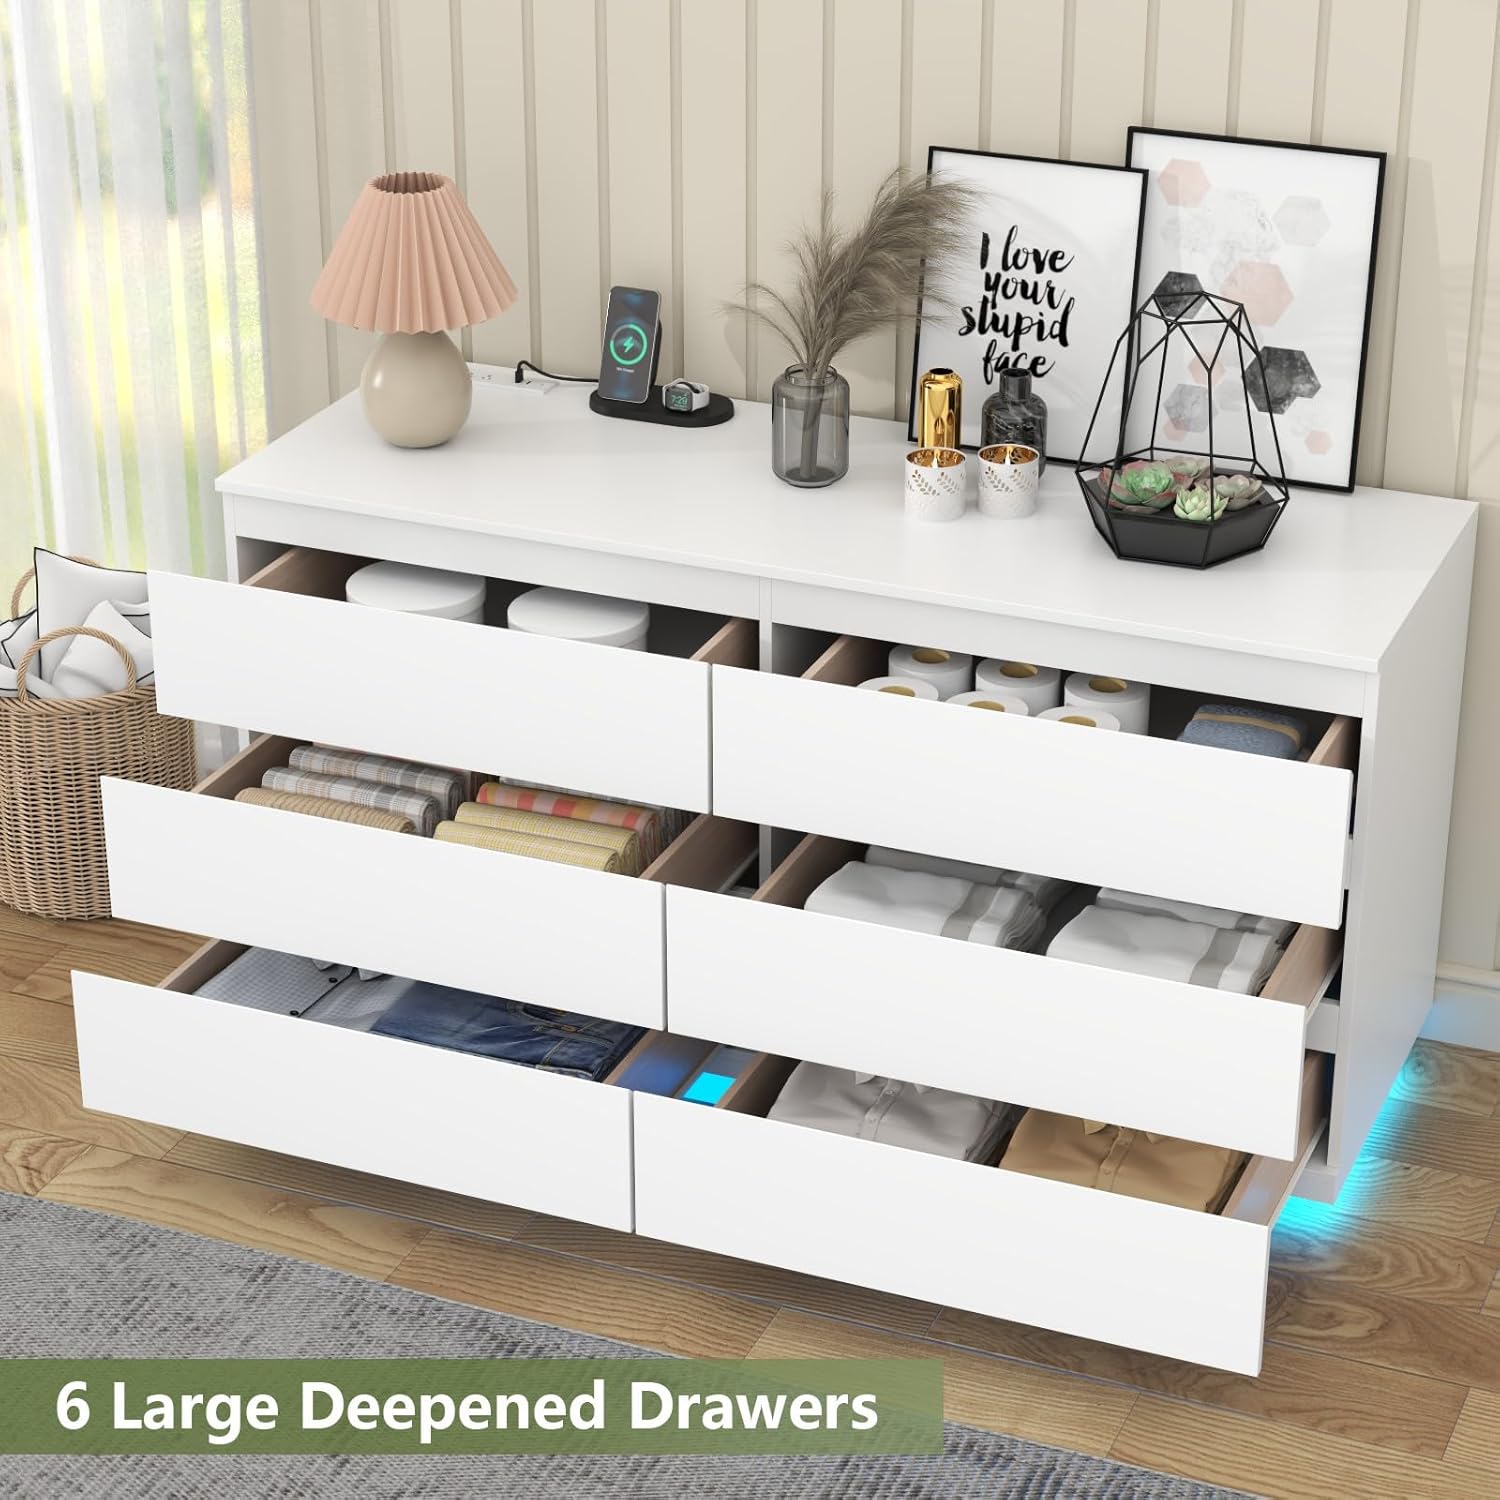
Image: Six deep and spacious drawers for storage.
Maintenance & Care
- Cleaning: Wipe the dresser surfaces with a dry cloth. Avoid using harsh chemicals or abrasive cleaners, which can damage the finish.
- Spills: Promptly clean any spills to prevent staining or damage to the engineered wood.
- Drawer Slides: Periodically check drawer slides for smooth operation. If they become stiff, a small amount of silicone lubricant can be applied.
- Fasteners: Occasionally check all assembly fasteners and tighten them if necessary to maintain stability.
Troubleshooting
| Problem | Possible Cause | Solution |
|---|---|---|
| Drawers do not slide smoothly or align properly. | Incorrect assembly of drawer slides or frame; loose fasteners. | Review assembly instructions for drawer slides and frame. Ensure all fasteners are tight and components are correctly aligned. |
| LED lights are not working. | Power cable disconnected; faulty LED strip; remote control battery low. | Check if the power cable for the LED strip is securely plugged in. Ensure the dresser's main power is connected. Replace remote control batteries if applicable. Contact support if the issue persists. |
| Power outlets/USB ports are not functioning. | Dresser not plugged into wall outlet; power surge; faulty unit. | Verify the dresser's main power cord is securely plugged into a working wall outlet. Check if the wall outlet itself is functional. Avoid overloading the outlets. |
| Dresser feels unstable. | Loose fasteners; anti-tipping kit not installed or improperly installed. | Tighten all assembly fasteners. Ensure the anti-tipping kit is correctly installed and secured to a wall stud. |
Specifications
| Feature | Detail |
|---|---|
| Brand | Gyfimoie |
| Model Name | Drawer Dresser (Model: Dresser-863) |
| Product Dimensions (D x W x H) | 15.83"D x 47.36"W x 29.65"H |
| Material | Engineered Wood |
| Color | White |
| Number of Drawers | 6 |
| Power Outlet | 2 AC Outlets (125V/12A), 2 USB Ports (5V/2A) |
| LED Lighting | Integrated, Adjustable RGB Colors, Multiple Modes (Light, Mic, Music, Timing), Key & App Control |
| Assembly Required | Yes |
| Product Care Instructions | Wipe with Dry Cloth |
| Item Weight | 104 Pounds |
Warranty & Support
For warranty information or technical support, please refer to the documentation included with your purchase or contact Gyfimoie customer service directly. Please have your model number (Dresser-863) and purchase date available when contacting support.
Contact information can typically be found on the product packaging or the manufacturer's official website.