TRIUMPHKEY 0286
TRIUMPHKEY L-Shaped Height Adjustable Corner Desk User Manual
Model: 0286 | Brand: TRIUMPHKEY
Introduction
Thank you for choosing the TRIUMPHKEY L-Shaped Height Adjustable Corner Desk. This manual provides essential information for the safe and efficient assembly, operation, and maintenance of your new desk. Please read these instructions thoroughly before beginning assembly or use, and retain this manual for future reference.

Figure 1: Overview of the TRIUMPHKEY L-Shaped Height Adjustable Corner Desk, showcasing its spacious design and integrated monitor shelf, suitable for multiple monitors and a laptop.
Safety Information
- Ensure all components are present and undamaged before assembly. Do not use if any parts are missing or broken.
- Keep children and pets away from the desk during operation to prevent injury.
- Do not overload the desk. The maximum load capacity is 80 kg (176 lbs).
- Ensure there are no obstructions above or below the desk when adjusting its height. The anti-collision function is integrated, but caution is advised.
- Only use the provided power adapter and cables.
- Do not disassemble or modify the motor or control system. Contact customer support for repairs.
- Keep liquids away from electrical components.
Package Contents
Before assembly, verify that all the following components are included in your package:
- L-Shaped Desktop Panels (multiple sections)
- 3 x Desk Legs with Motors
- Control Panel with LED Display and USB Port
- Power Adapter and Cable
- Cable Management Trays (2 units)
- Monitor Shelf
- Headphone Hook
- Assembly Hardware (screws, bolts, tools)
- User Manual (this document)
Assembly Instructions
Follow these steps carefully for proper assembly. It is recommended to have two people for assembly due to the size and weight of the components. All necessary holes are pre-drilled for convenience.
Step 1: Unpack and Identify Components
Lay out all parts on a clean, soft surface to prevent scratches. Refer to the package contents list to ensure all items are present.
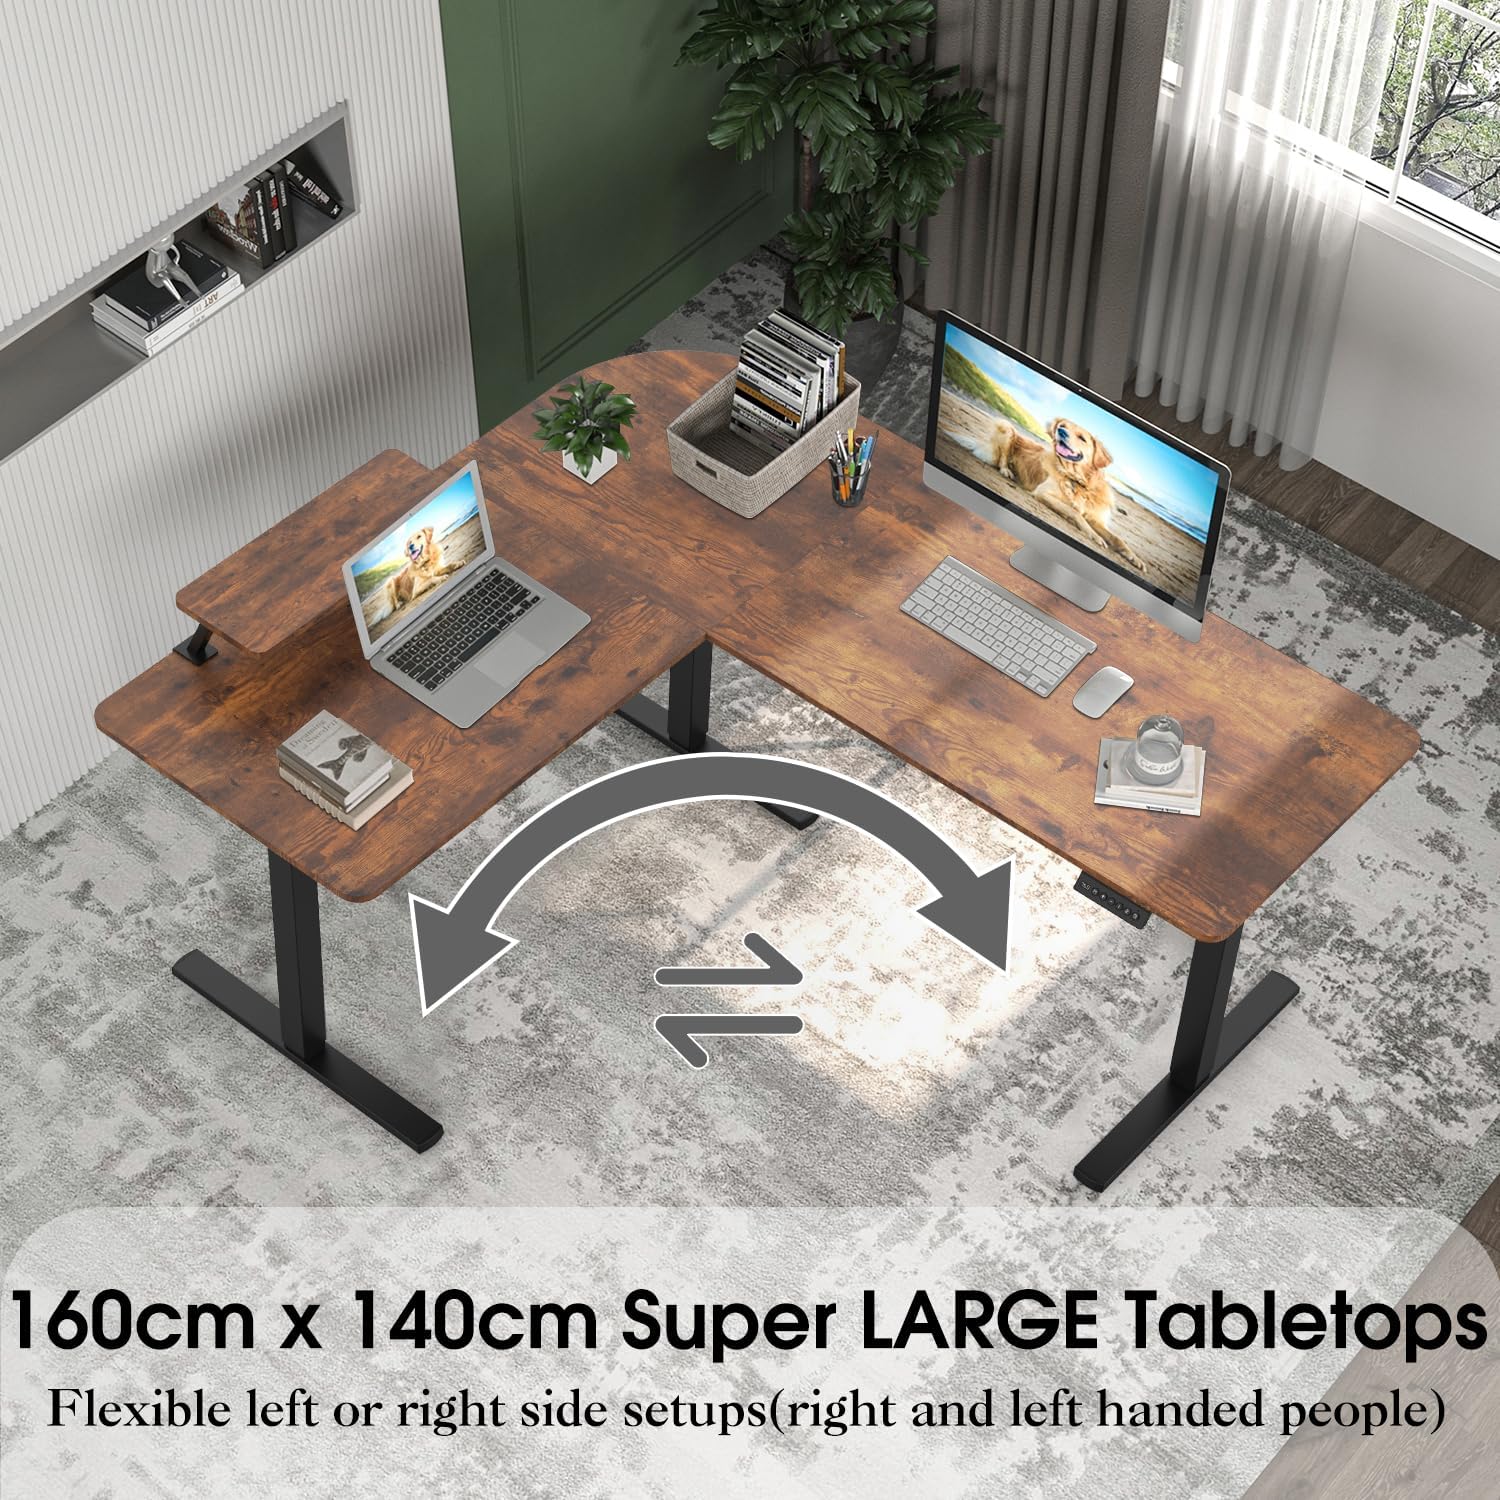
Figure 2: This image illustrates the reversible design of the 160cm x 140cm L-shaped tabletop, allowing for flexible left or right-side setups to accommodate different room layouts and user preferences.
Step 2: Assemble the Desk Frame
Attach the three desk legs to the main frame components using the provided hardware. Ensure all connections are secure. The robust metal frame provides strong support.

Figure 3: A visual representation of the desk's robust 3-leg support system, highlighting its industrial-grade steel frame designed for stability and a maximum load capacity of 80 kilograms.
Step 3: Attach Desktop Panels
Carefully place the L-shaped desktop panels onto the assembled frame. Align the pre-drilled holes with the frame and secure the panels using the appropriate screws. Note that the L-shape can be configured for either left or right-handed setups.

Figure 4: This image presents various assembly configurations for the L-shaped desk, demonstrating how the user can customize the layout to match their preference, making it user-friendly for both left-handed and right-handed individuals.
Step 4: Install Control Panel and Cable Management
Mount the control panel to the underside of the desk in a convenient location. Connect the motor cables and power adapter to the control unit. Install the cable management trays to organize your wires.

Figure 5: This view demonstrates the integrated dual cable management trays located beneath the desk, designed to keep power cords and data cables organized and out of sight, contributing to a tidy workspace.
Step 5: Attach Monitor Shelf and Accessories
Secure the monitor shelf to the designated area on the desktop. Attach the headphone hook and any other accessories as desired.
Operating Instructions
Height Adjustment
The desk's height can be adjusted electrically from 73 cm to 116 cm. Use the up (▲) and down (▼) buttons on the control panel to move the desk to your desired height. Release the button to stop the movement.

Figure 6: This image details the intuitive control panel, featuring an LED display for height indication, buttons for two memory presets, and a convenient USB charging port for electronic devices.
Memory Presets
The control panel features two memory preset buttons (labeled '1' and '2') to save your preferred sitting and standing heights.
- Adjust the desk to your desired height using the up/down buttons.
- Press the 'M' button. The LED display will show 'S-'.
- Within 3 seconds, press either button '1' or '2' to save the current height to that preset. The display will show 'S-1' or 'S-2' to confirm.
- To recall a saved height, simply press the corresponding preset button ('1' or '2'). The desk will automatically move to the saved position.
USB Charging Port
A USB charging port is integrated into the control panel for convenient charging of your electronic devices. Simply plug your device's USB cable into the port.
Seat Reminder Function
The desk includes a seat reminder function to encourage regular movement. To activate or set the reminder:
- Press the timer button (often indicated by a clock icon).
- Each press cycles through different reminder intervals (e.g., 30 minutes, 45 minutes, 60 minutes, or off).
- When the set time elapses, the desk will prompt you to change your posture.
Maintenance
- Cleaning: Wipe the desk surface with a soft, damp cloth. Avoid abrasive cleaners or harsh chemicals that may damage the finish. The vintage brown surface is durable, stain, and water-resistant.
- Motor Care: The electric motor system is designed for long-term use. Avoid spilling liquids on the motor or control panel.
- Cable Management: Periodically check the cable management trays to ensure cables are neatly organized and not pinched.
- Fasteners: Occasionally check all screws and bolts to ensure they remain tight. Retighten if necessary.

Figure 7: A detailed look at the desk's rounded corner design, emphasizing its durable, stain-resistant, and water-resistant surface, which also provides a protective edge for user safety.
Troubleshooting
| Problem | Possible Cause | Solution |
|---|---|---|
| Desk does not move. | Power cable disconnected; Motor error; Overload. | Check power connection. Unplug and replug the power cable. Reduce weight on the desk. If error persists, contact support. |
| Desk moves unevenly or makes unusual noise. | Loose connections; Obstruction; Uneven weight distribution. | Check all assembly connections. Remove any obstructions. Redistribute weight evenly. |
| Height presets not working. | Presets not saved correctly. | Re-save your desired heights following the "Memory Presets" instructions. |
| Anti-collision function triggers frequently. | Obstruction detected. | Ensure there are no objects in the path of the desk's movement. |
Specifications
| Feature | Detail |
|---|---|
| Brand | TRIUMPHKEY |
| Model Number | 0286 |
| Desk Type | L-Shaped Height Adjustable Corner Desk |
| Dimensions (L x W x H) | 160 cm x 140 cm x (73-116 cm) |
| Height Adjustment Range | 73 cm to 116 cm (28.7 inches to 45.7 inches) |
| Motor Type | Single Motor |
| Load Capacity | 80 kg (176 lbs) |
| Material | Industrial Steel Frame, Vintage Brown Desktop |
| Features | Memory Presets, USB Charging Port, Cable Management, Monitor Shelf, Anti-Collision Function, Reversible L-Shape |
| Item Weight | 33.5 Kilograms (73.85 lbs) |
| Origin | China |
Warranty and Support
TRIUMPHKEY products are manufactured to high-quality standards. This product comes with a standard manufacturer's warranty covering defects in materials and workmanship. For specific warranty details, please refer to the warranty card included with your purchase or visit the official TRIUMPHKEY website.
If you encounter any issues during assembly or operation, or require technical assistance, please contact TRIUMPHKEY customer support. Detailed contact information can be found on our website or on your purchase receipt.
Please have your model number (0286) and purchase date ready when contacting support.