
Disaenvir DSC-D460100
User Manual for Disaenvir 24 Inch Electric Cooktop
Model: DSC-D460100
Introduction
Thank you for choosing the Disaenvir 24 Inch Electric Cooktop. This appliance features a sleek glass ceramic surface with four radiant burners, offering 6000W of total power for efficient cooking. Designed with both touch and retro knob controls, it provides precise heat management for a variety of culinary tasks. This manual provides essential information for safe installation, operation, maintenance, and troubleshooting to ensure optimal performance and longevity of your cooktop.

Image: The Disaenvir 24 Inch Electric Cooktop, showcasing its four radiant heating zones and combined touch and knob controls. Two pots are visible on the active burners, demonstrating its cooking capability.
Safety Information
Please read all safety warnings and instructions carefully before using this appliance to prevent potential hazards and ensure safe operation. Keep this manual for future reference.
- Electrical Connection: This cooktop requires a 220-240V hard-wired connection and does not come with a plug. Installation should be performed by a qualified electrician to ensure compliance with local electrical codes.
- Child Safety Lock: The cooktop is equipped with a safety lock function to prevent accidental activation, especially by children. When powered on, the cooktop will automatically lock and display "Lo." Press and hold the safety lock button for 3-5 seconds to release it before operating the burners.
- Residual Heat Indicators: After use, the cooktop surface may remain hot. Residual heat indicators will illuminate to warn you when the surface is still hot, reducing the risk of burns. Do not touch the hot surface.
- Automatic Shut-off: For added safety, the cooktop features an automatic shut-off function if left unattended for an extended period or if an overflow occurs.
- Proper Cookware: Use only flat-bottomed cookware suitable for electric ceramic cooktops. Ensure the cookware size matches the burner size for optimal heating and energy efficiency.

Image: A family in a kitchen setting, with a visual overlay highlighting the child safety lock feature on the cooktop, emphasizing safety around children.
Setup and Installation
This cooktop is designed for drop-in installation into a countertop. Due to its 220-240V, 6000W power requirement and hard-wired connection, professional installation is highly recommended.
Dimensions and Cut-out
Ensure your countertop cut-out dimensions match the requirements for proper fit and ventilation.
- Product Size: 23.2"L x 20.5"W x 2.1"H (590mm x 520mm x 53mm)
- Cut-out Size: 22"L x 19.3"W (560mm x 490mm)
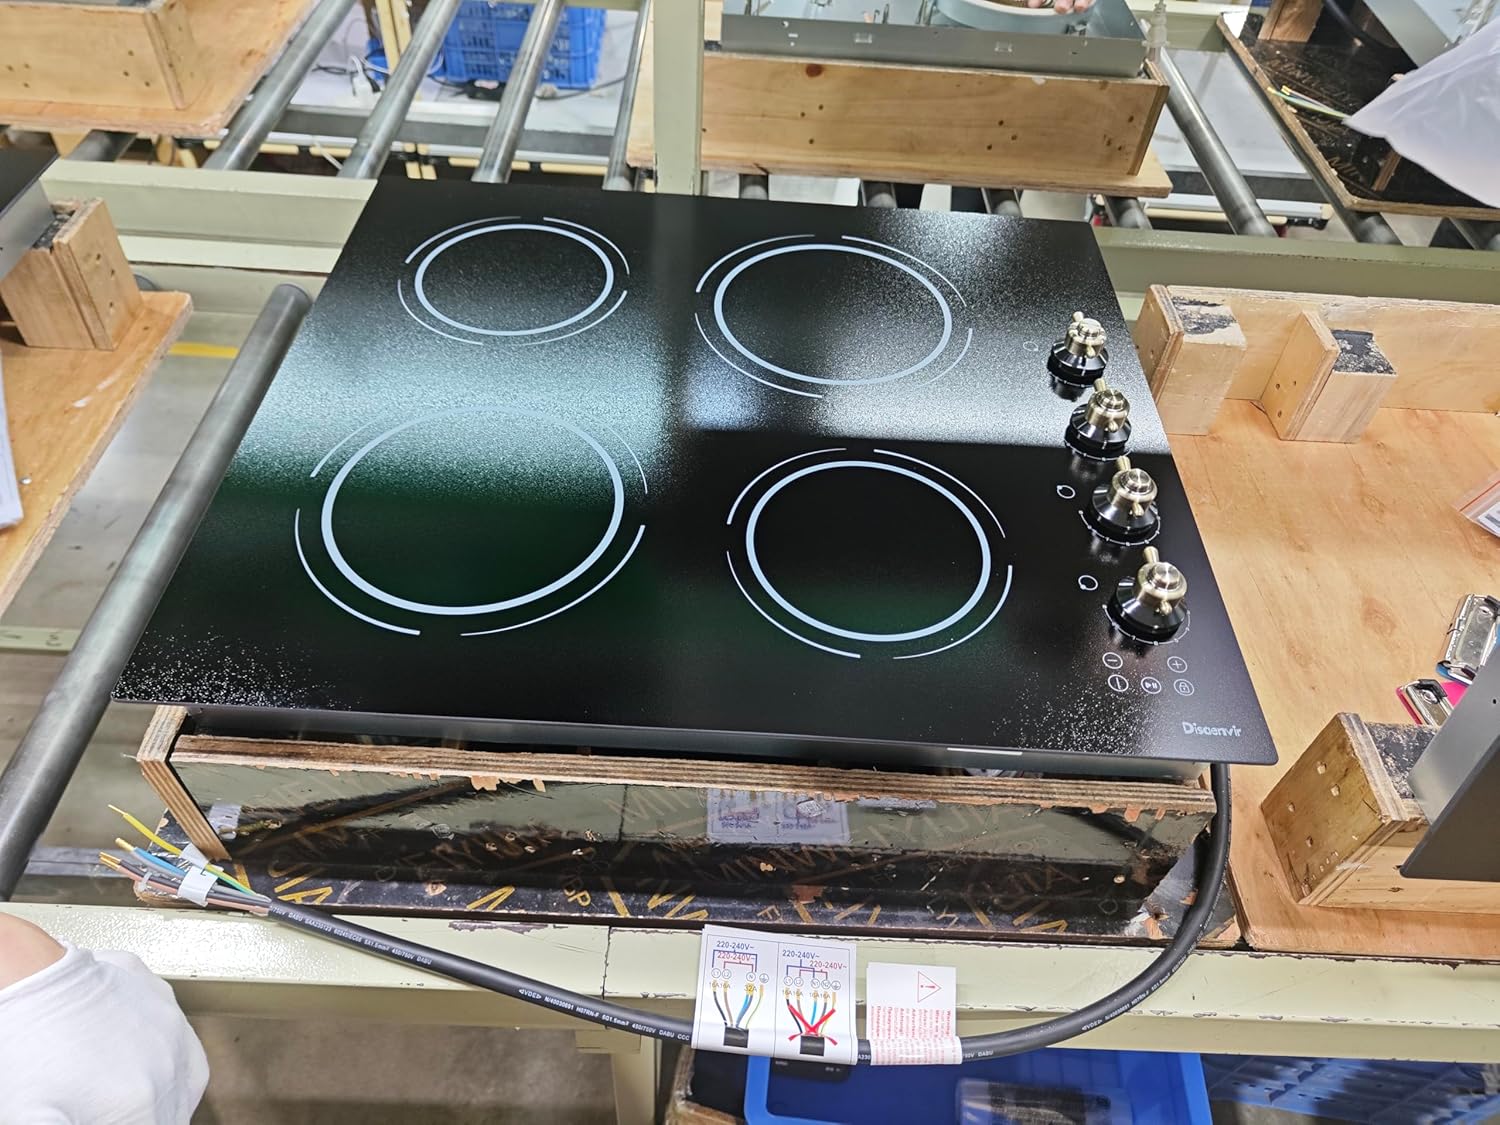
Image: A detailed diagram illustrating the product dimensions and the required cut-out dimensions for installation into a kitchen countertop.
Electrical Connection
The cooktop requires a dedicated 220-240V AC circuit. It is hard-wired and does not include a plug. Consult a certified electrician for proper wiring and connection to your home's electrical system.

Image: An underside view of the cooktop, clearly showing the electrical wiring bundle prepared for hard-wired installation, indicating no pre-attached plug.
Operating Instructions
The Disaenvir electric cooktop combines modern touch controls with traditional rotary knobs for intuitive operation.
Powering On and Safety Lock
Upon initial power-on or after a power interruption, the cooktop will automatically engage the safety lock, indicated by "Lo" on the display. To unlock and begin operation, press and hold the safety lock button (usually marked with a lock icon) for 3-5 seconds until "Lo" disappears.
Video: Demonstration of unlocking the cooktop and activating a burner using the knob control. This video illustrates the initial safety lock release and basic operation.
Adjusting Heat Levels (Knob Control)
Each burner has a dedicated rotary knob. Once the cooktop is unlocked, turn the corresponding knob to select one of the 9 power levels. The selected power level will be displayed digitally next to the knob.
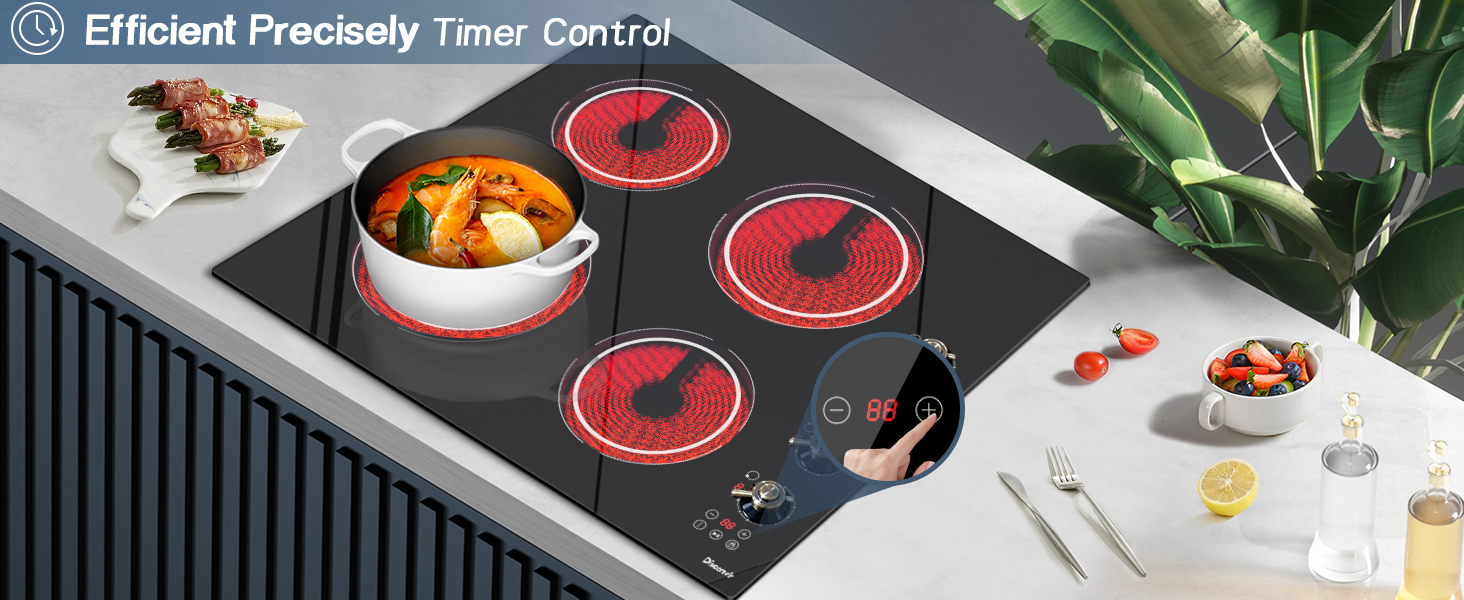
Image: A user interacting with both the rotary knobs and the touch controls on the cooktop, highlighting the dual control interface.
Timer Function
The cooktop features a timer function (up to 99 minutes) for precise cooking control. Use the touch controls to set the desired cooking duration for individual burners. The burner will automatically turn off once the timer expires.
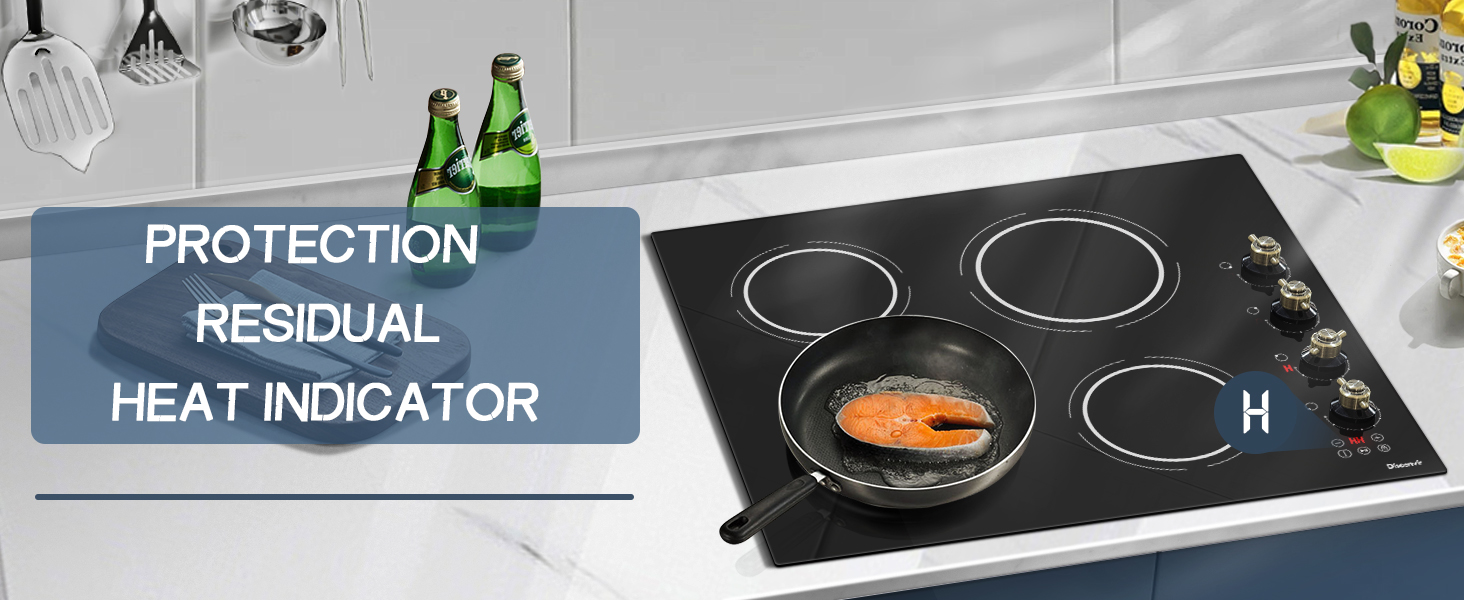
Image: A close-up of the cooktop's digital display showing the timer function, with a hand adjusting the settings, indicating precise control over cooking duration.
Pause Function
The pause function allows you to temporarily halt cooking on all active burners without losing your settings. Press the pause button (often indicated by a pause icon) to activate. Press it again to resume cooking at the previous settings.
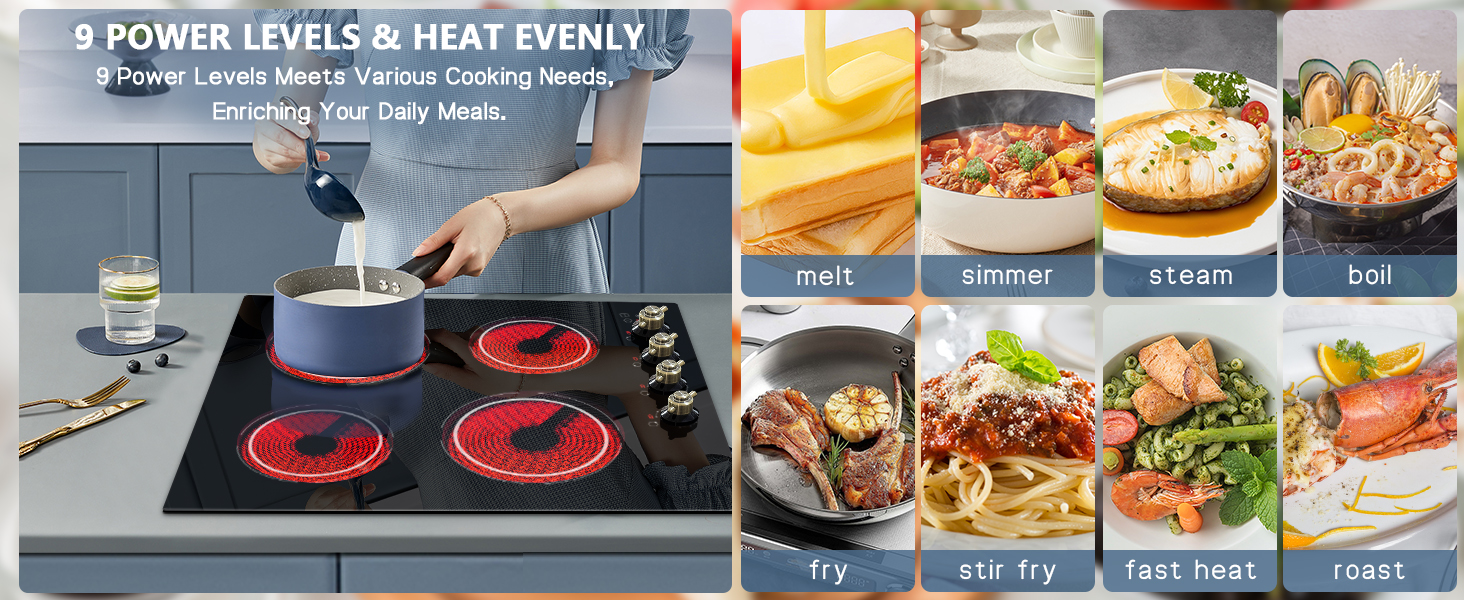
Image: A person preparing food on a cutting board next to the cooktop, with an overlay indicating the pause function is active, suggesting convenience during meal preparation.
Suitable Cookware
This ceramic cooktop is compatible with all types of flat-bottomed cookware, including iron, glass, stainless steel, aluminum, ceramic, casserole, barbecue, copper, and cast iron pans. Ensure the bottom of the pan is flat for optimal heat transfer.

Image: A visual guide displaying various types of cookware, such as cast iron, stainless steel, glass, and ceramic, indicating their suitability for use on the electric cooktop.
Maintenance and Cleaning
Regular cleaning and maintenance will help preserve the appearance and functionality of your cooktop.
- Daily Cleaning: After each use, allow the cooktop to cool completely. Wipe the glass ceramic surface with a damp cloth and mild detergent. For stubborn stains, use a specialized ceramic cooktop cleaner and the provided scraper.
- Avoid Abrasives: Do not use abrasive cleaners, scouring pads, or harsh chemicals, as these can scratch or damage the glass surface.
- Spills: Clean up spills immediately, especially sugary liquids, to prevent them from hardening and causing damage to the surface.
- Knobs: The control knobs can be removed for cleaning. Wipe them with a damp cloth and dry thoroughly before reattaching.
Troubleshooting
If you encounter issues with your cooktop, refer to the following common problems and solutions:
| Problem | Possible Cause | Solution |
|---|---|---|
| Cooktop does not turn on / "Lo" displayed | Safety lock is active. | Press and hold the safety lock button for 3-5 seconds to unlock. |
| Burner not heating | Incorrect cookware or no cookware detected. | Ensure cookware is flat-bottomed and properly centered on the burner. |
| Cooktop automatically shuts off | Overheating or prolonged inactivity. | Allow the cooktop to cool down. Ensure proper ventilation. Avoid leaving the cooktop unattended for extended periods. |
| Uneven heating | Cookware not flat or burner size mismatch. | Use flat-bottomed cookware. Match cookware size to the burner size. |
If the problem persists after attempting these solutions, please contact customer support.
Specifications
| Feature | Detail |
|---|---|
| Brand | Disaenvir |
| Model Number | DSC-D460100 |
| Installation Type | Drop-In |
| Heating Elements | 4 Radiant Burners |
| Total Wattage | 6000W |
| Voltage | 220-240V AC |
| Control Type | Touch & Knob Control |
| Power Levels | 9 Levels |
| Material | Tempered Glass |
| Product Dimensions (L x W x H) | 23.23 x 20.47 x 1.73 inches (590 x 520 x 44 mm) |
| Cut-out Dimensions (L x W) | 22 x 19.3 inches (560 x 490 mm) |
| Item Weight | 20 pounds (9.07 kg) |
| Special Features | Safety Lock, Digital Display, Pause Function, Hot Surface Indicator, Automatic Shut-Off |
| Included Components | Cooktop, User Manual, Scraper |
Warranty and Support
For warranty information, please refer to the specific warranty card or documentation included with your product packaging. Disaenvir is committed to providing high-quality products and customer satisfaction.
Customer Support
If you have any questions, require technical assistance, or need to report an issue, please contact Disaenvir customer support. Contact details are typically found in the included user manual or on the official Disaenvir website.
Video: A brief overview of the Disaenvir 4 Burner Electric Cooktop, highlighting its features and knob control. This video provides a general product demonstration.
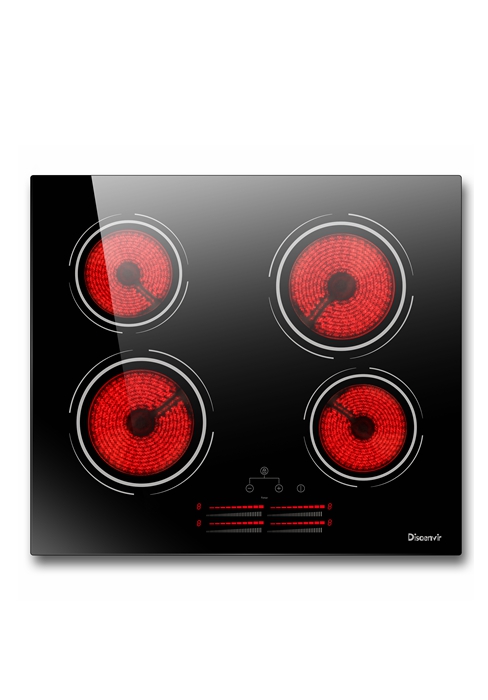
Image: A customer service representative wearing a headset, symbolizing available support for product inquiries.
Related Documents - DSC-D460100
 |
Disaenvir DSC-D460100 Electronic Knob Control Ceramic Hob - Instruction Manual Comprehensive instruction and installation manual for the Disaenvir DSC-D460100 Electronic Knob Control Ceramic Hob. Covers safety warnings, operation, maintenance, cleaning, technical specifications, and installation guidelines. |
 |
Hochiki Fire Alarm System Components Catalog by YURSAT Comprehensive catalog of Hochiki fire alarm system components, including control panels, detectors, modules, and accessories, supplied by YURSAT. Product codes and detailed English descriptions are provided. |
 |
6000W Pure Sine Wave Inverter User Manual (24V/48V to 220V) Comprehensive user manual for the 6000W Pure Sine Wave Inverter. Includes installation steps, safety warnings, technical specifications, troubleshooting, and maintenance guidelines for 24V/48V to 220V outdoor power conversion. |
 |
6000W Portable Solar Inverter User Manual User manual for the 6000W Portable Solar Inverter, providing setup instructions, LCD display explanations, and troubleshooting tips for optimal operation. |
 |
HOULI Power Inverter User Manual and Specifications Comprehensive user manual and technical specifications for HOULI Power Inverters with UPS function and pure sine wave output, covering installation, operation, safety, and product parameters. |
 |
President ALCA POWER Voltage Converters - Pure Sine Wave and Modified Sine Wave Discover the President ALCA POWER range of voltage converters, including Pure Sine Wave and Modified Sine Wave models. Available in 12/220V and 24/220V, with power outputs from 150W to 3000W. Detailed specifications and product references provided. |
Ask a question about this manual
Ask about setup, troubleshooting, compatibility, parts, safety, or missing instructions. Manuals+ will review the question and use this page’s manual context to help answer it.