1. Product Overview
The Canopia by Palram Herald Door Awning is designed to enhance the aesthetic and functionality of your home's entrance or windows. Crafted from durable, recyclable components, this awning provides robust protection against various weather conditions, including harmful UV rays, rain, and sun. Its resilient 6mm twin-wall polycarbonate panels are virtually unbreakable and resist yellowing over time, ensuring long-lasting clarity and protection. The screw-free glazing system prevents water infiltration, maintaining a dry and protected entryway. With its classic design, the Herald awning offers a modern and clean look, and multiple units can be installed side-by-side for extended coverage over larger areas like garage doors or porches.
- Classic Design: Adds a modern and clean aesthetic to your home.
- Resilient Panels: Features 6mm twin-wall polycarbonate panels that are 100% UV protected, virtually unbreakable, and resistant to yellowing.
- Door Protection: Screw-free glazing system prevents rain and dew infiltration, blocking up to 100% of harmful UV rays to protect your entrance from sun damage and wear.
- Extended Coverage: Designed for seamless side-by-side installation of multiple units, suitable for various applications including window, entrance door, garage door, or porch awnings.
- Light Transmission: Reduces direct sunlight while allowing 80% light transmission, preventing your entrance from becoming too dark.
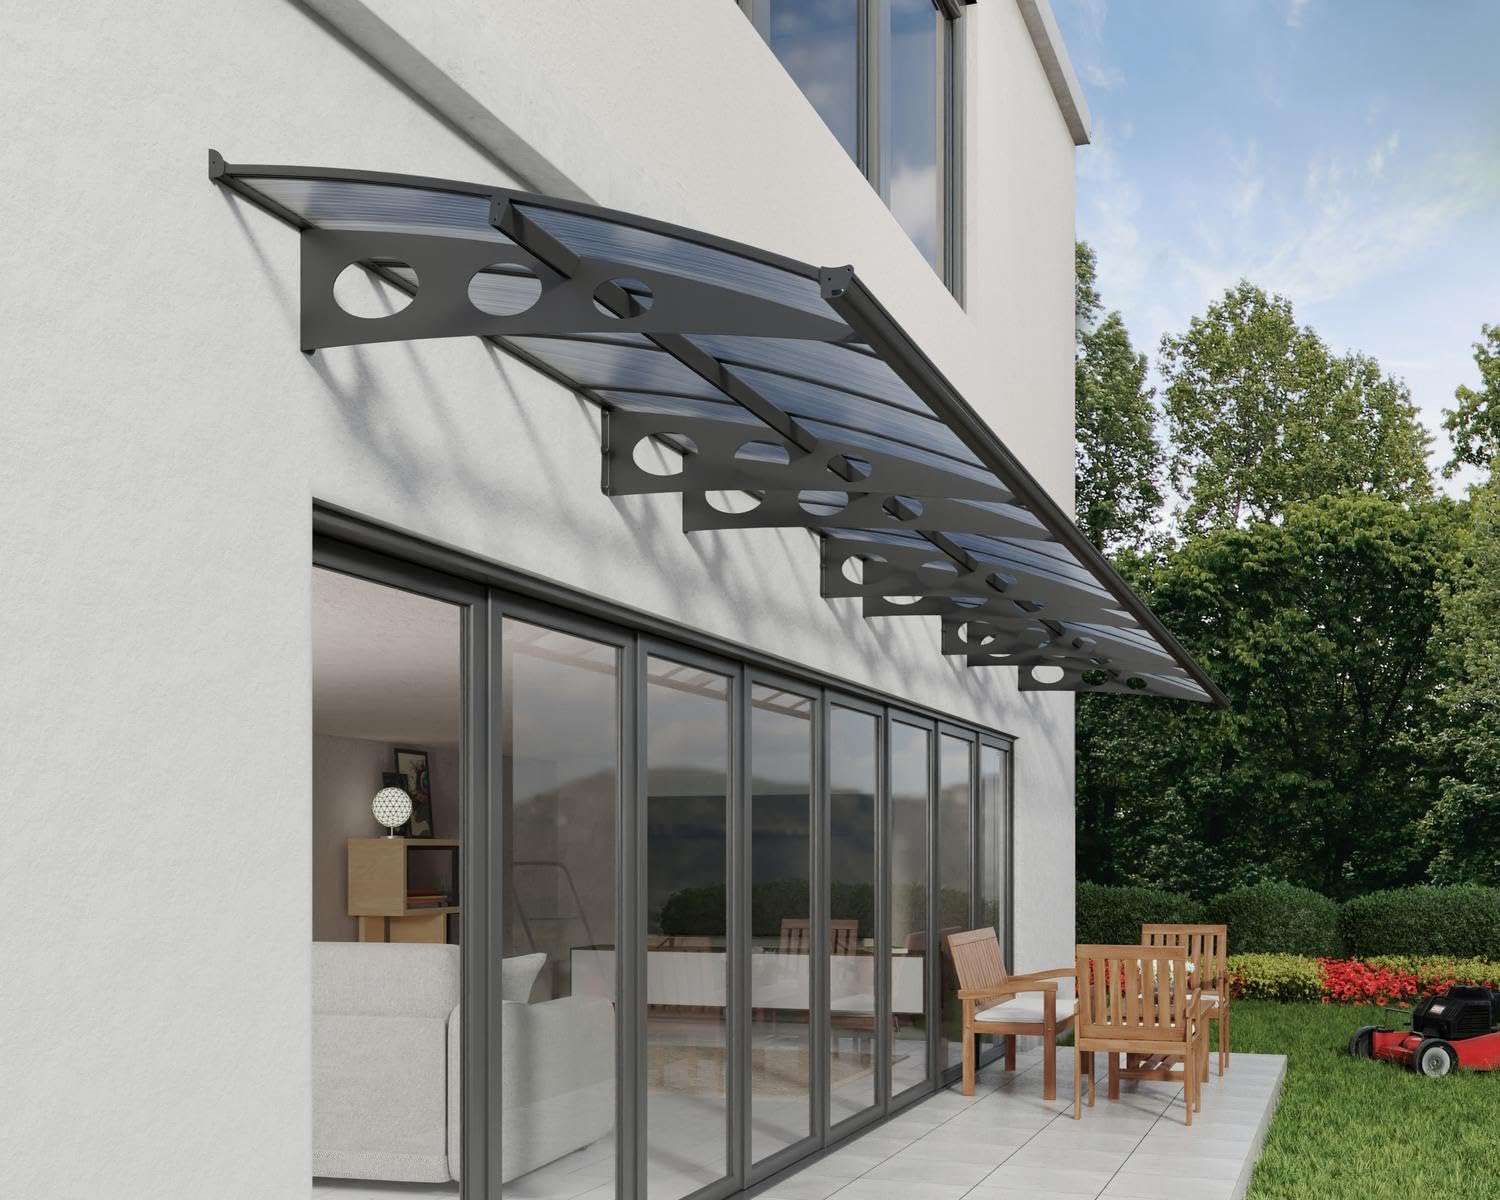
Figure 1.1: The Herald Door Awning installed, showcasing its modern design and protective coverage over an entrance.
2. Safety Information
Please read and understand all instructions and safety warnings before beginning assembly and installation. Failure to follow these instructions may result in injury or product damage.
- Always wear appropriate personal protective equipment (PPE) such as gloves and safety glasses during assembly.
- Ensure the installation surface is structurally sound and capable of supporting the awning's weight and potential snow/wind loads.
- Use a stable ladder or scaffolding when working at heights. Never overreach.
- Keep children and pets away from the work area during installation.
- Verify all fasteners are securely tightened after assembly and periodically check for tightness.
- Do not attempt to modify the product in any way not described in this manual.
3. Setup and Assembly
The Herald Door Awning is designed for easy DIY assembly. All necessary components and pre-drilled holes facilitate a straightforward installation process. It is recommended to have at least two people for assembly and installation.
3.1 Tools Required (Not Included)
- Drill
- Measuring Tape
- Level
- Pencil
- Wrench/Socket Set
- Ladder
3.2 Assembly Steps
- Unpack and Identify Parts: Carefully unpack all components and verify against the parts list (refer to the included packaging for a detailed list).
- Prepare the Wall: Choose the desired installation location. Ensure the wall is clean, flat, and free of obstructions. Mark the drilling points according to the provided template or measurements.
- Install Wall Brackets: Drill pilot holes at the marked locations. Secure the wall brackets to the wall using appropriate fasteners for your wall type (e.g., concrete anchors, wood screws). Ensure they are level and securely fastened.
- Assemble Frame: Attach the front and back profiles to the wall brackets. The design features pre-drilled holes for easy alignment.
- Insert Polycarbonate Panels: Slide the polycarbonate panels into the designated channels within the frame. The screw-free glazing system ensures a tight, waterproof seal.
- Secure End Caps and Gaskets: Install any remaining end caps and rubber gaskets to complete the sealing and structural integrity of the awning.
- Final Check: Double-check all connections and fasteners to ensure the awning is securely mounted and stable.
Video 3.1: An official product video demonstrating the assembly and installation process of the Palram door awning, highlighting its ease of installation and protective features.

Figure 3.2: Dimensional diagram of the Herald Door Awning, indicating its depth, width, and height for planning installation space.
4. Operating Instructions
The Canopia by Palram Herald Door Awning operates passively, providing continuous protection from sun, rain, and UV radiation once installed. No active operation is required.
- The awning is designed to withstand various weather conditions, including strong winds and snow loads, when properly installed.
- Its polycarbonate panels allow 80% light transmission, ensuring natural light still reaches your entrance while reducing direct glare.
- The UV-protected panels block 100% of harmful UV rays, protecting your door, windows, and entryway from sun damage and fading.
5. Maintenance
The Herald Door Awning is designed for minimal maintenance, thanks to its durable and weather-resistant materials.
- Cleaning: Clean the polycarbonate panels and frame periodically with a soft cloth, mild soap, and water. Avoid abrasive cleaners or brushes that could scratch the surface. Rinse thoroughly with clean water.
- Inspection: Annually inspect all mounting points and fasteners to ensure they remain tight and secure. Re-tighten if necessary.
- Debris Removal: Remove any accumulated leaves, snow, or other debris from the top of the awning to prevent excessive load, especially during heavy snowfall.
- Avoid Harsh Chemicals: Do not use harsh chemicals, solvents, or petroleum-based cleaners on any part of the awning, as this may damage the materials.
6. Troubleshooting
If you encounter any issues with your Herald Door Awning, refer to the following common troubleshooting tips:
| Problem | Possible Cause | Solution |
|---|---|---|
| Water leakage | Improper panel installation or damaged gaskets. Loose wall mounting. | Ensure panels are fully seated in channels. Check and replace damaged gaskets. Verify wall mounting is secure and sealed. |
| Awning feels unstable/wobbly | Loose fasteners or inadequate wall support. | Tighten all bolts and screws. Ensure the wall structure is suitable for installation. Consult a professional if unsure. |
| Panels appear discolored or yellowed | Exposure to harsh chemicals or extreme environmental conditions beyond product specifications. | Ensure only mild soap and water are used for cleaning. While panels are UV protected, extreme conditions over prolonged periods can affect appearance. |
7. Specifications
| Feature | Detail |
|---|---|
| Model Number | HG9583 |
| Dimensions (Depth x Width x Height) | 139 cm x 892 cm x 33 cm (approx. 4'7" x 29'3" x 1'1") |
| Weight | 101.22 kg (approx. 223.15 lbs) |
| Material | Polycarbonate panels, Aluminum frame |
| Color | Grey |
| UV Protection | 100% UV blocking |
| Light Transmission | 80% |
| Assembly Required | Yes |
8. Warranty and Support
For specific warranty information and customer support, please refer to the documentation included with your product or visit the official Palram website. Palram offers a 30-day return policy and legal guarantees. Specialized customer support is available to assist with any product-related inquiries or issues.
You can also visit the Canopia by Palram Store on Amazon for more information and products.


