1. Introduction
This manual provides detailed instructions for the installation, operation, and maintenance of your BROLEO Car Dash Camera, Model BROLEOxgkdyqovw5. Please read this manual thoroughly before using the device to ensure proper functionality and safety. Keep this manual for future reference.
2. Product Overview
The BROLEO Car Dash Camera is a 3.16-inch driving video recorder designed to capture high-definition footage of your journeys. It features a 360-degree rotating interior lens, motion detection, and reversing visibility functions to enhance your driving experience and provide crucial evidence in case of incidents.

Figure 2.1: Main view of the BROLEO Car Dash Camera, showing the front lens and the 3.16-inch display.

Figure 2.2: The dash camera unit with its detachable 360-degree rotating interior camera.
3. Key Features
- High Definition Recording: 3.16-inch display with 1080P resolution for clear video capture, even in low-light conditions.
- 360-Degree Rotating Interior Lens: Provides comprehensive coverage inside the vehicle, eliminating blind spots.
- Motion Detection: Automatically records when movement is detected in front of the camera while in standby mode.
- Reversing Visibility: Automatically switches to a full HD display of the rear environment with auxiliary parking lines when reversing.
- Loop Recording: Overwrites the oldest unlocked video files when the memory card is full, ensuring continuous recording. Locked files are protected from deletion.
4. Package Contents
Please verify that all items are present in your package:
- 1 x BROLEO Driving Video Recorder (Main Unit)
- 1 x Interior Camera
- 1 x Car Charger
- 1 x Suction Cup Base
- 1 x User Instructions Manual

Figure 4.1: All components included in the BROLEO Car Dash Camera package.
5. Setup and Installation
Follow these steps to properly install your BROLEO Car Dash Camera:
- Select Location: Choose a suitable location on your windshield, typically behind the rearview mirror, that does not obstruct your view.
- Attach Suction Cup Base: Securely attach the suction cup base to the chosen location on the windshield. Ensure the surface is clean and dry for optimal adhesion.
- Mount Dash Camera: Attach the main dash camera unit to the suction cup base.
- Connect Interior Camera: Connect the interior camera to the main unit. Adjust its 360-degree rotation to cover the desired area inside the vehicle.
- Power Distribution Path: Route the power cord along the ceiling and door sealant to conceal it.
- Routing Buckle Usage Path: Guide the wire under the hand button surface, leaving enough slack to connect to the cigarette lighter.
- Connect Power: Plug the car charger into your vehicle's cigarette lighter socket.

Figure 5.1: Visual guide for the installation process, including selecting location, routing power, and connecting the power plug.
Video 5.1: An overview of the BROLEO Car Dash Camera, demonstrating its design and features. This video provides a visual introduction to the product.
6. Operating Instructions
6.1. Basic Operation
Once powered on, the dash camera will automatically begin recording. The 3.16-inch screen will display the live view from the front camera. You can switch between camera views (front, interior, picture-in-picture) using the menu options.
6.2. Motion Detection
The motion detection feature allows the dash camera to automatically start recording when it detects movement in its field of view while the vehicle is parked and the camera is in standby mode. This function is useful for monitoring your vehicle when it is unattended.
6.3. Reversing Visibility
When your vehicle is put into reverse, the dash camera will automatically switch its display to show the environment behind your car. This feature includes auxiliary parking lines on the screen to assist with safe parking maneuvers.

Figure 6.1: Illustration of the reversing visibility feature, showing the rear view with parking assistance lines on the dash cam screen.
6.4. Loop Recording
The dash camera continuously records video. When the memory card reaches its full capacity, the system will automatically overwrite the oldest unlocked video files with new recordings. This ensures that recording never stops due to a full memory card. Important video evidence, such as accident footage, can be manually locked to prevent accidental deletion.
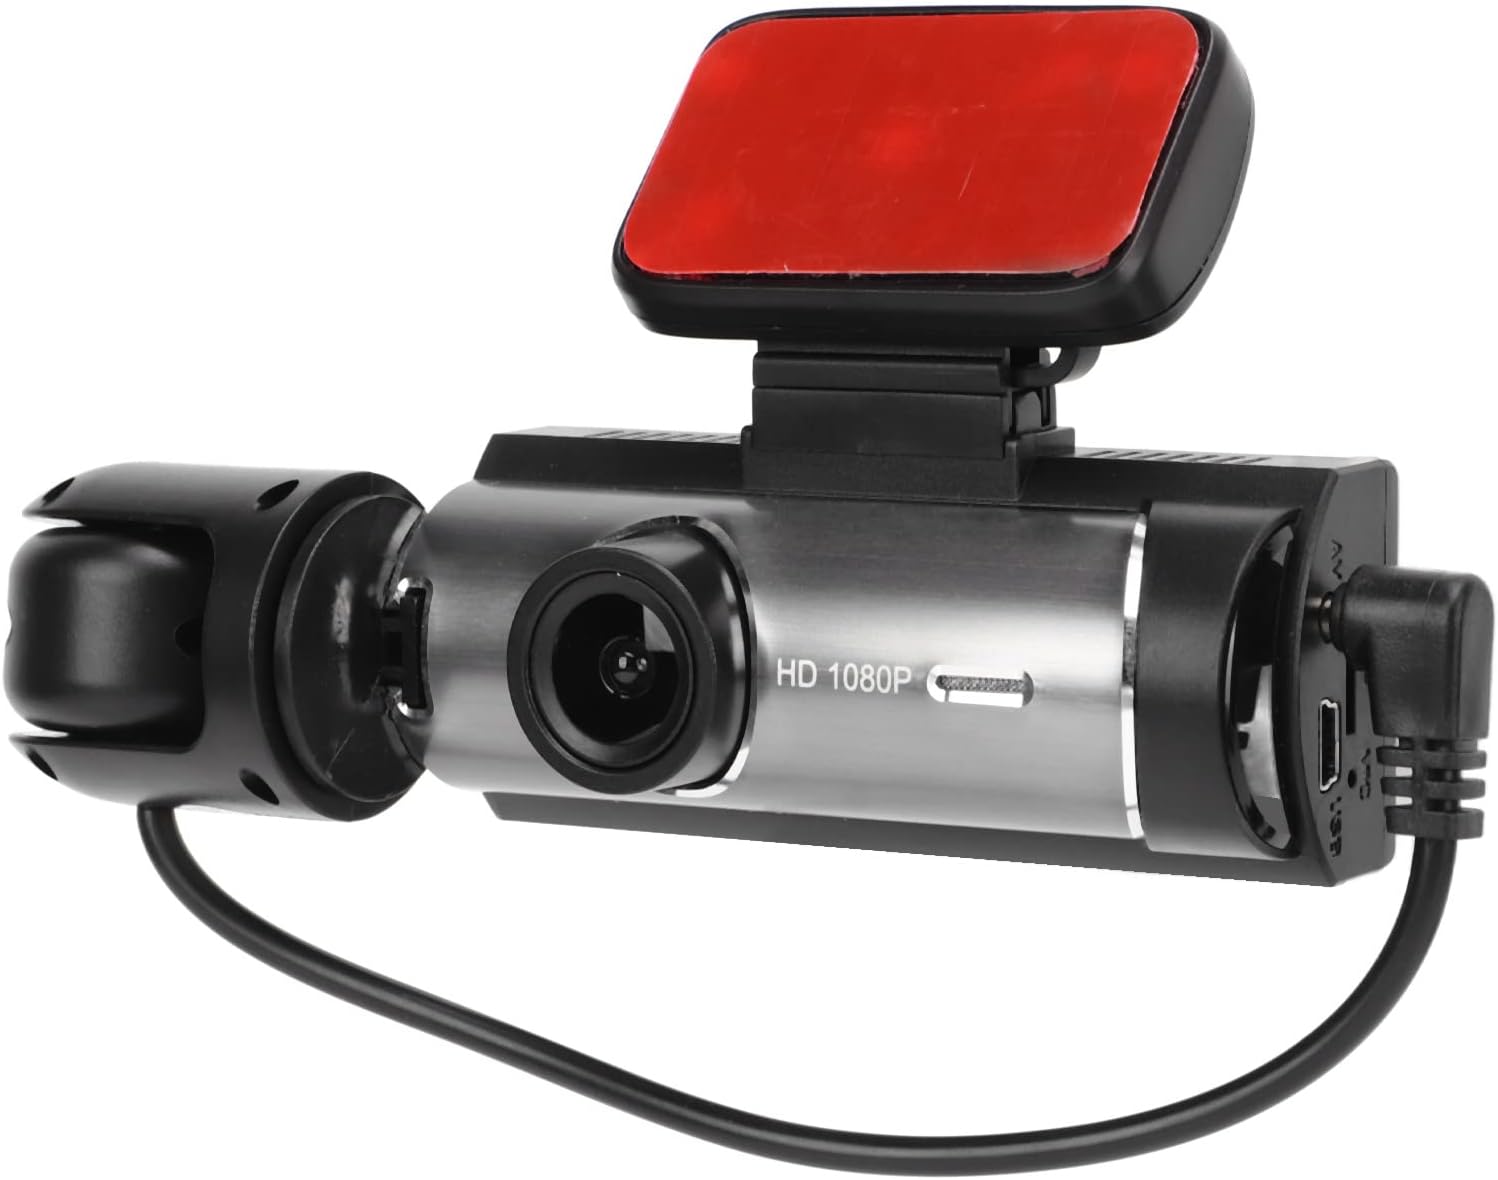
Figure 6.2: Diagram illustrating the loop recording process, where older files are overwritten to make space for new recordings.
7. Maintenance
- Cleaning: Use a soft, dry cloth to clean the camera lenses and screen. Avoid using abrasive cleaners or solvents.
- Memory Card: Regularly format your memory card (at least once a month) to maintain optimal performance and prevent data corruption. Use a Class 10 or higher small memory card, up to 32GB.
- Temperature: Avoid exposing the device to extreme temperatures, as this can affect battery life and overall performance.
- Firmware Updates: Check the manufacturer's website periodically for any available firmware updates to ensure your device has the latest features and bug fixes.
8. Troubleshooting
| Problem | Possible Cause | Solution |
|---|---|---|
| Camera not powering on | Loose power connection, faulty car charger, depleted internal battery. | Check car charger connection. Ensure the car's cigarette lighter socket is functional. Charge the internal battery. |
| Recording stops unexpectedly | Memory card full (unlocked files), memory card error, power interruption. | Format the memory card. Replace the memory card if errors persist. Ensure stable power supply. |
| Poor video quality | Dirty lens, incorrect resolution settings, low light conditions. | Clean the camera lens. Adjust video resolution settings to 1080P. Ensure adequate lighting if possible. |
| Screen frozen or unresponsive | Software glitch. | Press and hold the power button to force a restart. If available, use the reset button. |
| Reversing image not displaying | Incorrect wiring for reverse trigger, faulty interior camera connection. | Verify the reverse trigger wire connection. Check the interior camera connection to the main unit. |
9. Specifications
| Feature | Detail |
|---|---|
| Display Screen | 3.16 inch High Definition Screen |
| Video Resolution | 1080P, 720P |
| Video Format | AVI |
| Photo Resolution | 12M, 8M, 5M, 2MHD, 1.3M, VGA |
| Image Format | JPEG |
| Reversing Full Screen | Supported |
| Battery Type | 180MAH Lithium Battery (Built-in) |
| Storage | Up to 32GB Class10 Small Memory Card (not included) |
| Connectivity Technology | Auxiliary |
| Special Feature | Motion Sensing |
| Mounting Type | Suction Mount |
| Item Weight | 8.8 ounces |
| Package Dimensions | 6 x 4.5 x 2.88 inches |
10. Warranty and Support
For warranty information and technical support, please refer to the documentation provided with your purchase or contact BROLEO customer service directly. Details for contacting support are typically found on the product packaging or the official BROLEO website.