1. Introduction
This manual provides detailed instructions for the safe and efficient use of your LIENIAO WPLN4232/WPLN4226A Rapid Battery Charger. This charger is designed to provide reliable power to compatible Motorola radio batteries.
Please read this manual thoroughly before operating the charger to ensure proper function and to prevent damage to the unit or batteries.
Package Contents:
- 1 x WPLN4226/WPLN4232/WPLN4226A Rapid Charger Base
- 1 x WPLN4226/WPLN4232/WPLN4226A Power Adapter
2. Setup
Follow these steps to set up your battery charger:
- Unpack the Components: Carefully remove the charger base and power adapter from the packaging.
- Connect the Power Adapter: Insert the DC plug of the power adapter into the power input port located at the back of the charger base.
- Plug into Power Outlet: Plug the power adapter into a standard electrical outlet (100-240V AC). Ensure the outlet is easily accessible.

Figure 2.1: The LIENIAO WPLN4226A/WPLN4232 Rapid Charger Base connected to its power adapter.
3. Operating Instructions
This section details how to use the charger to charge your compatible radio batteries.
3.1 Compatible Charger Models:
This charger is compatible with the following charger models:
- WPLN4232
- WPLN4226
- WPLN4226A
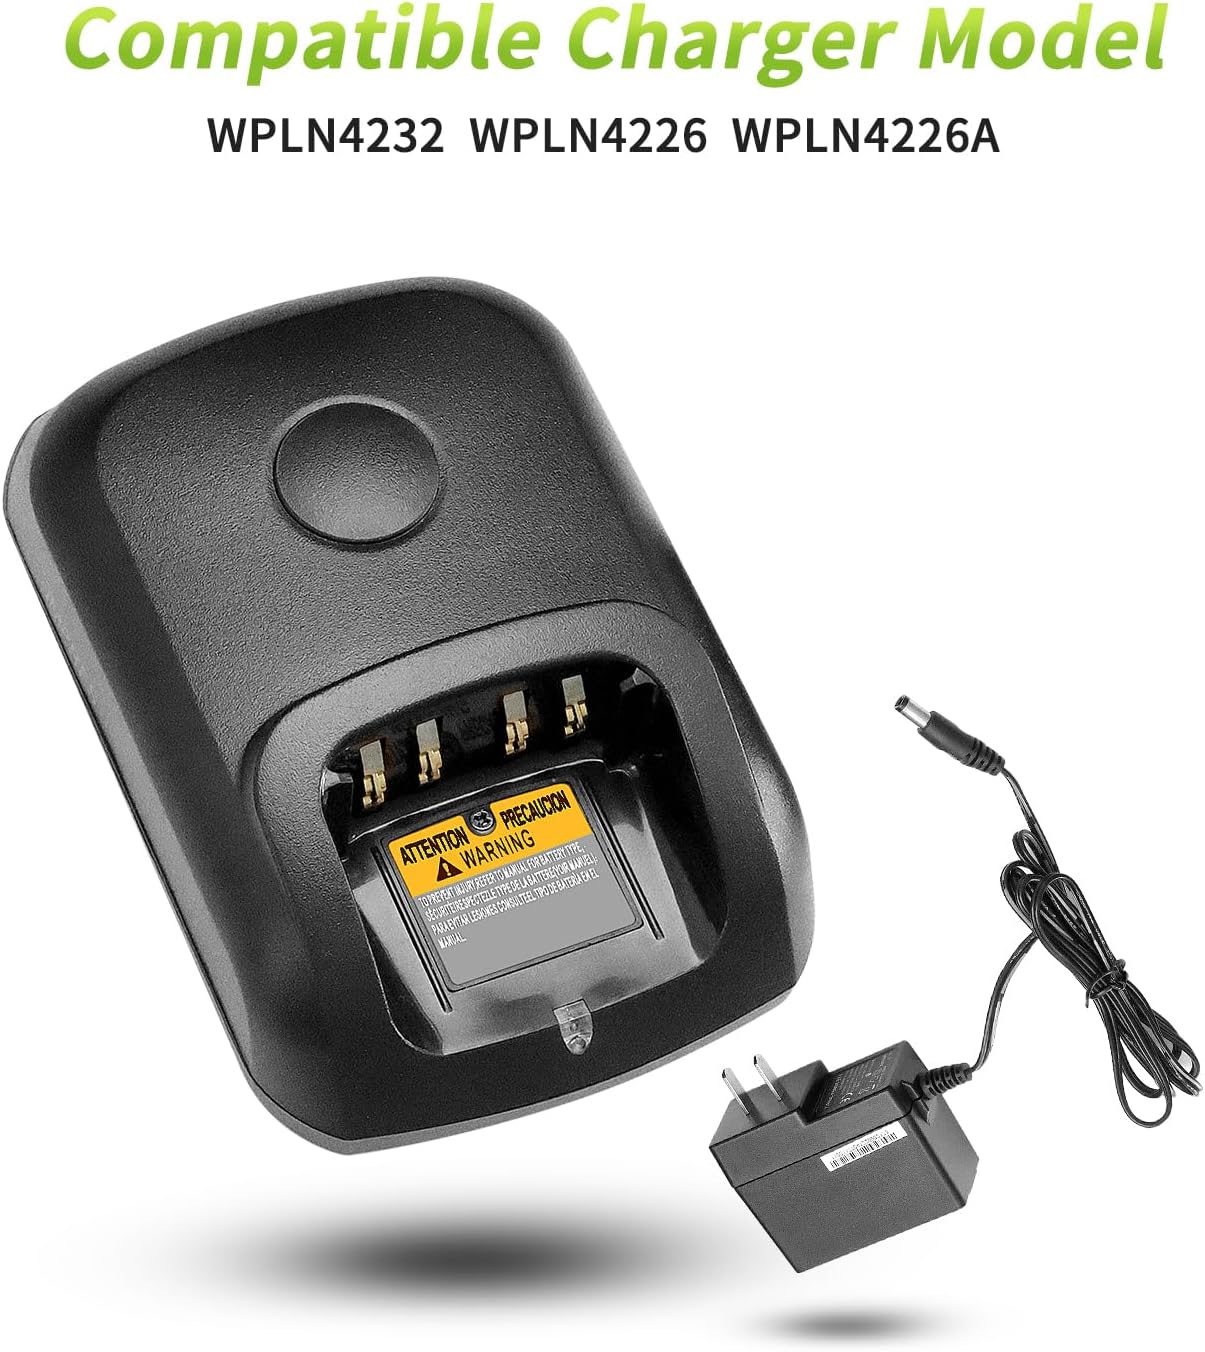
Figure 3.1: Visual representation of compatible charger models.
3.2 Compatible Battery Models:
The charger supports a wide range of Motorola radio batteries, including but not limited to:
- PMNN4409, PMNN4409AR
- PMNN4491, PMNN4491A, PMNN4491B
- PMNN4493, PMNN4493A
- PMNN4448AR
- NTN8128A, NNTN8560A
- PMNN4077, PMNN4077C
- PMNN4069A
- PMNN4412, PMNN4424, PMNN4435, PMNN4488, PMNN4490

Figure 3.2: A list of compatible battery models for charging.
3.3 Compatible Radio Models:
This charger is suitable for batteries used with the following radio models:
- APX900, APX1000, APX2000, APX4000
- XPR7350, XPR7380, XPR3300
- XIRP6600, XIRP8600, XIRP8800
- DP2400E, DP4400E, DP4401E
- GP328D, DGP8050, DGP5050
- DP4400, DP4801
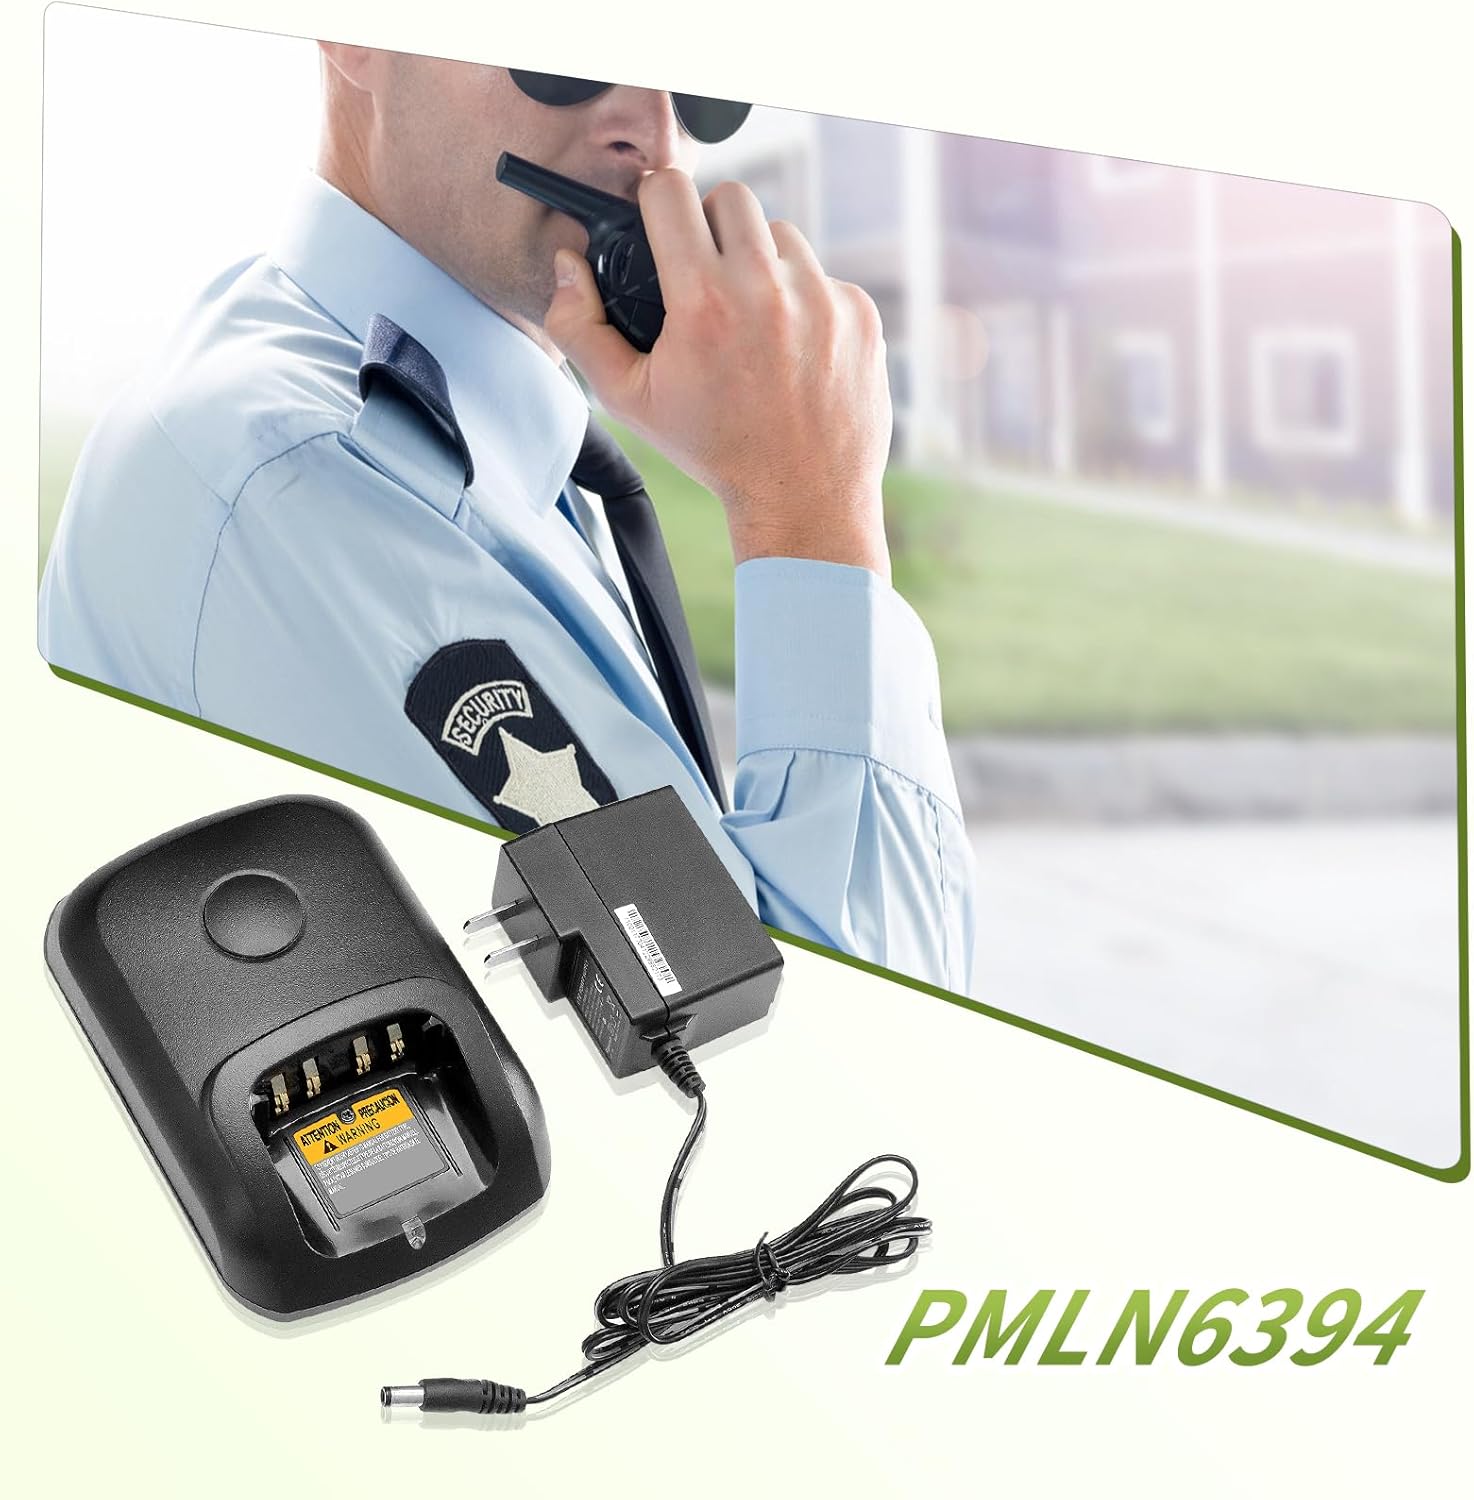
Figure 3.3: The charger in use with a compatible radio.
3.4 Charging a Battery:
- Insert Battery: Carefully slide the compatible battery into the charging slot on the charger base. Ensure it is seated firmly and makes proper contact with the charging terminals.
- Observe Indicator Light: The LED indicator on the charger will illuminate to show the charging status. A green light typically indicates a fully charged battery or standby mode, while other colors (if applicable) may indicate charging in progress or an error.
- Remove Battery: Once charging is complete (indicated by the LED), carefully remove the battery from the charging slot.

Figure 3.4: A battery correctly placed in the charger, showing the charging indicator light.
Note: The battery is not included with the charger and must be purchased separately.
4. Maintenance
Proper maintenance ensures the longevity and optimal performance of your charger.
4.1 Cleaning:
- Always disconnect the charger from the power outlet before cleaning.
- Use a soft, dry cloth to wipe the exterior of the charger.
- Do not use abrasive cleaners, solvents, or harsh chemicals, as these can damage the surface.
- Keep the charging terminals clean and free of dust or debris.
4.2 Storage:
- Store the charger in a cool, dry place away from direct sunlight and extreme temperatures.
- Avoid storing in areas with high humidity.
4.3 Safety Precautions:
- Do not disassemble or modify the charger.
- Avoid exposing the charger to water or other liquids.
- Ensure proper ventilation around the charger during operation.
- The charger features an integrated microchip to guard against overheating, short circuiting, overcharging, and over-discharging. However, always monitor charging and disconnect when complete.
- Do not use the charger if the power cord or charger base is damaged.
5. Troubleshooting
If you encounter issues with your charger, refer to the following common problems and solutions:
| Problem | Possible Cause | Solution |
|---|---|---|
| Charger LED does not light up. | No power supply; loose connection; faulty outlet. | Check power adapter connection; try a different power outlet; ensure power is on. |
| Battery not charging. | Battery not properly seated; incompatible battery; dirty terminals; faulty battery. | Re-seat the battery; verify battery model compatibility; clean battery and charger terminals; try a different battery. |
| Charger or battery gets excessively hot. | Poor ventilation; faulty battery; internal issue. | Ensure adequate airflow around the charger; discontinue use of the battery; contact customer support if issue persists. |
If the problem persists after trying these solutions, please contact customer support.
6. Specifications
| Feature | Detail |
|---|---|
| Model Number | WPLN4232/WPLN4226A |
| Input Voltage | 100-240 Volts AC |
| Product Dimensions | 8"D x 6.7"W x 3.2"H (approx.) |
| Manufacturer | LIENIAO |
| Country of Origin | China |
7. Warranty and Support
Your LIENIAO charger is designed for durability and performance. We stand by the quality of our products.
For any quality-related issues, we offer a satisfaction resolution which may include a replacement or refund. Our products undergo rigorous quality control testing to ensure they can withstand over 800 charging cycles.
Customer Service: If you have any questions, concerns, or require assistance, please do not hesitate to contact us. We are committed to providing a resolution within 24 hours.
Please refer to your purchase documentation for specific contact information or visit the seller's page on Amazon.