Introduction
Thank you for choosing the Signature Hardware Berwyn Pressure Balanced Valve Trim. This manual provides essential information for the safe installation, operation, and maintenance of your new shower valve trim. Please read these instructions thoroughly before beginning installation and keep them for future reference. This product is designed to deliver a consistent water temperature and pressure for a comfortable showering experience.
Safety Information
WARNING: Improper installation or use of this product can result in injury or property damage. Always follow local plumbing and building codes.
- Ensure the main water supply is turned off before installation.
- Wear appropriate personal protective equipment (PPE) such as safety glasses and gloves.
- If you are unsure about any part of the installation process, consult a qualified plumber.
- Do not use harsh chemicals or abrasive cleaners on the trim finish.
Package Contents
Verify that all components are present before beginning installation. This package contains the valve trim only; the rough-in valve is sold separately.
- Berwyn Pressure Balanced Valve Trim (Escutcheon, Handle, Screws)
- Installation Hardware
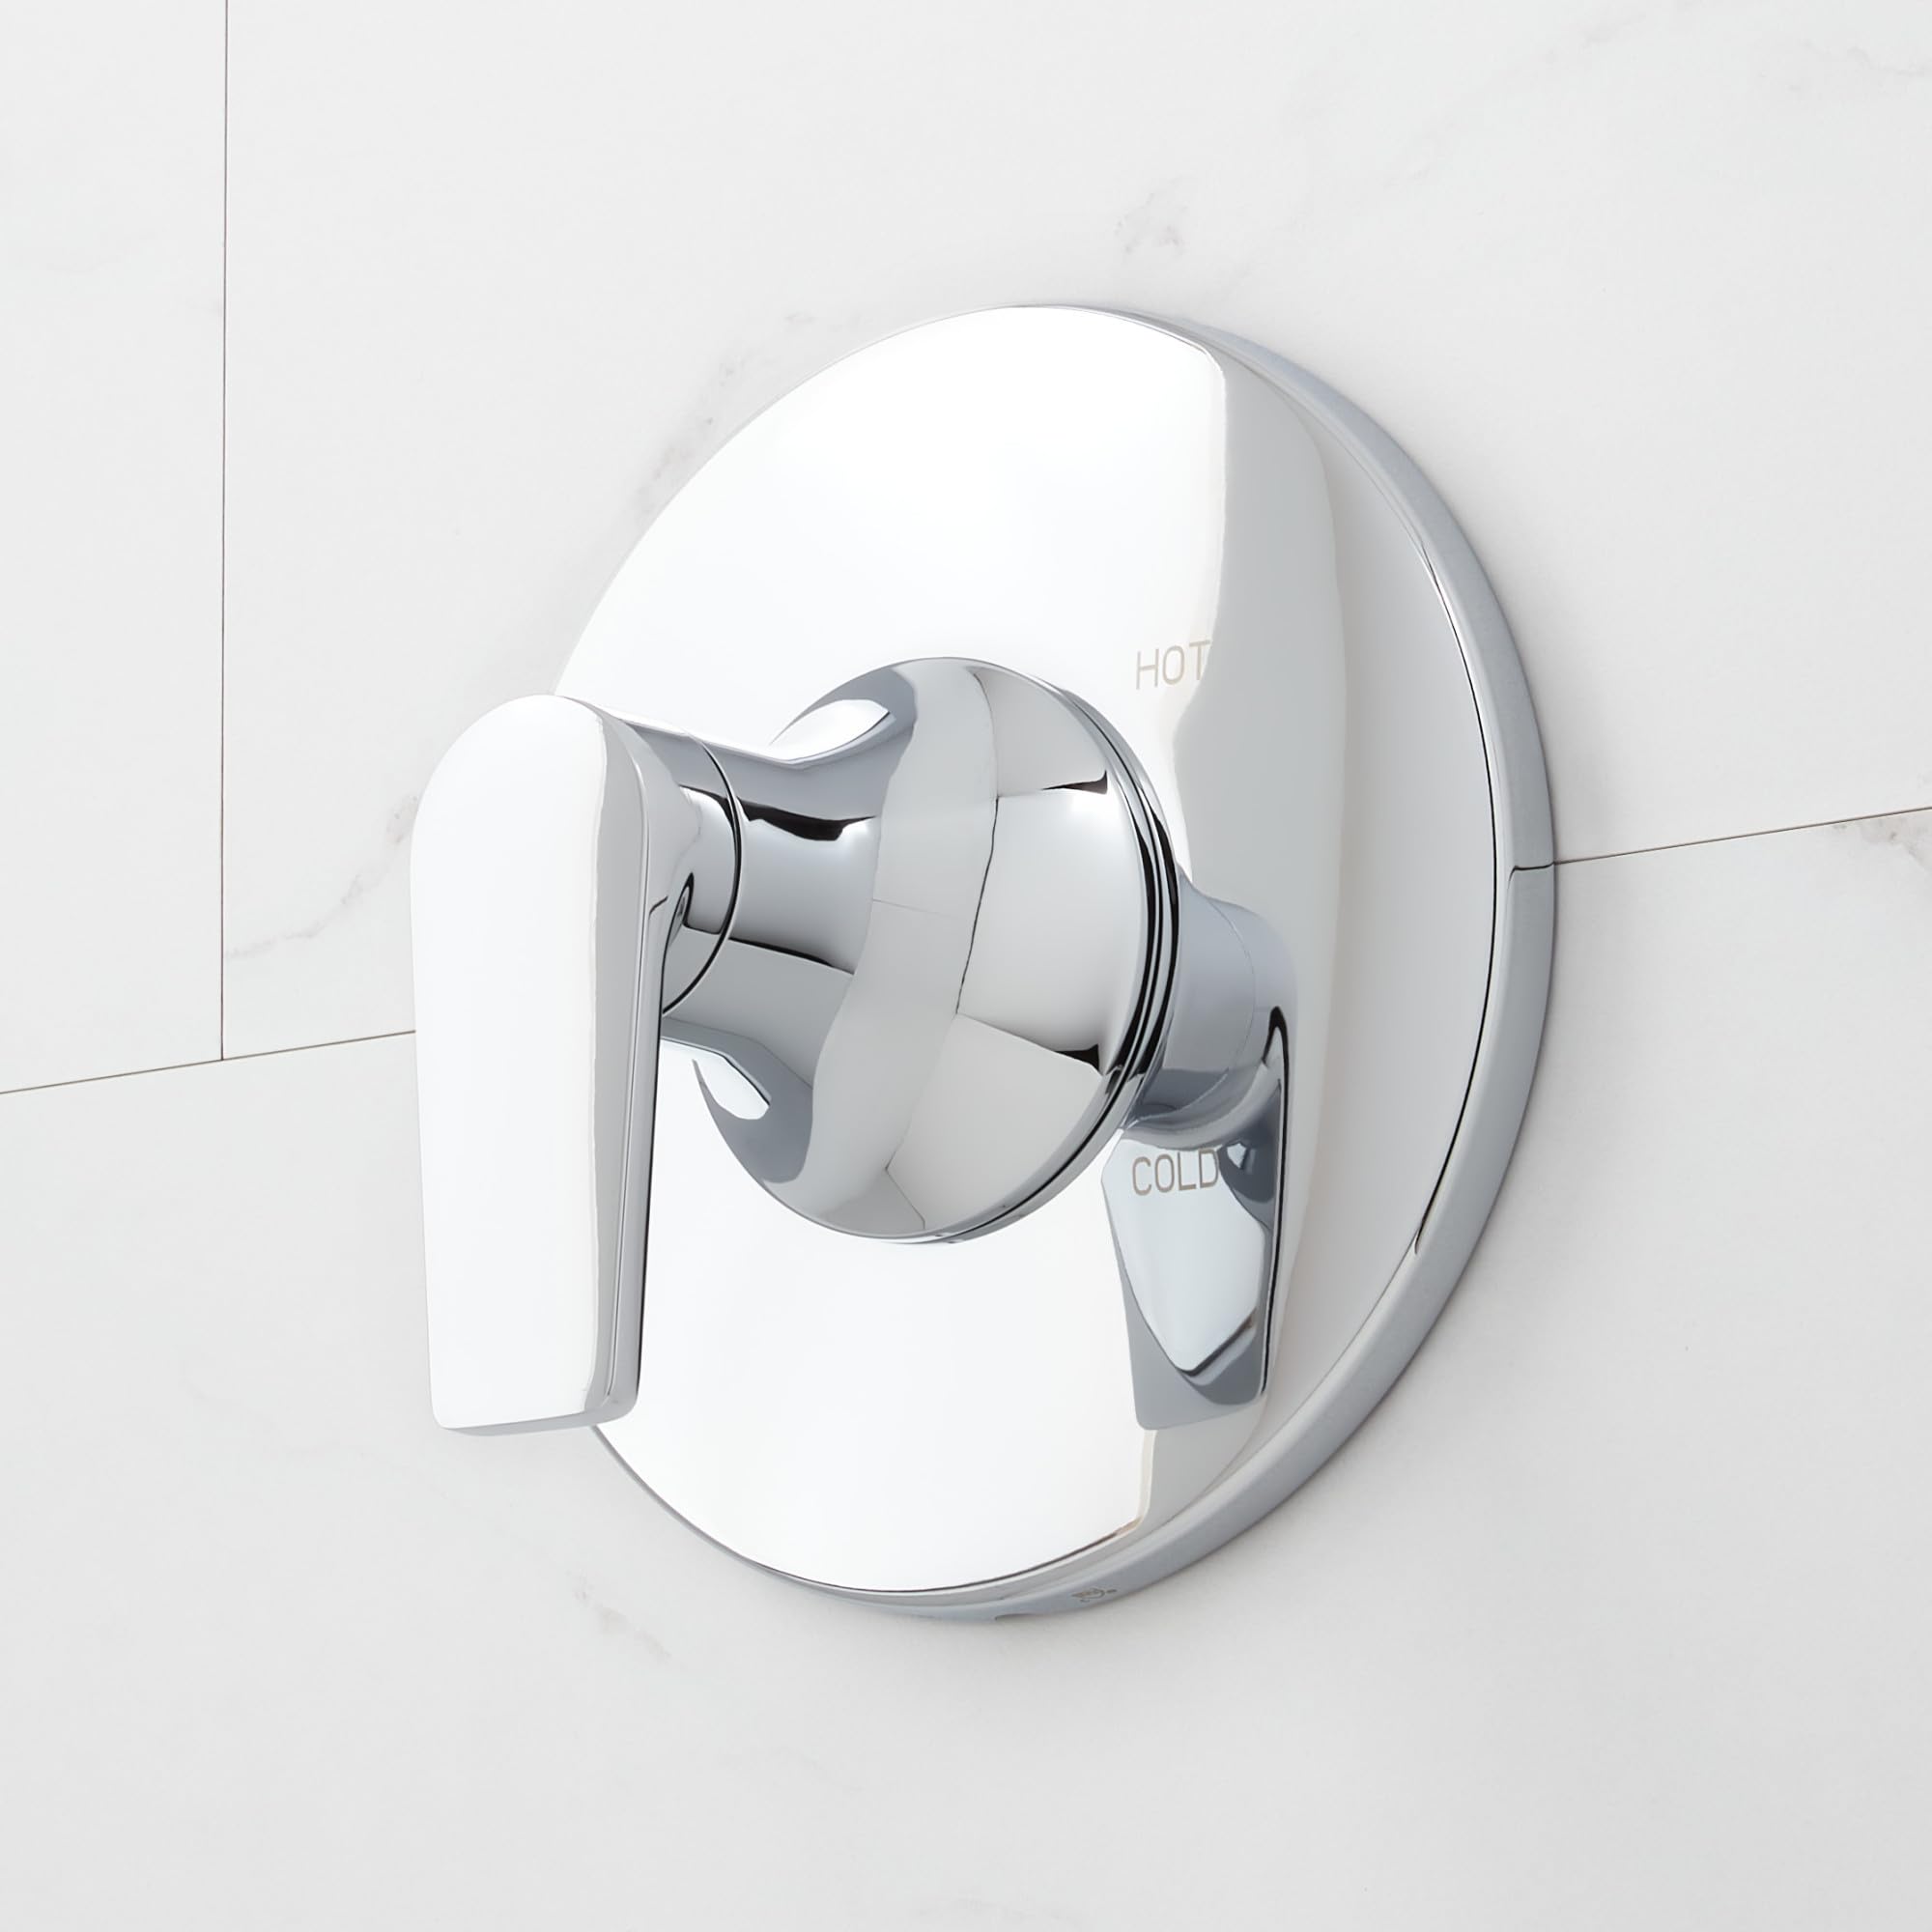
Image: Signature Hardware Berwyn Pressure Balanced Valve Trim in a chrome finish, featuring its round escutcheon and single lever handle. This image illustrates the primary components of the trim kit.
Setup and Installation
This section outlines the general steps for installing the Berwyn Pressure Balanced Valve Trim. Ensure you have the compatible Signature Hardware rough-in valve installed according to its specific instructions before proceeding with trim installation.
- Prepare the Area: Ensure the water supply to the shower is completely shut off. Clear the work area and have all necessary tools ready.
- Install the Escutcheon: Position the escutcheon (cover plate) over the rough-in valve body. Secure it to the wall using the provided screws. Ensure it is level and flush against the wall.
- Install the Handle Assembly: Attach the handle assembly to the valve stem. The single lever handle controls both water flow and temperature. Secure the handle with the set screw, typically located on the underside of the handle.
- Test for Leaks: Slowly turn the main water supply back on. Check all connections for leaks. Operate the handle to ensure proper function and temperature control.
- Final Adjustments: If necessary, adjust the temperature limit stop on the rough-in valve (refer to the rough-in valve manual for specific instructions) to prevent scalding.
Note: Professional installation is recommended for optimal performance and to ensure compliance with all local plumbing codes.
Operating Instructions
The Berwyn Pressure Balanced Valve Trim features a single lever for intuitive control of your shower.
- Turning On/Off: Rotate the handle away from the wall to turn on the water. Rotate it back towards the wall to turn off the water.
- Adjusting Temperature: Rotate the handle counter-clockwise for warmer water and clockwise for cooler water. The pressure-balanced cartridge maintains a consistent temperature, minimizing fluctuations caused by changes in hot or cold water supply pressure.
- Adjusting Flow: The flow rate is typically controlled by the degree to which the handle is pulled away from the wall.
Maintenance
Proper care will ensure the longevity and appearance of your Berwyn Valve Trim.
- Cleaning: Clean the trim regularly with a soft, damp cloth. For stubborn spots, use a mild soap and water solution. Rinse thoroughly and dry with a soft cloth to prevent water spots.
- Avoid Harsh Cleaners: Do not use abrasive cleaners, ammonia-based cleaners, bleach, or cleaners containing alcohol or other harsh chemicals, as these can damage the finish.
- Inspect: Periodically check the handle and escutcheon for any looseness and tighten screws if necessary.
Troubleshooting
If you encounter issues with your valve trim, refer to the following common solutions:
| Problem | Possible Cause | Solution |
|---|---|---|
| Low Water Flow | Partially closed shut-off valves; debris in the cartridge; clogged showerhead. | Ensure shut-off valves are fully open. Clean or replace the cartridge (refer to rough-in valve manual). Clean or replace the showerhead. |
| Inconsistent Water Temperature | Temperature limit stop incorrectly set; issues with hot/cold water supply. | Adjust the temperature limit stop on the rough-in valve. Check hot and cold water supply lines for blockages or pressure issues. |
| Leaking from Handle/Escutcheon | Loose connections; worn O-rings or cartridge. | Tighten mounting screws. Inspect and replace O-rings or the cartridge if damaged (refer to rough-in valve manual). |
If these solutions do not resolve the issue, please contact Signature Hardware customer support or a qualified plumber.
Specifications
- Model Number: SHBW80102CP
- Part Number: SHBW80102CP
- Material: Metal
- Finish: Chrome
- Style: Berwyn
- Valve Trim Height: 6-3/4 inches
- Valve Trim Width: 6-3/4 inches
- Cartridge Type: Pressure Balanced
- Handle Type: Single Lever
Warranty Information
This Signature Hardware Berwyn Pressure Balanced Valve Trim is covered under Signature Hardware's 25-year limited warranty. This warranty covers defects in material and workmanship under normal use and service. For full warranty details and terms, please visit the official Signature Hardware website or contact customer support.
Customer Support
For further assistance, technical support, or to inquire about replacement parts, please contact Signature Hardware customer service or visit their official website:
Signature Hardware Official Website: www.signaturehardware.com
Amazon Brand Store: Visit Signature Hardware Store on Amazon


