1. Introduction
This manual provides detailed instructions for the installation, operation, and maintenance of the Makerbase MKS Robin Nano V3.1 3D Printer Control Board, including its accompanying TFT touch screen and WiFi module. Please read this manual thoroughly before use to ensure proper functionality and to prevent damage to the device.
2. Product Overview
The Makerbase MKS Robin Nano V3.1 is an advanced 32-bit 3D printer control board designed for enhanced performance and compatibility. It features a 168 MHz MCU (STM32F407VET6) and improved anti-interference capabilities, including Schottky diodes in temperature measurement and MOS circuits, and TVS protection for power input. This kit includes the MKS Robin Nano V3.1 motherboard, a 3.5-inch TFT touch screen (TS35 V2.0), and a WiFi module.

Figure 2.1: Complete Makerbase MKS Robin Nano V3.1 kit, showing the motherboard, TS35 touch screen, WiFi module, USB cable, and various connectors.
2.1 Key Features
- High-Performance MCU: Equipped with STM32F407VET6, 32-bit, 168 MHz processor.
- Enhanced Stability: Improved anti-interference design with Schottky diodes and TVS protection.
- Versatile Display Support: Compatible with the included TS35 touch screen, MKS H43, LCD MINI12864, and LCD2004 displays.
- Firmware Compatibility: Based on Marlin 2.X firmware, with support for Klipper.
- Wide Application: Suitable for various 3D printers, including Ender-3, Ender-3 V2, and Ender-3 Pro.
- Connectivity: Supports USB disk printing, TF card printing, and WiFi connectivity.

Figure 2.2: The MKS TS35-R 3.5-inch color touch screen, featuring a rotary knob and reset button.
3. Setup
3.1 Component Identification
Before installation, familiarize yourself with the various ports and components on the MKS Robin Nano V3.1 motherboard.

Figure 3.1: Detailed pinout and component layout of the MKS Robin Nano V3.1 motherboard.
3.2 Power Connection
Connect the power supply to the 12V/24V input terminals on the motherboard. Ensure correct polarity. The board typically operates with 12V or 24V DC power, depending on your 3D printer's requirements.
3.3 Stepper Driver Installation
Install your stepper motor drivers (e.g., TMC2209) into the designated sockets (X, Y, Z, E0, E1). Pay close attention to the orientation of the drivers to prevent damage. The board supports UART mode for advanced driver control.
3.4 Motor, Heater, and Sensor Connections
- Connect stepper motors to their respective X, Y, Z, E0, E1 motor ports.
- Connect hotend heaters (HE0, HE1) and heated bed (H-BED) to their power output terminals.
- Connect thermistors (TH0, TH1, THB) for temperature sensing.
- Connect endstops (X-, Y-, Z-) and other sensors (e.g., BLTouch) to their designated pins.
3.5 Display and WiFi Module Connection
- Connect the TS35 touch screen to the dedicated display port using the provided cable.
- Insert the WiFi module into its designated header on the motherboard.
3.6 Firmware Installation/Update
The MKS Robin Nano V3.1 uses Marlin 2.X based firmware. To install or update firmware:
- Download the appropriate firmware for your specific 3D printer configuration from the Makerbase GitHub repository or a trusted source.
- Configure the firmware (e.g., in Visual Studio Code with PlatformIO) to match your printer's settings, ensuring the correct motherboard type is selected.
- Compile the firmware.
- Copy the compiled
firmware.binfile to the root directory of a formatted TF card. - Insert the TF card into the motherboard's TF card slot.
- Power on the board. The firmware will automatically update. The screen may display a progress bar or restart upon completion.
4. Operating Instructions
4.1 Using the TS35 Touch Screen
The TS35 touch screen provides an intuitive interface for controlling your 3D printer. Navigate through menus by touching the screen and use the rotary knob for fine adjustments or selections. The screen displays real-time printer status, temperature, and print progress.
4.2 Printing via USB Disk or TF Card
The MKS Robin Nano V3.1 supports printing directly from a USB disk or TF card.
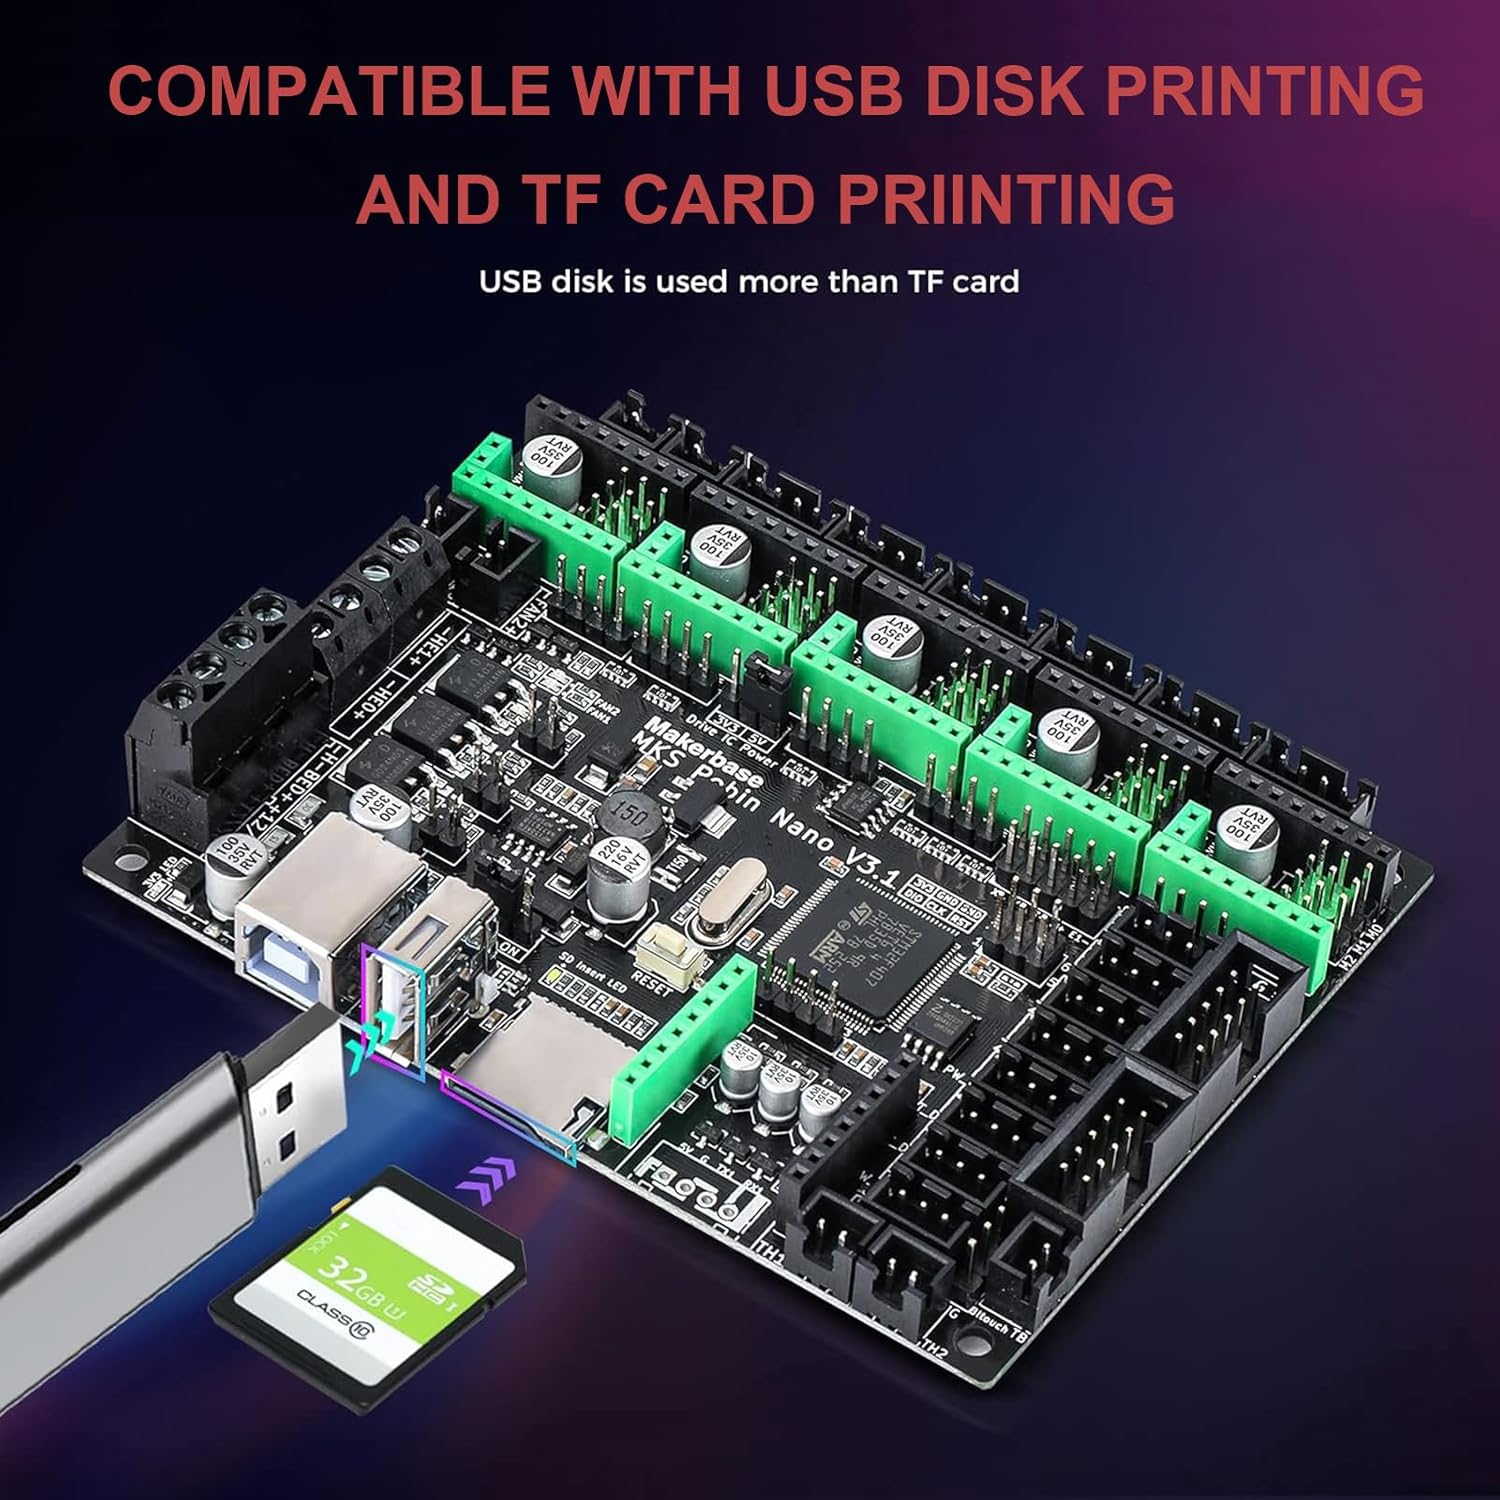
Figure 4.1: Illustration of USB disk and TF card printing capabilities on the MKS Robin Nano V3.1 board.
- TF Card Printing: Save your G-code files to a formatted TF card and insert it into the motherboard's slot. Select the file from the touch screen interface to begin printing.
- USB Disk Printing: Save your G-code files to a USB flash drive and insert it into the USB-A port on the motherboard. Select the file from the touch screen interface to begin printing.
4.3 WiFi Connectivity
With the WiFi module installed, you can connect your MKS Robin Nano V3.1 to a local network for remote control and monitoring. Refer to the specific firmware documentation (Marlin or Klipper) for detailed instructions on configuring and utilizing WiFi features, such as web interfaces or mobile applications.
5. Maintenance
- Cleaning: Periodically clean the motherboard and screen with a soft, dry brush or compressed air to remove dust and debris. Ensure the device is powered off before cleaning.
- Firmware Updates: Regularly check for firmware updates from Makerbase or the Marlin/Klipper communities to benefit from new features, bug fixes, and performance improvements. Follow the firmware update procedure outlined in Section 3.6.
- Connection Checks: Ensure all electrical connections (power, motors, sensors, display) are secure and free from corrosion.
6. Troubleshooting
- No Power: Verify power supply connections and voltage. Check for any blown fuses on the motherboard.
- Display Not Working: Ensure the display cable is correctly connected to both the motherboard and the screen. Check if the firmware supports the connected display type.
- Motors Not Moving: Check motor wiring and stepper driver installation. Verify that the stepper drivers are receiving power and that the firmware is configured correctly for your motor type and steps per millimeter.
- Printing Issues: Review your G-code file for errors. Ensure correct temperature readings from thermistors. Check for proper bed leveling and nozzle calibration.
- WiFi Connectivity Problems: Ensure the WiFi module is correctly installed. Verify network settings in the firmware. Check router settings and signal strength.
For more detailed troubleshooting, consult the Makerbase community forums or the Marlin/Klipper documentation.
7. Specifications
| Feature | Specification |
|---|---|
| Model | MKS Robin Nano V3.1 |
| Microcontroller (MCU) | STM32F407VET6 (32-bit, 168 MHz) |
| Input Voltage | 12V / 24V DC |
| Display Type | TS35 (3.5-inch Color Touchscreen) |
| Firmware Support | Marlin 2.X, Klipper |
| Connectivity | USB Disk, TF Card, WiFi Module |
| Stepper Driver Sockets | 5 (X, Y, Z, E0, E1) |
| Dimensions | Approximately 110mm x 84mm |
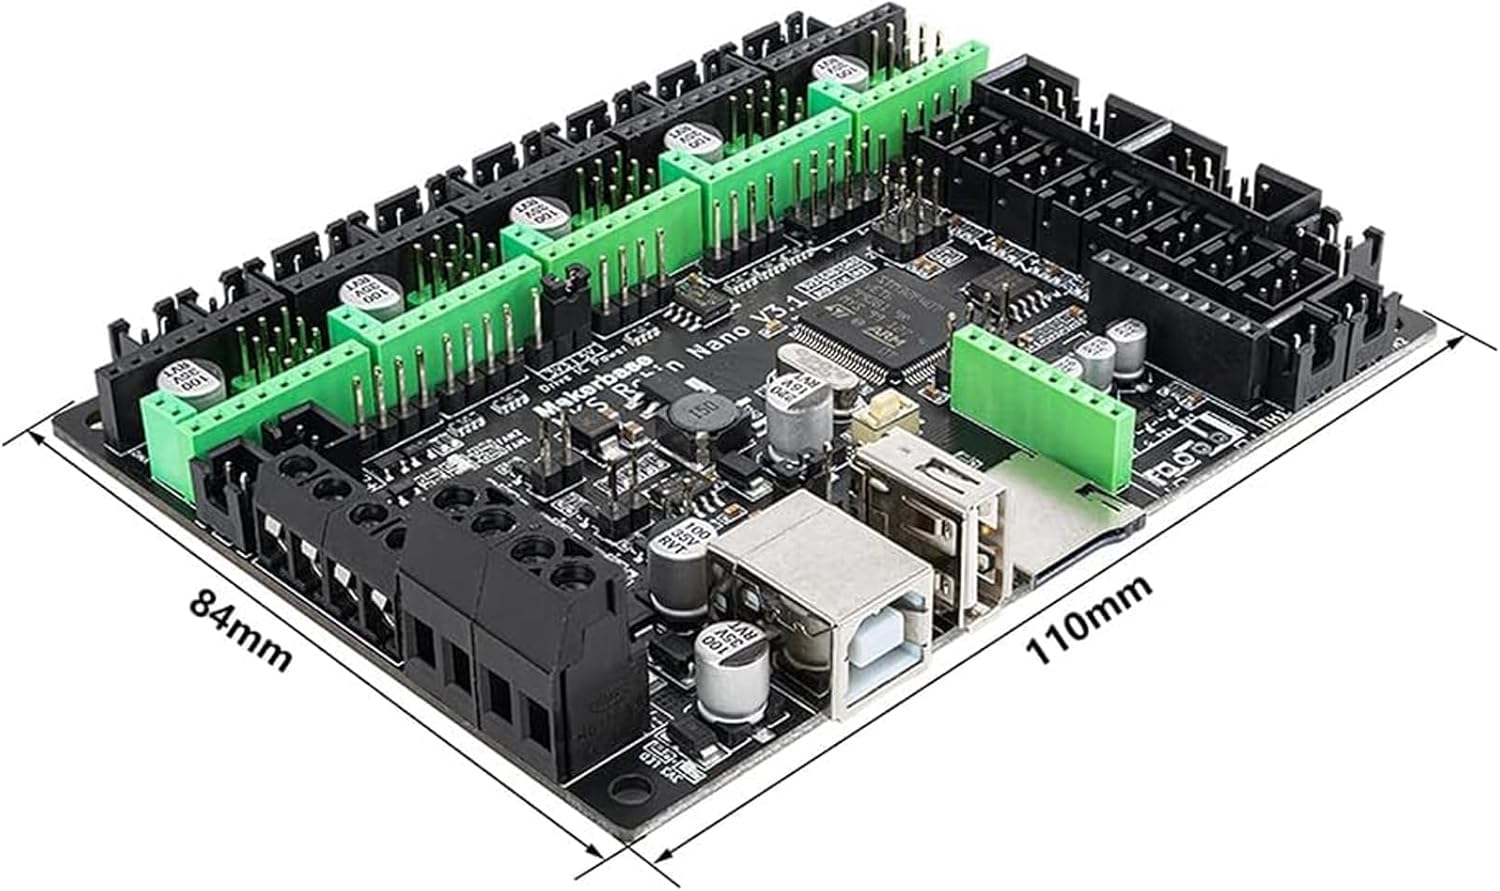
Figure 7.1: Physical dimensions of the MKS Robin Nano V3.1 motherboard.
8. Warranty and Support
For warranty information, please refer to the terms and conditions provided by your retailer or the official Makerbase website. Technical support may be available through Makerbase's official channels or community forums. Always provide your product model and purchase details when seeking support.