1. Introduction
Thank you for purchasing the PRUNUS J-120 Vintage Portable Radio. This device combines classic aesthetics with modern functionality, offering FM, AM, and SW radio reception, along with Bluetooth, TF card, USB, and AUX playback options. Its portable design and dual power supply make it ideal for various indoor and outdoor settings. Please read this manual carefully to ensure proper use and maintenance of your radio.
2. Safety Information
- Do not expose the radio to rain, moisture, or extreme temperatures.
- Avoid dropping or subjecting the device to strong impacts.
- Do not disassemble or attempt to repair the radio yourself. Refer to qualified service personnel.
- Ensure the power cable is disconnected when the radio is not in use for extended periods to prolong product life.
- Keep out of reach of children.
3. Product Overview
3.1 Components
The PRUNUS J-120 radio features a classic design with intuitive controls.

Figure 1: Front view of the PRUNUS J-120 Radio.

Figure 2: The radio's 5W amplifier speaker provides clear audio.
3.2 Controls and Ports
Familiarize yourself with the various controls and connection ports on your radio.
- Volume Knob: Adjusts the audio output level.
- Tuning Knob: Selects radio frequencies.
- Mode Button: Switches between FM, AM, SW, Bluetooth, TF, USB, and AUX modes.
- Antenna: Extendable telescopic antenna for improved radio reception.
- TF Card Slot: For playing music from a TF (MicroSD) card.
- USB Port: For playing music from a USB flash drive.
- AUX Input: For connecting external audio devices via a 3.5mm audio cable.
- DC 5V Charging Port: For charging the internal battery.
- AC Power Input: For direct power supply from a wall outlet.

Figure 3: The responsive tuning knob and retro-style dial.

Figure 4: Rear panel with various input options and AC power.
4. Setup
4.1 Unpacking
Carefully remove the radio and all accessories from the packaging. Ensure all components are present:
- PRUNUS J-120 Radio
- AC Power Cable
- USB Charging Cable
- User Manual

Figure 5: Package contents of the PRUNUS J-120.
4.2 Powering the Device
The PRUNUS J-120 offers two power options: a built-in rechargeable battery and AC power.

Figure 6: Two power supply methods: AC Plug-in and Rechargeable Battery.
4.2.1 AC Power Supply
For continuous operation indoors, connect the supplied AC power cable to the radio's AC input port and plug it into a standard wall outlet (110V-220V compatible). The radio will operate directly from AC power and simultaneously charge the internal battery.
4.2.2 Rechargeable Battery
The radio is equipped with an 1800 mAh rechargeable Lithium-ion battery for portable use. To charge the battery, connect the USB charging cable to the DC 5V port on the radio and a USB power source (e.g., computer, USB wall adapter). A charging indicator light will illuminate during charging and turn off when fully charged.
Video 1: Demonstrates the various power and input options of the PRUNUS J-120 radio, including AC power, DC 5V charging, and connecting external devices.
4.3 Antenna Setup
For optimal radio reception, extend the telescopic antenna fully. Adjust its direction for the clearest signal, especially for FM and SW bands.
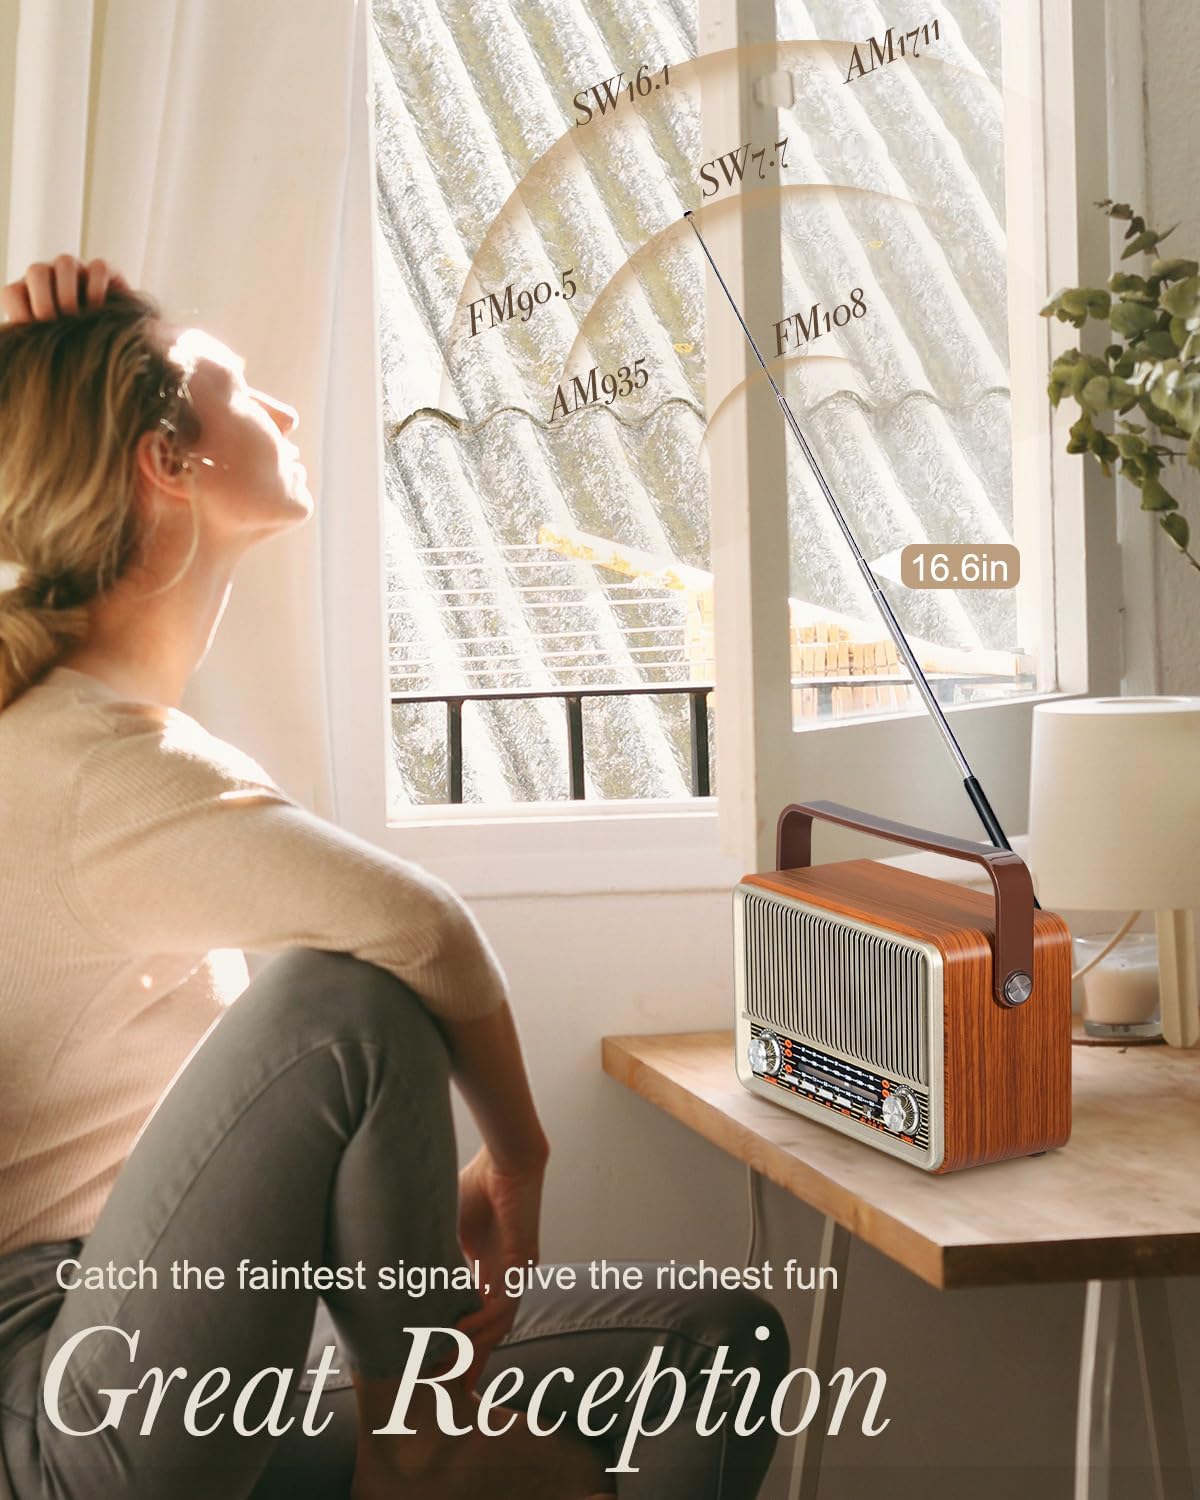
Figure 7: Extending the antenna for great reception.
5. Operating Instructions
5.1 Power On/Off and Volume Control
To turn the radio on, rotate the Volume knob clockwise. Continue rotating to increase the volume. Rotate counter-clockwise to decrease volume and turn off the radio.
5.2 Radio Mode (FM/AM/SW)
- Press the MODE button to select the desired radio band: FM (87-108MHz), AM (522-1620KHz), or SW (5.9-18.0MHz).
- Extend the telescopic antenna for better reception.
- Rotate the Tuning knob to scan for radio stations. The frequency dial will indicate the current frequency.
- Adjust the antenna position for optimal signal clarity.
5.3 Bluetooth Mode
The radio can connect wirelessly to Bluetooth-enabled devices.
- Press the MODE button until 'Bluetooth' mode is selected. The radio will emit an audible prompt indicating it's ready for pairing.
- On your mobile device (smartphone, tablet, etc.), enable Bluetooth and search for available devices.
- Select 'PRUNUS J-120' from the list of devices. Once paired, the radio will confirm with an audible sound.
- You can now play audio from your device through the radio's speaker.

Figure 8: Seamless Bluetooth connectivity for audio streaming.
5.4 Media Playback (TF Card / USB / AUX)
The radio supports playback from TF cards, USB drives, and external devices via AUX input.
5.4.1 TF Card / USB Playback
- Insert a TF card into the TF card slot or a USB flash drive into the USB port.
- Press the MODE button to switch to TF or USB mode. The radio will automatically detect and begin playing compatible audio files (e.g., MP3).
5.4.2 AUX Input
- Connect one end of a 3.5mm audio cable (not included) to the AUX input port on the radio.
- Connect the other end to the headphone jack or audio output of your external device (e.g., MP3 player, smartphone).
- Press the MODE button to switch to AUX mode. Audio from your external device will now play through the radio.
6. Maintenance
- Cleaning: Use a soft, dry cloth to clean the radio's surface. Do not use abrasive cleaners or solvents.
- Battery Care: To maximize battery life, avoid fully discharging the battery frequently. Charge the radio regularly, even if not in use, to maintain battery health.
- Storage: When storing the radio for extended periods, ensure it is fully charged and stored in a cool, dry place away from direct sunlight.
7. Troubleshooting
| Problem | Possible Cause | Solution |
|---|---|---|
| No power | Battery is depleted; AC cable not connected properly. | Charge the battery using the USB cable or connect to AC power. Ensure AC cable is securely plugged in. |
| Poor radio reception | Antenna not extended; weak signal area. | Fully extend the telescopic antenna and adjust its direction. Try moving the radio to a different location. |
| Bluetooth not connecting | Radio not in Bluetooth mode; device not discoverable. | Press MODE button to select Bluetooth mode. Ensure Bluetooth is enabled on your device and it's in pairing mode. |
| No sound from TF/USB/AUX | Incorrect mode selected; file format not supported; cable not connected. | Ensure correct mode is selected. Check if audio files are in a supported format (e.g., MP3). Verify AUX cable connection. |
8. Specifications
- Brand: PRUNUS
- Model Number: J-120
- Color: Silver
- Connectivity Technology: Bluetooth
- Special Features: Rechargeable, Portable, Bluetooth, TF Card, USB, AUX
- Compatible Devices: Smartphone, Tablet, Laptop, MP3 Player
- Battery Composition: Lithium-ion
- Rechargeable Battery: Yes (1800 mAh)
- Product Dimensions: 23.2L x 15.7W x 13.4H centimeters
- Tuning Technology: AM/FM/SW
- Style: Retro
- Power Source: Battery, Corded Electric
- Supported Radio Bands: 3 bands (FM: 87-108MHz, AM: 522-1620KHz, SW: 5.9-18.0MHz)
- Hardware Interface: USB Type C
9. Warranty and Support
PRUNUS products are manufactured with high-quality materials and superior craftsmanship. For any product-related inquiries, technical support, or warranty claims, please contact PRUNUS customer service through the platform where you purchased the product or refer to the contact information provided in your product packaging.
Please retain your proof of purchase for warranty purposes.