1. Introduction
This manual provides essential information for the installation, operation, maintenance, and troubleshooting of your ATRACYPART Carburetor. Please read these instructions carefully before installation and use to ensure proper function and longevity of the product. This carburetor is designed as a replacement part for specific Kawasaki Bayou 300 ATV models.
2. Product Compatibility
This ATRACYPART Carburetor is compatible with the following Kawasaki Bayou 300 ATV models:
- 1986-1987 Kawasaki Bayou 300 KLF300A
- 1988-2005 Kawasaki Bayou 300 KLF300B
- 1989-2005 Kawasaki Bayou 300 KLF300C 4x4
Ensure your vehicle model and year match the compatibility list before proceeding with installation.
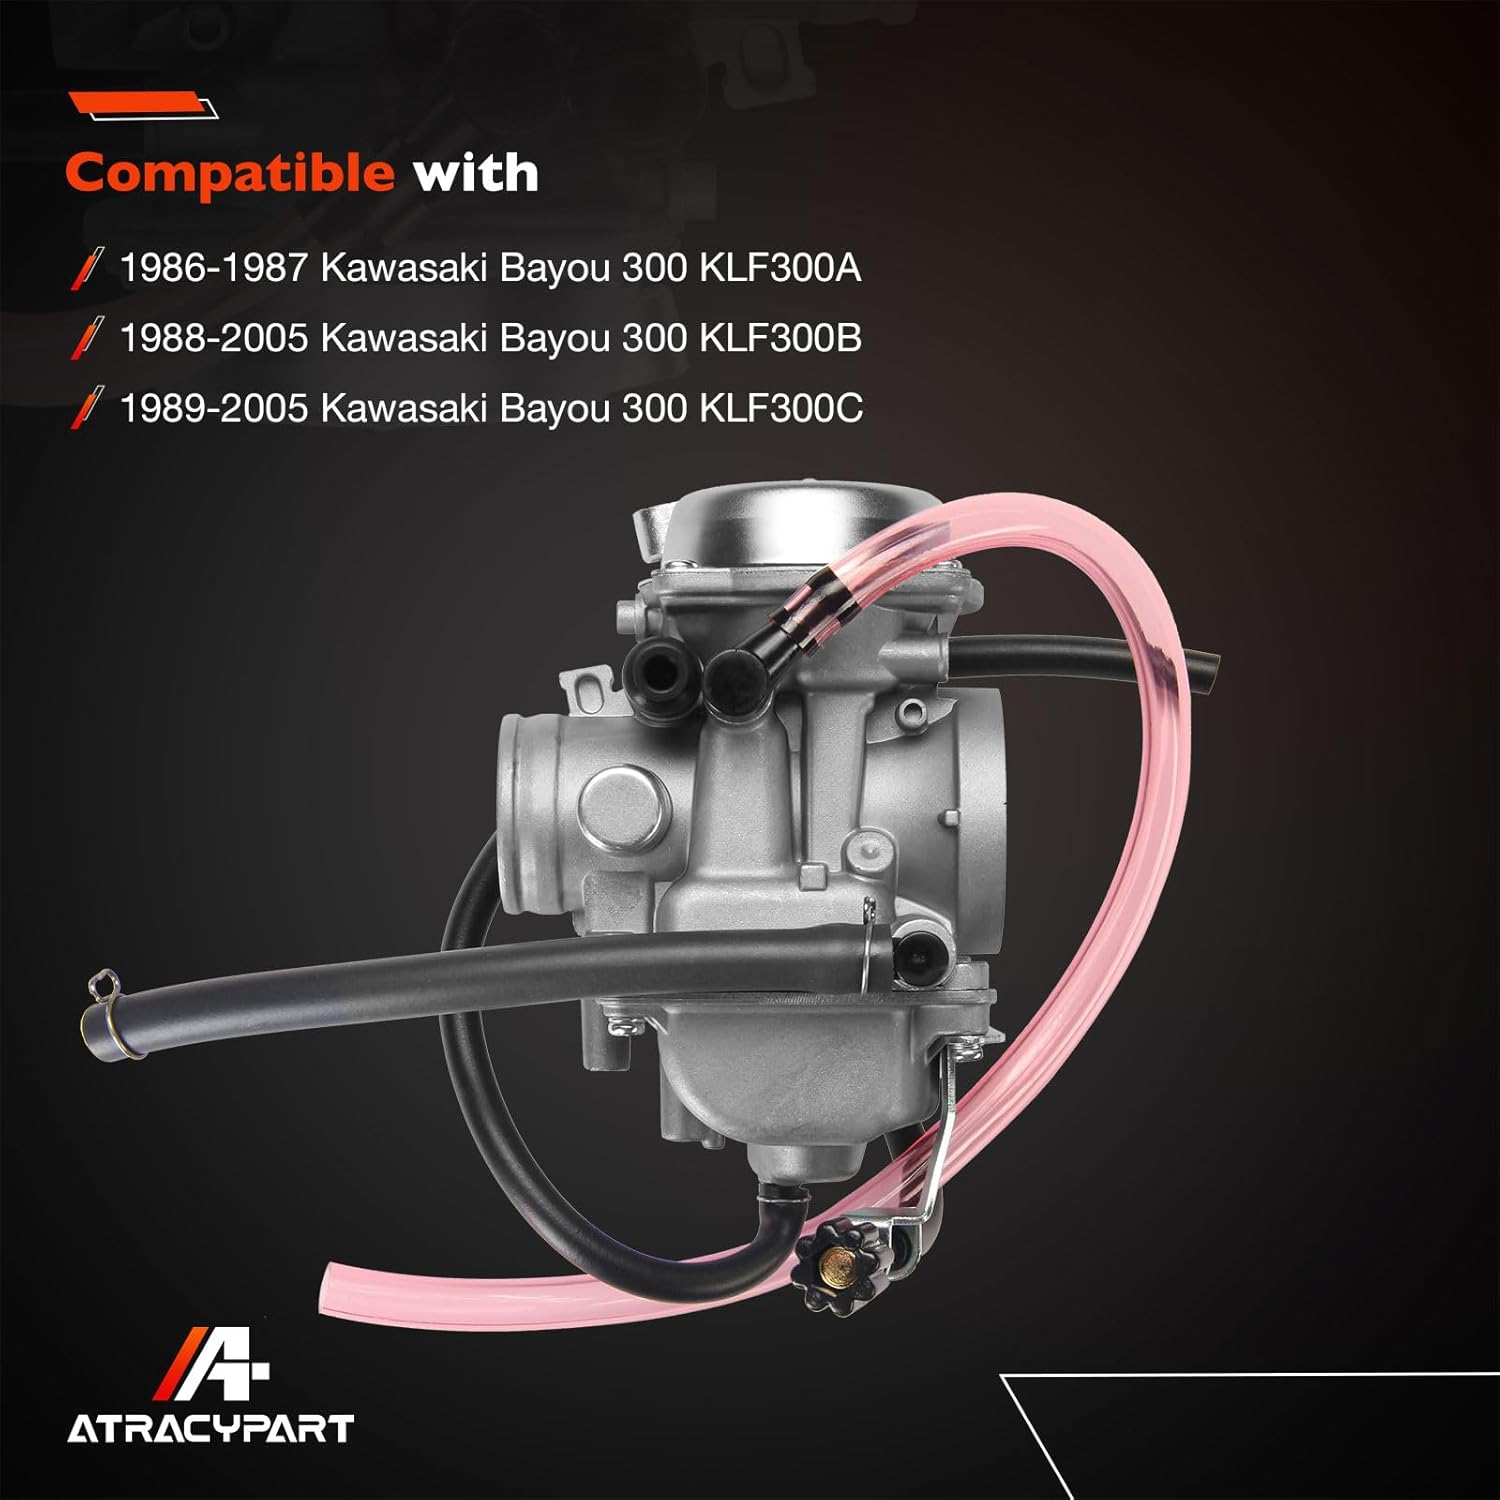
Image 2.1: Visual representation of compatible models for the carburetor.
3. Specifications
The ATRACYPART Carburetor (Model A1551) features the following specifications:
- Intake Manifold Side:
- Inner Diameter: 32mm (1.27")
- Outer Diameter: 37mm (1.46")
- Air Filter Intake Side:
- Inner Diameter: 47mm (1.85")
- Outer Diameter: 50mm (1.97")
- Fuel Type: Petrol
- Included Components: Comes with housing and fuel petcock valve switch.
- Item Weight: Approximately 1.6 Pounds
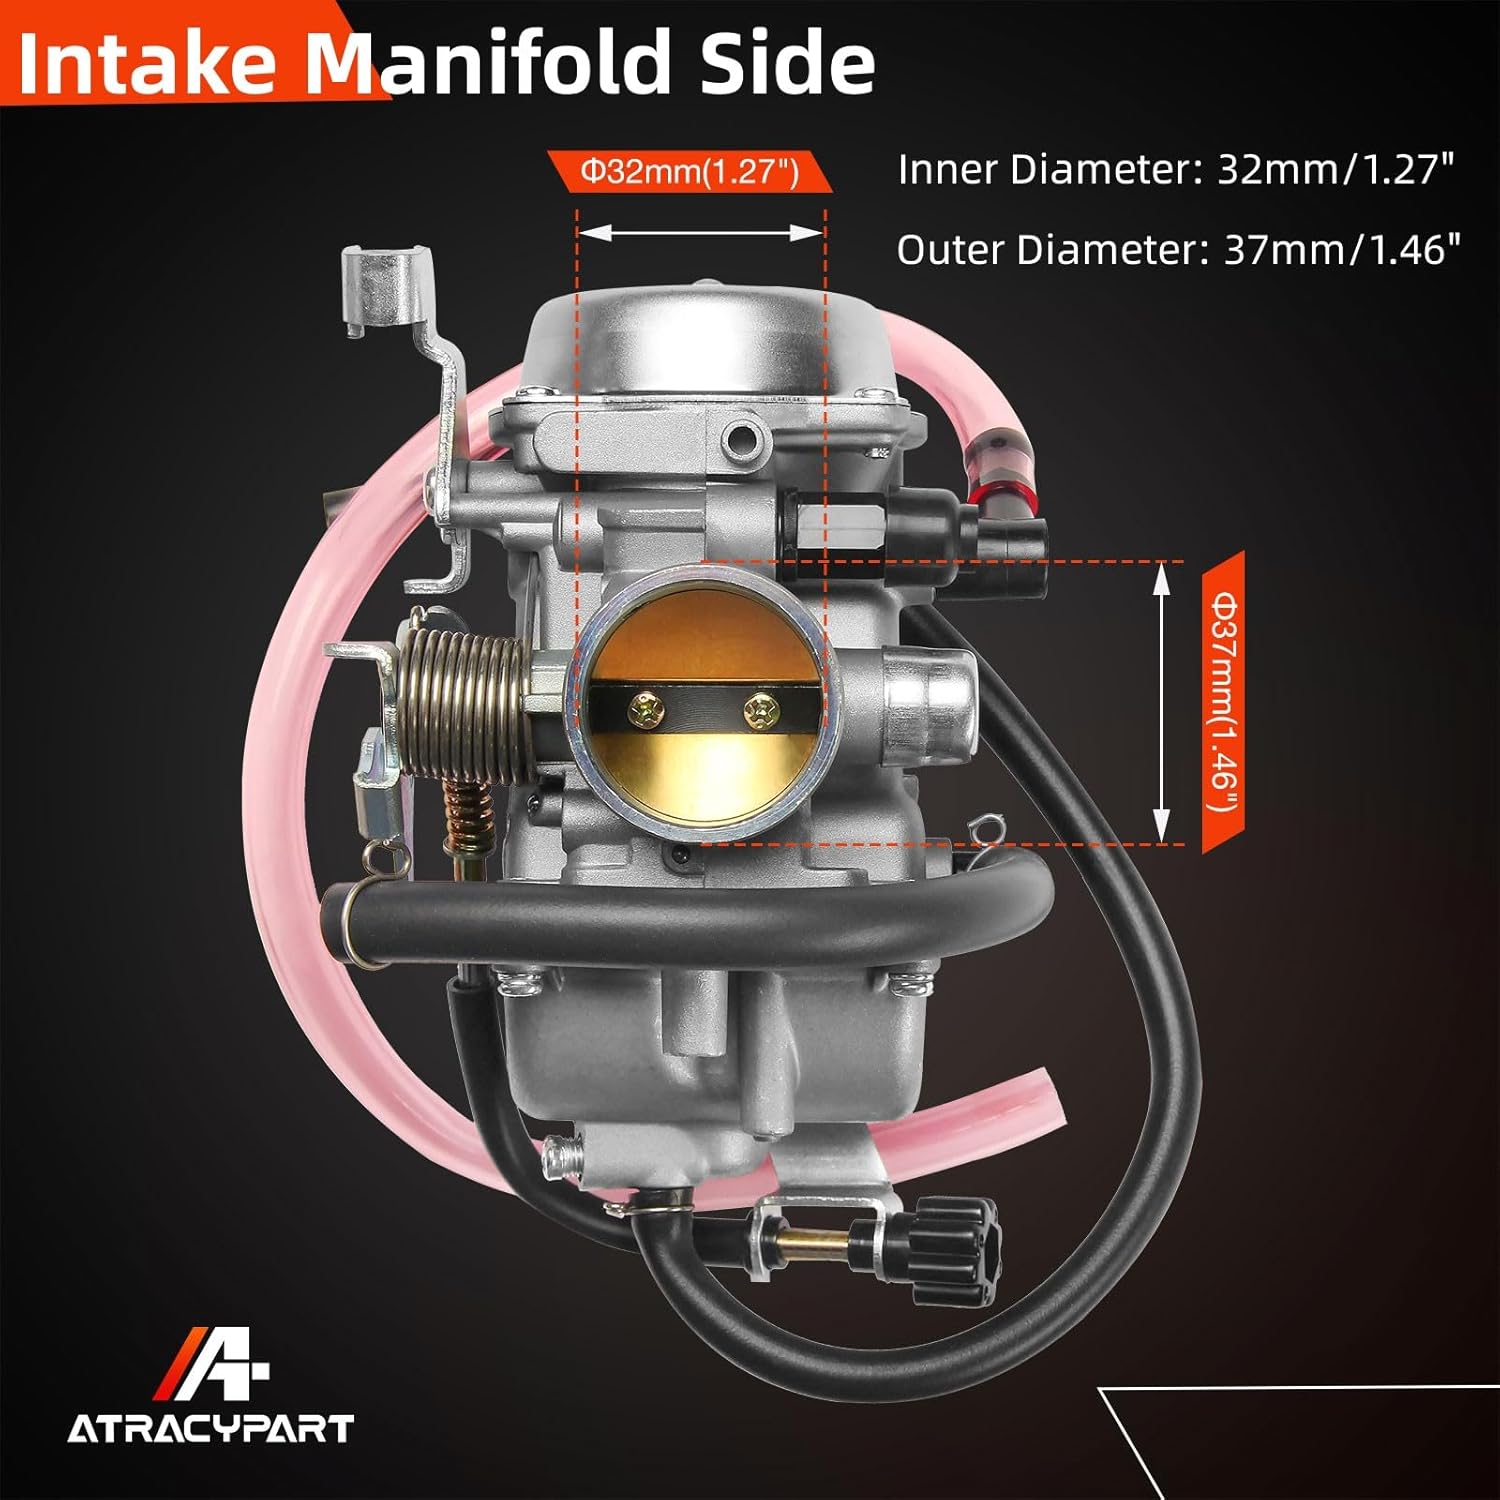
Image 3.1: Detailed view of the carburetor's intake manifold side with dimensions.
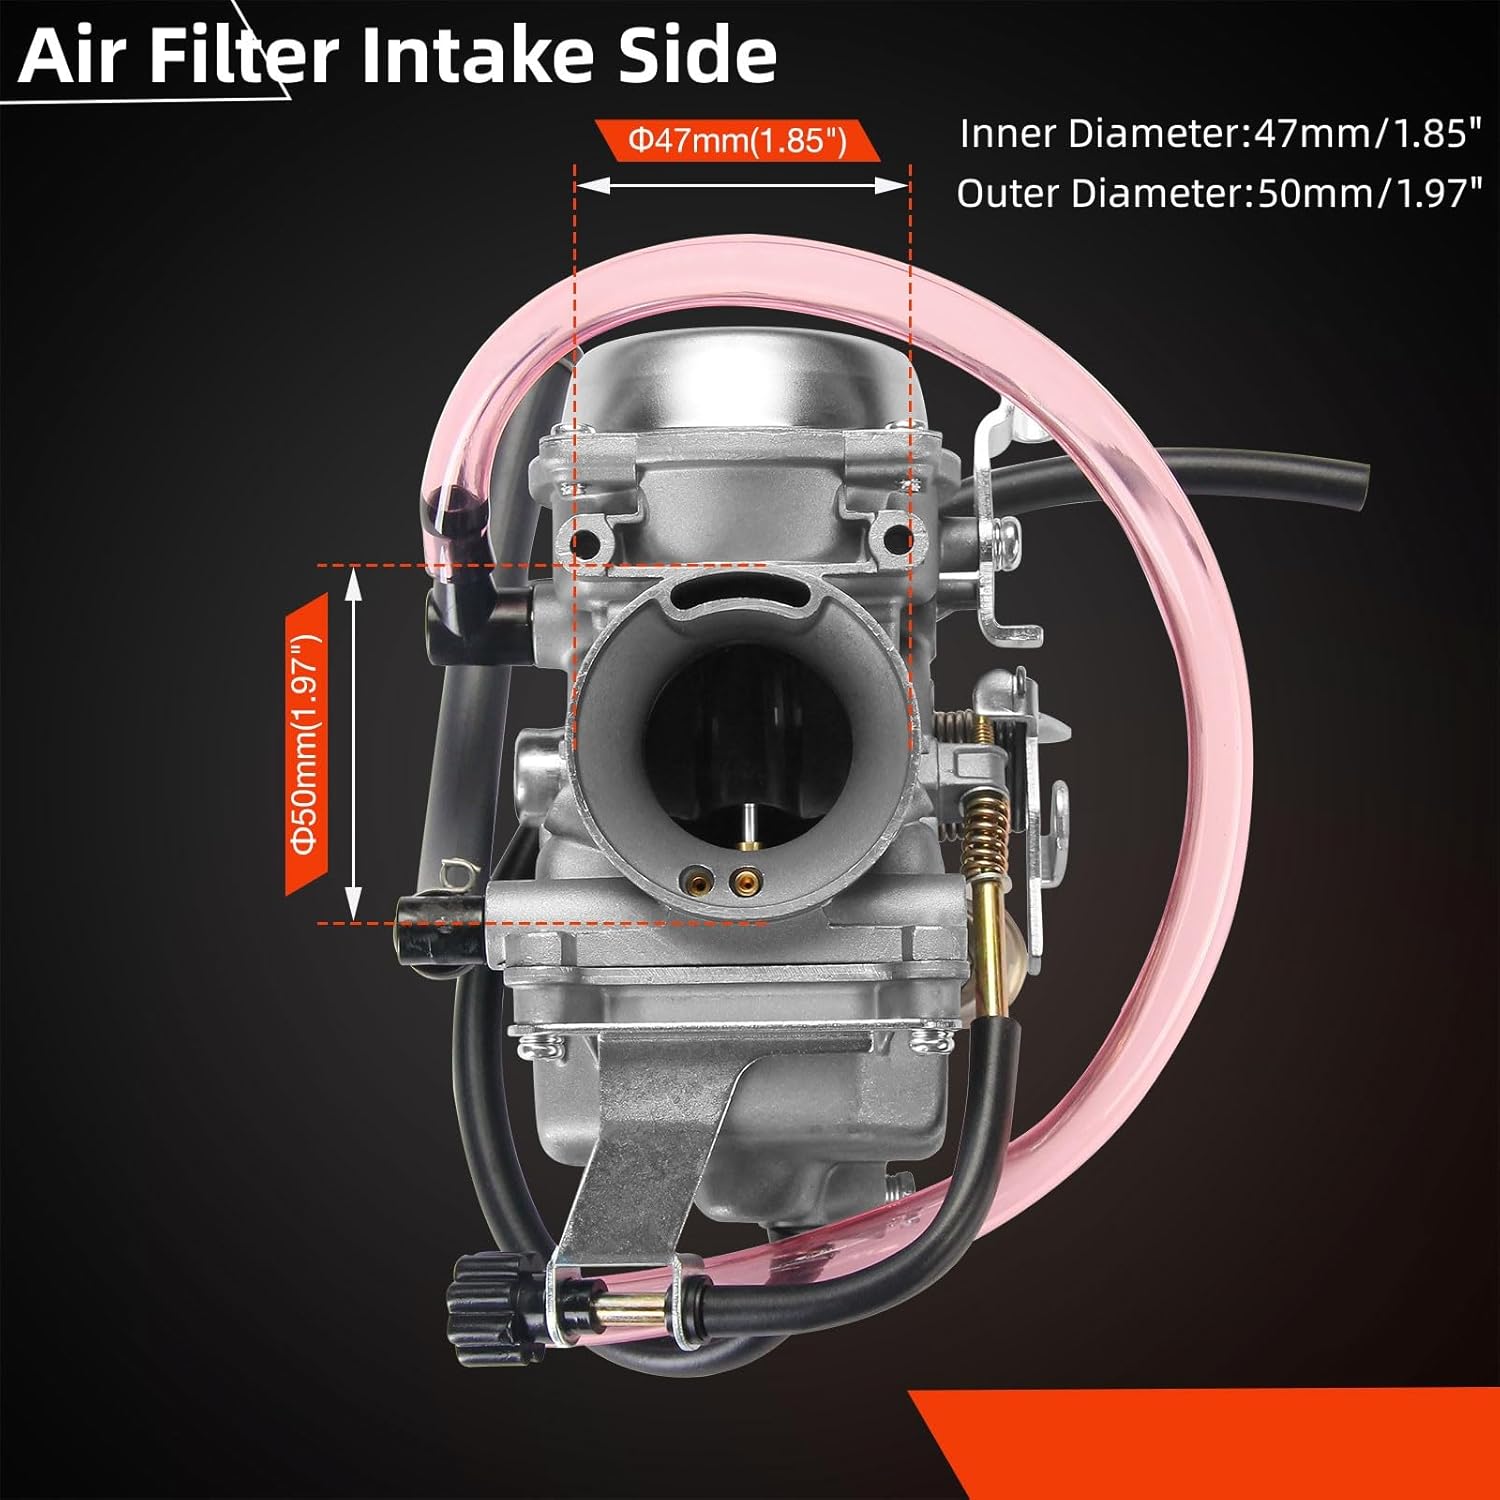
Image 3.2: Detailed view of the carburetor's air filter intake side with dimensions.
4. Setup and Installation
Carburetor installation requires mechanical knowledge. If you are unsure about any steps, it is recommended to seek professional assistance.
4.1 Pre-Installation Checks
- Verify Compatibility: Confirm the carburetor matches your ATV model and year as listed in Section 2.
- Inspect Components: Before installation, visually inspect the new carburetor for any signs of damage during shipping. Ensure all included components, such as the fuel petcock valve switch, are present.
- Compare Dimensions: Carefully compare the intake manifold and air filter intake side dimensions of the new carburetor with your existing unit to ensure a proper fit. Refer to Section 3 for detailed specifications.
4.2 Installation Steps (General Guide)
Note: Specific steps may vary depending on your ATV model. Always refer to your vehicle's service manual for detailed instructions.
- Safety First: Ensure the ATV is on a stable, level surface. Disconnect the battery and allow the engine to cool completely.
- Drain Fuel: Turn off the fuel supply and drain any fuel from the fuel tank and lines.
- Remove Old Carburetor: Disconnect the fuel line, vacuum lines, throttle cable, and choke cable from the old carburetor. Remove the mounting bolts and carefully detach the old carburetor from the intake manifold and air filter housing.
- Install New Carburetor: Position the new ATRACYPART Carburetor, ensuring gaskets are properly seated. Secure it with the mounting bolts.
- Connect Components: Reconnect the fuel line, vacuum lines, throttle cable, and choke cable. Ensure all connections are secure and free from leaks.
- Fuel Petcock Valve: If replacing the fuel petcock valve, install the new one and ensure it is properly sealed to prevent leaks.
- Initial Adjustments: Perform initial adjustments for idle speed and air/fuel mixture as per your ATV's service manual.

Image 4.1: General view of the ATRACYPART Carburetor, including the fuel petcock valve switch.
5. Operating Instructions
The carburetor is responsible for mixing fuel and air in the correct proportions for engine combustion. Proper operation ensures smooth engine performance and efficient fuel consumption.
5.1 Starting the Engine
- Ensure the fuel petcock valve is in the 'ON' or 'RESERVE' position.
- If the engine is cold, apply the choke as needed.
- Start the engine according to your ATV's manufacturer instructions.
- Once the engine warms up, gradually release the choke.
5.2 Adjustments
The carburetor is pre-set to OEM standards. However, minor adjustments may be necessary after installation or during routine maintenance to optimize performance for your specific conditions.
- Idle Speed: Adjust the idle screw to achieve the recommended idle RPM for your ATV.
- Air/Fuel Mixture: The mixture screw controls the air-fuel ratio at idle and low speeds. Adjust in small increments (e.g., 1/8 turn) and observe engine response. Turning clockwise leans the mixture, counter-clockwise enriches it.
Always consult your ATV's service manual for precise adjustment procedures and specifications.
6. Maintenance
Regular maintenance of your carburetor is crucial for consistent engine performance and to prevent issues such as fuel starvation or spilling.
6.1 Routine Checks
- Fuel Lines: Periodically inspect fuel lines for cracks, leaks, or blockages. Replace as necessary.
- Air Filter: Ensure the air filter is clean and properly installed. A dirty air filter can restrict airflow and affect the air/fuel mixture.
- Connections: Check all cable and hose connections to the carburetor for tightness and proper routing.
6.2 Cleaning
Over time, fuel deposits can accumulate inside the carburetor, affecting its performance. If you experience rough idling, poor acceleration, or reduced fuel efficiency, cleaning may be required.
- External Cleaning: Keep the exterior of the carburetor clean from dirt and debris.
- Internal Cleaning: For internal cleaning, it is often necessary to remove and disassemble the carburetor. Use a specialized carburetor cleaner to clear jets, passages, and the float bowl. This procedure is best performed by an experienced technician.
Always use fresh, clean fuel to minimize deposits and ensure optimal carburetor function.
7. Troubleshooting
This section addresses common issues you might encounter with your carburetor. For complex problems, professional diagnosis and repair are recommended.
7.1 Common Problems and Solutions
| Symptom | Possible Cause | Solution |
|---|---|---|
| Engine will not start or starts with difficulty | No fuel, clogged fuel filter, clogged jets, incorrect choke usage, spark plug issue | Check fuel level and petcock. Inspect/clean fuel filter. Clean carburetor jets. Adjust choke. Check spark plug. |
| Rough idle or stalling | Incorrect idle speed, clogged idle jet, air leak, improper air/fuel mixture | Adjust idle speed. Clean idle jet. Check for air leaks around intake manifold. Adjust air/fuel mixture screw. |
| Engine lacks power or runs poorly at high RPM | Clogged main jet, restricted air filter, fuel delivery issue | Clean main jet. Clean or replace air filter. Check fuel pump/lines. |
| Fuel leaks from carburetor | Damaged float, stuck float needle, worn gaskets, loose connections | Inspect float and needle valve. Replace gaskets. Tighten fuel line connections. |
| Runaway idle (engine revs high uncontrollably) | Throttle cable sticking, air leak, incorrect carburetor assembly (e.g., washer spacers) | Check throttle cable for free movement. Inspect for air leaks. (User reported: removing washer spacers from the pin sliding the barrel up and down resolved this issue on a 1989 KLF300C). |
8. Warranty and Support
ATRACYPART stands behind the quality of its products.
8.1 Warranty Information
This carburetor assembly comes with a 12-month warranty from the date of purchase. This warranty covers manufacturing defects and ensures the product meets high production standards.
8.2 Customer Support
If you encounter any problems, have questions, or require assistance with your ATRACYPART Carburetor, please do not hesitate to contact us. Our customer support team is available to help with inquiries and provide support.
You can reach us through the messaging system on the platform where you purchased the product.