Silscvtt 286707
Silscvtt 286707 Carburetor Replacement Instruction Manual
Model: 286707
Introduction
This manual provides essential instructions for the installation, operation, and maintenance of the Silscvtt 286707 Carburetor Replacement kit. This kit is designed to replace the carburetor in various Briggs & Stratton engines. Please read this manual thoroughly before proceeding with any installation or maintenance to ensure proper function and safety.
Compatibility
The Silscvtt 286707 Carburetor Replacement is compatible with the following Briggs & Stratton engine models:
- 28M707, 28M706
- 28D702, 28D707
- 286707, 289702, 289707, 283702, 283707
- 28B707, 28V707, 28F707, 28R707, 28T707
Note: Always compare your existing carburetor with the provided images and specifications in this manual to confirm compatibility before purchase and installation. Refer to your engine's original service manual for specific model details.
Package Contents
Upon opening the package, verify that all the following components are present and undamaged:
- 1x Carburetor
- 1x Gasket
- 1x Fuel Filter
- 1x Spark Plug
- 6x Clamps
- 1x Shut-off Valve
- 1x Fuel Line

Image 1: Overview of the Silscvtt 286707 Carburetor Replacement kit, including the carburetor, gasket, fuel filter, spark plug, clamps, shut-off valve, and fuel line.

Image 2: Detailed view of the individual components included in the kit: gasket, fuel filter, spark plug, shut-off valve, clamps, and fuel line.
Safety Information
Always prioritize safety when working with engine components. Failure to follow these safety guidelines may result in injury or damage to equipment.
- Disconnect Power: Before beginning any work, ensure the engine is turned off and the spark plug wire is disconnected to prevent accidental starting.
- Fuel Handling: Gasoline is highly flammable. Work in a well-ventilated area, away from open flames or sparks. Use appropriate containers for fuel.
- Eye Protection: Always wear safety glasses to protect your eyes from debris or fuel splashes.
- Gloves: Wear appropriate gloves to protect your hands from fuel, oil, and sharp edges.
- Hot Surfaces: Engines can remain hot for some time after operation. Allow the engine to cool completely before working on it.
- Ventilation: Ensure adequate ventilation when working with fuel or cleaning agents.
- Professional Assistance: If you are unsure about any step, consult a qualified mechanic or refer to your engine's specific service manual.
Setup and Installation
This section provides general steps for replacing a carburetor. Specific procedures may vary depending on your engine model. Always refer to your engine's service manual for detailed, model-specific instructions.
- Preparation:
- Ensure the engine is cool and the spark plug wire is disconnected.
- Drain the fuel tank or use a fuel clamp to prevent fuel flow.
- Place a drip pan under the carburetor area to catch any spilled fuel.
- Remove Air Filter Assembly:
- Carefully remove the air filter housing and air filter.
- Disconnect any hoses or linkages attached to the air filter base.
- Disconnect Fuel Line:
- Using the provided shut-off valve, turn off the fuel supply.
- Disconnect the fuel line from the old carburetor. Be prepared for residual fuel.
- Replace the old fuel filter with the new one provided in the kit, ensuring correct flow direction.
- Install the new fuel line and secure it with the provided clamps.
- Disconnect Linkages and Wires:
- Carefully note or photograph the connections of the throttle and choke linkages, and any electrical wires, before disconnecting them from the old carburetor.
- Remove Old Carburetor:
- Unbolt the old carburetor from the engine manifold.
- Remove the old gasket.
- Install New Carburetor:
- Clean the mounting surfaces on the engine manifold.
- Place the new gasket in position.
- Mount the new Silscvtt 286707 carburetor, ensuring it is seated correctly.
- Secure the carburetor with the bolts, tightening them evenly to prevent leaks.
- Reconnect Linkages and Wires:
- Reconnect the throttle and choke linkages and any electrical wires to the new carburetor, referring to your notes or photos.
- Reinstall Air Filter Assembly:
- Reattach the air filter base, install the air filter, and secure the air filter housing.
- Replace Spark Plug:
- Remove the old spark plug and install the new spark plug provided in the kit. Ensure it is tightened to the manufacturer's specifications.
- Final Checks:
- Double-check all connections, hoses, and bolts for tightness.
- Ensure the fuel line is securely clamped and the shut-off valve is open.
- Reconnect the spark plug wire.

Image 3: Front view of the carburetor, showing key dimensions for reference during installation. Main bore diameter is approximately 2.67cm (1.052in).

Image 4: Side view of the carburetor, illustrating additional dimensions for proper fitment. The fuel inlet nipple length is approximately 0.70cm (0.276in).
Operating Instructions
After successful installation, follow these general guidelines for operating your engine:
- Fuel: Use fresh, clean gasoline as recommended by your engine manufacturer. Stale or contaminated fuel can cause carburetor issues.
- Choke: For cold starts, engage the choke as per your engine's instructions. Disengage once the engine warms up.
- Starting: Follow your engine's specific starting procedure. If the engine does not start after a few attempts, avoid excessive cranking to prevent flooding.
- Idle Adjustment: The carburetor is typically pre-set. If idle adjustment is needed, refer to your engine's service manual.
Maintenance
Regular maintenance ensures optimal performance and longevity of your carburetor and engine.
- Keep Clean: As indicated in the product information, it is crucial to keep the carburetor and surrounding areas clean. Dust, dirt, and debris can clog air passages and jets.
- Fuel System: Regularly check the fuel filter and replace it as needed. Inspect fuel lines for cracks or leaks.
- Air Filter: Ensure the air filter is clean and properly installed. A dirty air filter can restrict airflow and affect carburetor performance.
- Spark Plug: Inspect the spark plug periodically. Clean or replace it if it shows signs of wear or fouling. The kit includes a new spark plug for initial replacement.
- Storage: Before long-term storage, drain the fuel system or use a fuel stabilizer to prevent gum and varnish buildup in the carburetor.
Troubleshooting
If you encounter issues after installing the new carburetor, consider the following common troubleshooting steps:
- Engine Not Starting:
- Check if the fuel shut-off valve is open.
- Ensure there is fresh fuel in the tank.
- Verify the spark plug wire is connected and the new spark plug is correctly installed.
- Confirm the choke is set correctly for starting.
- Engine Runs Poorly/Roughly:
- Inspect all fuel lines and connections for leaks or kinks.
- Check for proper seating of the carburetor gasket.
- Ensure the air filter is clean and not obstructed.
- Verify throttle and choke linkages are moving freely and correctly connected.
- Fuel Leaks:
- Check all fuel line connections and clamps for tightness.
- Ensure the carburetor bowl is securely fastened and the gasket is properly seated.
If problems persist, it is recommended to consult a professional mechanic or refer to your engine's specific service manual for advanced diagnostics.
Specifications
| Feature | Detail |
|---|---|
| Brand | Silscvtt |
| Model Number | 286707 |
| Item Weight | 14.1 ounces |
| Product Dimensions | 5.91 x 3.94 x 2.76 inches |
| Fuel Type | Gasoline |
| Recommended Use | Lawn Mower Engines |

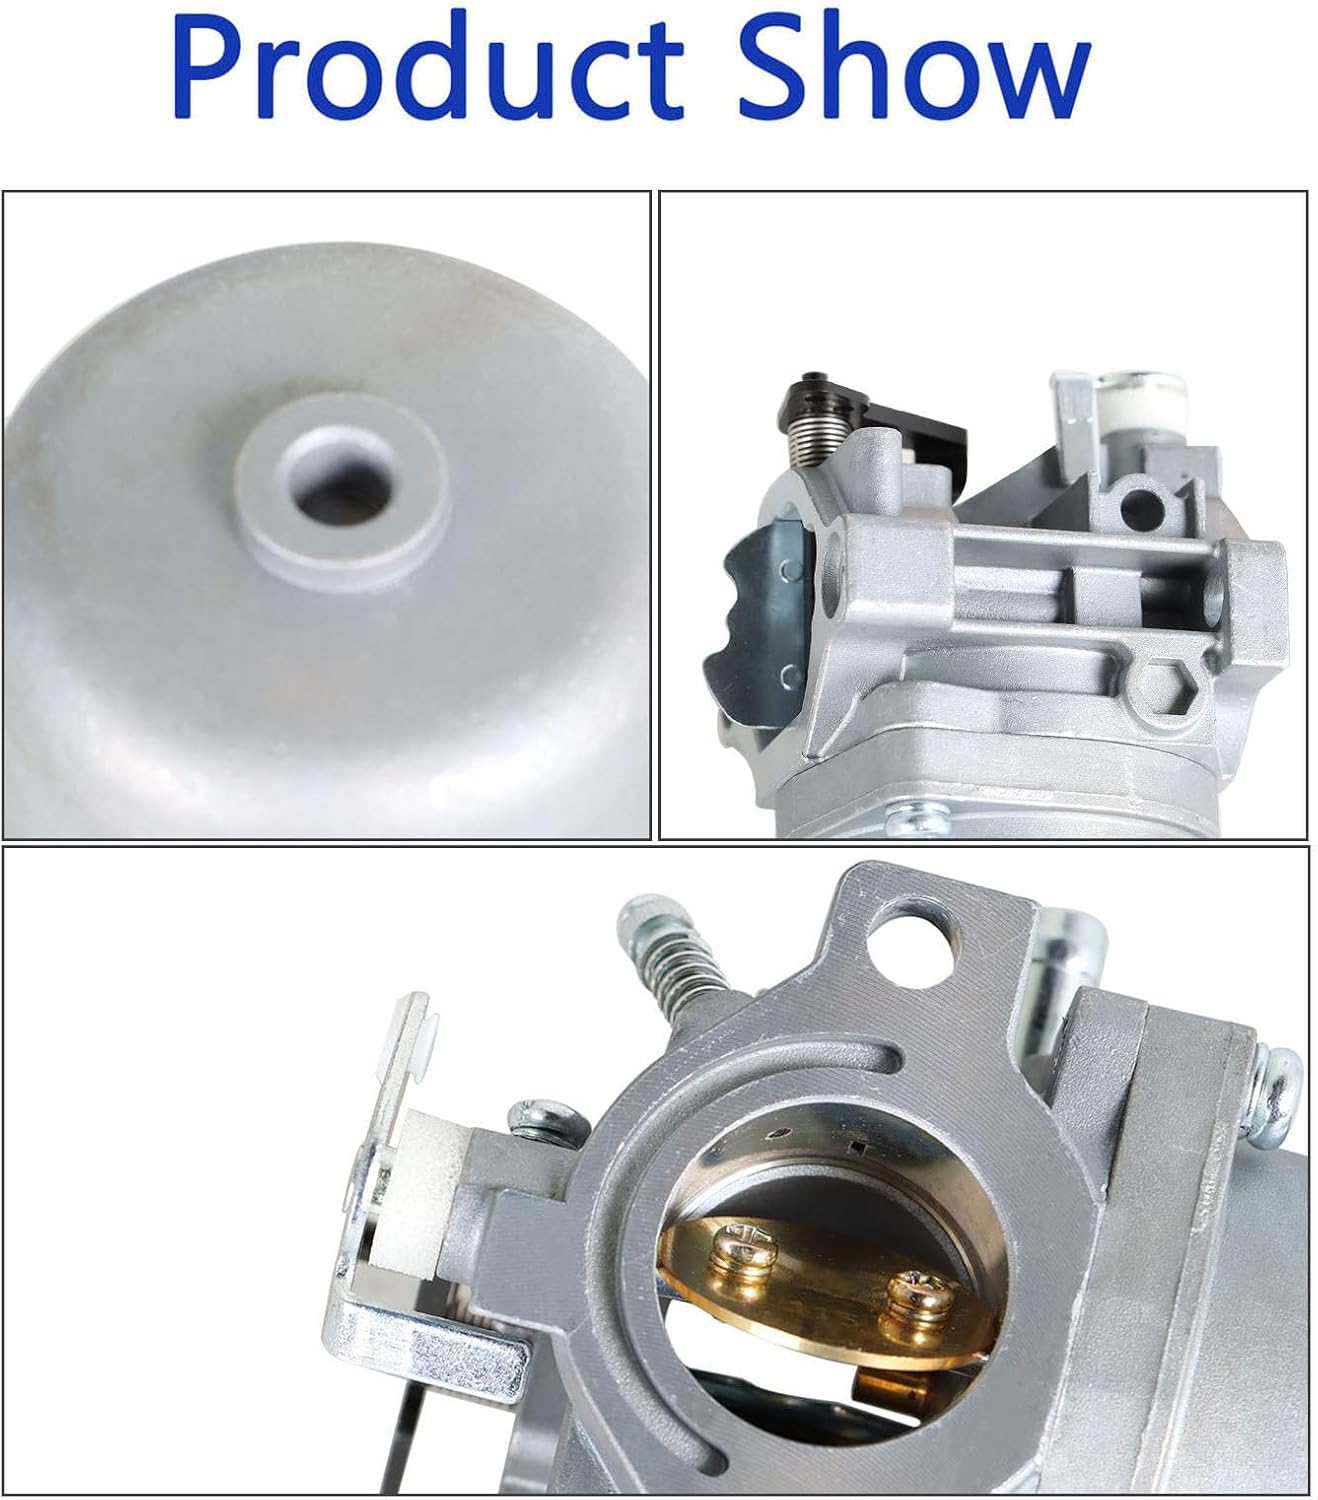

Image 5, 6, 7: Various detailed views of the Silscvtt 286707 Carburetor, highlighting its construction and components from multiple angles.
Warranty and Support
For information regarding warranty coverage or technical support, please contact the manufacturer, Silscvtt, directly through their official channels or the retailer from whom the product was purchased. Keep your purchase receipt as proof of purchase.
Ask a question about this manual
Ask about setup, troubleshooting, compatibility, parts, safety, or missing instructions. Manuals+ will review the question and use this page’s manual context to help answer it.