Netzu 6206D
Netzu Digital Alarm Clock User Manual
Model: 6206D | Brand: Netzu
1. Product Overview
The Netzu Digital Alarm Clock is a versatile bedside device designed to enhance your daily routine with its multi-functional features. It combines a clear digital time display with customizable RGB lighting, dual alarms, and a convenient USB charging port. This manual provides comprehensive instructions for setup, operation, and maintenance.

2. Setup
2.1 Powering the Device
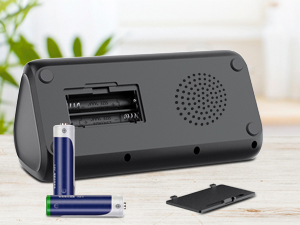
The Netzu Digital Alarm Clock is primarily mains powered. Connect the provided USB cable to the clock's USB-C port and the power adapter to a wall outlet. For backup during power outages, insert 2 AAA batteries (not included) into the battery compartment located on the bottom of the clock. Note that the alarm will not sound during battery backup mode, but time settings will be preserved.

2.2 Initial Time Setting
Upon first power-on or after a full power loss without battery backup, the clock will display a default time. To set the correct time:
- Press and hold the Time Setting button on the back of the clock until the hour digits begin to flash.
- Use the +, and - buttons to adjust the hour.
- Press the Time Setting button again to move to the minute setting. Use +, and - to adjust minutes.
- Press the Time Setting button one more time to confirm and exit.
You can switch between 12-hour and 24-hour time formats by short-pressing the Time Setting button.

3. Operating Instructions
3.1 Setting Alarms
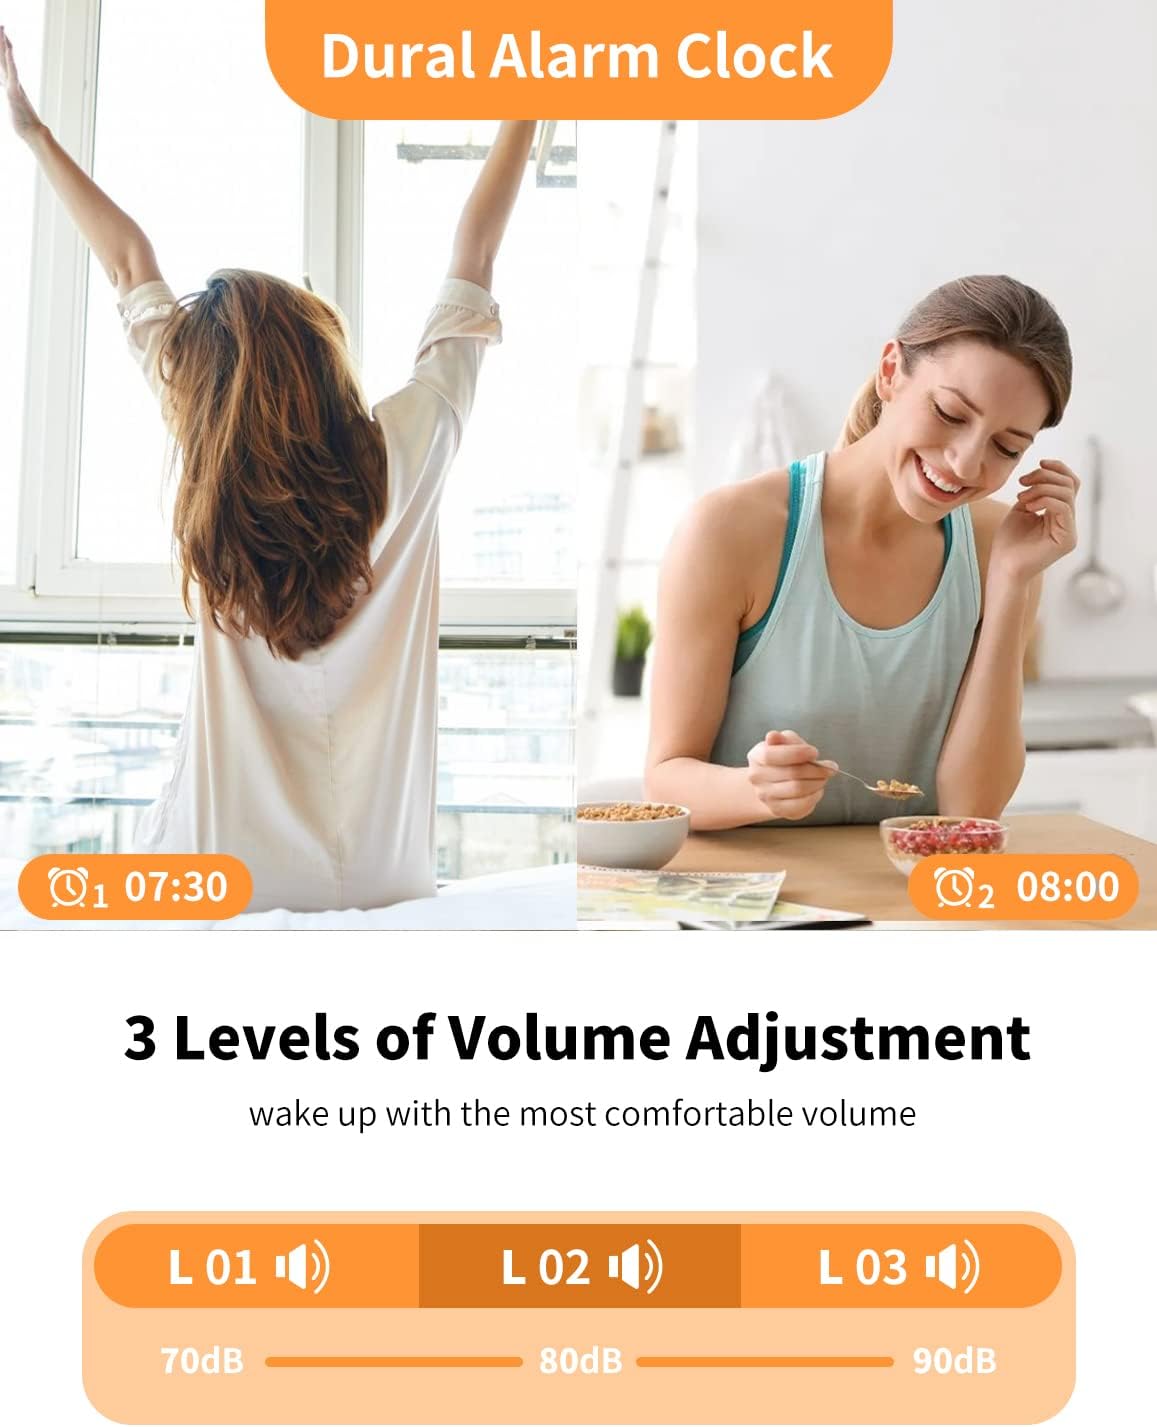
The clock features dual alarms (Alarm 1 and Alarm 2) to accommodate different schedules.
- Press and hold the Alarm 1 or Alarm 2 button until the hour digits flash.
- Use the +, and - buttons to set the desired alarm hour.
- Press the respective Alarm button again to move to the minute setting. Use +, and - to adjust minutes.
- Press the Alarm button one more time to confirm.
- To activate/deactivate an alarm, short-press the corresponding Alarm button. An alarm icon will appear/disappear on the display.
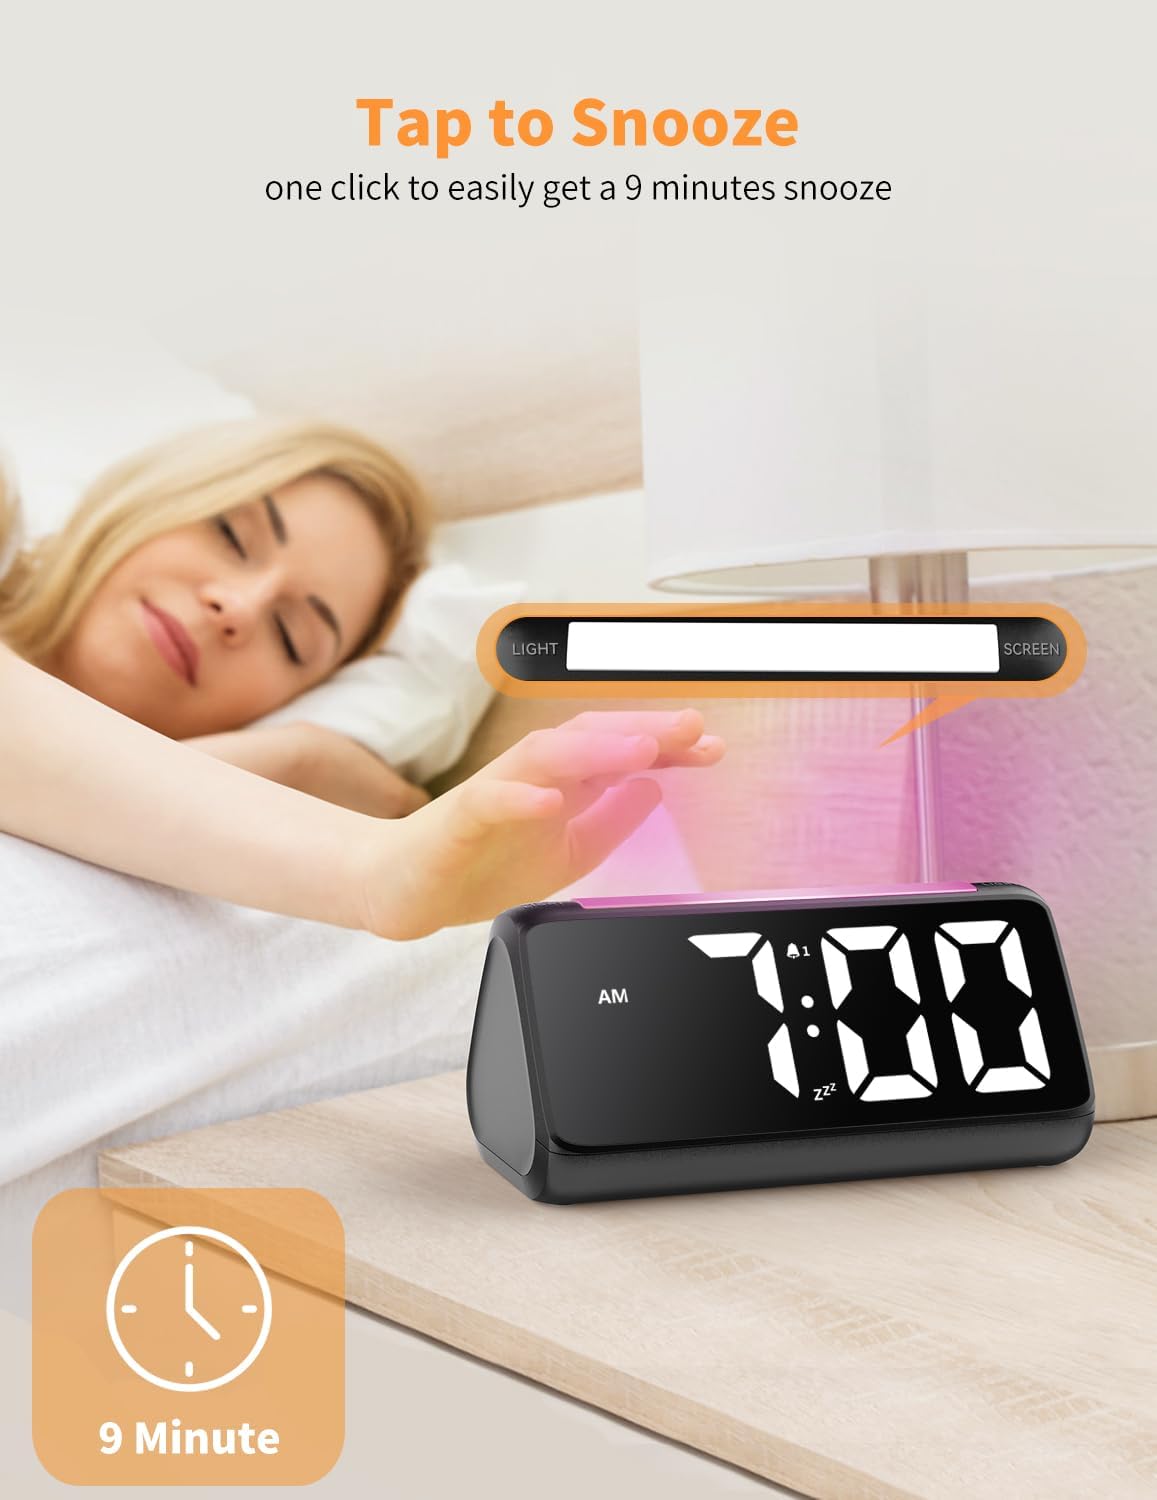
3.2 Snooze Function
When the alarm sounds, tap the large LIGHT/SCREEN button on top of the clock to activate the 9-minute snooze function. The alarm will sound again after 9 minutes.
3.3 Alarm Volume Adjustment
The alarm has 3 adjustable volume levels (75-95dB). Use the Volume button on the back of the clock to cycle through the volume options.
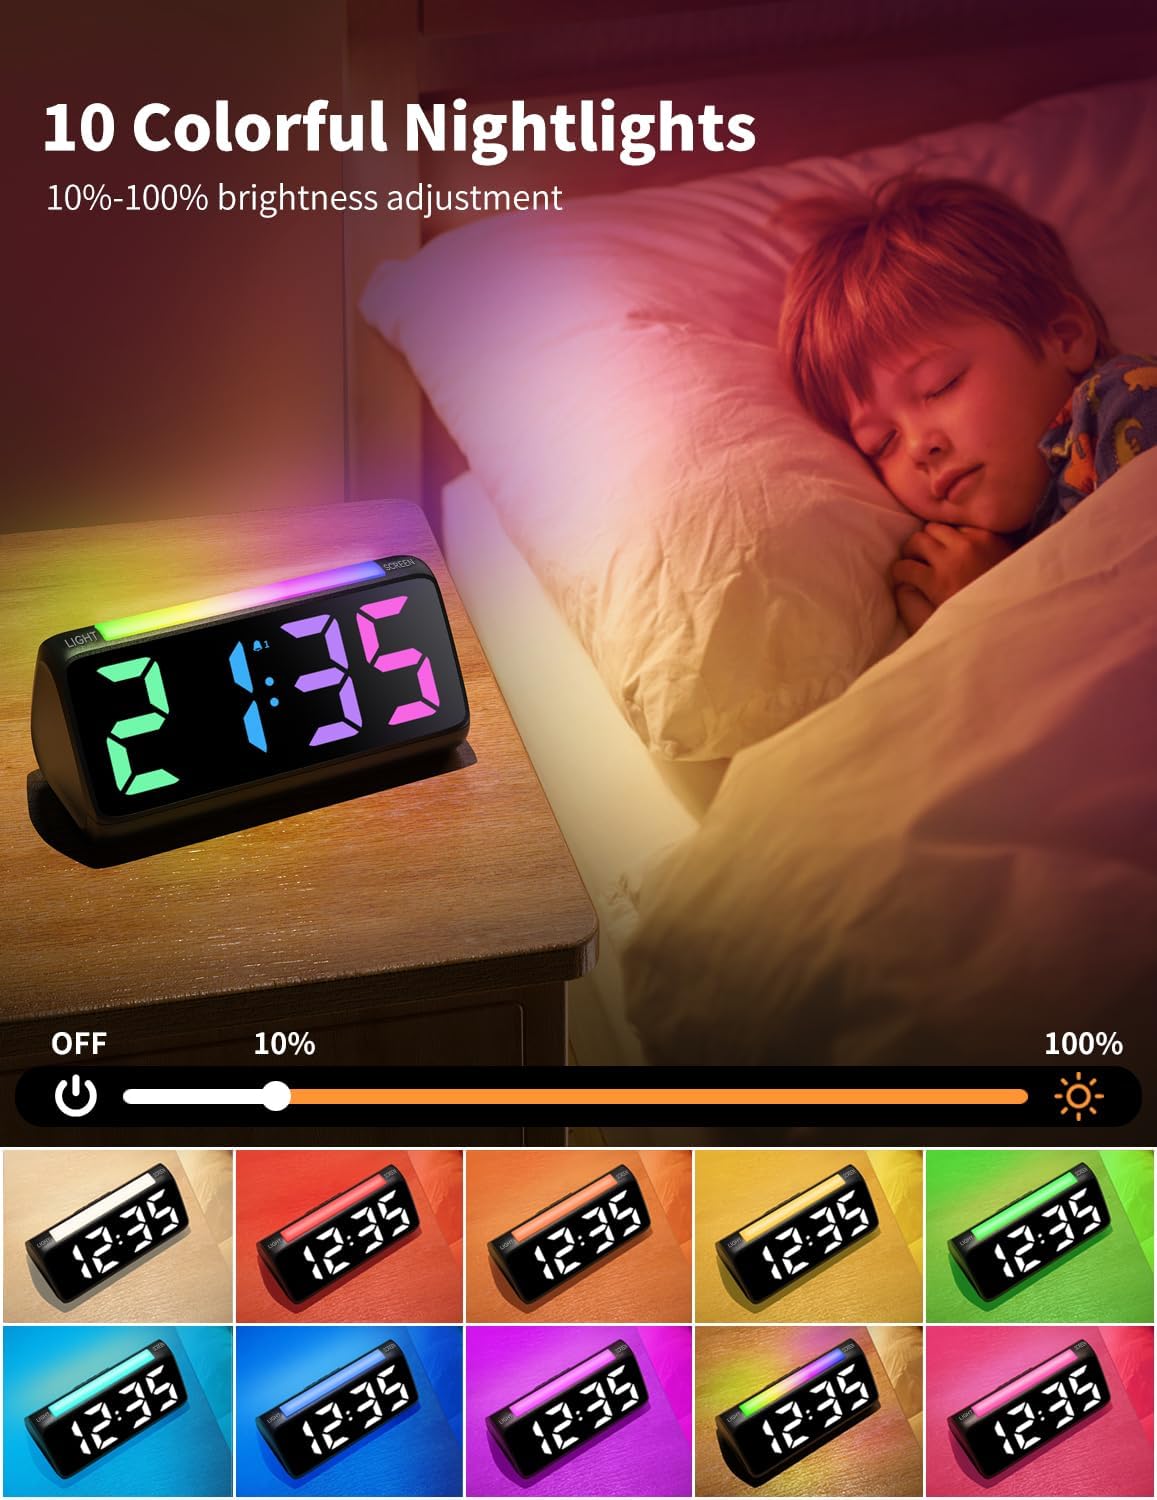
3.4 Night Light and Display Colors
The clock features a vibrant RGB night light and a multi-color time display. Both can be customized.
- Night Light Colors: Short-press the LIGHT/SCREEN button on top to cycle through 10 different night light colors, including a marquee lighting mode and RGB breathing mode.
- Display Colors: Short-press the SCREEN button on the side to cycle through 8 different display colors for the time digits.
3.5 Brightness Adjustment
You can adjust the brightness of both the time display and the night light independently using the scroll wheels on the side of the clock.
- Night Light Brightness: Use the top scroll wheel on the side to adjust the night light brightness from 10% to 100% or turn it off.
- Display Brightness: Use the bottom scroll wheel on the side to adjust the time display brightness from 0% to 100%.

3.6 USB Charging Port
The clock features a USB-A charging port on the back, allowing you to conveniently charge your phone or other devices overnight.
3.7 Official Product Video
Video 1: Official Netzu RGB Alarm Clock demonstration, showcasing color changes and features.
4. Maintenance
To ensure the longevity and optimal performance of your Netzu Digital Alarm Clock, follow these simple maintenance guidelines:
- Wipe the clock with a soft, dry cloth. Avoid using abrasive cleaners or solvents.
- Keep the device away from water and excessive humidity.
- Do not expose the clock to extreme temperatures or direct sunlight for prolonged periods.
5. Troubleshooting
If you encounter any issues with your Netzu Digital Alarm Clock, please refer to the following common troubleshooting steps:
| Problem | Possible Cause | Solution |
|---|---|---|
| Clock not turning on | No power supply or loose connection. | Ensure the power adapter is securely plugged into the clock and the wall outlet. Check the power outlet. |
| Alarm not sounding | Alarm not activated or volume too low. | Verify the alarm is activated (icon visible). Increase the alarm volume using the volume button. |
| Display is too dim/bright | Brightness setting needs adjustment. | Adjust the display brightness using the scroll wheel on the side of the clock. |
6. Specifications
- Brand: Netzu
- Model: 6206D
- Color: Black
- Display Type: Digital
- Product Dimensions: 6.3"W x 2.9"H
- Power Source: Corded Electric (2x AAA backup batteries not included)
- Special Features: Snooze, Dual Alarm, Adjustable Brightness, Adjustable Volume, USB Charging Port, RGB Night Light, Rainbow Time Display
- Material: Acrylonitrile Butadiene Styrene (Plastic)
- Item Weight: 10.6 ounces
7. Warranty and Support
For warranty information or technical support, please contact Netzu customer service through the retailer's platform or visit the official Netzu website. Please retain your proof of purchase for warranty claims.
Ask a question about this manual
Ask about setup, troubleshooting, compatibility, parts, safety, or missing instructions. Manuals+ will review the question and use this page’s manual context to help answer it.