
1. Introduction
Thank you for choosing the Little Cottage Co. 12x16 Value Gambrel Barn. This do-it-yourself precut kit provides a durable and spacious storage solution for your outdoor needs. This manual contains essential information for the safe and correct assembly, operation, and maintenance of your new shed. Please read all instructions carefully before beginning assembly and retain this manual for future reference.
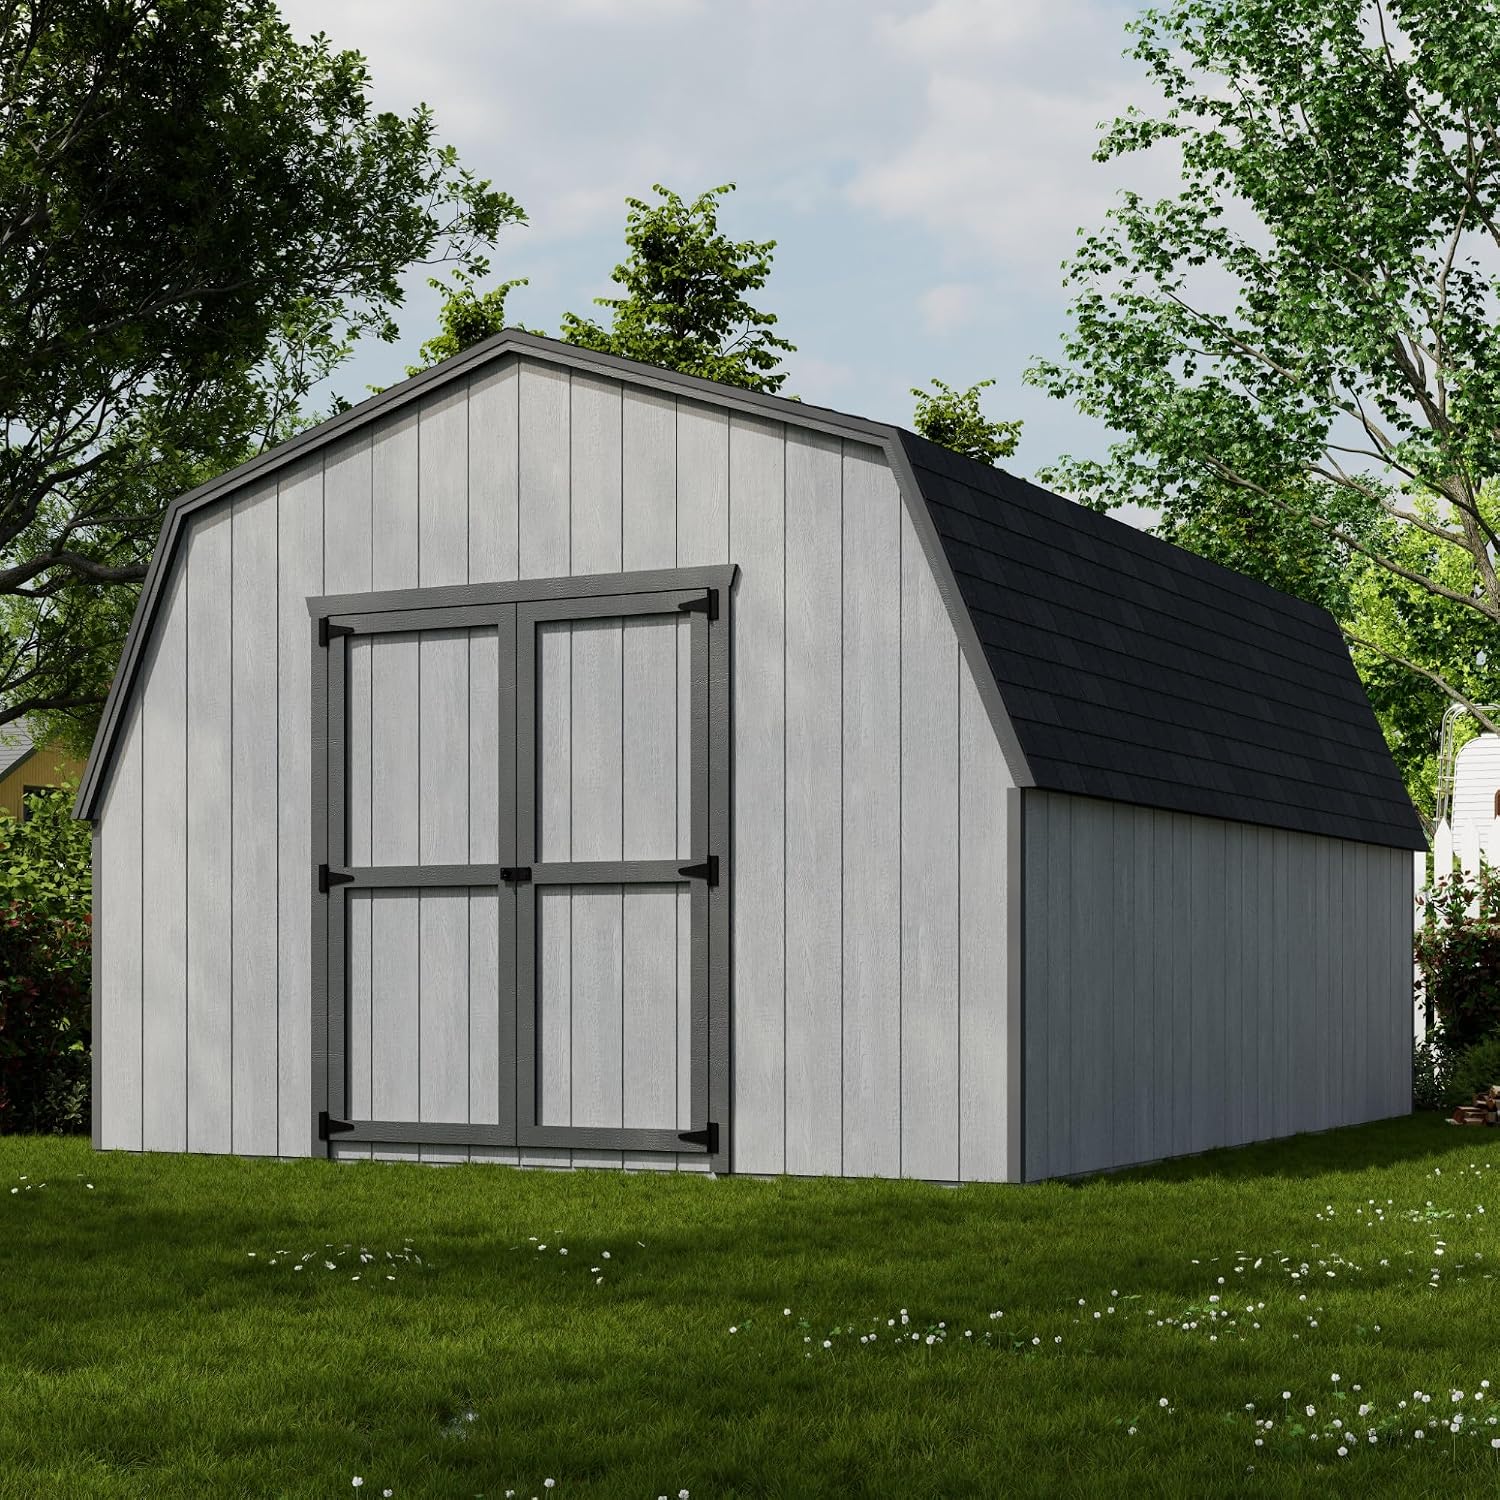
Image 1: The 12x16 Value Gambrel Barn installed in a garden environment.
2. Safety Information
WARNING: This is a pre-cut kit requiring assembly. Always follow the included instructions carefully. Use appropriate safety gear, including gloves and safety glasses, when handling components. Do not attempt to assemble or use the structure if you are not comfortable with the process. Keep children and pets away from the assembly area. Always maintain three points of contact when lifting heavy components. Consult a professional if you have any doubts about assembly or safety.
- Ensure the assembly area is level and clear of obstructions.
- Wear appropriate personal protective equipment (PPE) such as safety glasses, gloves, and sturdy footwear.
- Work with at least one other person for lifting and securing large or heavy components.
- Check all parts for damage before assembly. Do not use damaged parts.
- Follow all local building codes and regulations for shed installation.
3. Package Contents
Your Little Cottage Co. Value Gambrel Barn kit includes all necessary wood materials, which are pre-cut and labeled for ease of assembly. No additional cutting is required. The package also contains detailed illustrated instructions and all required hardware.

Image 2: Overview of the assembly process and included components: quick delivery, instructions, hardware, and labeled wood.
Before starting assembly, verify that all components listed in the packing list are present and undamaged. If any parts are missing or damaged, please contact Little Cottage Co. customer support.
4. Setup and Assembly
The assembly process for your Value Gambrel Barn is designed to be straightforward with pre-cut and labeled parts. Follow the step-by-step illustrated instructions provided in your kit.
4.1 Foundation Preparation
A complete wood floor is included with treated 2x4 floor framing and 5/8 inch OSB flooring. Ensure your chosen site is level and provides adequate drainage to protect the foundation.
4.2 Wall and Roof Assembly
The strong 2x4 construction is designed for durability. Assemble the wall sections according to the numbered parts and diagrams. The traditional gambrel style roof maximizes headroom and is assembled by attaching the pre-cut roof panels to the wall structure.
Video 1: This video demonstrates the assembly process for a 10x14 Value Gambrel Barn with 4 ft. Sidewalls, providing a visual guide to the construction steps.
4.3 Door Installation
The pre-assembled double door comes with a secure, heavy-duty door latch and is reinforced with 2x3 bracing to prevent sagging. Install the doors as indicated in the instructions, ensuring proper alignment and smooth operation.
Video 2: A 360-degree view of the Value Gambrel Barn with 4 ft. Sidewalls, showcasing its design and features.
5. Operation
Your 12x16 Value Gambrel Barn provides 192 sq. ft. of versatile storage space. The large 60 inch wide by 72 inch high double doors allow for easy access and storage of various items, including tools, lawn equipment, and other outdoor essentials.

Image 3: Detailed view of the large double doors, highlighting their dimensions and reinforced bracing.

Image 4: An interior perspective illustrating the versatile storage capabilities for tools, equipment, and other items.

Image 5: Close-up of the metal door latch, emphasizing its heavy-duty, secure, and rust-resistant features.
6. Maintenance
To ensure the longevity and appearance of your shed, regular maintenance is recommended.
6.1 Customization and Finishing
The high-quality LP SmartSide siding is primed and ready to paint. You can customize your Value Gambrel Barn with your choice of paint, shingles, and drip edge (purchased separately) to match your aesthetic preferences.

Image 6: Options for customizing your barn with paint, shingles, and drip edge.
6.2 General Care
- Periodically inspect the shed for any signs of wear, damage, or loose fasteners. Tighten as needed.
- Keep the exterior clean by washing with a mild detergent and water.
- Ensure proper drainage around the base of the shed to prevent moisture accumulation.
- Check the roof for any damaged shingles or leaks, especially after severe weather.
7. Troubleshooting
While the kit is designed for straightforward assembly, occasional issues may arise. Here are some common concerns and solutions:
- Parts do not fit correctly: Double-check the part numbers against the instruction manual diagrams. Ensure components are oriented correctly. If a part appears to be incorrectly cut or manufactured, contact customer support with details and photos.
- Doors are misaligned or stick: Verify that the shed foundation is level. Adjust hinges or shims as necessary to ensure the doors open and close smoothly without binding.
- Water leakage: Inspect the roof shingles for proper overlap and sealing. Check around windows and door frames for gaps and apply sealant if needed. Ensure the ground around the shed slopes away to prevent water pooling.
- Missing hardware: Refer to the hardware list in your manual. If items are missing, contact customer support for replacements.
8. Specifications
Below are the key specifications for the Little Cottage Co. 12x16 Value Gambrel Barn with Floor:
| Feature | Detail |
|---|---|
| Brand | Little Cottage Co. |
| Model Number | 12x16 VGB-4-PC-FK |
| Product Dimensions (D x W x H) | 192"D x 144"W x 107.5"H |
| Floor Area | 192 Square Feet |
| Material | Wood (LP SmartSide siding) |
| Frame Material | Wood (2x4 construction) |
| Base Material | Wood (Treated 2x4 floor framing, 5/8 in. OSB flooring) |
| Door Style | Double Doors |
| Door Width | 60 Inches |
| Door Height | 72 Inches |
| Sidewall Height | 4 ft. (approx. 48 inches) |
| Exterior Peak Height | 107.5 Inches |
| Water Resistance Level | Water Resistant |
| Assembly Required | Yes |
| Item Weight | 1459 Pounds |

Image 7: Key dimensions of the 12x16 Value Gambrel Barn.

Image 8: Comprehensive dimensions table for various Value Gambrel Barn sizes.
9. Warranty
The high-quality LP SmartSide siding used in your shed is backed by a 50-year limited warranty. For specific details regarding warranty coverage and claims, please refer to the warranty documentation included with your kit or contact Little Cottage Co. directly.
10. Support
If you have any questions, require assistance with assembly, or need to report missing or damaged parts, please contact Little Cottage Co. customer support. Contact information can typically be found on the packaging or within the included documentation.
For additional resources and product information, you may visit the official Little Cottage Co. store on Amazon: Little Cottage Co. Store