
1. Introduction
Thank you for choosing the LEIKE 16.2-inch Digital Wall Clock. This versatile clock features a large LED display, remote control operation, multiple color options, dual alarms, and essential functions like date, temperature, and automatic Daylight Saving Time (DST) adjustment. This manual provides detailed instructions for setup, operation, and maintenance to ensure optimal performance and longevity of your device.
2. Features
- Large LED Display: 16-inch screen with 4.5-inch jumbo digits for clear visibility from a distance.
- Remote Control: Conveniently adjust settings, brightness, alarms, and timer without direct interaction with the clock.
- Dynamic RGB Colors: Choose from 8 single RGB colors or 3 dynamic flowing color modes to match your environment.
- 10-Level Dimmable Night Light: Adjustable bottom night light provides ambient illumination.
- Auto Brightness Sensor: Built-in sensor automatically adjusts display brightness based on ambient light conditions.
- Dual Alarm Function: Set two independent alarms for different schedules.
- Automatic DST Adjustment: Automatically updates for Daylight Saving Time in March and November.
- Temperature Display: Shows indoor temperature in Celsius or Fahrenheit.
- Date Display: Displays month and day.
- 12/24H Time Modes: Easily switch between 12-hour and 24-hour time formats.
- Time Memory Function: Internal CR2032 battery preserves time settings during power outages.
- Versatile Placement: Designed for both wall mounting and desktop use.
- Countdown Timer: Integrated timer function for various activities.

Image: Overview of the multifunctional features of the LEIKE Digital Wall Clock.
3. Package Contents
Please check the package contents carefully. If any items are missing or damaged, please contact customer support.
- 1 x LEIKE 16.2-inch Digital Wall Clock (Model PH-01)
- 1 x Remote Control
- 1 x 5V/2A Power Adapter
- 1 x 11.5 feet USB Power Cable
- 1 x User Manual
- 1 x CR2032 Memory Battery (pre-installed)
4. Setup
4.1 Power Connection
- Unpack all components from the box.
- Connect the provided 11.5 feet USB power cable to the clock's power input port.
- Plug the other end of the USB cable into the 5V/2A power adapter.
- Insert the power adapter into a standard electrical outlet. The clock will power on and display the default time.
Note: This clock is designed to be outlet-powered and is not battery-operated for its main functions. The pre-installed CR2032 battery serves as a memory backup to retain time settings during power interruptions.
4.2 Placement Options
The clock can be placed on a desktop or mounted on a wall.
- Desktop Placement: Simply place the clock on any flat, stable surface.
- Wall Mounting: Use the integrated keyholes on the back of the clock to hang it securely on screws (not included) in your desired wall location.

Image: Dimensions and rear view of the clock for wall mounting.
5. Operating Instructions
All functions of the clock are controlled via the included remote control.
5.1 Setting Time and Date
- Press the SET button on the remote control to enter time setting mode.
- Use the UP/DOWN arrows to adjust the hour, then press SET to confirm.
- Repeat for minutes, year, month, and day.
- Press SET again to exit time setting mode.
- To switch between 12-hour and 24-hour format, press the 12/24H button.
5.2 Setting Alarms
The clock supports two alarms (AL1 and AL2).
- Press the ALARM button on the remote. AL1 will flash.
- Use UP/DOWN arrows to set the alarm hour, then press ALARM.
- Repeat for alarm minutes, then press ALARM.
- To activate/deactivate AL1, press the ALARM ON/OFF button. An alarm icon will appear/disappear.
- Repeat steps for AL2 if desired.
- To stop a sounding alarm, press any button on the remote.
5.3 Adjusting Brightness and Colors
- Display Brightness: Press the BRIGHTNESS button to cycle through 10 levels of display brightness, including full dark. The clock also features an automatic dimming sensor that adjusts brightness based on ambient light.
- RGB Colors: Press the COLOR button to cycle through 8 single RGB colors and 3 dynamic flowing color modes.
- Night Light: Press the NIGHT LIGHT button to adjust the 10 levels of the bottom night light.

Image: Dynamic RGB display options for the clock.
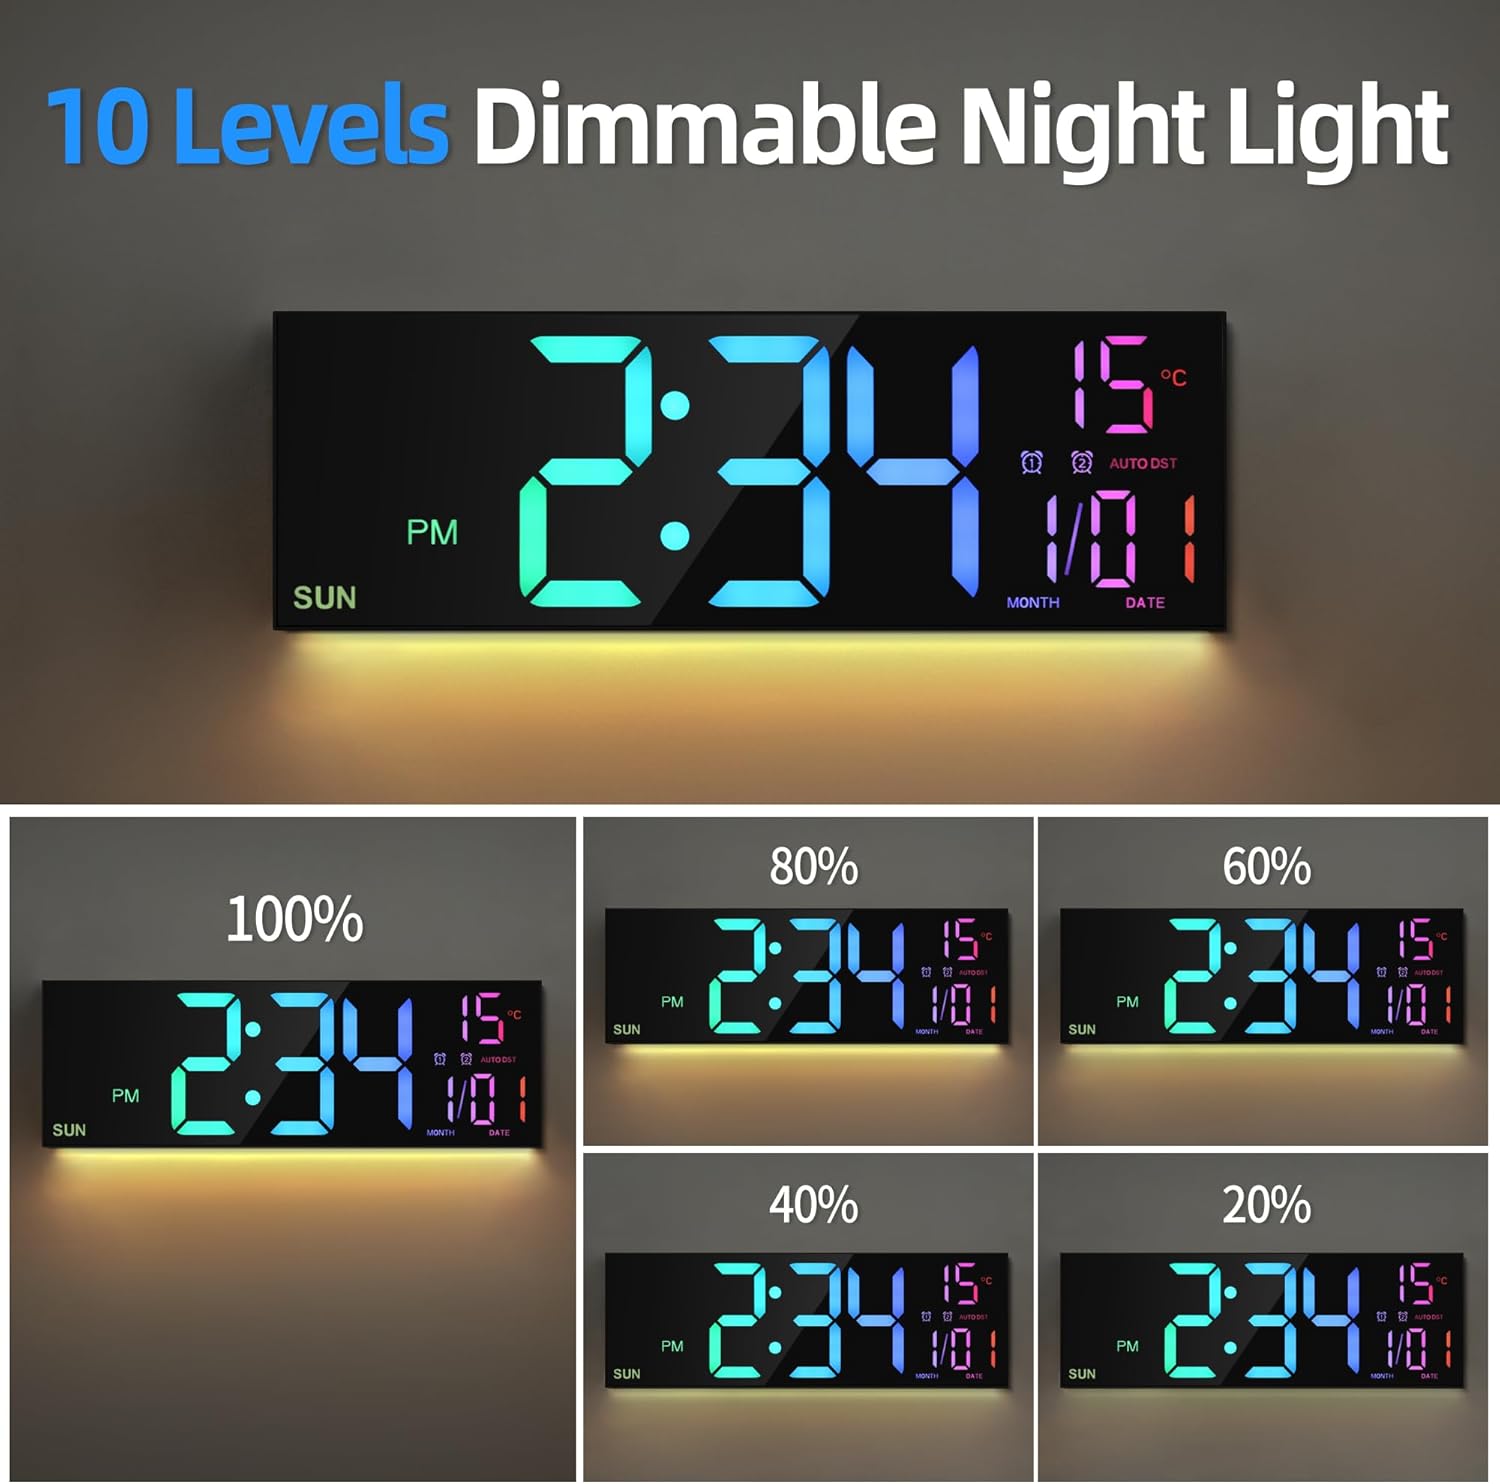
Image: Illustration of 10 levels of dimmable night light.
5.4 Temperature Display
Press the °C/°F button on the remote to switch the temperature display between Celsius and Fahrenheit.
5.5 Daylight Saving Time (DST)
The clock is equipped with an automatic DST function. It will automatically adjust the time in March (spring forward) and November (fall back).
5.6 Countdown Timer
- Press the TIMER button on the remote.
- Use the UP/DOWN arrows to set the desired countdown time (hours, minutes, seconds).
- Press TIMER again to start the countdown.
- To pause/resume, press TIMER. To reset, press the RESET button.
Video: Demonstration of the LEIKE Large Display Digital Wall Clock features, including color changes and time display.
6. Maintenance
6.1 Cleaning
To clean the clock, gently wipe the display and casing with a soft, dry cloth. Avoid using abrasive cleaners, solvents, or chemical sprays, as these can damage the surface.
6.2 Power Supply
Ensure the clock is always connected to a stable 5V/2A power source. Disconnect the power adapter during electrical storms or when not in use for extended periods.
6.3 Memory Battery Replacement
The internal CR2032 battery provides backup for time settings. If the clock consistently loses time after a power outage, the memory battery may need replacement. Refer to the product packaging or contact customer support for instructions on how to safely replace the battery.
7. Troubleshooting
| Problem | Possible Cause | Solution |
|---|---|---|
| Clock does not power on. | Power adapter not connected or faulty. | Ensure the power cable is securely connected to the clock and the adapter is plugged into a working outlet. Try a different outlet or adapter if available. |
| Time/Date is incorrect. | Not set correctly or power interruption. | Manually set the time and date using the remote control. If the issue persists after power outages, the internal CR2032 memory battery may need replacement. |
| Display is too dim or too bright. | Brightness settings incorrect or auto-dimming active. | Press the BRIGHTNESS button on the remote to adjust the display intensity. If auto-dimming is active, the brightness will change with ambient light. |
| Remote control is not working. | Remote battery low or obstruction. | Ensure there is a clear line of sight between the remote and the clock. Replace the remote control battery if necessary. |
| Temperature reading seems inaccurate. | Clock placed near heat/cold source or minor sensor variation. | Relocate the clock away from direct sunlight, vents, or other temperature-influencing sources. Small variations (1-3 degrees) are normal for internal sensors. |
8. Specifications
| Feature | Detail |
|---|---|
| Brand | LEIKE |
| Model Number | PH-01 |
| Display Type | Digital LED |
| Product Dimensions | 15.7"W x 5.11"H |
| Power Source | DC Power (5V/2A adapter) |
| Memory Battery | 1 x CR2032 (included) |
| Special Features | Alarm, Auto Dimmable, Calendar Display, LED Display, Temperature Display, 8 RGB Colors, 10 Levels Night Light, Remote Control, Auto DST |
| Mounting Type | Wall Mount |
| Frame Material | Acrylonitrile Butadiene Styrene |
| Item Weight | 1.61 pounds |
| Connectivity Technology | USB |
9. Warranty & Support
9.1 Limited Warranty
The LEIKE 16.2-inch Digital Wall Clock comes with a limited manufacturer's warranty. Please refer to the product packaging or the official LEIKE website for specific warranty terms and conditions. This warranty typically covers defects in materials and workmanship under normal use.
9.2 Customer Support
For any questions, technical assistance, or warranty claims, please contact LEIKE Customer Support through the following channels:
- Email: Refer to your product packaging for the support email address.
- Online: Visit the official LEIKE website for FAQs and support resources.
Please have your product model number (PH-01) and purchase information ready when contacting support.