1. Introduction
This manual provides essential instructions for the safe and efficient use of your Pellethead Freedom Stove BallBQ 12-Inch Portable Charcoal Grill. Please read all instructions carefully before assembly and operation. Retain this manual for future reference.
The Freedom Stove BallBQ is a lightweight, portable charcoal grill designed for outdoor cooking. It features a 12-inch diameter cooking surface, a latching lid for secure transport, and adjustable air vents for temperature control. Its compact size makes it suitable for tailgating, camping, and other outdoor gatherings.
2. Safety Information
WARNING: Failure to follow these safety instructions could result in fire, injury, or property damage.
- Outdoor Use Only: This grill is designed for outdoor use only. Do not operate indoors or in enclosed spaces.
- Clearance: Maintain a minimum distance of 10 feet (3 meters) from combustible materials, structures, and other objects.
- Stable Surface: Always place the grill on a flat, stable, non-combustible surface.
- Supervision: Never leave a lit grill unattended. Keep children and pets away from the grill.
- Fuel: Use only charcoal briquettes or lump charcoal as fuel. Do not use gasoline, kerosene, or alcohol to light or relight charcoal.
- Hot Surfaces: The grill surfaces become extremely hot during use. Use heat-resistant gloves and appropriate tools.
- Ash Disposal: Allow charcoal to cool completely before disposing of ashes. Never dispose of hot ashes in combustible containers.
- Ventilation: Ensure proper ventilation to prevent carbon monoxide buildup.
3. Package Contents
Verify that all components are present before assembly:
- Grill Body (Lower Bowl)
- Grill Lid with Handle and Air Vent
- Cooking Grate
- Charcoal Grate
- Three (3) Legs
- Lid Latch Mechanism
- Hardware for Assembly (if required, typically pre-attached for legs)

Figure 3.1: Assembled Freedom Stove BallBQ Grill.
4. Setup and Assembly
The Freedom Stove BallBQ grill requires minimal assembly. Follow these steps:
- Unpack Components: Carefully remove all parts from the packaging.
- Attach Legs: Securely attach the three legs to the lower grill bowl. Ensure they are firmly seated and stable.
- Insert Charcoal Grate: Place the smaller charcoal grate at the bottom of the grill bowl. This elevates the charcoal for better airflow.
- Place Cooking Grate: Position the larger cooking grate on top of the grill bowl, resting on the designated supports.
- Attach Lid: Place the lid on the grill bowl. The lid features a handle and an adjustable air vent. Ensure the lid latch mechanism is functional for secure transport.
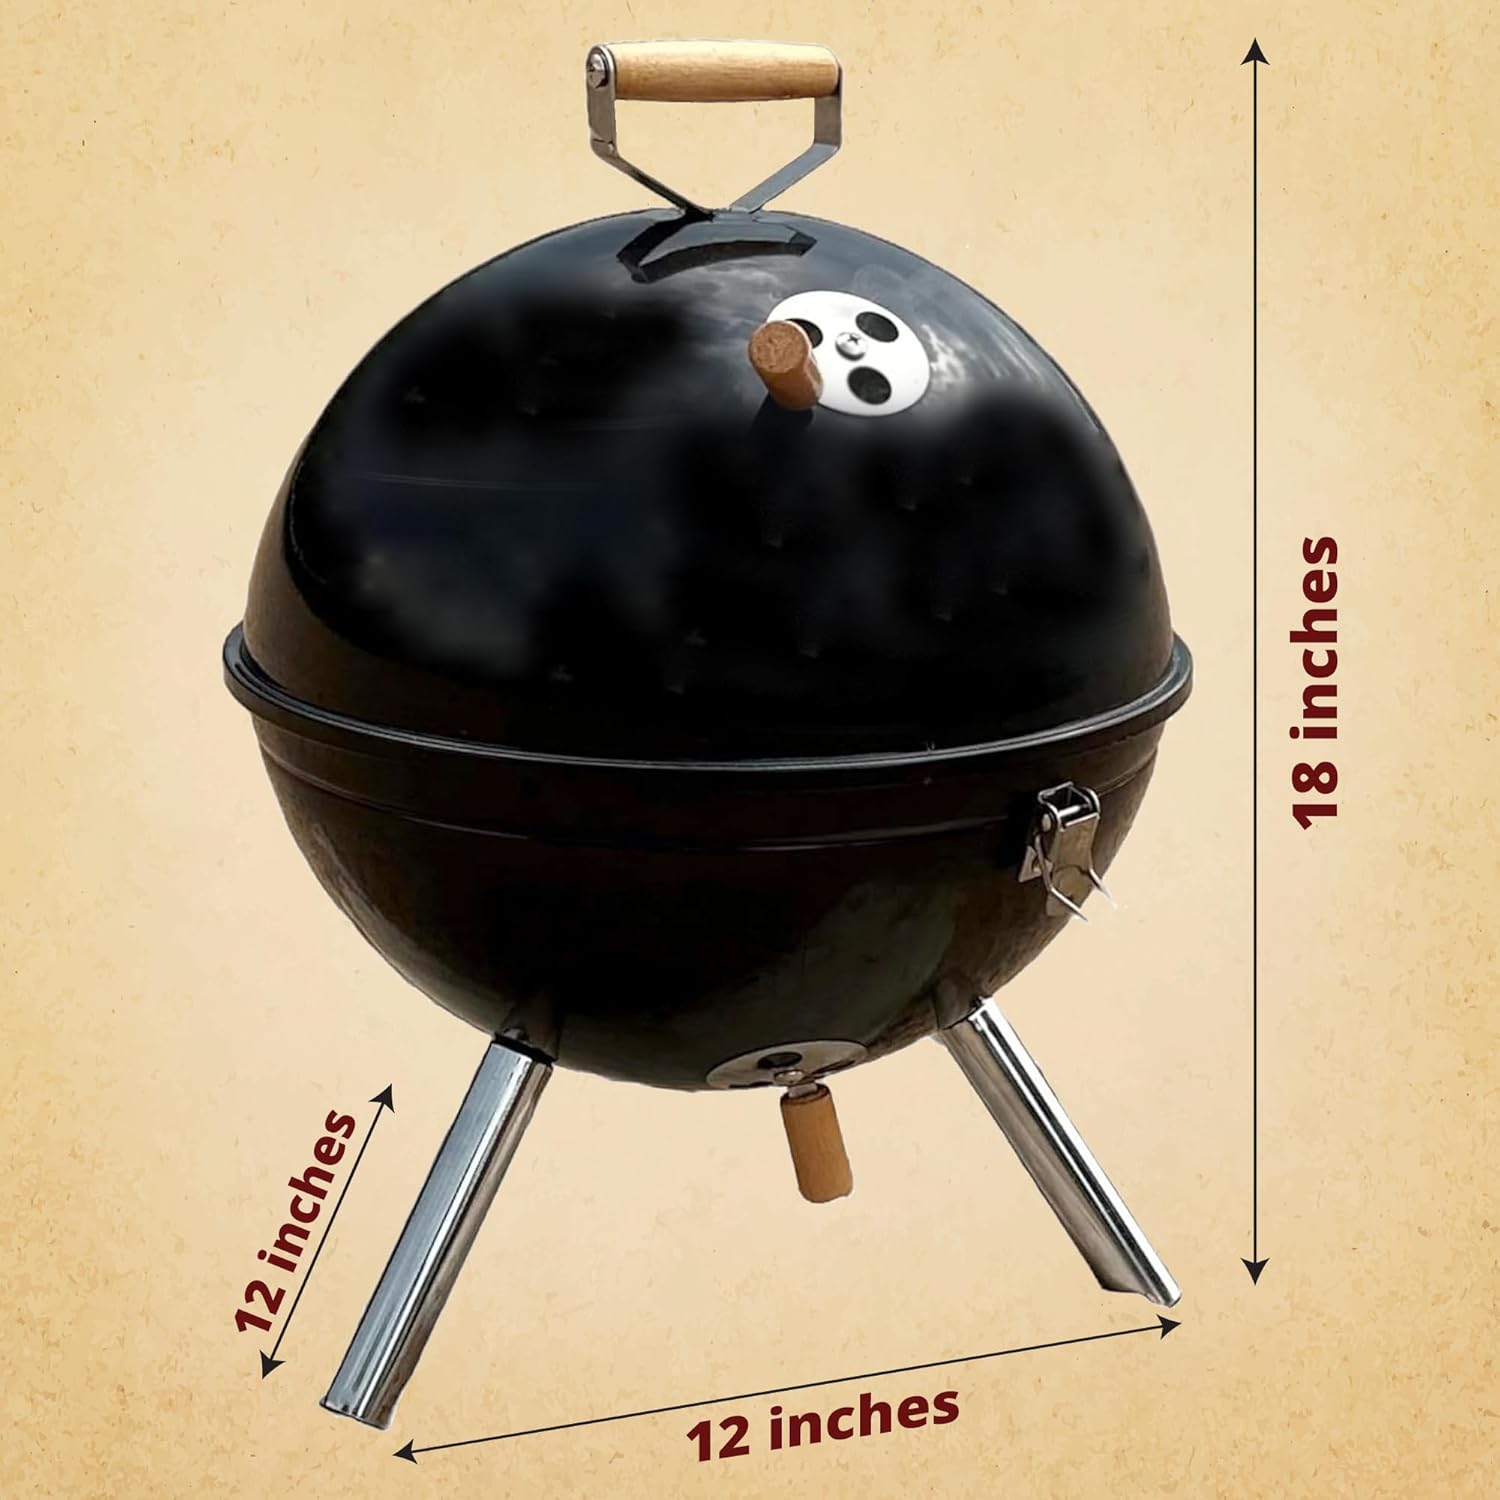
Figure 4.1: Grill dimensions for reference during setup.

Figure 4.2: Key features including the locking lid, cooking grate, and air vent.
5. Operating Instructions
5.1 Lighting the Charcoal
- Prepare Charcoal: Arrange charcoal briquettes or lump charcoal on the charcoal grate. Do not overfill.
- Use a Starter: Use a charcoal chimney starter or solid fire starters to ignite the charcoal. Avoid liquid accelerants.
- Wait for Ash: Allow the charcoal to burn until it is covered with a light gray ash (approximately 15-20 minutes).
- Spread Charcoal: Once ashed over, spread the charcoal evenly or arrange for direct/indirect cooking as desired.
5.2 Temperature Control
The Freedom Stove BallBQ features dual adjustable air vents for temperature management:
- Bottom Vent: Located on the lower bowl, this controls the oxygen supply to the charcoal. Opening it increases airflow and temperature; closing it reduces airflow and temperature.
- Lid Vent: Located on the lid, this controls the exhaust of hot air and smoke. Opening it allows more heat to escape and can draw more air through the bottom vent; closing it retains heat.
- Adjusting: For higher temperatures, open both vents. For lower temperatures, close both vents partially. Experiment to find the ideal settings for your cooking needs.
5.3 Grilling
- Preheat: Once charcoal is ready, place the cooking grate and allow it to preheat for a few minutes.
- Place Food: Carefully place food on the cooking grate using appropriate grilling tools.
- Monitor: Close the lid to retain heat and smoke, opening only when necessary to turn food or check doneness.
- Finish: Cook food to desired doneness. Remove food from the grill and allow the grill to cool.
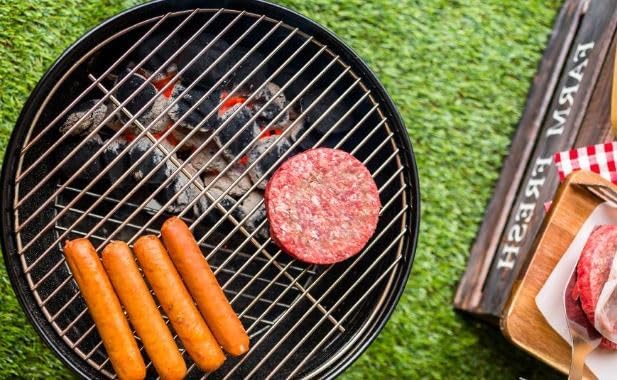
Figure 5.1: Food cooking on the grill grate.

Figure 5.2: Grill in operation with lid off, showing charcoal.
6. Maintenance and Cleaning
Regular cleaning and maintenance will extend the life of your grill.
- Cool Down: Always allow the grill to cool completely before cleaning.
- Ash Removal: Once cooled, remove the cooking grate and charcoal grate. Carefully empty cooled ashes from the bottom bowl.
- Grates: Clean cooking and charcoal grates with a stiff wire brush. For stubborn residue, soak in warm, soapy water before scrubbing.
- Grill Body: Wipe down the interior and exterior of the grill bowl and lid with a damp cloth. For grease, use a mild dish soap solution. Rinse thoroughly and dry.
- Storage: Store the grill in a dry, covered area to protect it from weather elements. Ensure the lid is latched for secure storage and transport.
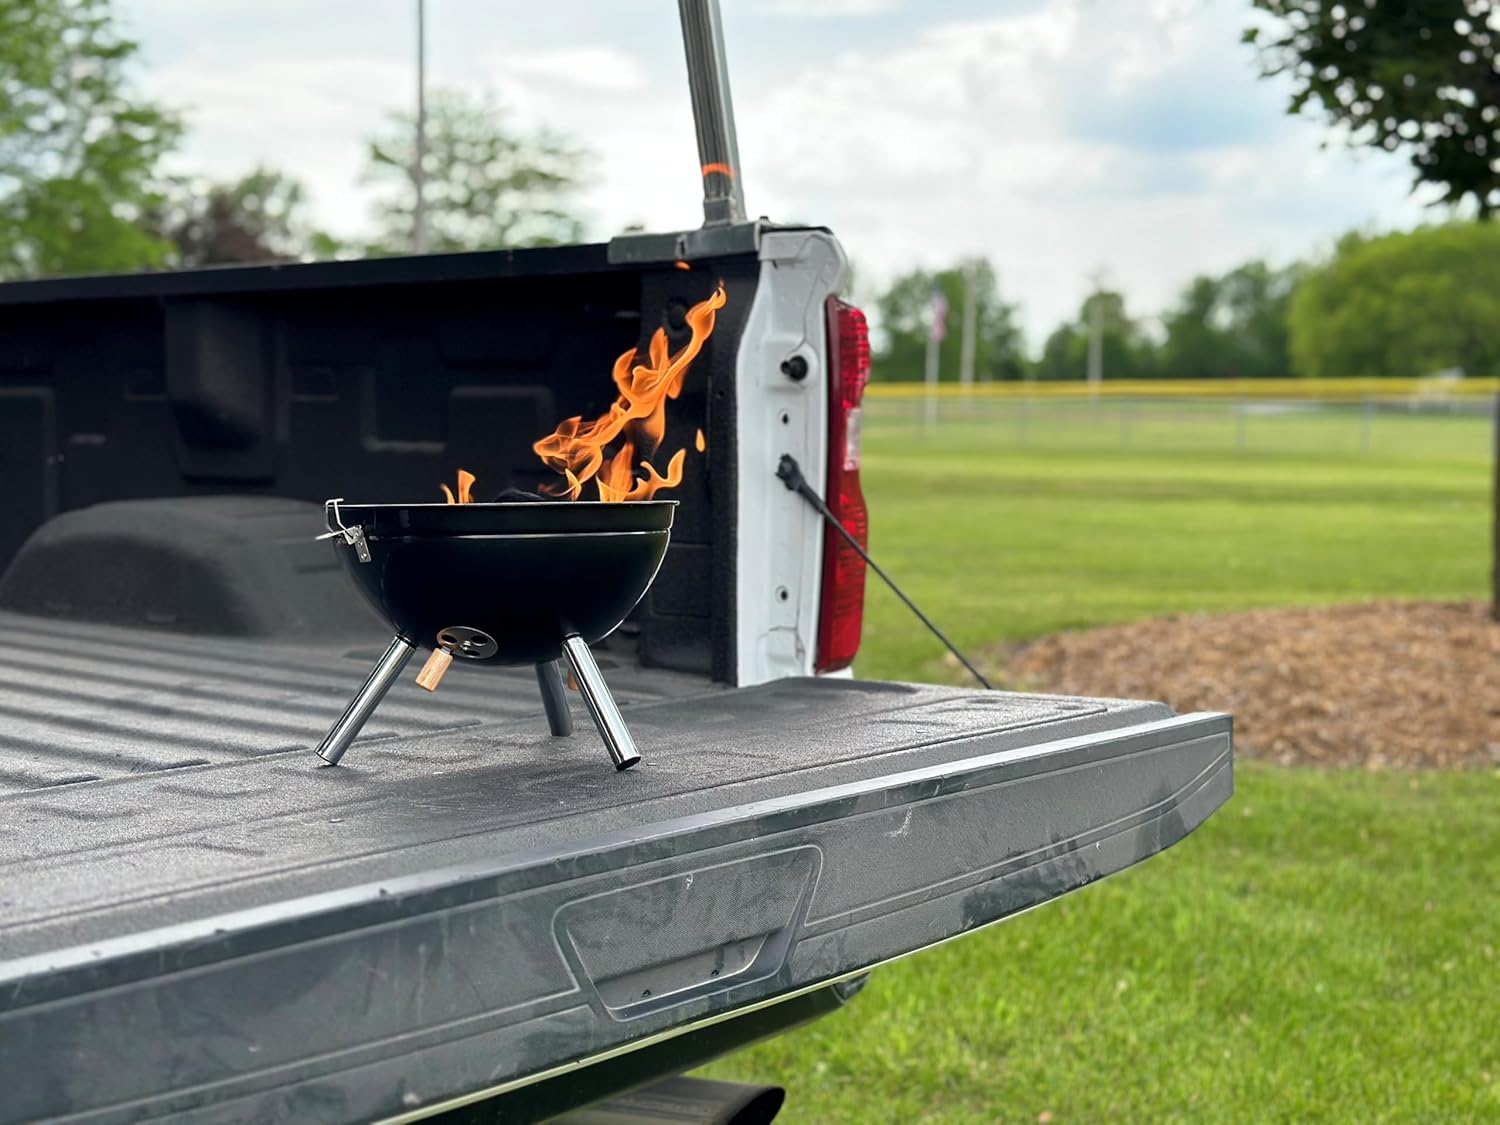
Figure 6.1: Grill secured for transport, highlighting the latching lid.
7. Troubleshooting
Here are solutions to common issues you might encounter:
| Problem | Possible Cause | Solution |
|---|---|---|
| Charcoal not lighting or staying lit | Insufficient airflow; damp charcoal; improper starting method. | Ensure bottom and lid vents are open. Use dry charcoal. Use a charcoal chimney starter. |
| Temperature too low | Vents closed; not enough charcoal; charcoal not fully ashed. | Open vents fully. Add more charcoal. Wait until charcoal is fully ashed over before cooking. |
| Temperature too high | Vents too open; too much charcoal. | Partially close bottom and lid vents. Reduce amount of charcoal for future cooks. |
| Paint peeling (exterior) | Exposure to extreme heat or weather; manufacturing defect. | Ensure grill is not exposed to excessive heat beyond normal grilling temperatures. Store in a dry, covered area. Contact customer support if peeling is significant or occurs early. |
| Grill unstable | Legs not properly attached; uneven surface. | Re-check leg attachment. Move grill to a flat, stable surface. |
8. Specifications
- Model Name: BallBQ
- Brand: Pellethead
- Manufacturer: Freedom Stoves
- Product Dimensions: 12"D x 12"W x 18"H
- Cooking Surface Area: Approximately 150 sq. inches
- Item Weight: 2 Pounds
- Material: Stainless Steel (grates, legs), Painted Steel (body)
- Fuel Type: Charcoal
- Special Features: Adjustable Air Vent, 2-point Locking Lid
- Color: Sleek Black
9. Warranty and Support
For warranty information or technical support, please contact Pellethead customer service. Details regarding specific warranty periods and coverage are typically provided with your purchase documentation or can be found on the official Pellethead website.
When contacting support, please have your model name (BallBQ) and purchase date available.
Pellethead Customer Service:
- Website: Visit the Pellethead Store on Amazon (for general inquiries and product information)
- Contact Information: Refer to your product packaging or the Pellethead official website for direct contact methods (phone, email).