1. Introduction
This manual provides essential information for the safe and effective use of your YESWELDER LYG-9600A-B Auto-Darkening Welding Helmet. Please read these instructions thoroughly before operation to ensure proper function and personal safety. This helmet is designed to protect your eyes and face from sparks, spatter, and harmful radiation under normal welding conditions.
2. Safety Information
WARNING: Welding and cutting processes can cause serious injury or death. Always follow safety precautions.
- Eye Protection: Always wear appropriate eye protection under the welding helmet, such as safety glasses with side shields, to protect against impact and stray UV/IR radiation.
- Ventilation: Ensure adequate ventilation in your work area to avoid inhaling hazardous fumes and gases.
- Fire Hazards: Be aware of fire hazards. Welding sparks and hot metal can cause fires. Keep a fire extinguisher nearby.
- Electrical Safety: Ensure all welding equipment is properly grounded and maintained. Avoid contact with live electrical parts.
- UV/IR Radiation: The auto-darkening filter provides continuous UV/IR protection, even in the light state. However, direct exposure to welding arc without proper protection can cause severe eye damage.
- Helmet Inspection: Inspect the helmet and lens regularly for damage. Replace any cracked or scratched parts immediately.
3. Product Components
The YESWELDER LYG-9600A-B Auto-Darkening Welding Helmet includes the following main components:
- Welding Helmet Shell (PP Material)
- Auto-Darkening Filter (ADF) Lens
- Adjustable Headgear with Comfort Cushion
- Outer and Inner Protective Lenses
- CR2450 Lithium Battery (pre-installed or included)

Image 3.1: Overview of the YESWELDER LYG-9600A-B Welding Helmet and its key features.
4. Setup
4.1 Battery Installation/Check
The helmet is solar-powered and uses a replaceable CR2450 lithium battery as a backup. The battery is typically pre-installed.
- Locate the battery compartment on the auto-darkening filter (ADF) lens.
- If replacing, remove the old CR2450 battery.
- Insert a new CR2450 battery with the positive (+) side facing up.
- Close the battery compartment securely.
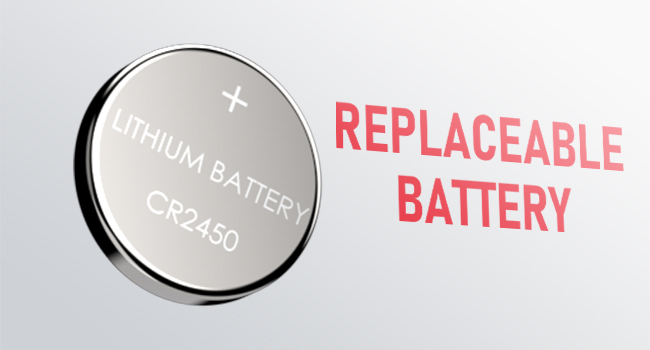
Image 4.1: Replaceable CR2450 Battery.

Image 4.2: Solar Powered feature of the lens.
4.2 Headgear Adjustment
Adjust the headgear for a comfortable and secure fit. Proper adjustment ensures the helmet stays in place and the lens is positioned correctly for optimal viewing.
- Tightness: Use the knob at the back of the headgear to adjust the circumference for a snug fit.
- Headgear Top: Adjust the top strap to position the helmet vertically on your head.
- Angle Adjustment: Use the side knobs to set the viewing angle of the helmet.
- Distance Adjustment: Adjust the distance between your face and the lens for clear vision and comfort.

Image 4.3: Headgear adjustments for optimal fit and comfort.
4.3 Protective Film Removal
Remove any protective films from both sides of the inner and outer protective lenses before use to ensure clear visibility.
5. Operating Instructions
5.1 Power On/Off
The helmet is solar-powered and automatically turns on when exposed to light. It will automatically turn off after a period of inactivity to conserve battery life.
5.2 Test Button
Press the TEST button on the ADF lens to verify that the auto-darkening function is working correctly. The lens should momentarily darken and then return to its light state.

Image 5.1: Test button and low battery indicator on the lens.
5.3 Sensitivity Control
The SENSITIVITY knob adjusts how easily the lens reacts to welding arc light. Turn the knob to increase or decrease sensitivity based on ambient light conditions and welding process.
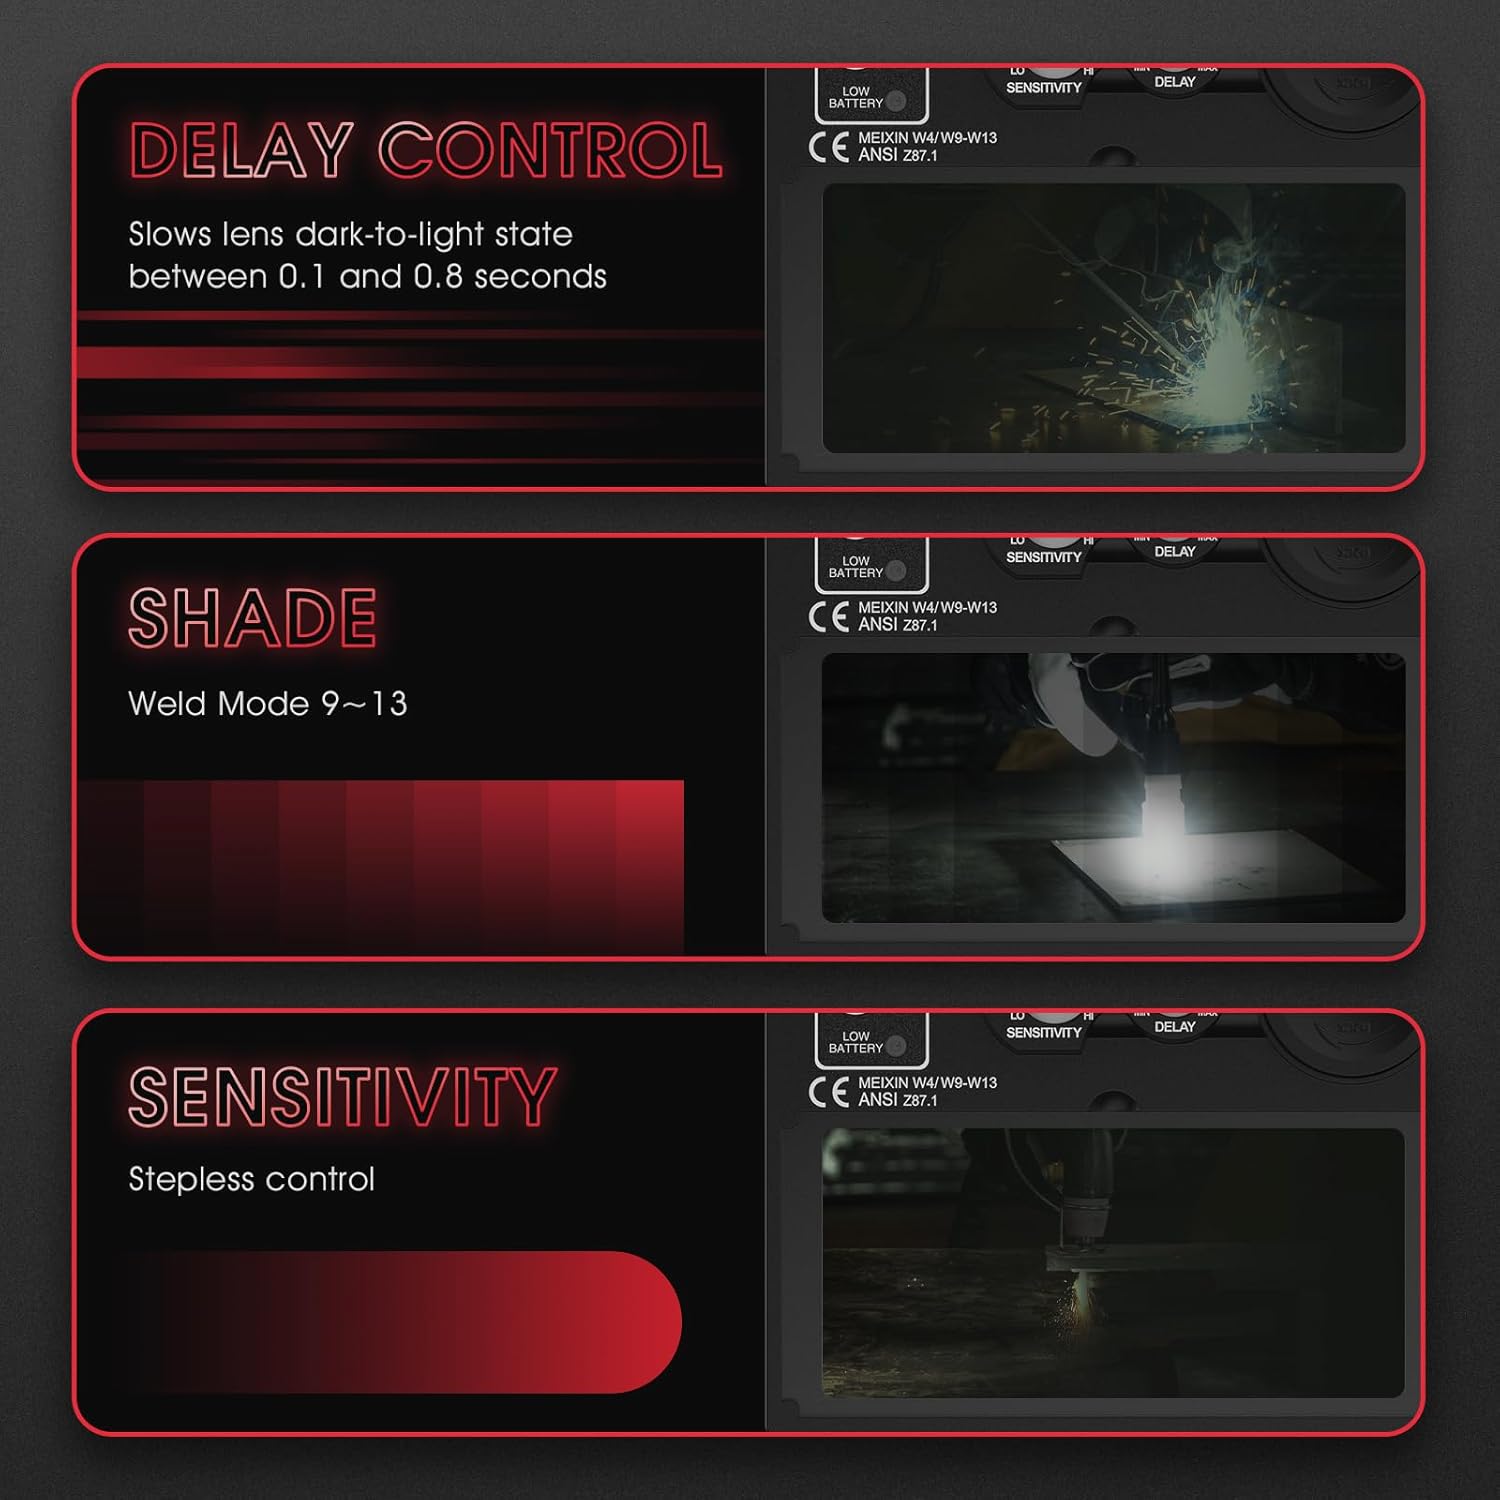
Image 5.2: Controls for Delay, Shade, and Sensitivity.
5.4 Delay Control
The DELAY knob controls the time it takes for the lens to return from dark to light state after the welding arc stops. This can be adjusted from 0.1 to 0.8 seconds to prevent eye fatigue from afterglow.
5.5 Shade Control
The SHADE knob allows you to select the desired shade level from DIN 9 to DIN 13, suitable for various welding processes and current levels. Refer to welding safety standards for appropriate shade levels.
5.6 Grind Mode
Activate GRIND MODE when performing grinding operations. In this mode, the auto-darkening function is deactivated, and the lens remains in its light state (shade DIN 4) to provide clear visibility while still offering UV/IR protection.

Image 5.3: Wide application for GRIND, STICK, MIG, and TIG modes.
5.7 Welding Modes (MIG, ARC, TIG)
The helmet is suitable for MIG, ARC (MMA), and TIG welding processes. Adjust the shade level, sensitivity, and delay according to the specific welding application and current being used.

Image 5.4: Visual representation of Grind, Stick, MIG, and TIG modes through the lens.
6. Maintenance
6.1 Cleaning
- Clean the helmet shell with a mild soap and water solution. Avoid harsh chemicals.
- Clean the protective lenses and the ADF lens with a soft, clean cloth and a non-abrasive lens cleaning solution. Do not use solvents.
- Regularly check and clean the arc sensors on the front of the ADF lens to ensure proper function.
6.2 Battery Replacement
When the low battery indicator lights up (typically 2-3 days before full depletion), replace the CR2450 lithium battery as described in Section 4.1.
6.3 Storage
Store the helmet in a dry, clean place away from direct sunlight and extreme temperatures. Protect the lens from scratches and impact.
7. Troubleshooting
| Problem | Possible Cause | Solution |
|---|---|---|
| Lens does not darken when arc is struck. | Low battery; Sensors obstructed; Incorrect sensitivity setting; Grind mode active. | Replace battery; Clean sensors; Adjust sensitivity; Deactivate Grind mode. |
| Poor visibility through the lens. | Protective films not removed; Scratched or dirty lenses; Incorrect shade setting. | Remove films; Clean or replace lenses; Adjust shade level. |
| Helmet feels uncomfortable or loose. | Headgear not properly adjusted. | Adjust tightness, top strap, angle, and distance of the headgear. |
| Lens flickers during welding. | Low battery; Sensitivity too low; Arc sensors partially obstructed. | Replace battery; Increase sensitivity; Clean sensors. |
8. Specifications

Image 8.1: Key specifications and compliance standards.
| Feature | Detail |
|---|---|
| Model Number | LYG-9600A-B |
| Viewing Area | 9.25 x 4.25 cm (3.64 x 1.67 inches) |
| Optical Clarity | 1/1/1/2 (True Color) |
| Light State Shade | DIN 4 |
| Dark State Shade | DIN 9-13 (Adjustable) |
| Reaction Time | 1/30,000 seconds |
| Delay Time | 0.1 - 0.8 seconds (Adjustable) |
| Power Supply | Solar Cell & Replaceable CR2450 Lithium Battery |
| Arc Sensors | 2 |
| UV/IR Protection | DIN 16 (Continuous) |
| Material | High-Quality Polypropylene (PP) |
| Weight | 910 grams |
| Compliance Standards | ANSI Z87.1, EN 379, CSA Z94.3, EN ISO 16321 |
| Color | Black |
9. Warranty and Support
This YESWELDER product is covered by the manufacturer's standard warranty. For specific warranty details, claims, or technical support, please refer to the warranty card included with your product or visit the official YESWELDER website. Keep your purchase receipt as proof of purchase.