
Bateria Power 80A MPPT
80A 12/24/36/48V MPPT Solar Charge Controller
Instruction Manual - Bateria Power Model: 80A MPPT
1. Introduction and Overview
This manual provides essential information for the safe and efficient operation of your Bateria Power 80A MPPT Solar Charge Controller. This advanced Maximum Power Point Tracking (MPPT) solar charge controller is designed to optimize power harvesting from your solar panels and efficiently charge various battery types, including Gel, AGM, Sealed, Flooded, and Lithium LiFePO4 batteries, across 12V, 24V, 36V, and 48V systems.
The controller features a high tracking efficiency of up to 99.5% and a peak conversion efficiency of 98%, significantly improving the utilization rate of your solar panel system compared to traditional PWM controllers. Its robust design incorporates multiple protection mechanisms and efficient heat dissipation for reliable long-term performance.

Image 1.1: Front view of the Bateria Power 80A MPPT Solar Charge Controller, showing its display and connection ports.
2. Key Features
- 80A MPPT Solar Charge Controller: Upgraded dust-proof panel design ensures aesthetic wiring and prevents dust entry. The removable dust-proof panel can be removed for wiring and reattached for protection.
- 99.5% Tracking Technology: Innovative Max Power Point Technology delivers high tracking efficiency of up to 99.5% and peak conversion efficiency of 98%, improving solar panel system utilization by approximately 20%-35% over regular PWM controllers.
- All-round Protections: Upgraded design and materials provide comprehensive protections including Anti-reverse protection, Short circuit protection, Internal over temperature protection, Over current protection, Heat sink temperature limit protection, Overvoltage protection, Undervoltage protection, and Battery disconnect protection.
- 12V/24V/36V/48V Battery Support: Compatible with various 12/24/36/48V battery types, including Gel, AGM, Lithium, LiFePO4, and Flooded batteries. Battery type and parameters can be selected via operation buttons. PV Max Open Circuit Voltage: 250Vdc.
- Multiple Heat Dissipation: Features fan cooling, bottom holes cooling, and an internal heat sink to ensure excellent heat dissipation and reduce power loss.

Image 2.1: Visual representation of the controller's high MPPT efficiency.

Image 2.2: Diagram illustrating the comprehensive protection features of the controller.
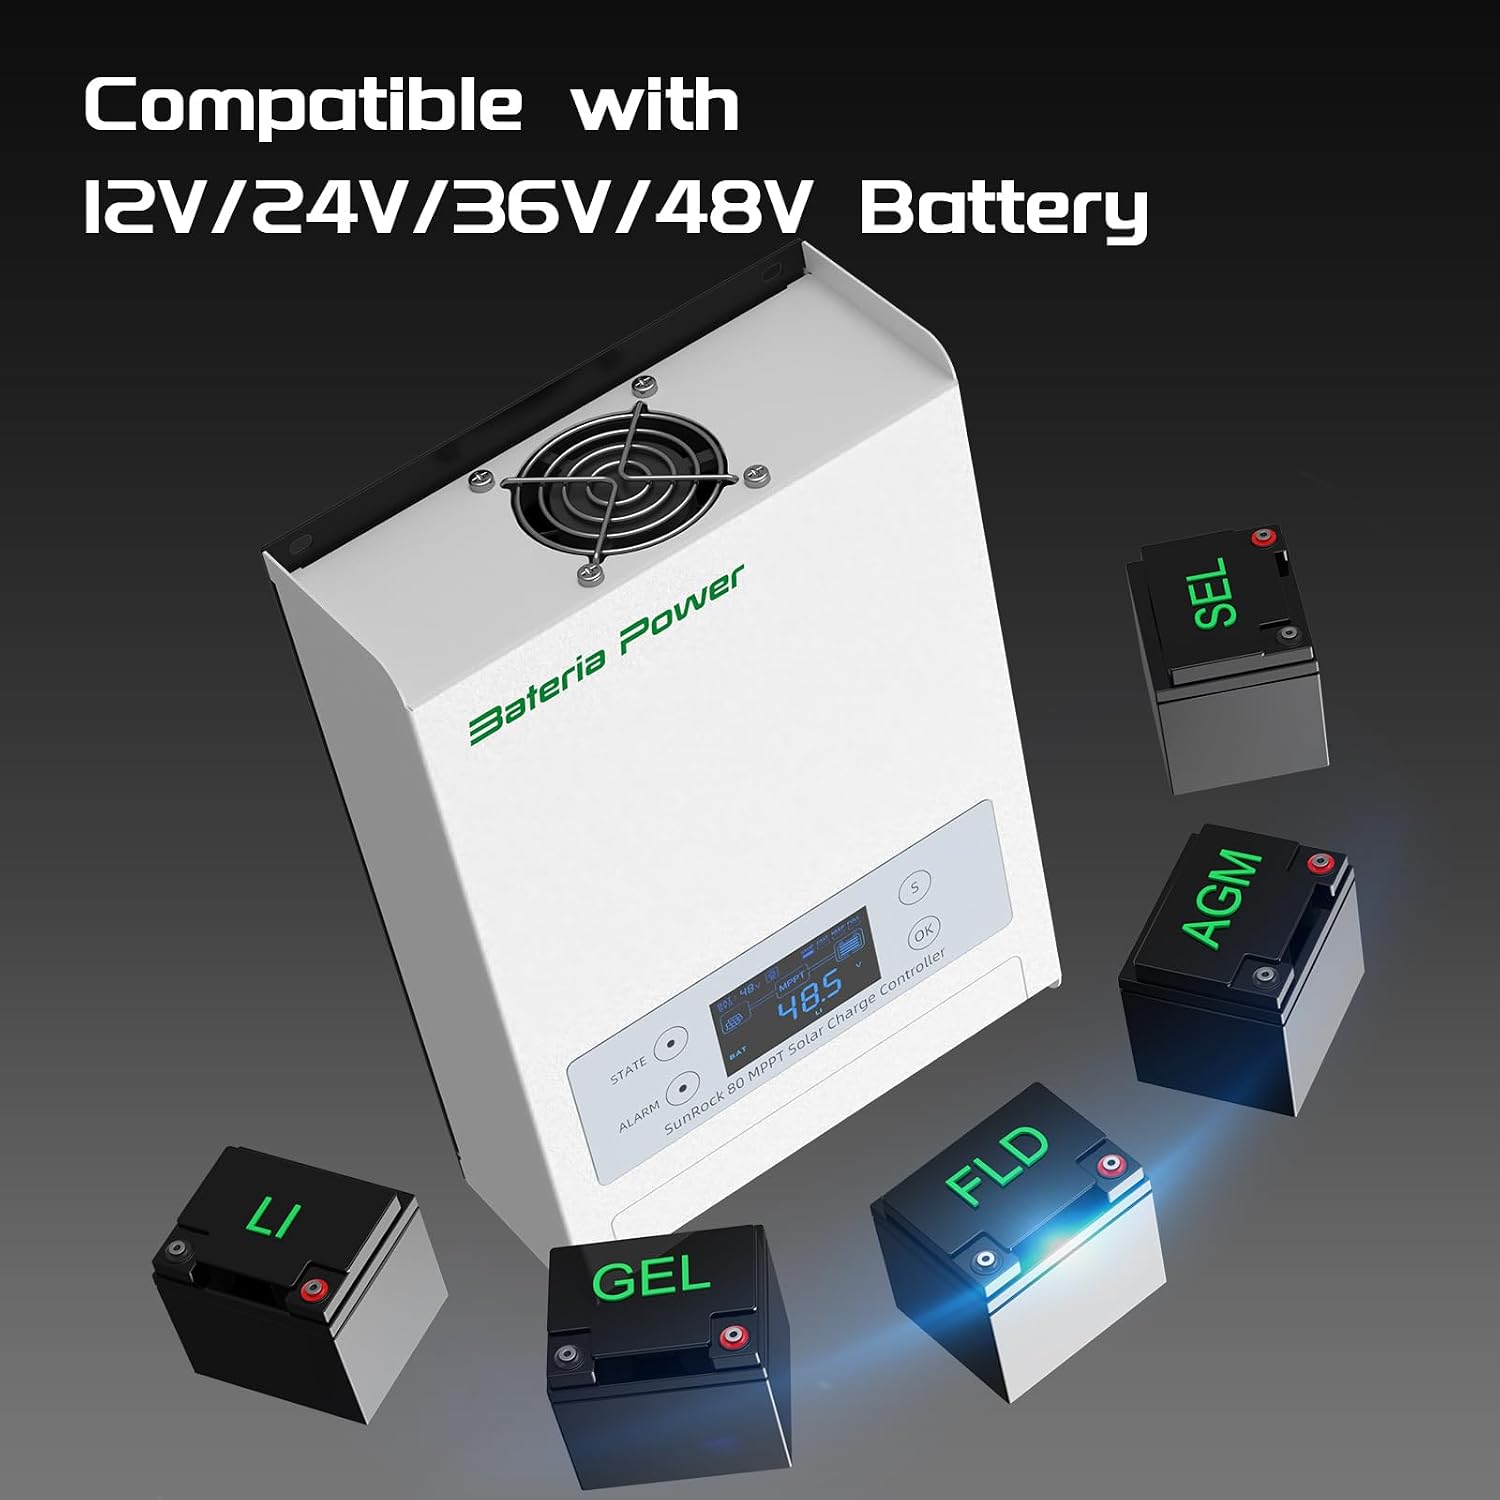
Image 2.3: The controller's compatibility with various 12V/24V/36V/48V battery types, including Lithium, Gel, AGM, and Flooded.

Image 2.4: Illustration of the multiple heat dissipation methods, including fan cooling and heat cooling holes.
3. Setup and Installation
Proper installation is crucial for the safety and optimal performance of your solar charge controller. Please follow these general guidelines. For detailed wiring diagrams and specific instructions, refer to the included installation guide or consult a qualified electrician.
3.1 Component Identification
Familiarize yourself with the controller's components and interfaces:
- Charge Status and Fault Indicators
- LCD Display
- Operation Buttons
- Dustproof Panel
- RS485 Serial Communication Interface
- Mounting Hole For Grounding
- Temperature Sensing Wire Connector
- Input and Output Power Line Connectors (PV+, PV-, BAT+, BAT-, LOAD+, LOAD-)
- Heat cooling Fan

Image 3.1: Detailed diagram of the controller with labeled components and dimensions.
3.2 Wiring Connections
Ensure all connections are secure and correctly polarized. The maximum wire size supported is 25mm².

Image 3.2: Illustration of the wiring terminals, indicating the maximum wire size of 25mm².

Image 3.3: Example of a typical solar power system setup, showing the connection flow from solar panels to the controller and then to the battery.
4. Operating Instructions
The controller is equipped with an LCD screen for real-time monitoring and operation buttons for parameter settings.
4.1 Real-time Monitoring
The LCD display provides real-time data including battery system voltage, load status, alarm status, charging status, and battery type. Use the 'S' button to cycle through different display pages.

Image 4.1: The LCD screen provides quick and easy real-time monitoring of system parameters.
Video 4.1: An overview of the Bateria Power 99.5% MPPT Efficiency Solar Charge Regulator, highlighting its features and display.
4.2 Parameter Setting
To enter the setting page, short press the "OK" button from any display page. Use the "OK" / "S" buttons to select parameters. Long press "OK" for 3 seconds to save settings, and long press "S" for 3 seconds to exit editing.

Image 4.2: Step-by-step guide on reviewing parameters by short pressing the 'S' button.

Image 4.3: Example of how to set parameters, specifically PV voltage, using the 'OK' and 'S' buttons.
4.3 App Control (Optional)
For real-time monitoring and advanced control, an optional Bateria Power BT-02 Bluetooth module can be purchased separately. This allows for remote management via a dedicated mobile application.

Image 4.4: Screenshots demonstrating the mobile application interface for remote monitoring and control (requires separate Bluetooth module).
5. Maintenance
Regular maintenance ensures the longevity and optimal performance of your solar charge controller.
- Cleanliness: Keep the controller free from dust and debris. The dust-proof panel can be removed for cleaning if necessary.
- Connections: Periodically check all wiring connections to ensure they are tight and free from corrosion. Loose connections can lead to power loss or system malfunction.
- Ventilation: Ensure that the heat cooling fan and ventilation holes are not obstructed to allow for proper airflow and heat dissipation.
- Environmental Conditions: Operate the controller within its specified working temperature range (-4°F ~ 131°F / -20°C ~ 55°C) and avoid exposure to excessive moisture.
6. Troubleshooting
If you encounter issues with your solar charge controller, consider the following general troubleshooting steps. For persistent problems, consult a qualified technician or contact customer support.
- No Display/Power: Check battery connections and ensure the battery voltage is within the operating range. Verify that the solar panels are receiving sufficient sunlight.
- No Charging: Confirm solar panel connections are correct and that the PV open circuit voltage is within the controller's limits (Max 250Vdc). Check for any error codes on the display.
- Over-temperature Alarm: Ensure adequate ventilation around the controller. Clear any obstructions from the fan or cooling holes. Reduce the load if possible.
- Incorrect Readings: Verify that the battery type setting matches your installed battery. Ensure all sensors (if applicable) are correctly connected.
- System Instability: Check all wiring for loose connections or damage. Ensure proper grounding.
7. Specifications
Detailed technical specifications for the 80A MPPT Solar Charge Controller:

Image 7.1: Comprehensive table detailing the electrical and physical specifications of the controller.
| Attribute | Value |
|---|---|
| Brand | Bateria Power |
| Model | 80A MPPT |
| Charging Port Type | SAE |
| Package Dimensions | 15.31 x 9.76 x 5.2 inches |
| Item Weight | 8.29 pounds |
| Voltage | 250 Volts (Max PV Open Circuit Voltage) |
| Display Type | LCD Display |
| Color | Black or Red |
| Batteries required | No (for controller operation) |
| Included Components | 1 (Controller unit) |
8. Warranty and Support
Specific warranty terms and conditions for the Bateria Power 80A MPPT Solar Charge Controller are not provided within this manual. For detailed warranty information, product support, or technical assistance, please refer to the product packaging, the manufacturer's official website, or contact the seller directly.
You may also find additional resources and frequently asked questions on the Bateria Power store page on Amazon: Visit the Bateria Power Store
Ask a question about this manual
Ask about setup, troubleshooting, compatibility, parts, safety, or missing instructions. Manuals+ will review the question and use this page’s manual context to help answer it.