1. Introduction
Thank you for choosing the PacuM Gaming Desk L 120CM. This manual provides essential information for the safe assembly, operation, and maintenance of your new desk. Please read these instructions carefully before beginning assembly and retain them for future reference.

Image 1.1: Assembled PacuM Gaming Desk L 120CM.
2. Safety Information
- Ensure all components are present and undamaged before assembly. Do not proceed with assembly if any parts are missing or damaged.
- Assemble the desk on a soft, clean surface to prevent scratches.
- Tighten all screws and bolts securely, but do not overtighten to avoid stripping threads.
- Keep small parts away from children during assembly to prevent choking hazards.
- Do not stand or sit on the desk. The desk is designed for holding computer equipment and accessories.
- Distribute weight evenly across the desktop. Avoid placing heavy items on one side.
- The desk features rounded corners to prevent bumps. Exercise caution when moving the desk.
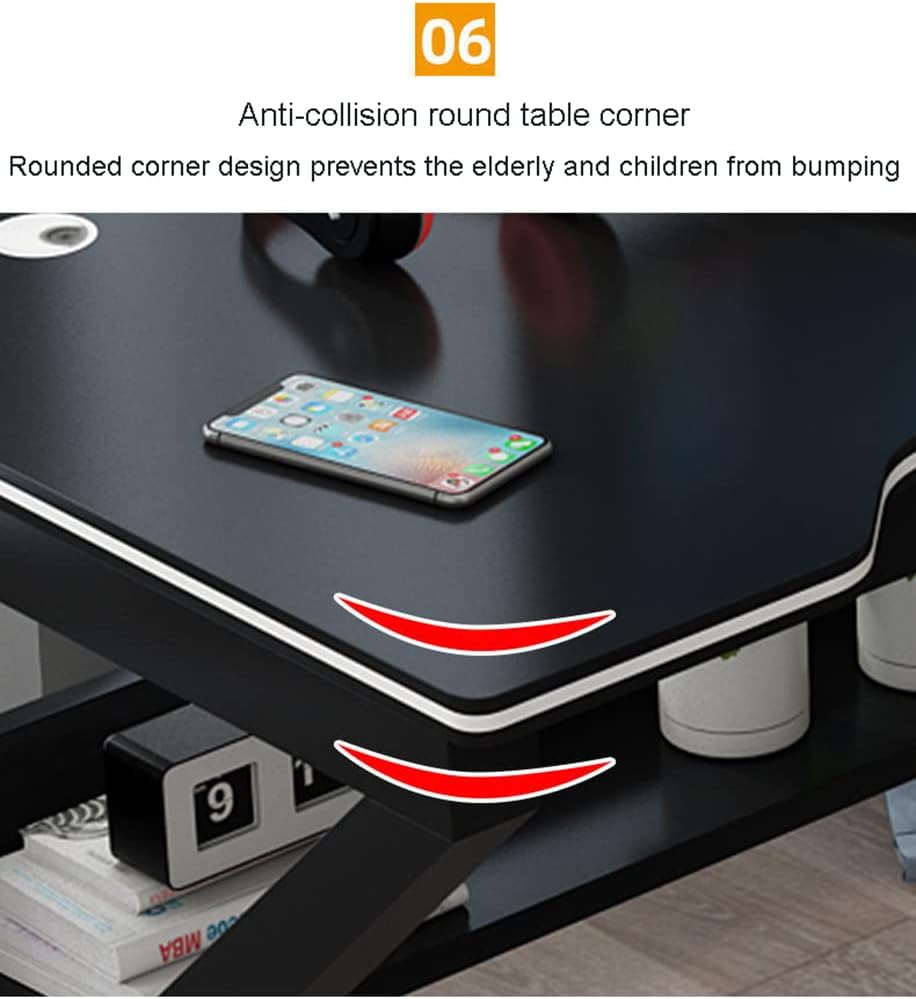
Image 2.1: Rounded anti-collision table corner design.
3. Package Contents
Before assembly, verify that all the following components are included in your package. If any parts are missing or damaged, please contact customer support.
- Desktop Panel (Carbon Fiber Texture)
- Left Support Frame (Cold Rolled Steel)
- Right Support Frame (Cold Rolled Steel)
- Lower Shelf Panels
- Connecting Beams/Bars
- Cable Management Grommets (2)
- Assembly Hardware (Screws, bolts, Allen wrench)
- Instruction Manual
4. Assembly Instructions
Follow these steps to assemble your PacuM Gaming Desk. It is recommended to have a second person assist with certain steps for easier assembly.
- Unpack and Identify Parts: Carefully unpack all components and lay them out on a clean, soft surface. Refer to the package contents list to ensure all parts are present.
- Attach Support Frames to Desktop: Position the desktop panel upside down. Attach the left and right support frames to the underside of the desktop using the provided screws. Ensure the frames are oriented correctly.
- Install Connecting Beams: Connect the two support frames using the horizontal connecting beams. Secure them with screws, ensuring the structure is stable.
- Assemble Lower Shelf: Attach the lower shelf panels to the designated areas on the support frames. These shelves provide additional storage space.
- Insert Cable Management Grommets: Place the two cable management grommets into the pre-drilled holes on the desktop.
- Tighten All Fasteners: Once all components are in place, carefully tighten all screws and bolts. Do not overtighten.
- Position the Desk: With assistance, carefully flip the desk upright and place it in your desired location.

Image 4.1: Key structural features for assembly reference.

Image 4.2: Detail of the bold carbon table legs (50x25mm).
5. Operating Instructions
The PacuM Gaming Desk is designed for optimal functionality and comfort.
5.1 Desktop Usage
The spacious desktop, with its carbon fiber texture, provides ample room for your gaming monitors, keyboard, mouse, and other peripherals. The carbon fiber surface is designed to be wear-resistant, non-slip, and resistant to water and sweat, eliminating the need for additional mats.
5.2 Cable Management
Utilize the two integrated cable management eyelets on the desktop to route and organize your computer cables. This helps maintain a tidy workspace and prevents cable clutter.

Image 5.1: Ergonomic desktop design with cable management holes.
5.3 Lower Storage Shelf
The desk includes a lower shelf for convenient storage of books, accessories, or other items, helping to keep your main desktop clear.

Image 5.2: Desk dimensions highlighting the 60cm depth and lower storage area.
6. Maintenance
6.1 Cleaning
To clean the carbon fiber desktop, wipe it with a soft, damp cloth. For stubborn marks, a mild soap solution can be used, followed by wiping with a clean, dry cloth. Avoid abrasive cleaners or harsh chemicals that may damage the surface.
6.2 Fastener Check
Periodically check all screws and bolts to ensure they remain tight. Retighten if necessary, but do not overtighten.
7. Troubleshooting
7.1 Desk Wobbles
- Ensure all assembly screws and bolts are securely tightened.
- Verify that the desk is placed on a level surface. Adjust floor glides if present, or use shims under the legs if the floor is uneven.
7.2 Scratches on Surface
- While the carbon fiber surface is scratch-resistant, avoid dragging sharp or heavy objects across it.
- Use soft pads under equipment that may have rough edges.
8. Specifications
| Feature | Detail |
|---|---|
| Model | L 120CM |
| Desktop Material | MDF with Carbon Fiber Texture |
| Leg Material | Cold Rolled Steel Pipes |
| Color | Black |
| Dimensions (L x W x H) | 120 cm x 60 cm x 75 cm |
| Desktop Thickness | 1.6 cm |
| Leg Dimensions | 50 mm x 25 mm |
| Maximum Load Capacity | 150 kg |
Image 8.1: Visual representation of desk dimensions.
9. Warranty and Support
For warranty information or technical support, please refer to the documentation provided at the time of purchase or contact your retailer. Keep your purchase receipt as proof of purchase.