32322
Clean Burn KIP Air/Oil Solenoid: Model 32322 Instruction Manual
Model: 32322 | Brand: Generic
Introduction
This manual provides essential information for the proper installation, operation, maintenance, and troubleshooting of the Clean Burn KIP Air/Oil Solenoid, Model 32322. Please read this manual thoroughly before using the product to ensure safe and efficient operation.
The Clean Burn KIP Air/Oil Solenoid is a critical component designed for use in specific heating systems, ensuring precise control of air and oil flow. This new style solenoid is engineered for reliability and performance.
Safety Information
Always observe the following safety precautions:
- Ensure power is disconnected before installation or maintenance.
- Installation should be performed by qualified personnel only.
- Wear appropriate personal protective equipment (PPE) during installation and maintenance.
- Refer to the main system's manual for compatibility and specific wiring diagrams.
- Do not modify the solenoid in any way.
Product Overview
The Clean Burn KIP Air/Oil Solenoid (Model 32322) is a compact and robust component. It is designed to regulate the flow of air and oil within compatible heating systems, ensuring optimal combustion and efficiency.
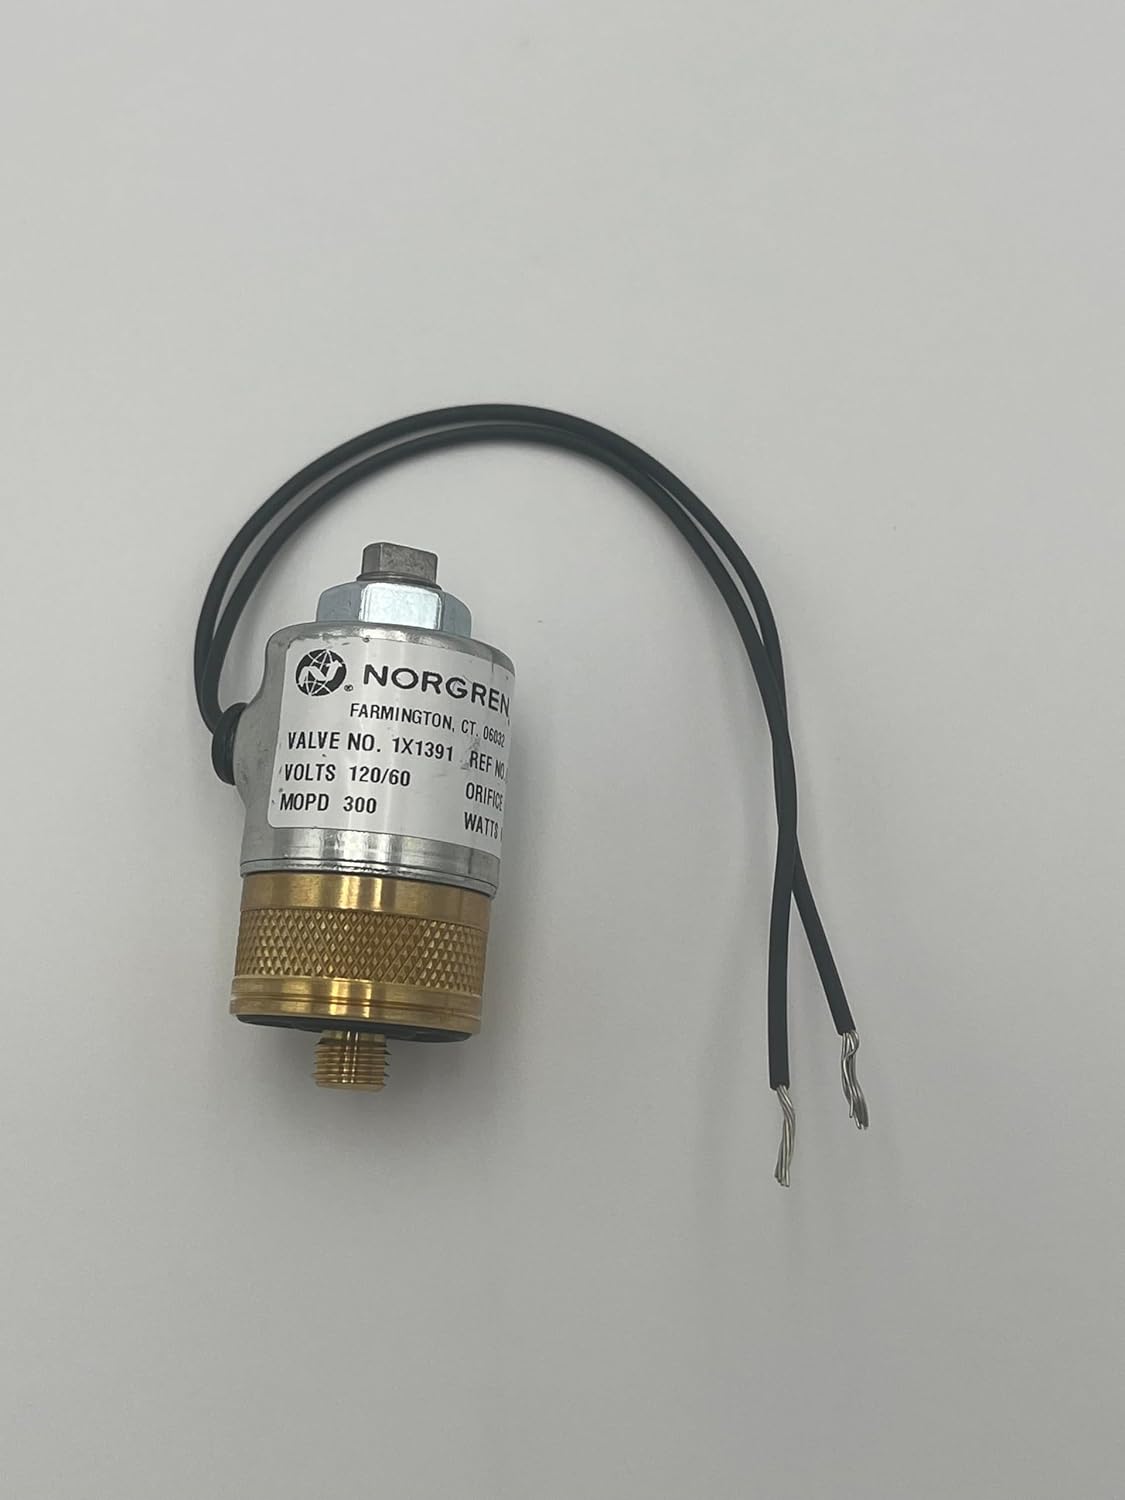
Figure 1: Front view of the Clean Burn KIP Air/Oil Solenoid, Model 32322. This image shows the solenoid with its electrical leads and the main body, including the label with manufacturer and voltage information.

Figure 2: Bottom view of the Clean Burn KIP Air/Oil Solenoid, Model 32322. This image highlights the threaded connection point and sealing rings at the base of the solenoid, crucial for proper installation and leak prevention.
Setup and Installation
Follow these steps for proper installation of the solenoid:
- Power Disconnection: Before beginning any installation, ensure that the main power supply to the heating system is completely disconnected and locked out to prevent accidental startup.
- Location Selection: Identify the designated mounting location for the solenoid within your heating system. Ensure it is easily accessible for future maintenance and away from excessive heat or moisture.
- Mounting: Securely mount the solenoid using appropriate fasteners. Ensure it is oriented correctly according to your system's design. The solenoid is designed for specific flow directions; consult your system's schematics.
- Piping Connections: Connect the air and oil lines to the solenoid's inlet and outlet ports. Use appropriate thread sealant (e.g., PTFE tape) on all threaded connections to prevent leaks. Ensure connections are tight but do not overtighten.
- Electrical Wiring: Connect the solenoid's electrical leads to the control circuit as specified by your heating system's wiring diagram. The solenoid operates on 120/60 Volts. Ensure all electrical connections are secure and insulated.
- Leak Check: After all connections are made, perform a visual inspection for any potential leaks in the piping.
- System Priming (if applicable): Follow your heating system's instructions for priming the oil and air lines after installation of new components.
Note: Incorrect installation can lead to system malfunction or damage. If unsure, consult a professional HVAC technician.
Operating Instructions
The Clean Burn KIP Air/Oil Solenoid operates automatically as part of the heating system's control sequence. It does not require manual operation once installed and wired correctly.
- System Power-Up: Once installation is complete and verified, restore power to the heating system.
- Automatic Function: The solenoid will open or close based on the electrical signals received from the system's control board, regulating the flow of air and oil as needed for combustion.
- Monitoring: Observe the system's performance after installation. Ensure proper fuel delivery and air mixture. Any unusual noises or operational issues should be investigated immediately.
For detailed operational parameters of your specific heating unit, refer to the main furnace or burner manual.
Maintenance
Regular maintenance ensures the longevity and optimal performance of the solenoid. Always disconnect power before performing any maintenance.
- Annual Inspection: Annually inspect the solenoid for any signs of wear, corrosion, or leaks. Check electrical connections for tightness and integrity.
- Cleaning: If the solenoid is exposed to dust or debris, gently clean its exterior with a dry, soft cloth. Do not use harsh chemicals or abrasive cleaners.
- Seal Check: Periodically check the integrity of the seals and O-rings, especially if any leaks are suspected. Replace worn seals as necessary.
- Component Replacement: If the solenoid shows signs of malfunction (e.g., failure to open/close, excessive noise, leaks), it should be replaced with an original Clean Burn KIP Air/Oil Solenoid, Model 32322, or an approved equivalent.
Caution: Internal components of the solenoid are not user-serviceable. Attempting to disassemble the solenoid may void any warranty and could lead to damage.
Troubleshooting
This section provides guidance for common issues. For complex problems, consult a qualified technician.
| Problem | Possible Cause | Solution |
|---|---|---|
| Solenoid does not activate (no click sound) |
|
|
| Solenoid leaks air or oil |
|
|
| System not receiving proper air/oil flow |
|
|
Specifications
| Attribute | Detail |
|---|---|
| Manufacturer | CleanBurn |
| Model Number | 32322 |
| Product Dimensions | 1 x 1 x 1 inches |
| Color | blue/silver |
| Included Components | Solenoid |
| ASIN | B0CP4DMLB4 |
| Voltage | 120/60 Volts |
| Date First Available | November 28, 2023 |
Warranty and Support
For warranty information and technical support regarding your Clean Burn KIP Air/Oil Solenoid, Model 32322, please contact the manufacturer, CleanBurn, or your authorized dealer. Keep your purchase receipt as proof of purchase.
Note: Specific warranty terms and conditions may vary. Refer to the documentation provided at the time of purchase or visit the manufacturer's official website for the most current information.
Ask a question about this manual
Ask about setup, troubleshooting, compatibility, parts, safety, or missing instructions. Manuals+ will review the question and use this page’s manual context to help answer it.