1. Introduction
Thank you for choosing the White Westinghouse Dehumidifier, Model WDE701. This appliance is designed to effectively remove excess moisture from the air, creating a more comfortable and healthier indoor environment. Please read this manual thoroughly before operating your dehumidifier to ensure proper use, maintenance, and safety.
2. Safety Information
Always follow basic safety precautions when using electrical appliances to reduce the risk of fire, electric shock, and injury.
- Ensure the power supply voltage matches the rating label on the unit.
- Do not operate the dehumidifier with a damaged cord or plug.
- Keep the unit away from water and other liquids.
- Do not block air inlets or outlets. Maintain at least 20 cm clearance around the unit.
- Unplug the unit before cleaning or performing any maintenance.
- This appliance is not intended for use by persons (including children) with reduced physical, sensory or mental capabilities, or lack of experience and knowledge, unless they have been given supervision or instruction concerning use of the appliance by a person responsible for their safety.
3. Product Features
- Area Covered: Up to 7000 Cubic Ft
- Moisture Removal: 70 Litres/Day capacity
- Integrated Air-Purifying Filter
- Powerful Reciprocating Compressor
- Automatic Humidistat Control for precise humidity management
- Full Water Warning Signal to prevent overflow
- Continuous Drainage option for extended operation
- Convenient Wheels for easier mobility
- Constructed with Recyclable Materials for environmental consideration
4. Package Contents
Please check the box for the following items:
- White Westinghouse Dehumidifier Unit (Model WDE701)
- Water Tank Lid
- User Manual (this document)
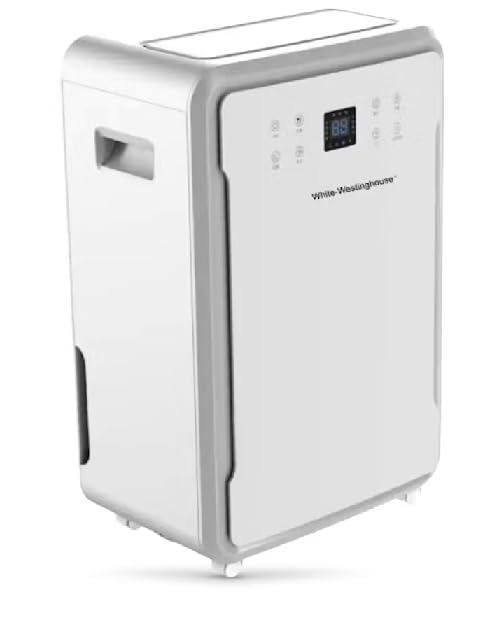
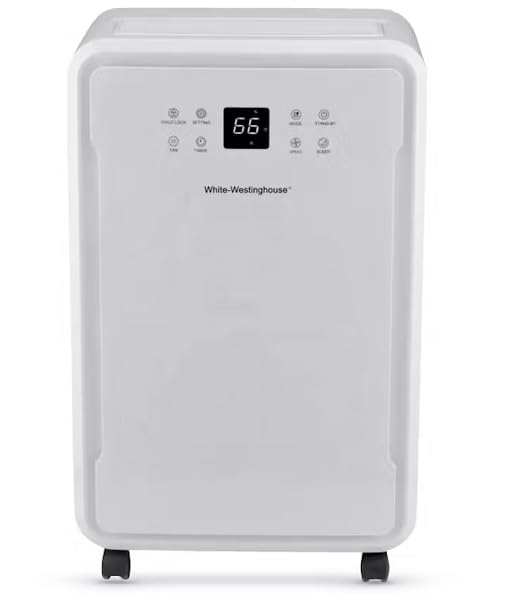
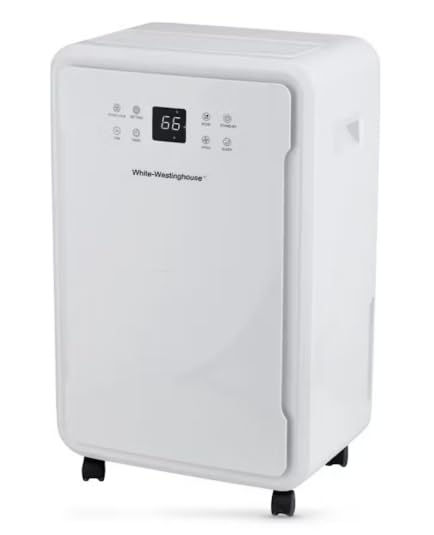
5. Product Overview
6. Setup
- Unpacking: Carefully remove the dehumidifier from its packaging. Retain packaging materials for future storage or transport.
- Placement: Place the dehumidifier on a firm, level surface in the area where dehumidification is desired. Ensure there is at least 20 cm (8 inches) of space around the unit for proper airflow. The unit is designed to cover an area of up to 7000 cubic feet.
- Power Connection: Plug the power cord into a grounded electrical outlet. Ensure the outlet meets the electrical specifications of the unit (220-240V/50Hz).
- Continuous Drainage (Optional): For continuous operation without emptying the water tank, connect a suitable drain hose (not included) to the continuous drainage port located at the back of the unit. Ensure the hose is sloped downwards to allow gravity drainage into a floor drain or larger container.
- Mobility: The dehumidifier is equipped with convenient wheels. To move the unit, ensure the water tank is empty to prevent spills, then gently push or pull the unit to the desired location.
7. Operating Instructions
The dehumidifier operates within a temperature range of 5°C to 32°C.
Control Panel (Refer to Figure 2)
- Power Button: Turns the unit ON or OFF.
- Humidity Setting Buttons: Use '+' and '-' buttons to set the desired humidity level (e.g., 40% - 60% relative humidity is generally recommended). The unit will automatically maintain this level.
- Fan Speed Button: Adjusts the fan speed (e.g., Low, Medium, High).
- Timer Button: Sets a timer for automatic ON/OFF operation.
- Mode Button: Selects operating modes (e.g., Auto, Continuous, Sleep).
- Display: Shows current room humidity, set humidity, or timer settings.
Basic Operation
- Press the Power button to turn on the dehumidifier.
- Use the Humidity Setting buttons to set your desired humidity level. The unit will operate until the set humidity is reached, then cycle on and off to maintain it.
- The unit has an Automatic Humidistat Control feature, which means it will automatically adjust its operation to maintain the set humidity level.
- When the 8.5-litre water tank is full, the Full Water Warning Signal will activate, and the unit will automatically shut off. Empty the water tank and reinsert it properly to resume operation.
- For continuous operation, utilize the continuous drainage option as described in the Setup section.
8. Maintenance
Regular maintenance ensures optimal performance and extends the lifespan of your dehumidifier.
Cleaning the Air-Purifying Filter
The dehumidifier includes an air-purifying filter that should be cleaned regularly (e.g., every two weeks or as needed, depending on usage and air quality).
- Turn off and unplug the dehumidifier.
- Locate the filter access panel (usually at the back or side).
- Remove the filter.
- Clean the filter using a vacuum cleaner to remove dust and debris. For heavy dirt, wash it gently with warm, soapy water, rinse thoroughly, and allow it to air dry completely before reinserting.
- Reinsert the dry filter and close the access panel.
Emptying and Cleaning the Water Tank
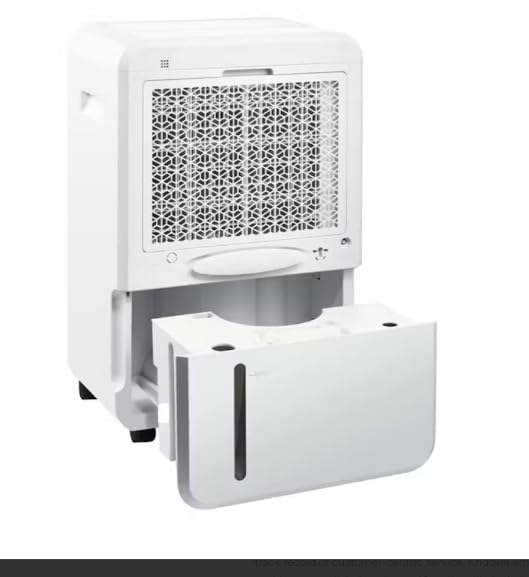
- When the 'Full Water' indicator lights up, carefully pull out the water tank from the unit (refer to Figure 4).
- Empty the collected water.
- Clean the tank with mild detergent and water if necessary to prevent mold or mildew growth. Rinse thoroughly.
- Reinsert the empty tank firmly into the dehumidifier. Ensure it is correctly seated to allow the unit to resume operation.
General Cleaning
- Wipe the exterior of the unit with a soft, damp cloth. Do not use harsh chemicals or abrasive cleaners.
- Ensure the air inlet and outlet grilles are free from dust and obstructions.
9. Troubleshooting
Before contacting customer support, please refer to the following common issues and solutions:
| Problem | Possible Cause | Solution |
|---|---|---|
| Dehumidifier does not turn on. | No power supply. Water tank is full or not properly inserted. | Check power cord connection and wall outlet. Empty water tank and ensure it is correctly seated. |
| Unit is running but not collecting water. | Room temperature is too low (below 5°C). Air filter is clogged. Humidity setting is too high. | Dehumidifiers are less effective in cold temperatures. Clean the air filter. Lower the desired humidity setting. |
| Unit is noisy. | Unit is not on a level surface. Air filter is clogged. | Place the unit on a flat, stable surface. Clean the air filter. |
| Water leaks from the unit. | Water tank is not properly inserted. Continuous drainage hose is loose or blocked. | Reinsert the water tank correctly. Check the continuous drainage hose for proper connection and obstructions. |
10. Specifications
| Specification | Detail |
|---|---|
| Brand | Westinghouse |
| Model Name | WDE701 |
| Power Supply | 220-240V / 50Hz |
| Rated Power Consumption | 860W |
| Current | 3.9A |
| Air Flow Capacity | 600 m³/h |
| Noise Level | 45 dB(A) |
| Moisture Removal (26.7°C, 60% RH) | 50 Litres / Day |
| Moisture Removal (30°C, 80% RH) | 70 Litres / Day |
| Water Tank Capacity | 8.5 Litres |
| Product Dimensions (H*W*D) | 74 x 46 x 39.6 cm (29.13 x 18.11 x 15.60 inch) |
| Running Temperature | 5°C - 32°C |
| Net Weight | 23 KG |
| Refrigerant | R290 |
| Material | Polycarbonate (PC) |
| Country of Origin | China |
11. Warranty and Support
This White Westinghouse Dehumidifier (Model WDE701) comes with a 12 MONTHS WARRANTY from the date of purchase. Please retain your proof of purchase for warranty claims.
For technical support, service inquiries, or to learn more about Westinghouse products, please visit the official Westinghouse store or contact their customer service department.
Official Store Link: Westinghouse India Store