1. Introduction
This manual provides essential instructions for the installation, operation, and maintenance of your GaRcan Recoil Starter Pulley. This component is designed as a direct replacement for specific Ryobi blower and vacuum models, ensuring reliable starting performance. Please read this manual thoroughly before attempting any installation or repair.
2. Safety Information
WARNING: Always prioritize safety when working with power tools and replacement parts. Failure to follow these safety instructions may result in serious injury or damage to equipment.
- Disconnect Power: Before beginning any installation or maintenance, ensure the engine is off and the spark plug wire is disconnected to prevent accidental starting.
- Wear Protective Gear: Always wear appropriate personal protective equipment, including safety glasses and gloves.
- Work in a Well-Ventilated Area: If working with fuel or cleaning agents, ensure adequate ventilation.
- Use Correct Tools: Use only the appropriate tools for disassembly and reassembly to avoid damaging components.
- Professional Assistance: If you are unsure about any step of the installation process, consult a qualified technician.
3. Package Contents
Verify that all components are present and undamaged upon opening the package:
- One (1) GaRcan Recoil Starter Pulley (Part Number 521316001)
4. Setup and Installation
This section outlines the general procedure for replacing a recoil starter pulley. Specific steps may vary slightly depending on your Ryobi model. Refer to your original equipment manual for detailed disassembly instructions if needed.
- Prepare the Equipment: Ensure the engine is cool, off, and the spark plug wire is disconnected. Place the equipment on a stable, flat surface.
- Access the Starter Assembly: Locate the recoil starter assembly on your Ryobi blower/vacuum. This is typically secured by several screws. Carefully remove these screws and detach the starter assembly from the engine housing.
- Disassemble the Starter Assembly: Once removed, you will need to open the starter assembly casing. Pay close attention to the spring mechanism and rope routing. Take photos if necessary to aid reassembly.
- Remove the Old Pulley: Carefully unwind any remaining starter rope from the old pulley. The pulley is usually held in place by a central bolt or clip. Remove the old pulley, noting the orientation of the recoil spring.
- Install the New Pulley: Position the new GaRcan Recoil Starter Pulley (Part Number 521316001) into the starter assembly. Ensure the recoil spring engages correctly with the pulley.
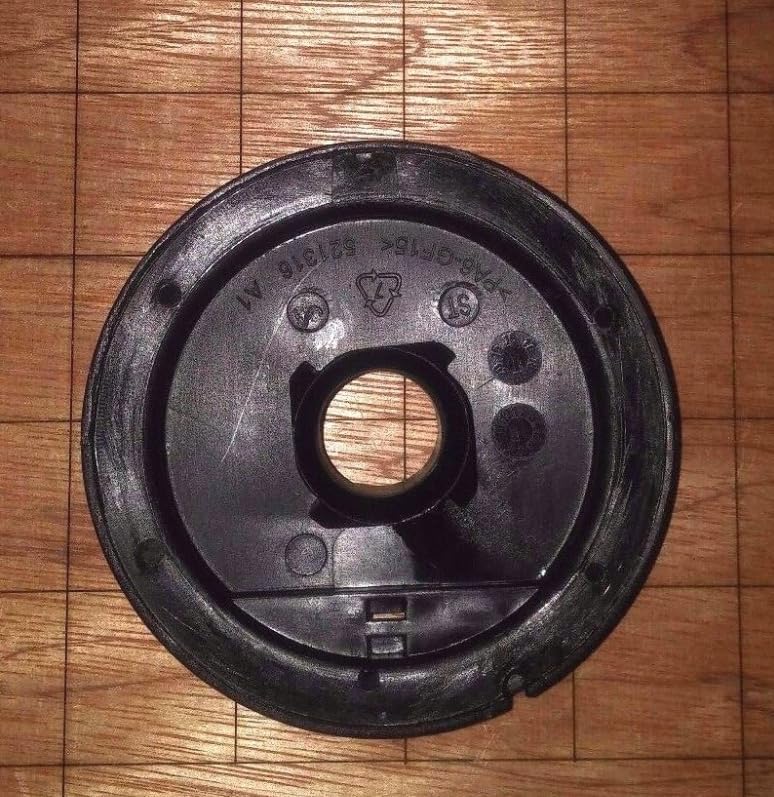
Figure 1: Top view of the GaRcan Recoil Starter Pulley. This image displays the circular design of the pulley, including the central opening for the shaft and the grooves where the starter rope is wound. Markings such as "521316 A1" are visible, confirming the part number.
- Wind the Starter Rope: Thread the starter rope through the new pulley and the starter housing. Wind the rope onto the pulley according to the original manufacturer's specifications, ensuring proper tension for recoil. This often involves pre-tensioning the recoil spring.

Figure 2: Angled view of the GaRcan Recoil Starter Pulley. This perspective shows the depth of the pulley and the internal structure designed to house the recoil spring and engage with the starter mechanism.
- Reassemble the Starter Assembly: Carefully close the starter assembly casing, ensuring all components are correctly seated. Secure it with the screws removed earlier.
- Reattach to Engine: Mount the reassembled starter assembly back onto the engine housing and secure it with its screws.
- Test: Reconnect the spark plug wire. Gently pull the starter rope a few times to ensure it retracts smoothly and engages the engine correctly.
5. Operation
Once the GaRcan Recoil Starter Pulley is correctly installed, operate your Ryobi blower/vacuum according to the original equipment manufacturer's instructions. The new pulley should provide smooth and consistent engagement for starting the engine.
6. Maintenance
To ensure the longevity and optimal performance of your recoil starter pulley:
- Keep Clean: Periodically inspect the starter assembly for dirt, debris, or grass clippings that could impede the pulley's function. Clean as necessary.
- Inspect Rope: Check the starter rope for fraying or wear. Replace the rope if it shows signs of damage to prevent sudden breakage.
- Avoid Excessive Force: Do not yank the starter rope excessively. A smooth, firm pull is sufficient to engage the engine.
7. Troubleshooting
If you encounter issues after installing the new pulley, consider the following:
- Rope Not Retracting:
- Ensure the recoil spring is correctly seated and tensioned.
- Check for any obstructions (dirt, debris) within the starter assembly.
- Verify the rope is not binding or improperly wound on the pulley.
- Difficulty Engaging Engine:
- Confirm the pulley is correctly installed and engaging with the engine's flywheel cup.
- Ensure the starter rope is the correct length and properly wound.
If problems persist, consult a professional service technician.
8. Specifications
| Attribute | Detail |
|---|---|
| Part Number | 521316001 |
| Brand | GaRcan |
| Model Number | KuPxqDG |
| Compatible Ryobi Models | RY09550, RY09551, RY09050, RY09053, RY09055, RY09056, RY09951, RY09051, UT09510, UT09521, UT09520, UT09523, UT09525, UT09526 |
| Item Weight | 16 ounces (0.45 kg) |
| Color | Black |
| UPC | 658371135540 |
9. Warranty and Support
The GaRcan Recoil Starter Pulley comes with a one-year warranty from the date of purchase. This warranty covers defects in materials and workmanship under normal use.
For warranty claims, technical support, or further assistance, please contact your retailer or the manufacturer directly. Keep your proof of purchase for warranty validation.