
1. Introduction
This manual provides essential information for the proper use and care of your JOYO CM-28 20ft XLR Microphone Cable. Please read this manual thoroughly before using the product to ensure optimal performance and longevity.

Figure 1: JOYO CM-28 20ft XLR Microphone Cable, coiled for storage.
2. Features
- 20ft Length: Provides ample reach for various audio setups.
- XLR Male to XLR Female: Standard 3-pin connectors for balanced audio transmission.
- No Signal Loss: Engineered for high-fidelity audio transfer.
- Balanced Shielded Design: Minimizes hum and noise interference.
- Gold-Plated Pure Copper Pins: Enhances conductivity and ensures integral, accurate signals.
- Durable PVC Shielding Layer: Offers excellent wear resistance and flexibility, withstanding constant twisting.
- Secure Connections: Connectors undergo oxidation treatment for reliable plug-and-play functionality.

Figure 2: Close-up view of the XLR connectors, emphasizing gold-plated pins for high-fidelity audio, clean sound, noise-free performance, flexible body, and stable connection.

Figure 3: Illustration of the cable's bend resistance, featuring a soft and wear-resistant PVC wire body treated with a sealing glue process.
3. Specifications
| Brand | JOYO |
| Model Name | CM-28 |
| Cable Type | Microphone XLR Cable |
| Connector Type | XLR Male-to-Female (3-pin) |
| Length | 20ft (approximately 6m) |
| Color | Black |
| Outer Material | Polyvinyl Chloride (PVC) |
| Special Feature | Noise Reduction |
| Compatible Devices | Speakers, Microphones, Mixers, Recording Studios, Podcast Equipment, Sound Consoles, Equalizers, Soundboxes, Cameras, Effectors, Audio Mixers (with 3-pin XLR connectors) |
| Product Dimensions | 7.87 x 7.87 x 0.98 inches (packaged) |
| Item Weight | 13.7 ounces |

Figure 4: Detailed diagram illustrating the dimensions of the XLR connectors and the internal structure of the cable, including multiple layers of shielding.
4. Setup and Connection
The JOYO CM-28 XLR cable is designed for easy and secure connection between audio equipment with 3-pin XLR ports.
- Identify Connectors: The cable has one XLR male connector and one XLR female connector. The male connector has three pins, and the female connector has three corresponding holes.
- Connect to Microphone/Input: Insert the XLR female end of the cable into the XLR male output port of your microphone or other audio source. Ensure it clicks securely into place.
- Connect to Mixer/Output: Insert the XLR male end of the cable into the XLR female input port of your mixer, audio interface, or other receiving equipment. Ensure it clicks securely into place.
- Verify Connection: Gently tug on both ends of the cable to confirm a firm connection. The secure locking mechanism prevents accidental disconnections.

Figure 5: Close-up view of the XLR male and female connectors, ready for connection.

Figure 6: Visual representation of the cable's universal compatibility with devices such as microphones, sound consoles, equalizers, soundboxes, cameras, effectors, and audio mixers.
Video 1: Demonstration of connecting the JOYO CM-28 XLR cable to a microphone and a mixer, highlighting the secure fit and flexibility.
5. Operating Instructions
Once connected, the JOYO CM-28 cable facilitates the transmission of balanced audio signals. No specific operational steps are required for the cable itself beyond proper connection.
- Ensure all connected devices (microphone, mixer, speakers) are powered on and configured correctly according to their respective manuals.
- Adjust gain levels on your mixer or audio interface to achieve desired signal strength without clipping.
- The cable's shielding helps maintain signal integrity, providing clear and complete audio transmission.
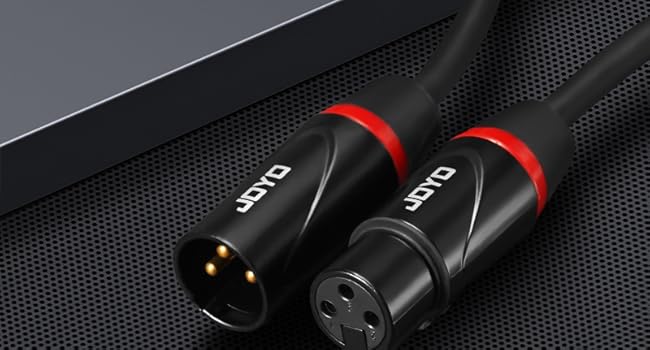
Figure 7: A musician performing with a microphone connected via a JOYO XLR cable, illustrating typical usage in a studio or live setting.
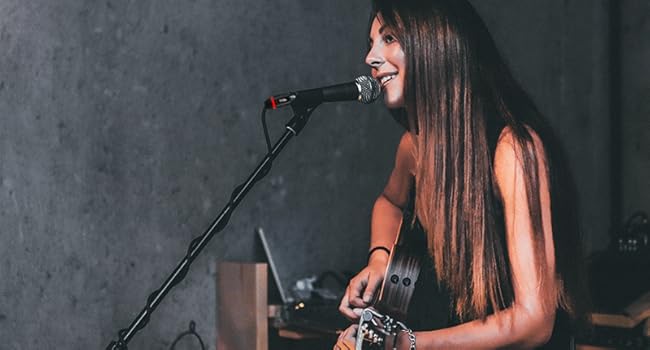
Figure 8: A microphone setup with a pop filter, connected by a JOYO XLR cable, demonstrating its use in a recording environment for noise reduction.
6. Maintenance and Care
Proper maintenance ensures the longevity and performance of your JOYO CM-28 XLR cable.
- Storage: When not in use, coil the cable neatly. Avoid sharp bends or kinks that can damage internal wiring. The included Velcro strap can assist with tidy storage.
- Cleaning: Wipe the cable and connectors with a dry, soft cloth to remove dust and debris. Avoid using harsh chemicals or abrasive materials.
- Handling: Always grasp the connector housing when plugging or unplugging the cable, not the cable itself. This prevents strain on the solder joints and internal connections.
- Environmental Conditions: Store the cable in a dry environment. While the PVC jacket offers durability, extreme temperatures or moisture can affect performance over time.

Figure 9: The JOYO CM-28 XLR cable neatly coiled and secured with a Velcro strap, demonstrating proper storage.
7. Troubleshooting
If you experience issues with your JOYO CM-28 XLR cable, consider the following common troubleshooting steps:
- No Sound/Intermittent Sound:
- Ensure both ends of the cable are fully and securely connected to their respective ports.
- Check the volume and gain settings on all connected audio equipment.
- Test the cable with different equipment to rule out issues with the microphone or mixer.
- Inspect the connectors for any visible damage or corrosion.
- Humming/Buzzing Noise:
- Verify that the cable is properly shielded and not running parallel to power cables, which can induce interference.
- Ensure all equipment is properly grounded.
- Test with another XLR cable to determine if the issue is with the cable or the equipment.
- Distorted Sound:
- Check input levels on your mixer or interface to prevent signal clipping.
- Ensure the cable is not damaged or kinked, which could affect signal integrity.
8. Warranty and Support
JOYO Technology is committed to providing reliable quality and customer satisfaction.
- Return Policy: The product is eligible for returns within 30 days of purchase.
- Replacement: Replacements are available within 12 months of purchase for product issues.
- Customer Service: If you encounter any problems with the product, please contact JOYO customer service. We aim to provide prompt service within 24 hours.
- Transparency Verified: Each item includes a unique code verified before shipping, ensuring product authenticity.
For further assistance, please refer to the contact information provided with your purchase or visit the official JOYO website.