SteFik Cdz2101 STYTJ03ZHM
Charger Docking Station Base Charging Dock User Manual
Brand: SteFik
1. Introduction
This user manual provides detailed instructions for the proper installation, operation, and maintenance of your new Charger Docking Station Base. This charging base is specifically designed for compatibility with the Mi Vacuum-Mop 2 Cdz2101 STYTJ03ZHM Robot Vacuum. Please read this manual thoroughly before using the product to ensure safe and efficient operation.

Image 1.1: Front view of the dark grey charging docking station base.
2. Safety Information
Always observe the following safety precautions to reduce the risk of fire, electric shock, or injury:
- Use only the power adapter supplied with the charging base. Using an incorrect adapter may damage the product and void the warranty.
- Do not expose the charging base to water or moisture. Use indoors only.
- Keep the charging base away from heat sources, direct sunlight, and flammable materials.
- Do not attempt to disassemble, repair, or modify the charging base yourself. Contact qualified service personnel for assistance.
- Ensure the power cord is not pinched, walked on, or damaged.
- Unplug the charging base from the power outlet before cleaning or when not in use for extended periods.
3. Package Contents
Please check the package contents upon opening. If any items are missing or damaged, contact customer support.
- 1 x Charger Docking Station Base (STYTJ03ZHM-02)
- 1 x Power Cable

Image 3.1: The charging base and its accompanying power cable.
4. Setup
Follow these steps to set up your charging docking station:
- Choose a Suitable Location: Place the charging base on a hard, level surface against a wall. Ensure there is at least 0.5 meters (1.6 feet) of clear space on both sides and 1.5 meters (4.9 feet) in front of the base to allow the robot vacuum to dock properly. Avoid placing it near stairs or obstacles that could interfere with the robot's navigation.
- Connect the Power Cable: Insert the power cable into the power port on the back or side of the charging base.
- Plug into Power Outlet: Plug the other end of the power cable into a standard wall outlet. Ensure the outlet is easily accessible.
- Power On: The charging base is now ready. Some models may have an indicator light that illuminates when powered on.

Image 4.1: The white charging base with the power cable connected, ready for use.
5. Operating Instructions
The charging base is designed for automatic charging of your Mi Vacuum-Mop 2 Cdz2101 STYTJ03ZHM Robot Vacuum.
- Automatic Docking: When the robot vacuum's battery is low, it will automatically return to the charging base to recharge. Ensure the base is powered on and unobstructed.
- Manual Docking: You can also manually place the robot vacuum onto the charging base. Align the charging contacts on the robot with those on the base. The robot will indicate that it has begun charging.
- Charging Indicator: Refer to your robot vacuum's manual for specific charging indicator lights or sounds. Typically, a solid light indicates charging, and a light turning off or changing color indicates a full charge.
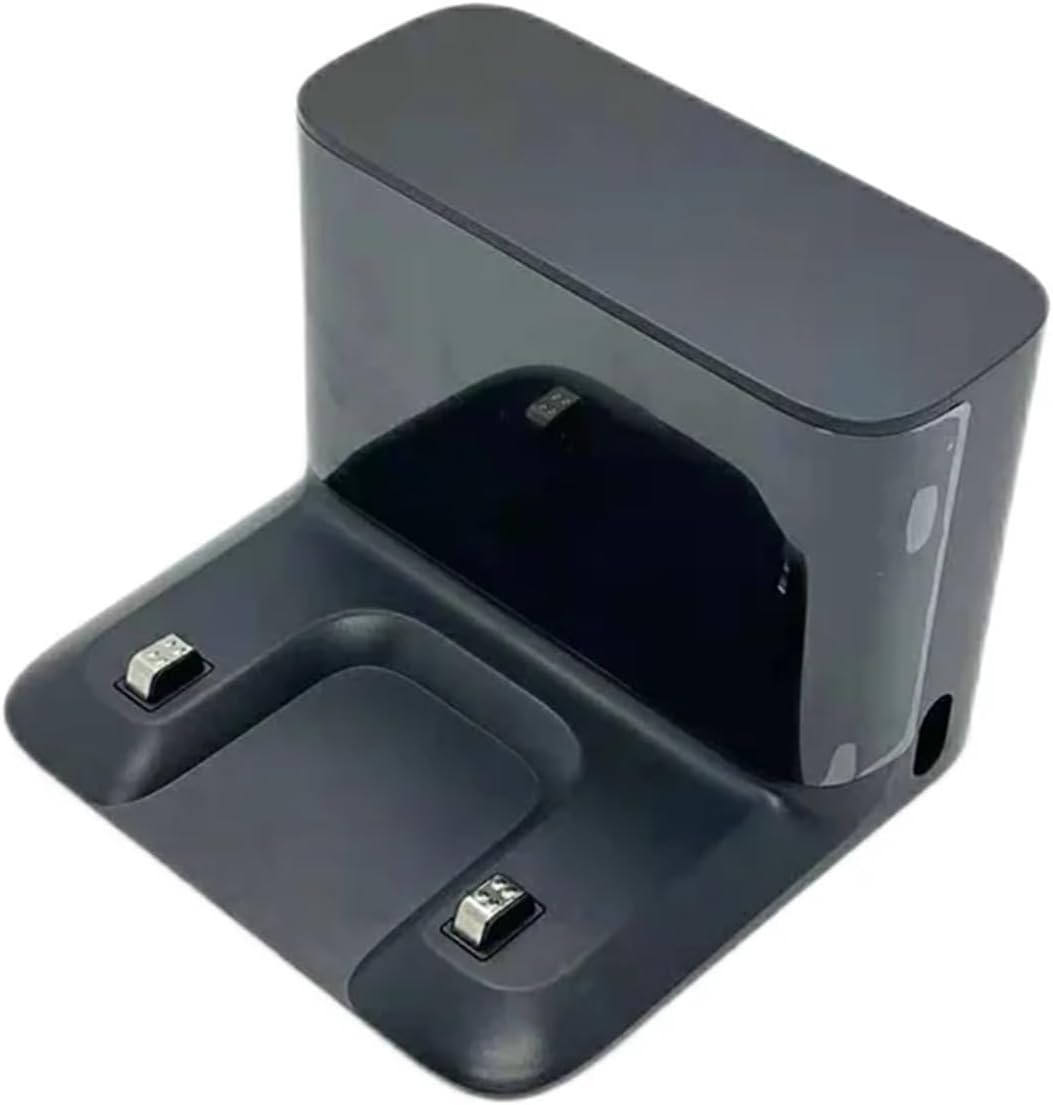
Image 5.1: Front view of the white charging base, showing the charging contacts where the robot vacuum connects.
6. Maintenance
Regular maintenance ensures optimal performance and longevity of your charging base.
- Cleaning the Charging Contacts: Periodically wipe the metal charging contacts on the base with a clean, dry cloth. Ensure the base is unplugged before cleaning. Do not use abrasive cleaners or liquids.
- Cleaning the Base: Wipe the exterior of the charging base with a soft, dry cloth to remove dust and debris.
- Power Cord Inspection: Regularly inspect the power cord for any signs of damage, fraying, or kinks. If damaged, discontinue use and replace it.
7. Troubleshooting
If you encounter issues with your charging base, refer to the following table for common problems and solutions:
| Problem | Possible Cause | Solution |
|---|---|---|
| Robot vacuum not charging when docked. |
|
|
| Robot vacuum cannot find the charging base. |
|
|
| Base indicator light is off. |
|
|
8. Specifications
| Feature | Detail |
|---|---|
| Product Name | Charger Docking Station Base |
| Compatibility | Mi Vacuum-Mop 2 Cdz2101 STYTJ03ZHM Robot Vacuum |
| Model Number | STYTJ03ZHM-02 (Specific variant) |
| Package Dimensions | 1.18 x 0.79 x 0.39 inches |
| Item Weight | 1.76 ounces |
| Manufacturer | zhangmeifengf |
| Number of Pieces | 1 |
9. Warranty and Support
This product comes with a standard manufacturer's warranty. Please refer to the product packaging or contact your retailer for specific warranty terms and conditions. For technical support, troubleshooting assistance, or inquiries about replacement parts, please contact the seller or manufacturer directly through the platform where the product was purchased.
We are committed to providing high-quality products and excellent customer service. Your satisfaction is our priority.
Related Documents - Cdz2101 STYTJ03ZHM
 |
Xiaomi Mi Robot Vacuum- Mop 2 User Manual: Setup, Operation, and Maintenance Comprehensive user manual for the Xiaomi Mi Robot Vacuum- Mop 2, covering safety instructions, setup, operation, maintenance, troubleshooting, and technical specifications. Learn how to use your robot vacuum effectively and keep it in optimal condition. |
 |
Mi Robot Vacuum-Mop 2 User Manual - Setup, Operation, and Maintenance Guide Comprehensive user manual for the Mi Robot Vacuum-Mop 2, covering safety information, product overview, setup, operation, mopping function, care and maintenance, troubleshooting, and specifications. Learn how to use your Xiaomi robot vacuum for efficient floor cleaning. |
 |
Mi Robot Vacuum-Mop 2 User Manual: Setup, Operation, and Maintenance Guide Comprehensive user manual for the Mi Robot Vacuum-Mop 2, covering setup, charging, operation, mopping function, care, maintenance, troubleshooting, and specifications. Learn how to use your Xiaomi robot vacuum for efficient floor cleaning. |
 |
Xiaomi Robot Vacuum S10+ User Manual User manual for the Xiaomi Robot Vacuum S10+, providing safety information, product overview, installation instructions, usage guidelines, maintenance tips, and troubleshooting. |
Ask a question about this manual
Ask about setup, troubleshooting, compatibility, parts, safety, or missing instructions. Manuals+ will review the question and use this page’s manual context to help answer it.