LILANDIANSI M200
LILANDIANSI M200 Mini Portable LED Short Throw Projector
User Instruction Manual
1. Introduction
The LILANDIANSI M200 Mini Portable LED Short Throw Projector is designed for versatile home theater and presentation use. Its compact and lightweight design allows for easy portability and setup in various environments. This manual provides essential information for the safe and effective operation of your projector.
Key features include:
- Compact and Portable: Measuring only 12.7*8.55*4.85cm and weighing just 250g, it is easy to carry and set up anywhere.
- High Definition Imaging: Supports 1080P resolution with a projection size ranging from 30 to 100 inches.
- Versatile Compatibility: Multiple connection options including USB, computer, DVD, set-top box, and mobile hard drive.
- Durable and Long-lasting: Advanced LED technology provides a lifespan of up to 30,000 hours.
- Wired Cell Phone Screen Casting: Supports direct wired screen mirroring from compatible mobile phones.

2. What's Included
Please check the package contents upon unboxing to ensure all items are present:
- LILANDIANSI M200 Projector
- Power Cord
- Remote Control
- User Manual (this document)
3. Product Overview
Familiarize yourself with the various parts and interfaces of your M200 projector.

3.1. Buttons and Controls
- Switch: Power On/Off button.
- Return Key: Navigates back in menus.
- Signal Source Key: Selects input source (HDMI, AV, USB, etc.).
- Left/Right Keys: Navigation within menus.
- Confirm Key: Confirms selection.
3.2. Interfaces
- DC Power Port (IN 5V): Connects to the power adapter.
- USB Port: Connects USB drives for media playback.
- HD Interface (HDMI): Connects to HDMI-enabled devices (laptops, game consoles, set-top boxes).
- TF Card Slot (microSD): For microSD card media playback.
- AV Interface: Connects to devices using an AV cable (e.g., DVD players).
- 5V-2A Output Port: Can be used to power or charge small external devices.
- Headphone Jack: For connecting external audio devices or headphones.
4. Setup
Follow these steps to set up your projector for the first time:
- Placement: Place the projector on a stable, flat surface. Ensure there is adequate ventilation around the projector. For optimal image quality, position the projector perpendicular to the projection surface (wall or screen).
- Power Connection: Connect the provided power cord to the DC Power Port (IN 5V) on the projector and then plug it into a power outlet.
- Power On: Press the 'Switch' button on the projector or the power button on the remote control to turn on the device. The indicator light will illuminate.
- Connect Input Source: Connect your desired device (e.g., laptop, USB drive, phone) to the appropriate port (HDMI, USB, AV).
- Select Input Source: Use the 'Signal Source Key' on the projector or remote control to select the input source corresponding to your connected device.
- Adjust Focus: Rotate the focus ring on the projector lens until the image appears clear and sharp on the screen.
5. Operating Instructions
5.1. Basic Operation
- Navigation: Use the Left/Right keys and Confirm key on the projector or remote to navigate through menus and make selections.
- Volume Control: Adjust volume using the remote control.
- Menu Settings: Access the projector's settings menu to adjust picture mode, aspect ratio, sound settings, and more.

5.2. Wired Screen Casting (Mobile Phone)
The M200 supports wired screen mirroring for compatible mobile phones. This allows you to display your phone's screen directly on the projector.
- Ensure your phone supports wired screen casting (e.g., MHL, USB-C to HDMI adapter, or specific wired mirroring protocols).
- Connect your phone to the projector using a compatible cable (e.g., USB to USB port, or HDMI if using an adapter).
- Select the correct input source on the projector (e.g., USB or HDMI).
- Follow any on-screen prompts on your phone or projector to initiate screen mirroring.

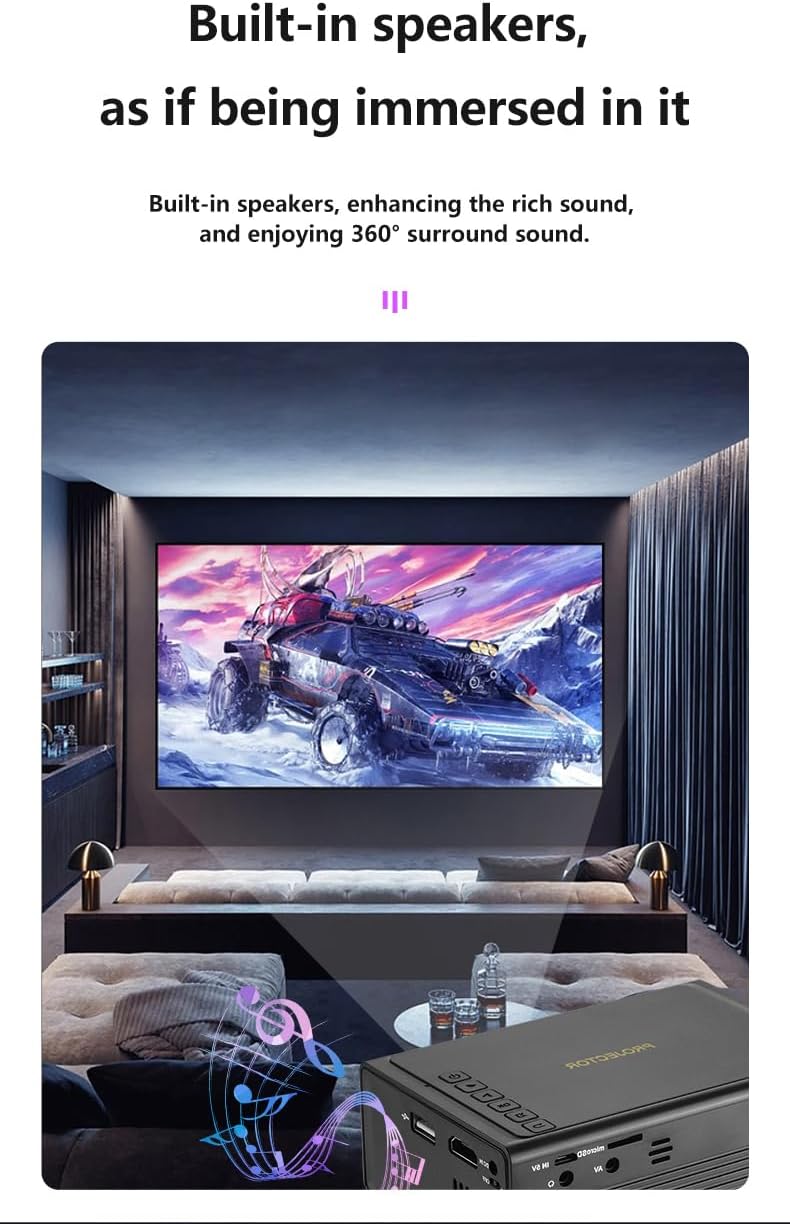
5.3. Audio Output
The projector features built-in speakers for audio playback. For a more immersive experience or private listening, you can connect external speakers or headphones via the Headphone Jack.
6. Maintenance
Proper maintenance ensures the longevity and optimal performance of your projector.
- Cleaning the Lens: Use a soft, lint-free cloth specifically designed for optical lenses to gently wipe the projector lens. Do not use abrasive cleaners or excessive force.
- Cleaning the Casing: Wipe the projector's exterior with a soft, dry cloth. For stubborn dirt, a slightly damp cloth can be used, but ensure no liquid enters the device.
- Ventilation: Ensure the ventilation vents are clear of dust and obstructions. Do not block the vents during operation.
- Storage: When not in use for extended periods, store the projector in a cool, dry place, away from direct sunlight and extreme temperatures. Use the original packaging or a protective case if available.
7. Troubleshooting
If you encounter issues with your projector, refer to the following common problems and solutions:
| Problem | Possible Cause | Solution |
|---|---|---|
| No image on screen | Power not connected; Incorrect input source; Device not powered on. | Check power connection; Select correct input source; Ensure connected device is on. |
| Image is blurry | Focus not adjusted; Projector too far/close; Lens dirty. | Adjust focus ring; Adjust projection distance; Clean the lens. |
| No sound | Volume too low; Muted; Audio cable not connected properly. | Increase volume; Unmute; Check audio connections. |
| Remote control not working | Batteries dead/incorrectly inserted; Obstruction between remote and projector. | Replace batteries; Ensure clear line of sight to IR receiver. |
| Projector overheats | Blocked ventilation; Prolonged use in hot environment. | Ensure vents are clear; Operate in a well-ventilated area; Allow to cool down. |
8. Specifications
Technical specifications for the LILANDIANSI M200 Projector:
| Feature | Detail |
|---|---|
| Model Number | M200 |
| Product Dimensions | 3.8 x 2.8 x 5.1 inches (approx. 12.7 x 8.55 x 4.85 cm) |
| Item Weight | 250g |
| Color | White (as per specification, though product images show black) |
| Display Resolution (Native) | 320 x 240 Pixels |
| Display Resolution (Maximum Supported) | 1920 x 1080 Pixels (1080P) |
| Projection Size | 30 to 100 inches |
| Light Source Lifespan | Up to 30,000 hours |
| Connectivity Technology | HDMI, USB, AV, TF Card |
| Special Features | Short Throw, Built-in Speakers, Wired Cell Phone Screen Casting |
9. Warranty and Support
For warranty information and technical support, please refer to the documentation provided with your purchase or contact LILANDIANSI customer service through the retailer where the product was purchased. Keep your purchase receipt as proof of purchase for warranty claims.
Ask a question about this manual
Ask about setup, troubleshooting, compatibility, parts, safety, or missing instructions. Manuals+ will review the question and use this page’s manual context to help answer it.