KIMISS KIMISS9gasvih305
L7 HD Night Vision Mini Magnetic Clip Camera 1080P Recorder User Manual
Model: KIMISS9gasvih305
1. Product Overview
The KIMISS L7 HD Night Vision Mini Magnetic Clip Camera is a compact and versatile recording device designed for various applications, including meetings, personal security, and general recording. It features high-definition 1080P video recording, night vision capabilities, and a durable design with a convenient clip for easy portability.
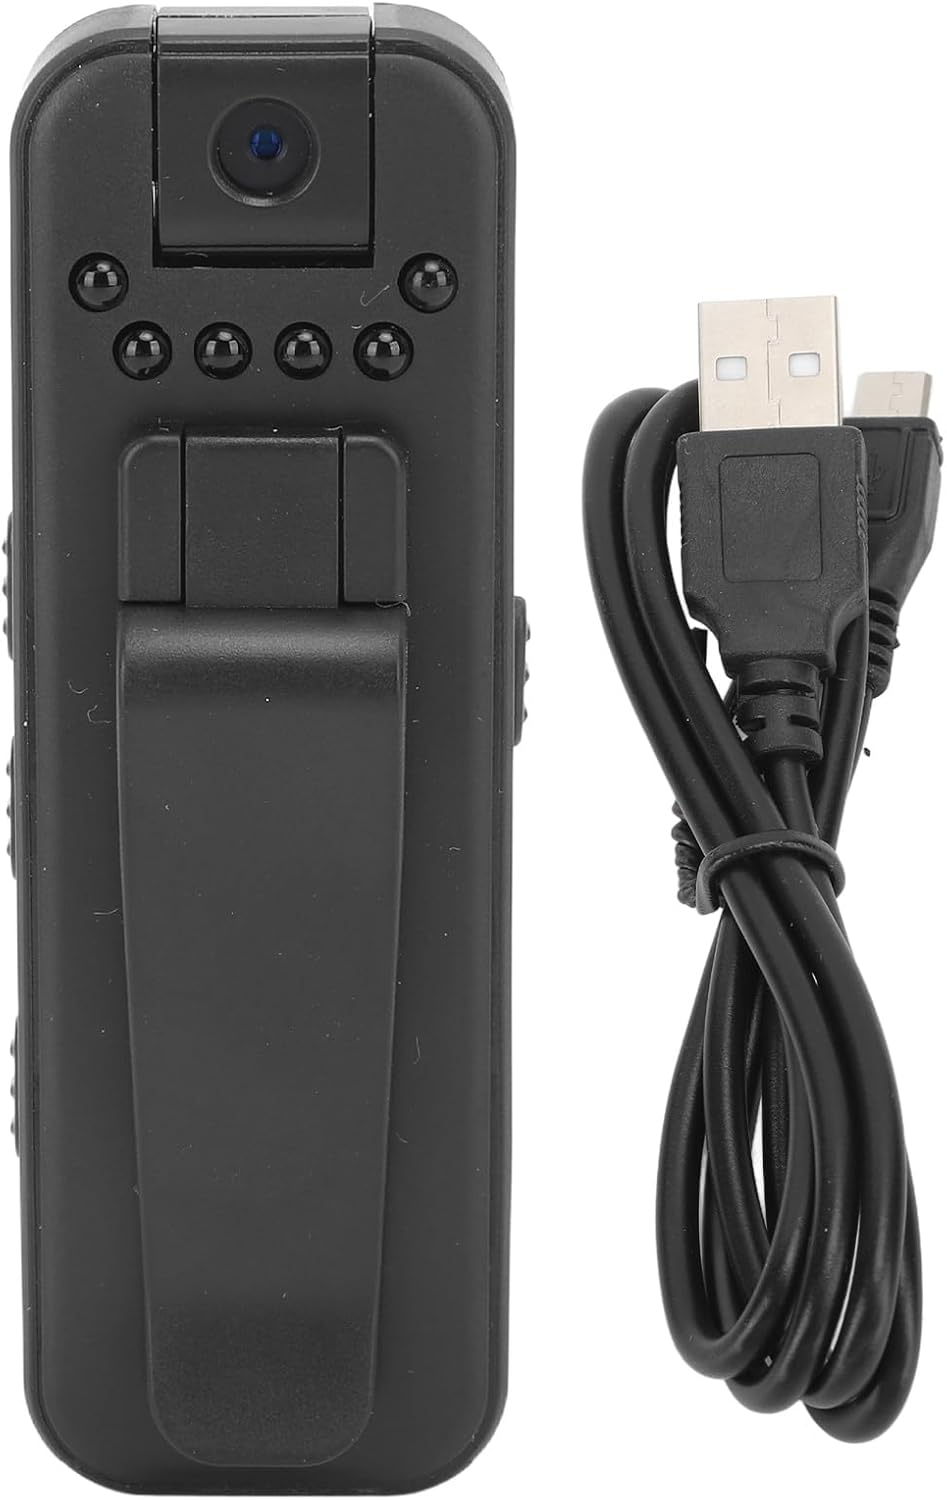
Figure 1.1: Front view of the L7 Mini Camera, showcasing its compact design and the included USB charging cable.
Key features include:
- High-Definition Night Vision: Equipped with 6 night vision cameras that automatically switch to black and white mode in low-light conditions, ensuring clear images.
- Mini and Portable Design: Lightweight and compact with a back clip, making it easy to carry for various recording needs.
- Large Memory Storage: Supports up to 128GB micro memory cards for extended recording times. Features automatic overwriting of older videos when memory is full.
- Reliable Performance: Supports 1080p high-definition video, auto-focus, light sensitivity adjustment, motion detection, and a wide-angle field of view for realistic image colors.
- Long-Lasting Battery: Integrated 500mAh battery provides up to 3 hours of continuous recording and can be easily charged via a Micro USB cable.
2. Safety Information
Please read and understand all safety instructions before using the device to prevent injury or damage.
- Do not expose the device to extreme temperatures (below -5℃ or above 40℃).
- Avoid dropping or subjecting the device to strong impacts.
- Keep the device away from water and moisture. It is not waterproof.
- Do not attempt to disassemble or modify the device. This will void the warranty.
- Use only the provided charging cable or a compatible Micro USB cable for charging.
- Store the device in a cool, dry place when not in use.
3. Package Contents
Verify that all items are present in the package:
- 1 x L7 Mini Magnetic Clip Camera
- 1 x User Manual
- 1 x Power Cord (Micro USB)
4. Product Components
Familiarize yourself with the different parts of your L7 Mini Camera:

Figure 4.1: Top-down view of the camera, highlighting the lens, night vision LEDs, and the sturdy clip.
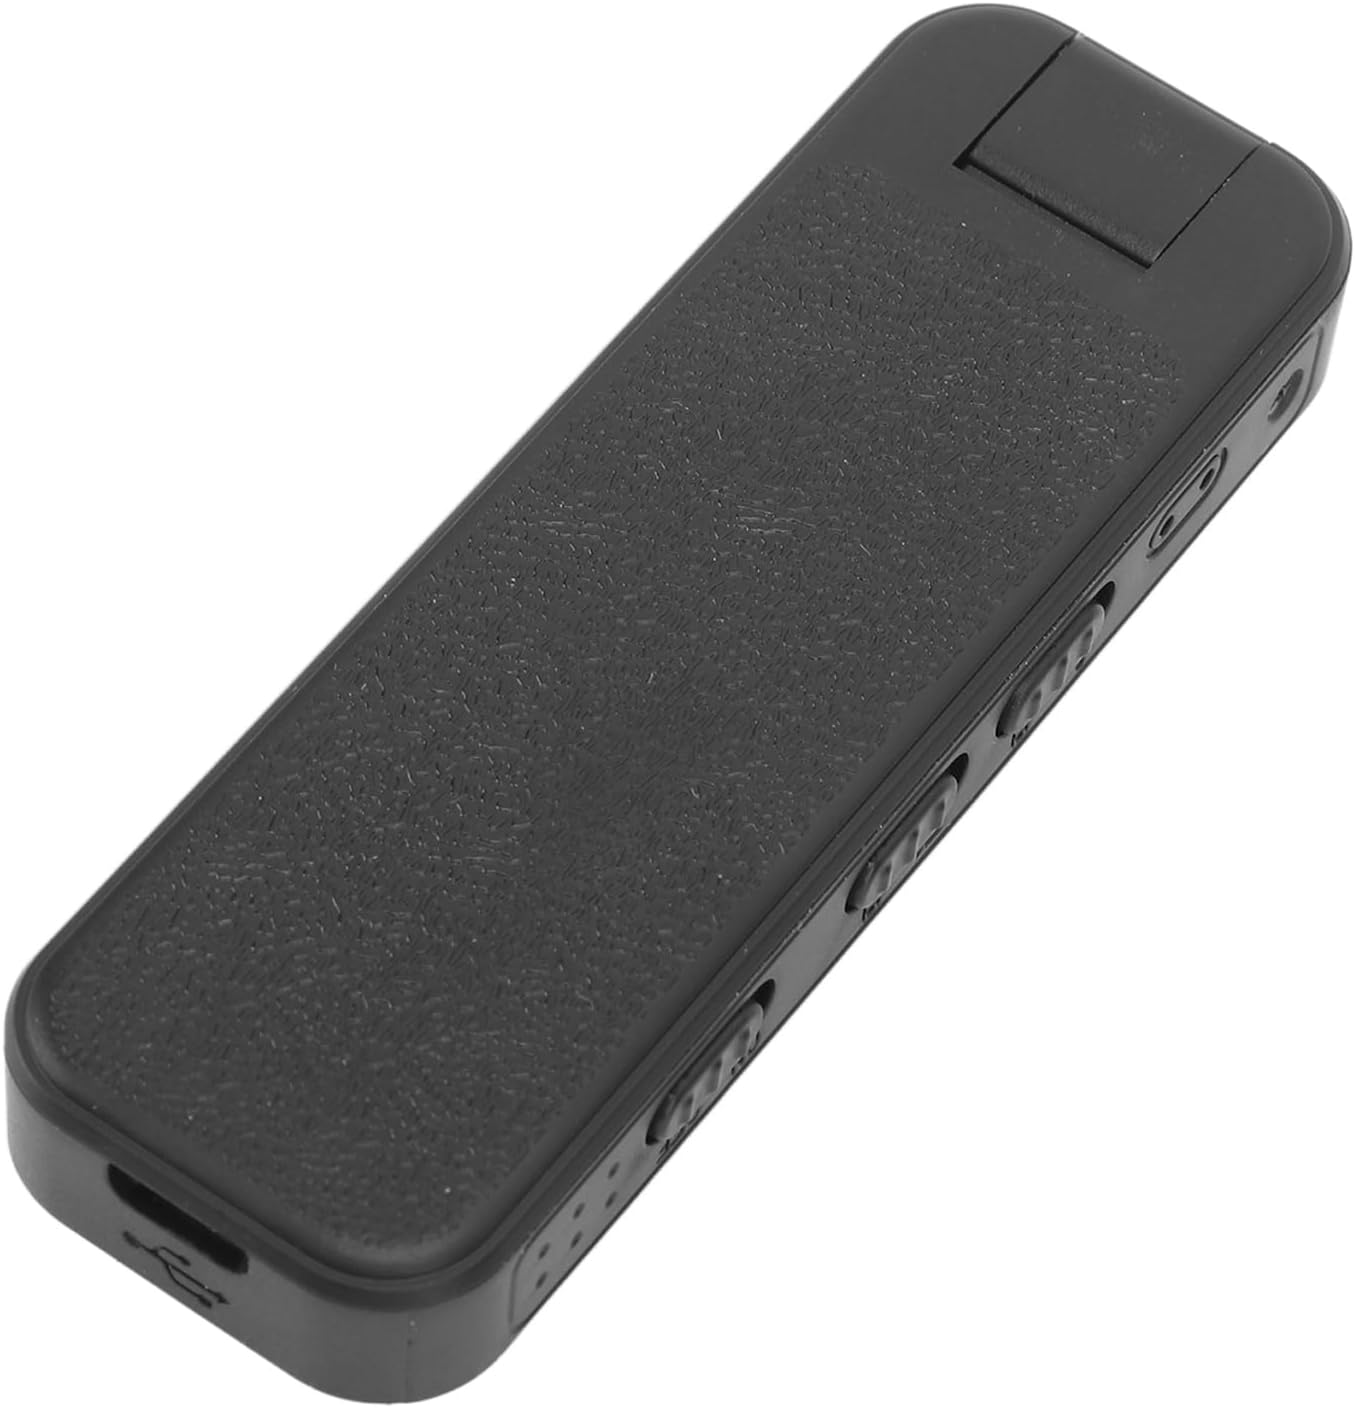
Figure 4.2: Side view of the camera, indicating the TF card slot, reset button, and the power/mode switch.

Figure 4.3: Opposite side view of the camera, showing the Micro USB charging port.
5. Setup
5.1 Charging the Device
Before first use, fully charge the L7 Mini Camera. Connect the provided Micro USB cable to the camera's charging port and the other end to a USB power adapter (not included) or a computer's USB port. The charging time from 0% to 100% is approximately 60 minutes.

Figure 5.1: The L7 Mini Camera, ready for charging or use.
5.2 Inserting the Memory Card
The L7 Mini Camera requires a micro memory card (not included) for storing recordings. It supports capacities from 4GB up to 128GB.
- Locate the TF card slot on the side of the camera (refer to Figure 4.2).
- Gently insert the micro memory card into the slot with the gold contacts facing down until it clicks into place.
- To remove the card, push it in slightly until it springs out.
6. Operating Instructions
6.1 Powering On/Off
- To power on: Press the ON button located on the side of the device. The indicator light will illuminate.
- To power off: Press and hold the ON button until the indicator light turns off.
6.2 Recording Video
- Ensure the device is powered on and a memory card is inserted.
- Push the recording button (often labeled with a camera icon or 'REC') upwards to initiate video recording. The indicator light will change to indicate recording is in progress.
- To stop recording: Push the recording button downwards. The device will save the current video file.
6.3 Activating Night Vision
The L7 Mini Camera features automatic night vision. However, there is also a dedicated lamp button to control the night vision switch manually if needed.
- Locate the lamp button on the device.
- Press the lamp button to toggle the night vision mode on or off.

Figure 6.1: The L7 Mini Camera is suitable for various recording scenarios, including educational, business, and interview settings.
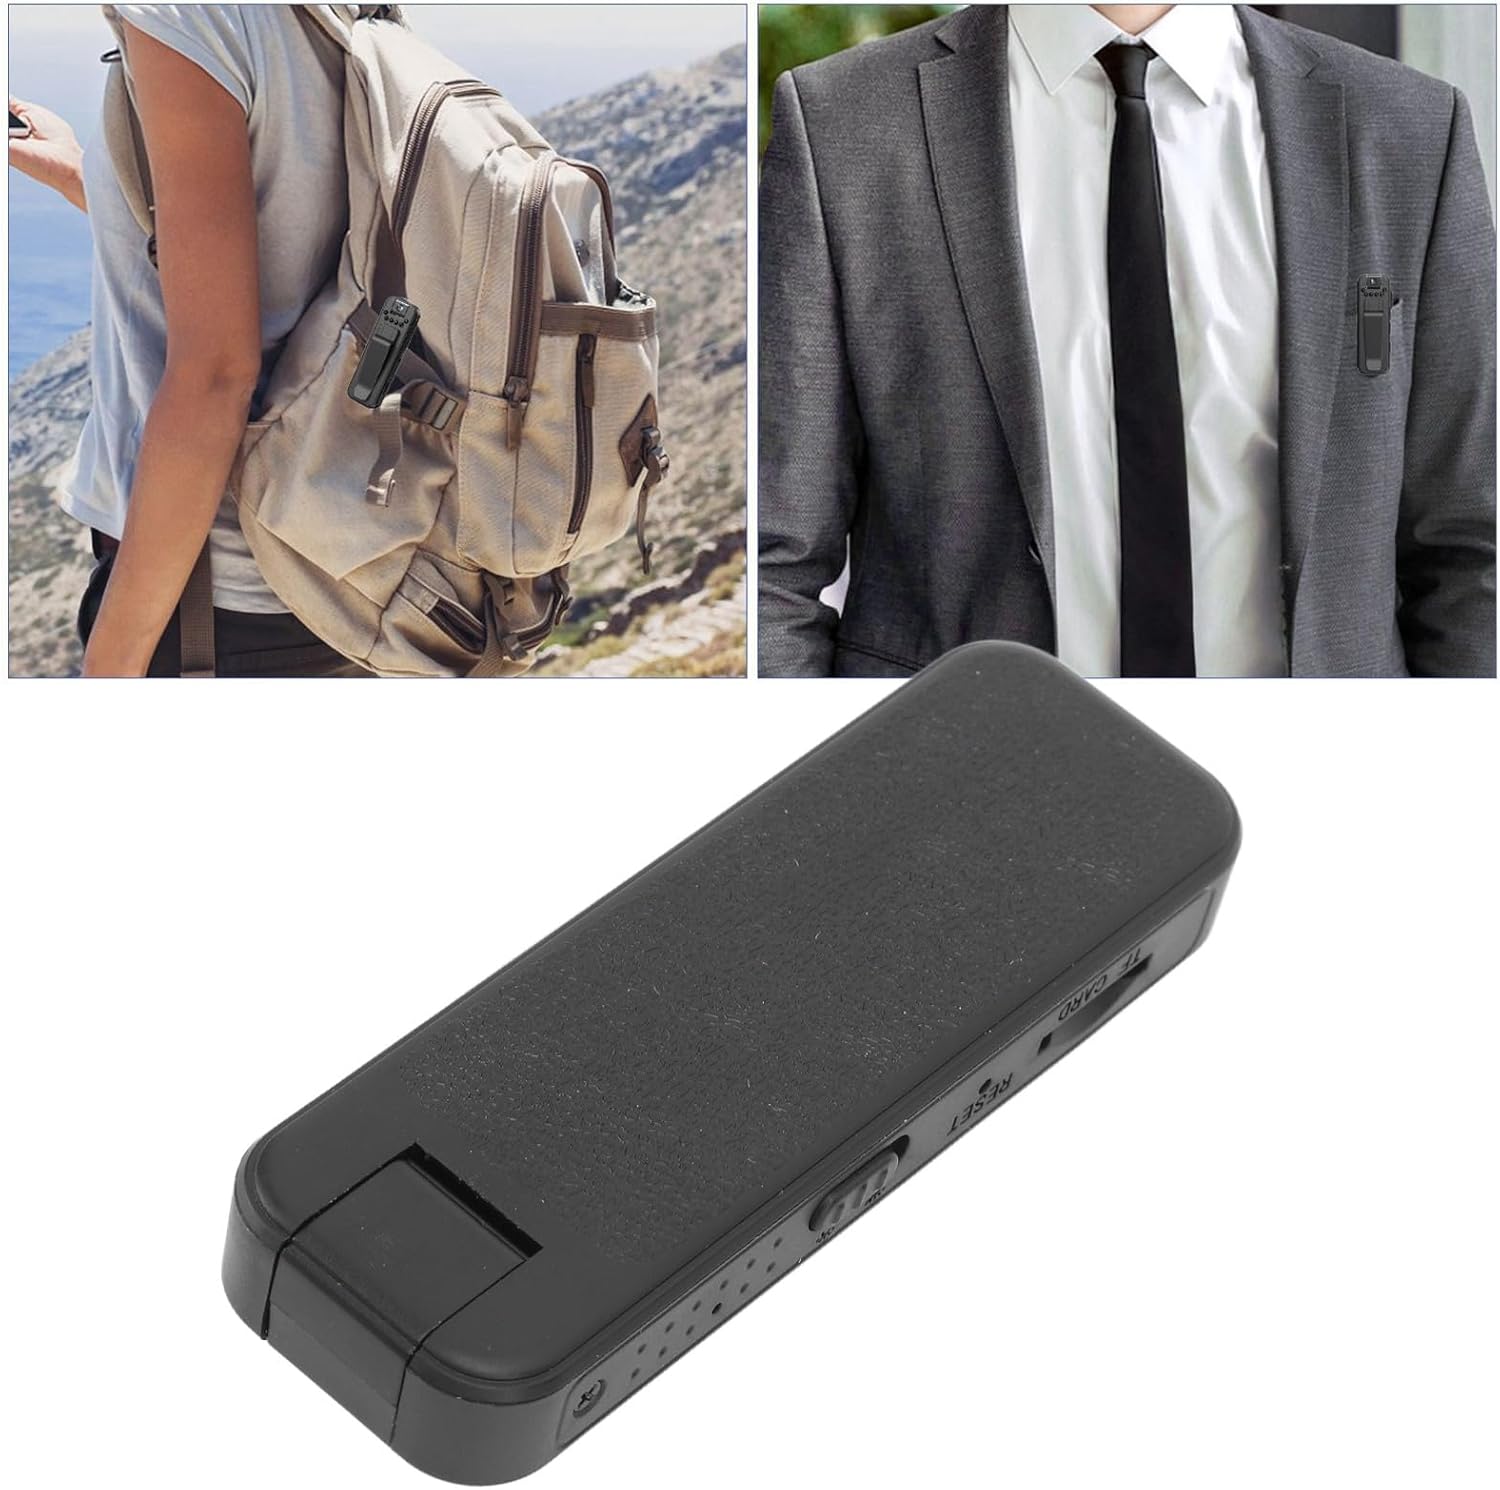
Figure 6.2: The camera's clip design allows for versatile attachment to clothing or bags, making it discreet and convenient for on-the-go recording.
7. Maintenance
7.1 Cleaning
To clean the camera, use a soft, dry cloth. Do not use liquid cleaners or solvents, as they may damage the device.
7.2 Storage
When not in use for extended periods, store the camera in a cool, dry place, away from direct sunlight and extreme temperatures. Ensure the battery is partially charged (around 50%) before storing to prolong its lifespan.
7.3 Battery Care
To maintain battery health, avoid fully discharging the battery frequently. Recharge the device when the battery is low. If the device will not be used for a long time, charge it every 3-6 months.
8. Troubleshooting
If you encounter issues with your L7 Mini Camera, refer to the following common problems and solutions:
- Device does not power on: Ensure the battery is charged. Connect the charger and try again.
- Cannot record: Check if a memory card is inserted correctly and if it has sufficient free space. The card might be full or corrupted. Try formatting the card (refer to your computer's instructions for formatting a micro SD card).
- Poor video quality: Ensure the lens is clean. Check lighting conditions; night vision should activate automatically in low light.
- Device freezes or becomes unresponsive: Use a small pin or paperclip to press the reset button (refer to Figure 4.2). This will restart the device without deleting data.
- Short battery life: Ensure the device is fully charged before use. Battery performance can degrade over time with extensive use.
If the problem persists after trying these solutions, please contact customer support.
9. Specifications
| Feature | Specification |
|---|---|
| Item Type | Mini Body Camera |
| Product Material | ABS |
| Weight | Approx. 68 g / 2.4 oz |
| Video Resolution | 1920 x 1080P (Maximum) |
| Video Format | AVI |
| Night Vision Mode | Supported |
| Video Frame Rate | 30 frames per second |
| Recording Endurance | 3 hours |
| Audio Recording Endurance | 7 hours |
| Battery Capacity | 500 mAh (Built-in Lithium-ion battery) |
| Maximum Memory Expansion | 4-128GB Micro Memory Card (not included) |
| USB Version | 2.0 |
| Charging Interface | Micro USB |
| Charging Time | Approx. 60 minutes (0%-100%) |
| Operating Temperature | -5 ℃ to 40 ℃ |
| Model Number | KIMISS9gasvih305 |
10. Warranty Information
This product comes with a 1 Year Warranty Against Manufacturer Defects. Please retain your proof of purchase for warranty claims. The warranty does not cover damage caused by misuse, accidents, unauthorized repairs, or normal wear and tear.
11. Customer Support
For further assistance, technical support, or warranty inquiries, please contact your retailer or the manufacturer directly. Refer to the product packaging or the retailer's website for contact details.
Ask a question about this manual
Ask about setup, troubleshooting, compatibility, parts, safety, or missing instructions. Manuals+ will review the question and use this page’s manual context to help answer it.