Introduction
Welcome to the instruction manual for your Helidirect Yu Xiang C189 MD500E RC Helicopter. This manual provides essential information for safe operation, setup, and maintenance of your model. Please read it thoroughly before operating the helicopter to ensure a safe and enjoyable experience.
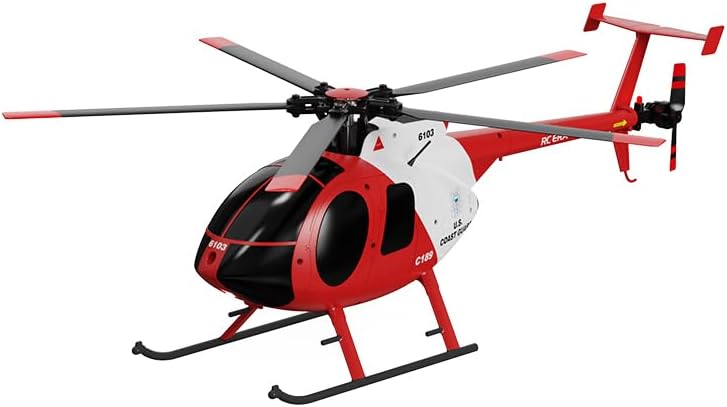
Image: The Helidirect Yu Xiang C189 MD500E RC Helicopter, featuring a distinctive red and white Coast Guard paint scheme.
Safety Information
WARNING: This product is not a toy and is not intended for use by children. Recommended for users aged 14 and above.
- Always operate the helicopter in open areas, away from people, animals, buildings, and other obstacles.
- Keep hands, face, and loose clothing away from rotating blades.
- Do not operate in strong winds or adverse weather conditions.
- Ensure the battery is fully charged before each flight and handle LiPo batteries with care.
- Never leave charging batteries unattended.
- Turn off the helicopter and remote control when not in use.
Package Contents
Please check the box contents against the list below:
- 1 x Helidirect Yu Xiang C189 MD500E RC Helicopter
- 1 x Remote Control (Transmitter)
- 1 x USB Charger
- 1 x Lipo Battery (7.4V 1200mAh 25C)
- 1 x Main Blade Set
- 1 x Tail Blade
- 1 x Screwdriver
- 1 x Hexagon Wrench
- 1 x User Manual (This document)
Setup Guide
1. Battery Installation
Carefully open the battery compartment on the helicopter. Insert the provided Lipo battery, ensuring the connectors are properly aligned. Securely close the compartment.

Image: Side profile of the C189 MD500E helicopter, showing its detailed fuselage and rotor system.
2. Charging the Battery
Connect the Lipo battery to the dedicated USB charger. Plug the USB charger into a compatible USB power source. The charging time is approximately 90 minutes. Do not overcharge the battery.
3. Remote Control Preparation
Install 4x AA batteries (not included) into the remote control. Ensure correct polarity. Turn on the remote control power switch.
4. Binding and Calibration
Place the helicopter on a flat, level surface. Turn on the helicopter's power switch. The lights on the helicopter will flash slowly. Turn on the remote control. Push the throttle stick (left joystick) all the way up, then pull it all the way down quickly. A beep sound will confirm successful binding, and the helicopter lights will stop flashing and become solid. For calibration, pull both joysticks to the lower right corner simultaneously. A beep with lights cycling from steady to flash to steady indicates successful calibration.
Video: An operational guide for the C189 MD500 RC Helicopter, demonstrating battery installation, remote control binding, and calibration procedures. Note: The helicopter model shown in the video may have a different color scheme than your specific product variant.
Operating Instructions
Basic Flight Controls
- Throttle (Left Stick Up/Down): Controls the main rotor speed for ascending and descending.
- Direction (Right Stick): Controls forward, backward, left, and right movement.
- Yaw (Left Stick Left/Right): Controls the helicopter's rotation around its vertical axis.
One-Key Takeoff and Landing
Press the dedicated One-Key Takeoff button on the remote control for automatic lift-off to a stable hover. Press the same button again for an automatic gentle landing.
Emergency Stop
In case of an emergency or loss of control, press both control sticks outwards simultaneously to immediately cut power to the motors. This feature is designed to minimize damage during unexpected situations.
Flight Modes
The helicopter features a 6G mode for stable flight, making it suitable for beginners. This mode utilizes the 6-axis gyroscope for enhanced stability and precise calibration. Three adjustable speed modes allow pilots to select their preferred flight experience.
Flight Maneuvers
The C189 MD500E is capable of various flight maneuvers and stunts, offering an authentic and exhilarating flying experience once you are comfortable with the basic controls.
Maintenance
- Cleaning: Regularly wipe down the helicopter with a soft, dry cloth to remove dust and debris. Avoid using harsh chemicals or water.
- Blade Inspection: Before each flight, inspect the main and tail blades for any signs of damage (cracks, bends). Replace damaged blades immediately using the provided spare parts and tools.
- Battery Care: Store the LiPo battery in a cool, dry place. Do not store fully charged or fully discharged for extended periods. Follow all battery safety guidelines.
Troubleshooting
- Helicopter not powering on: Ensure the battery is fully charged and correctly installed. Check the helicopter's power switch.
- Remote control not connecting/binding: Follow the binding procedure carefully. Ensure the remote control has fresh batteries.
- Unstable flight: Perform a calibration as described in the Setup Guide. Check for any damaged blades or obstructions. The 6-axis gyro stabilization should provide stable flight.
- Short flight time: Ensure the battery is fully charged. Battery performance may decrease over time with repeated use.
- Low voltage alarm: The helicopter is equipped with a low voltage alarm. Land the helicopter immediately when this alarm is triggered to prevent battery damage.
Specifications
| Rotor Diameter | 320mm |
| Body Length | 335mm |
| Height | 126mm |
| Weight | 225g |
| Main Motor | Brushless motor |
| Tail Motor | Brushless motor |
| Radio Frequency Band | 2.4GHz |
| Battery | Lipo 7.4V 1200mAh 25C |
| Charging Time | Approximately 90 minutes |
| Use Time | 14-16 minutes |
| Remote Control Distance | 150-200 meters |
Warranty and Support
For warranty information, technical support, or replacement parts, please refer to the official Helidirect website or contact their customer service directly. Keep your proof of purchase for any warranty claims.