Introduction
The HJM Noor 500 Towel Warmer is designed for efficient heating and towel drying in bathrooms. It features high-quality aluminum construction for excellent heat transmission and corrosion resistance. Equipped with a digital thermostat and 24/7 programming, it optimizes energy consumption. Additional features include a 2-hour Turbo mode, open window detection, and a keypad lock.
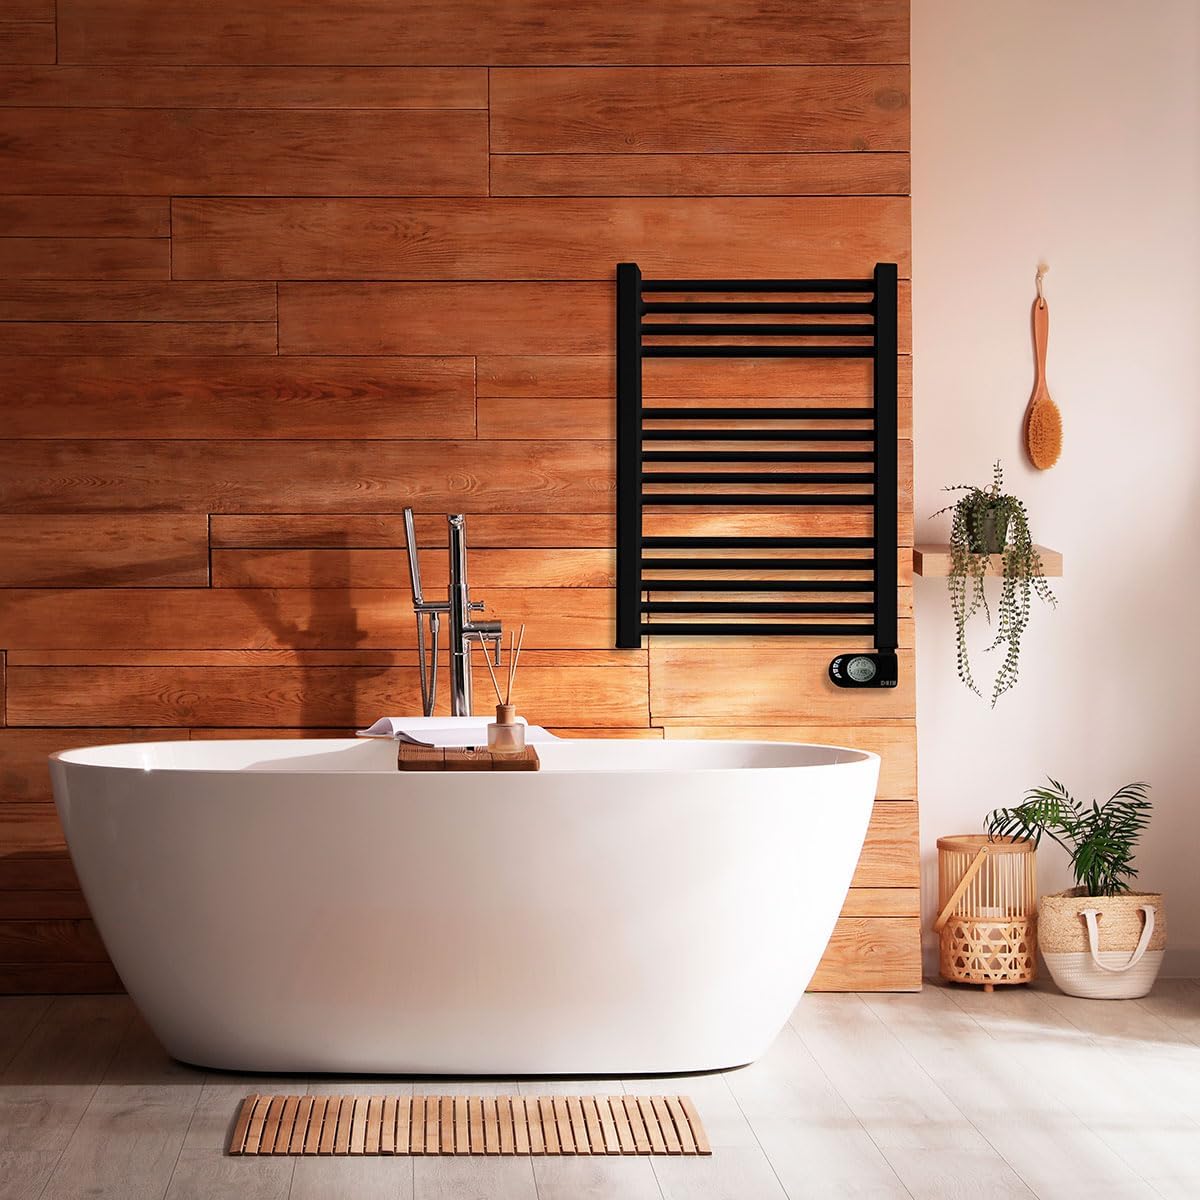
Image: The HJM Noor 500 Towel Warmer, black, mounted on a wooden wall in a bathroom setting, next to a white bathtub.
Safety Information
Please read all safety instructions carefully before installation and use.
- Ensure the power supply matches the specifications of the appliance (230 Volts, 500 Watts).
- Do not cover the towel warmer when in operation, as this can cause overheating.
- Keep children and pets away from the appliance when it is hot.
- Do not immerse the appliance in water or other liquids.
- Installation must be performed by a qualified professional if you are unsure.
- Always disconnect the power before cleaning or maintenance.
- Avoid placing flammable materials near the towel warmer.
Package Contents
Verify that all components are present in the package:
- HJM Noor 500 Towel Warmer unit
- Wall mounting kit (brackets and screws)
- Installation template
- Instruction Manual (this document)
Setup and Installation
The HJM Noor 500 Towel Warmer is designed for wall mounting. A simple template and mounting kit are included to facilitate installation.
- Choose Location: Select a suitable wall in your bathroom, ensuring it is away from water sources and has adequate clearance.
- Mark Drilling Points: Use the provided installation template to mark the drilling points on the wall.
- Drill Holes: Drill holes at the marked points, ensuring they are appropriate for the wall plugs and screws.
- Attach Brackets: Securely fasten the mounting brackets to the wall using the provided screws and wall plugs.
- Mount Towel Warmer: Carefully attach the towel warmer unit to the installed brackets. Ensure it is firmly seated and stable.
- Electrical Connection: Connect the towel warmer to a suitable electrical outlet. It is recommended to have this step performed by a qualified electrician.

Image: Diagram showing the dimensions of the HJM Noor 500 Towel Warmer: 78.5 cm in height, 50.5 cm in width, and 10 cm in depth.
Operating Instructions
The HJM Noor 500 features a digital thermostat and various functions for optimal control.

Image: Close-up view of the HJM Noor 500's digital control panel, displaying temperature and time, with various function icons below: Comfort, Economy, Anti-freeze, Turbo, Programs, and On/Off.
Digital Thermostat
The integrated digital thermostat allows precise temperature control and energy management. Use the control panel to set your desired temperature.
24/7 Programming
Utilize the 24/7 programming system to set specific operating times for each day of the week. This feature helps optimize energy consumption by ensuring the towel warmer operates only when needed. Refer to the control panel section for detailed programming steps.
Turbo 2 Hours Function
For immediate heat or quick towel drying, activate the Turbo 2 Hours function. This mode provides a boost of heat for a duration of two hours, then automatically returns to the previously set program or standby mode.
Open Window Detection
The towel warmer is equipped with an open window detection feature. If a sudden drop in temperature is detected (indicating an open window), the unit will temporarily pause heating to prevent energy waste. Heating will resume once the window is closed and the temperature stabilizes.
Keypad Lock
To prevent accidental changes to settings or unauthorized use, the control panel features a keypad lock function. Consult the control panel instructions for how to activate and deactivate this lock.
Maintenance
Regular maintenance ensures the longevity and efficient operation of your HJM Noor 500 Towel Warmer.
- Cleaning: Disconnect the power supply before cleaning. Wipe the surface with a soft, damp cloth. Do not use abrasive cleaners or solvents.
- Inspection: Periodically check the power cord and plug for any signs of damage. Ensure all mounting screws are tight.
- Storage: If storing the unit for an extended period, ensure it is clean and dry, and store it in a cool, dry place.
Troubleshooting
If you encounter issues with your towel warmer, refer to the following common problems and solutions:
| Problem | Possible Cause | Solution |
|---|---|---|
| Unit does not turn on. | No power supply; unit is off; keypad locked. | Check power outlet; press power button; unlock keypad. |
| Not heating sufficiently. | Temperature setting too low; open window detected; Turbo mode not active. | Increase temperature; close windows; activate Turbo mode. |
| Programming not working. | Incorrect programming settings; keypad locked. | Review and adjust programming; unlock keypad. |
If the problem persists after attempting these solutions, please contact customer support.
Specifications
| Brand: | HJM |
| Model Number: | NOOR 500 |
| Color: | Black |
| Dimensions (H x W x D): | 78.5 x 50.5 x 10 cm |
| Weight: | 1.84 kg (4.05 lbs) |
| Power: | 500 Watts |
| Voltage: | 230 Volts |
| Special Feature: | Programmable Thermostat |
| Recommended Use: | Bathroom |
| Mounting Type: | Wall Mount |
| Thermal Coverage: | Up to 5 m² |
Warranty and Support
Information regarding the specific warranty period for the HJM Noor 500 Towel Warmer is not available in this document. Please refer to your purchase documentation or contact the retailer for warranty details.
For technical support or further assistance, please contact HJM customer service through their official website or the contact information provided with your purchase.