1. Introduction
Thank you for choosing the VEVOR 2L Digital Ultrasonic Cleaner. This device utilizes high-frequency ultrasonic waves to provide thorough and efficient cleaning for a wide range of items. Please read this manual carefully before operation to ensure safe and optimal performance. Keep this manual for future reference.

Image 1: VEVOR 2L Digital Ultrasonic Cleaner demonstrating effective cleaning of various items.
2. Safety Instructions
To prevent personal injury or damage to the unit, always observe the following safety precautions:
- Electrical Safety: Always unplug the unit from the power outlet when not in use, before filling or draining, and before cleaning. Do not operate with a damaged power cord or plug. Keep the unit away from water sources to prevent electric shock.
- Liquid Handling: Do not overfill the tank. Use only appropriate cleaning solutions; avoid flammable, corrosive, or abrasive liquids. Ensure the lid is closed during operation.
- Heat Safety: The tank and cleaning solution can become hot during operation, especially when the heating function is active. Exercise caution when handling. Allow the unit to cool before draining or cleaning.
- Ultrasonic Safety: Do not touch the tank or cleaning solution directly during ultrasonic operation. Avoid placing hands or body parts into the tank while the unit is running.
- Material Compatibility: This ultrasonic cleaner is suitable for many materials, but some delicate items may be damaged. Avoid cleaning items with soft stones (e.g., pearls, emeralds), painted surfaces, or items with loose settings. If unsure, test on an inconspicuous area or consult a professional.
- Ventilation: Ensure adequate ventilation around the unit during operation to prevent heat buildup.
- Children and Pets: Keep the unit out of reach of children and pets.
3. Product Overview and Components
The VEVOR 2L Digital Ultrasonic Cleaner is constructed from durable 304 stainless steel, offering resistance to corrosion and rust. It features a digital control panel for precise time and temperature adjustments.
Main Components:
- Main Unit: Houses the ultrasonic transducers, heating element, and control circuitry.
- Stainless Steel Tank: 2-liter capacity for holding cleaning solution and items.
- Lid: Covers the tank during operation to reduce noise and prevent splashing.
- Cleaning Basket: A stainless steel mesh basket to hold items during cleaning, preventing them from resting directly on the tank bottom.
- Power Cord: For connecting the unit to an electrical outlet.
- Drainage Valve: Located on the side for convenient draining of the tank.
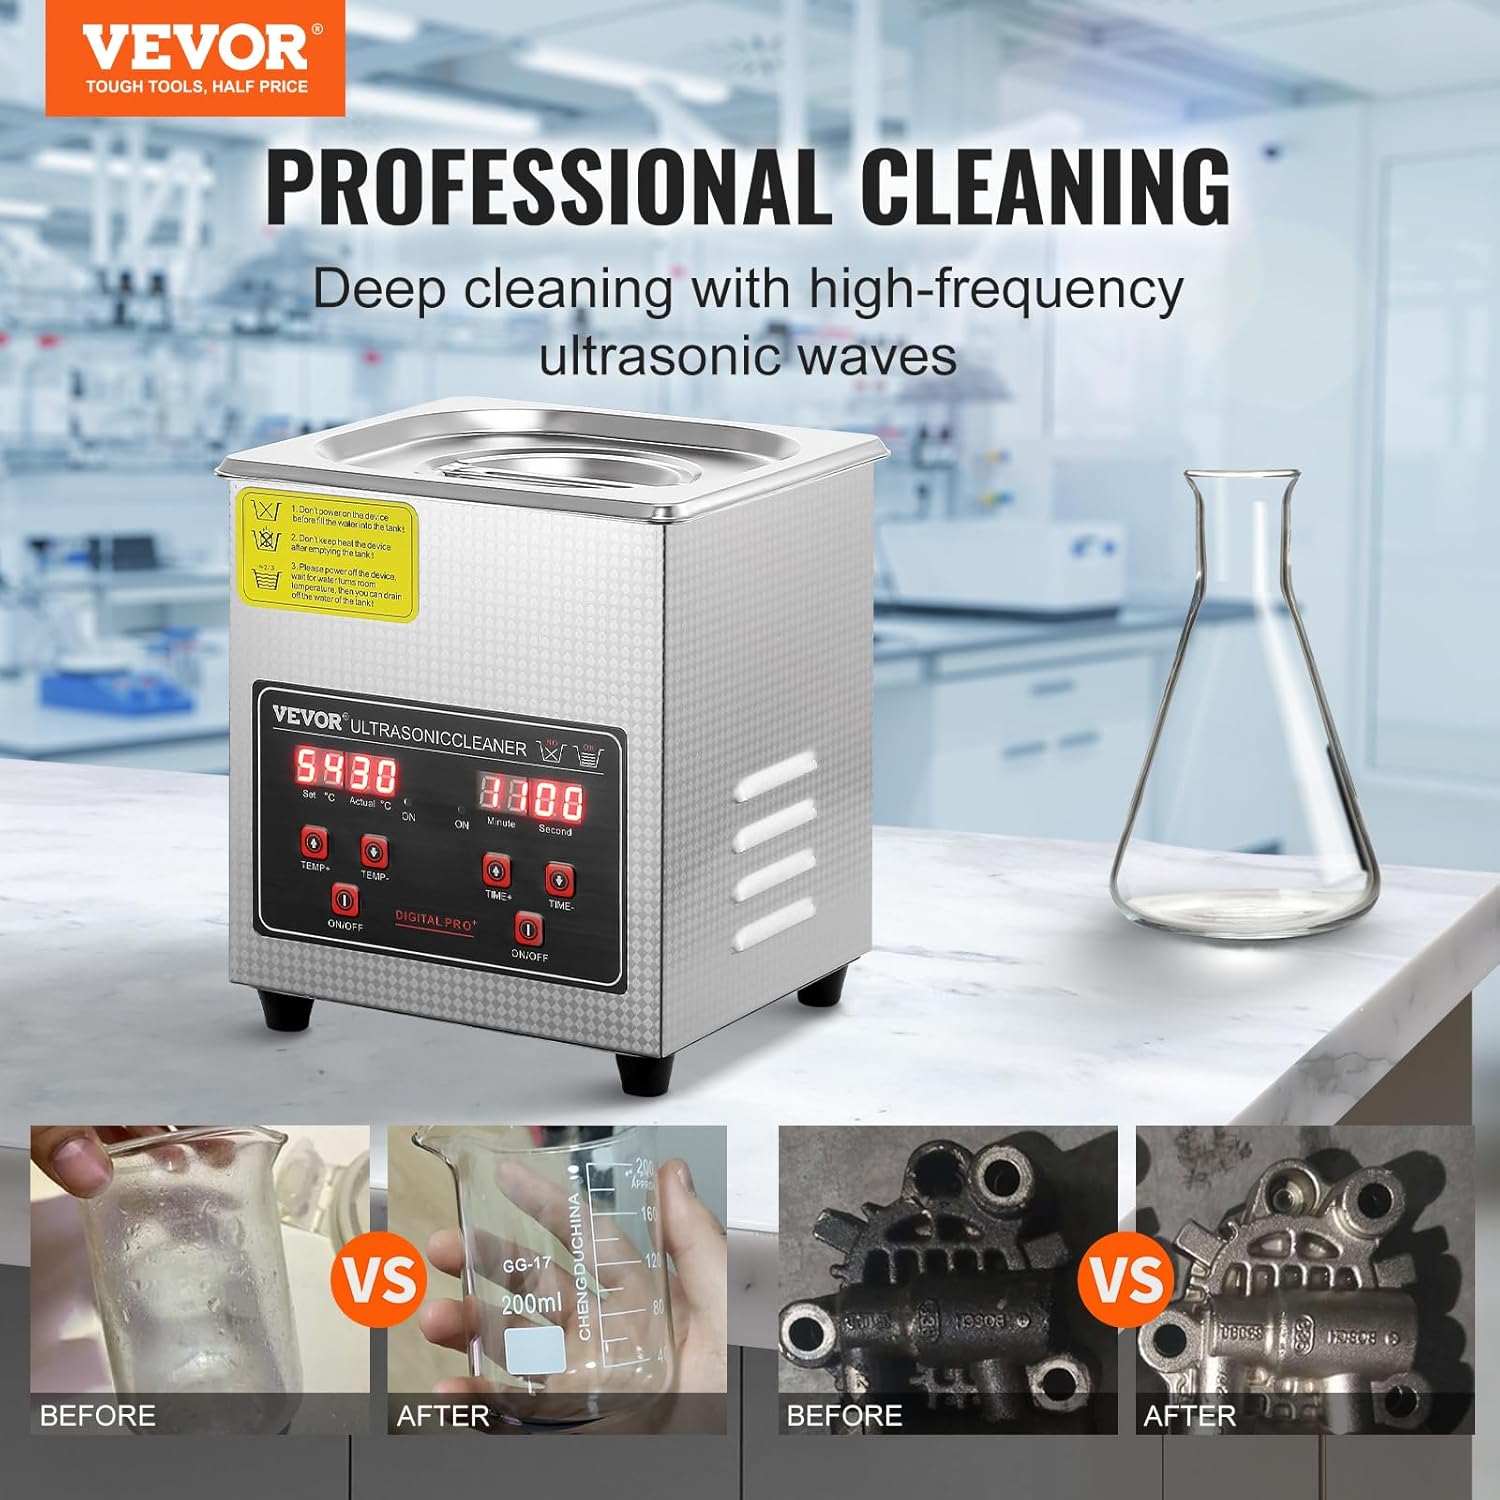
Image 2: Front view of the VEVOR 2L Digital Ultrasonic Cleaner.

Image 3: The 2L stainless steel tank and cleaning basket.
4. Specifications
| Feature | Specification |
|---|---|
| Tank Material | Stainless Steel SUS304 |
| Heating Power | 160W |
| Ultrasonic Power | 60W |
| Frequency | 40kHz |
| Tank Capacity | 2L (0.5 Gallons) |
| Time Setting | 0-30 minutes (Digital Display) |
| Temperature Setting | 0-80°C |
| Transducer Quantity | 2 Sets |
| Product Dimensions (L x W x H) | 26.5 x 23 x 21 cm (10.4 x 9.1 x 8.3 inches) |
| Product Weight | 1.95 kg (4.3 lbs) |

Image 4: Product specifications and dimensions diagram.
5. Setup
- Unpack and Inspect: Carefully remove the ultrasonic cleaner from its packaging. Inspect the unit for any signs of damage. Ensure all components (main unit, lid, cleaning basket, power cord) are present.
- Placement: Place the unit on a stable, flat, and dry surface. Ensure there is adequate space around the unit for ventilation. Avoid placing it near heat sources or in direct sunlight.
- Fill the Tank: Open the lid and fill the stainless steel tank with an appropriate cleaning solution. This can be plain water or a specialized ultrasonic cleaning solution. Do not exceed the maximum fill line indicated inside the tank. Ensure the water level is sufficient to cover the items to be cleaned.
- Place Items: Place the items to be cleaned into the stainless steel cleaning basket. Lower the basket gently into the tank. Ensure items are not touching each other or the bottom of the tank directly.
- Close Lid: Close the lid securely to minimize noise and prevent splashing during operation.
- Connect Power: Plug the power cord into a grounded electrical outlet.
6. Operating Instructions
Follow these steps to operate your VEVOR 2L Digital Ultrasonic Cleaner:
Video 1: VEVOR Ultrasonic Cleaner Overview and Operation. This video demonstrates the basic setup and cleaning process of the ultrasonic cleaner, including adding water, placing items, and adjusting settings.
- Power On: Press the 'ON/OFF' button for the main power. The digital display will illuminate.
- Set Temperature (Optional): If heating is desired, press the 'TEMP+' or 'TEMP-' buttons to set the target temperature (0-80°C). The heating indicator will light up. The unit will begin heating the solution.
- Set Cleaning Time: Press the 'TIME+' or 'TIME-' buttons to set the desired cleaning duration (0-30 minutes).
- Start Ultrasonic Cleaning: Press the 'ON/OFF' button for the ultrasonic function. The ultrasonic indicator will light up, and you will hear a humming sound, indicating the ultrasonic waves are active.
- Monitor Process: Allow the unit to run for the set time. The digital display will show the remaining time.
- Stop Cleaning: The unit will automatically stop after the set time. You can also manually stop the ultrasonic function by pressing its 'ON/OFF' button again. Turn off the heating function if it was used.
- Drain and Rinse: Once cleaning is complete and the unit has cooled, open the drainage valve to empty the tank. Remove the cleaning basket and rinse the cleaned items under clean water. Dry them thoroughly.
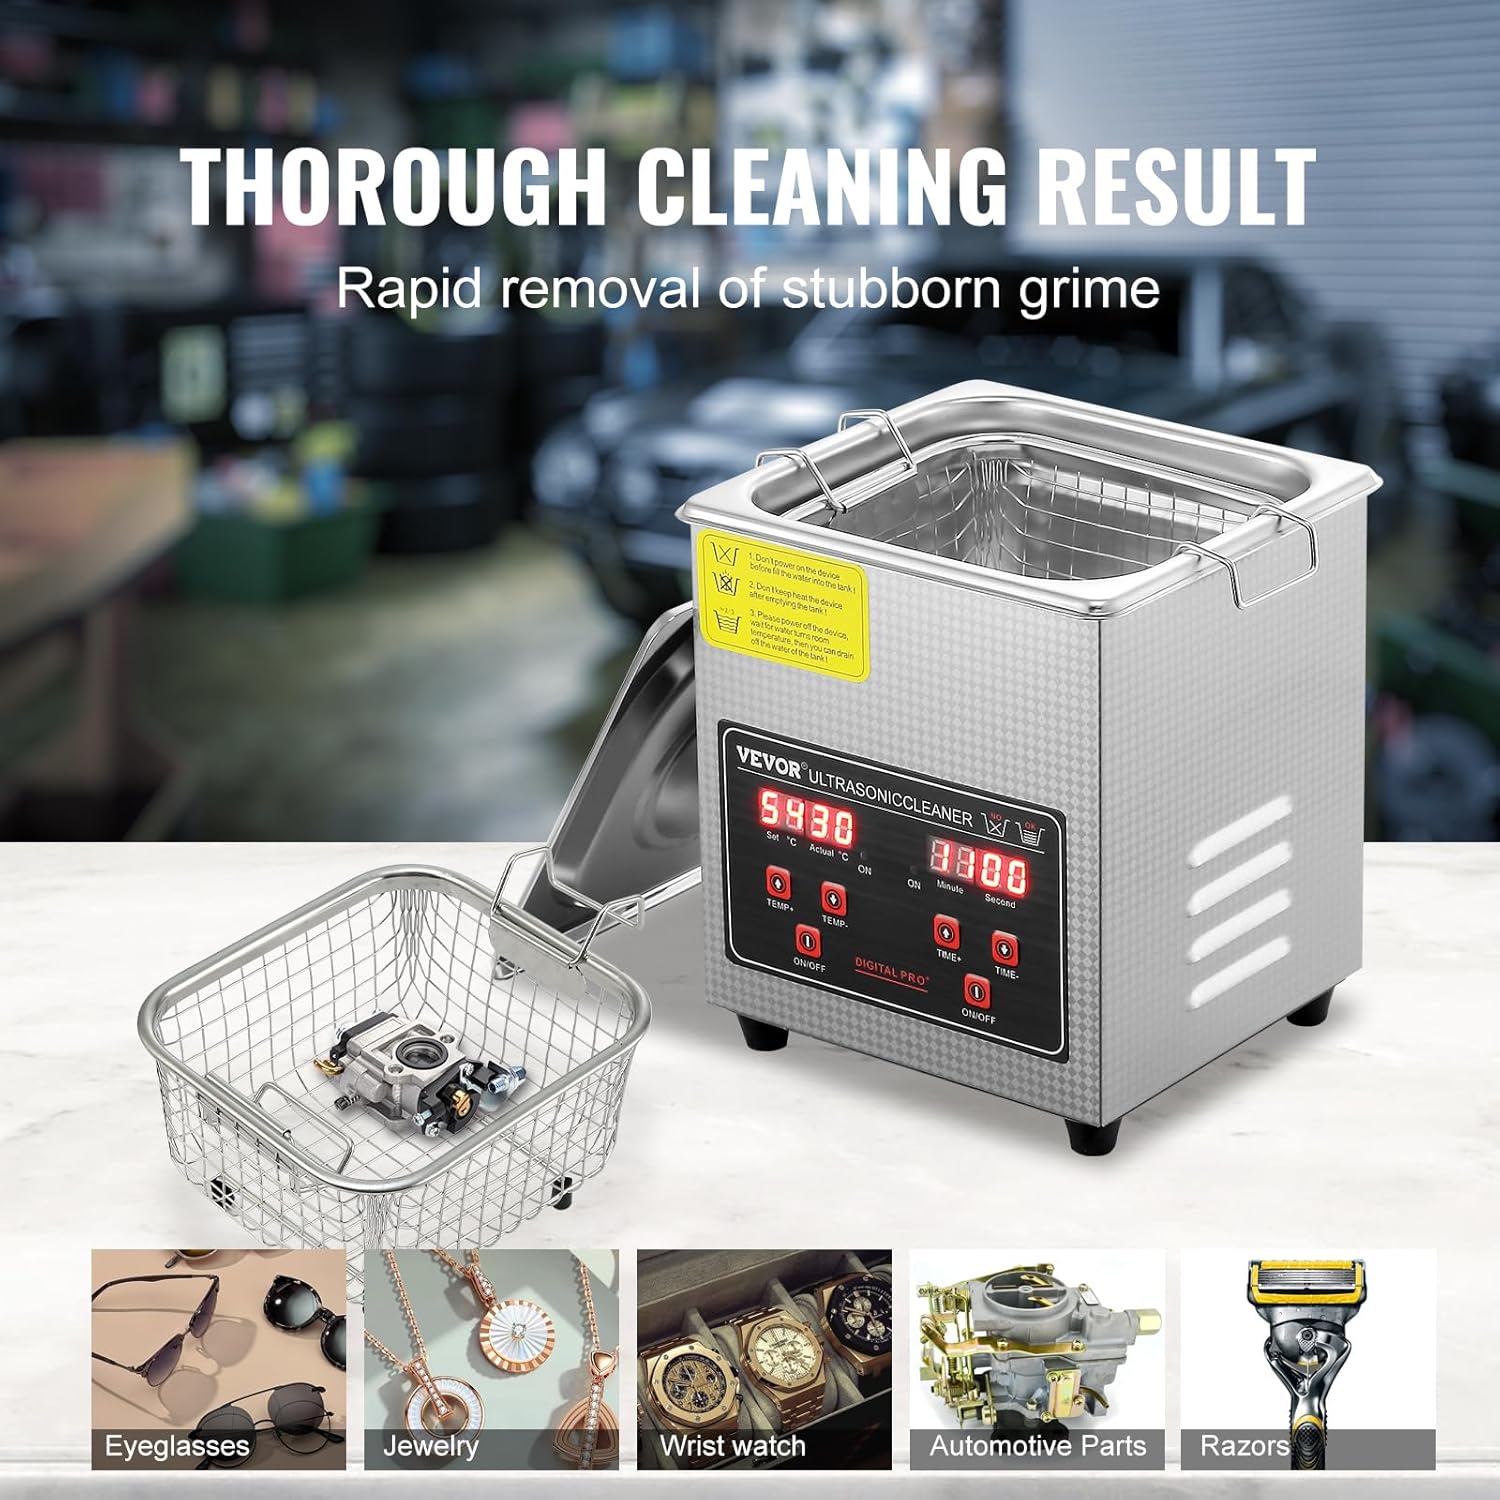
Image 5: Digital control panel for setting time and temperature.
7. Maintenance
Proper maintenance ensures the longevity and efficiency of your ultrasonic cleaner:
- Draining the Tank: After each use, especially if using cleaning solutions, drain the tank using the drainage valve.
- Cleaning the Tank: Rinse the stainless steel tank with clean water. For stubborn residues, use a soft cloth and mild detergent. Avoid abrasive cleaners or scouring pads that could scratch the tank surface.
- External Cleaning: Wipe the exterior of the unit with a soft, damp cloth. Do not use harsh chemicals or immerse the unit in water.
- Storage: Ensure the unit is completely dry before storing. Store in a cool, dry place away from direct sunlight and moisture.
- Fuse Replacement: A spare fuse is included. If the unit fails to power on, check and replace the fuse if necessary. Always unplug the unit before attempting fuse replacement.
8. Troubleshooting
If you encounter issues with your ultrasonic cleaner, refer to the following troubleshooting guide:
| Problem | Possible Cause | Solution |
|---|---|---|
| Unit does not power on | No power supply; Blown fuse | Check power cord connection and outlet; Replace fuse (refer to manual for location). |
| No ultrasonic action (no humming sound) | Ultrasonic function not activated; Insufficient water level | Press the ultrasonic 'ON/OFF' button; Ensure water level is above the minimum mark. |
| Poor cleaning results | Incorrect cleaning solution; Insufficient cleaning time/temperature; Items too crowded; Incompatible material | Use appropriate cleaning solution; Adjust time and temperature settings; Clean fewer items at a time; Verify item material compatibility. |
| Excessive noise during operation | Unit not on a stable surface; Lower frequency operation (normal for deep cleaning) | Ensure unit is on a stable, flat surface; Some noise is normal for ultrasonic cleaners, especially at 40kHz. |
| Heating function not working | Heating not activated; Temperature set to 0°C | Press the heating 'ON/OFF' button; Increase the temperature setting. |
9. Applications
The VEVOR 2L Digital Ultrasonic Cleaner is versatile and suitable for various cleaning tasks, both professional and domestic:
- Jewelry: Rings, necklaces, earrings, bracelets.
- Eyewear: Glasses, sunglasses, optical lenses.
- Watches: Waterproof watches, watch chains.
- Dental/Medical Tools: Instruments, dentures.
- Industrial Parts: Small engine parts, carburetors, circuit boards, tools.
- Household Items: Razors, coins, small metal parts.

Image 6: Examples of items suitable for ultrasonic cleaning.

Image 7: Versatile applications of the VEVOR Ultrasonic Cleaner in different environments.
10. Warranty and Support
VEVOR products are designed and manufactured to high-quality standards. This product is covered by a manufacturer's warranty. For detailed warranty information, product support, or technical assistance, please contact VEVOR customer service through their official website or the platform where you purchased the product. Please have your model number (2L) and purchase details ready when contacting support.