Introduction
This manual provides detailed instructions for the safe and effective use of your Syslux Galaxy Projector, model BL-DQY02. Please read this manual thoroughly before operating the device and retain it for future reference.
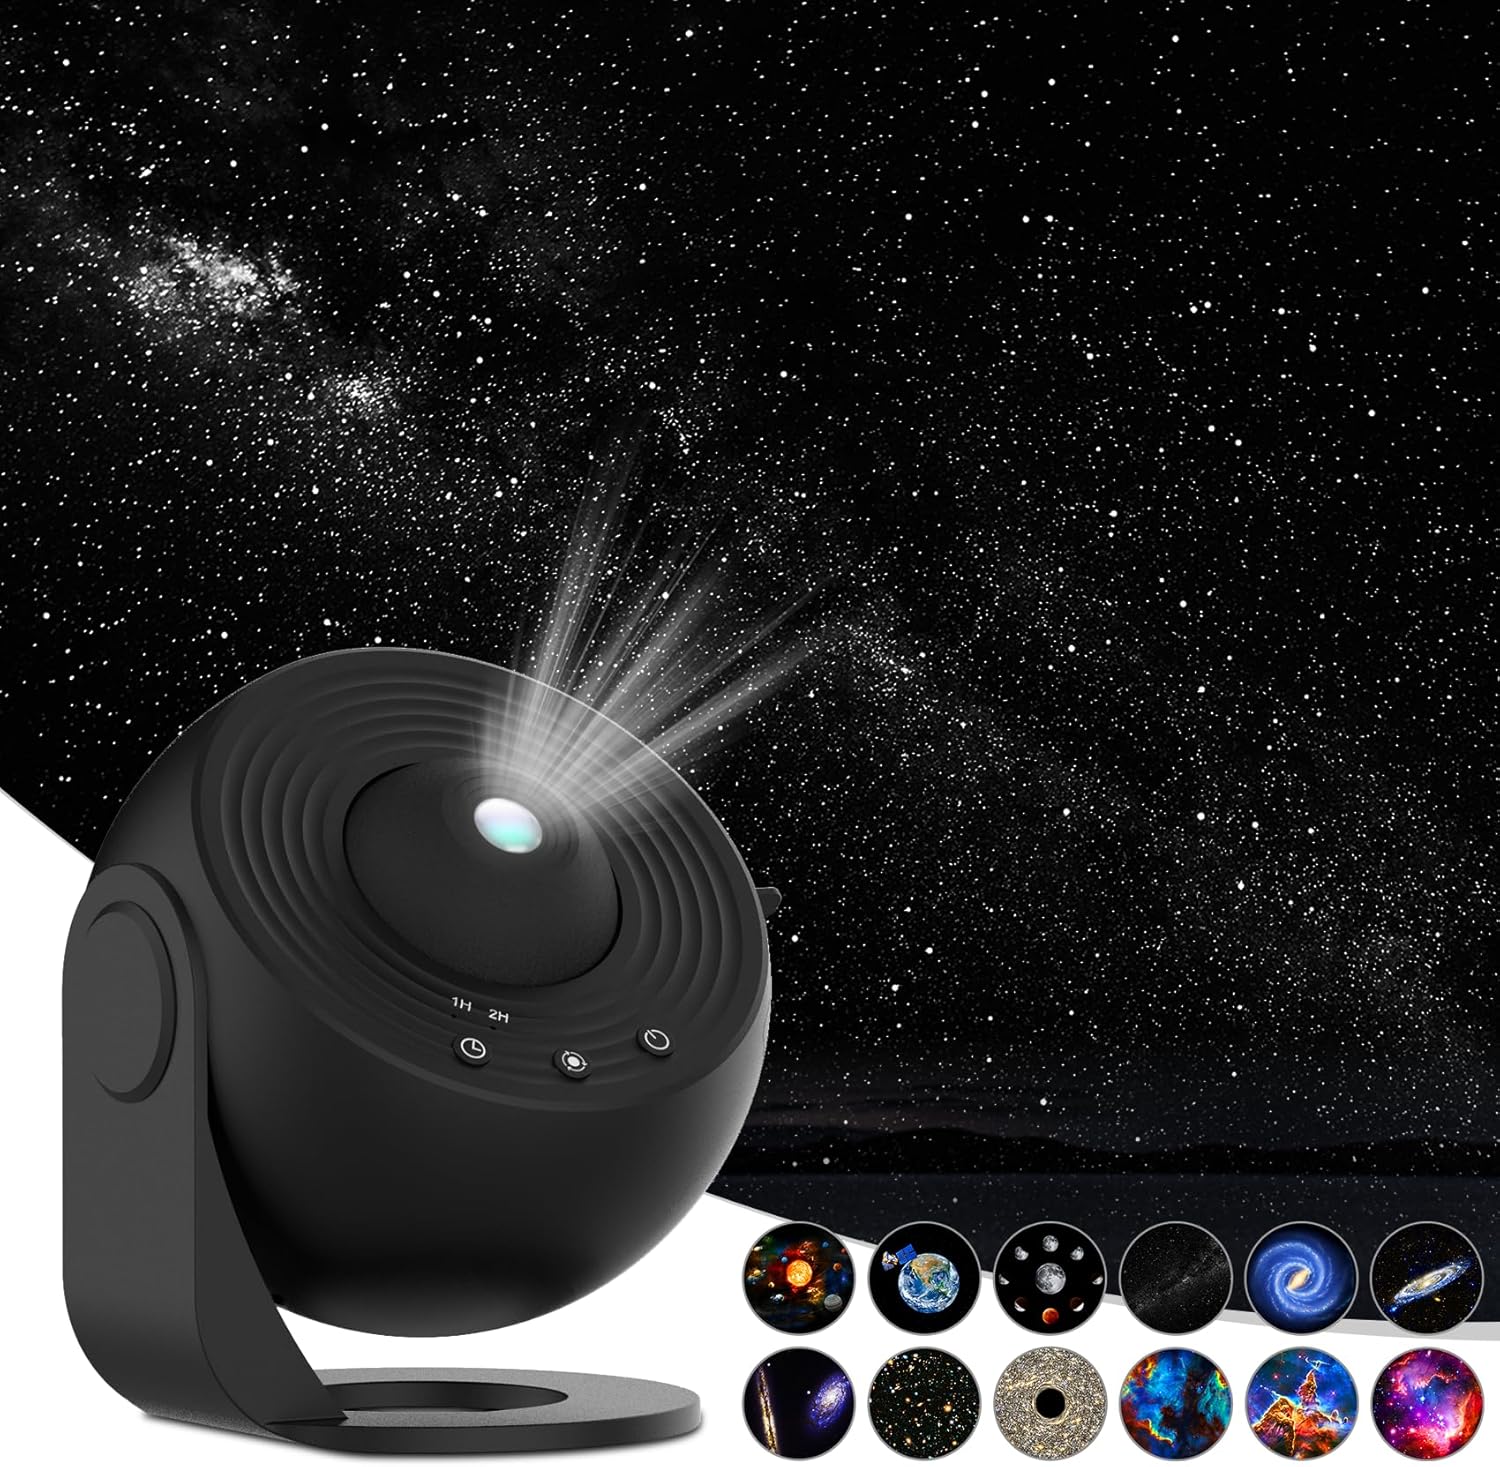
Image: The Syslux Galaxy Projector, showcasing its compact design and a wide projection of stars and galaxies.
Package Contents
Verify that all items are present in the package:
- Syslux Galaxy Projector (Model BL-DQY02)
- 12 x 4K HD Galaxy Discs
- USB Power Cable (USB-C to USB-A)
- Instruction Manual
Setup
- Power Connection: Connect the provided USB power cable to the projector's USB-C port and plug the USB-A end into a compatible power adapter (not included) or a USB port.
- Disc Insertion:
- Carefully open the disc tray on the projector.
- Select one of the 12 galaxy discs. Ensure the disc is clean and free of dust or fingerprints.
- Insert the disc into the tray, ensuring it is correctly oriented.
- Close the disc tray securely.

Image: A selection of six high-definition galaxy film discs, illustrating the variety of projections available.

Image: A second set of six high-definition galaxy film discs, showing additional celestial scenes for projection.
- Placement: Position the projector on a stable surface. The 0-360° flexible adjustable stand allows you to direct the projection onto a ceiling, wall, or any desired surface.
- Focus Adjustment: Rotate the top focal adjusted knob on the projector to achieve a clear image. Adjust until the projection is sharp.
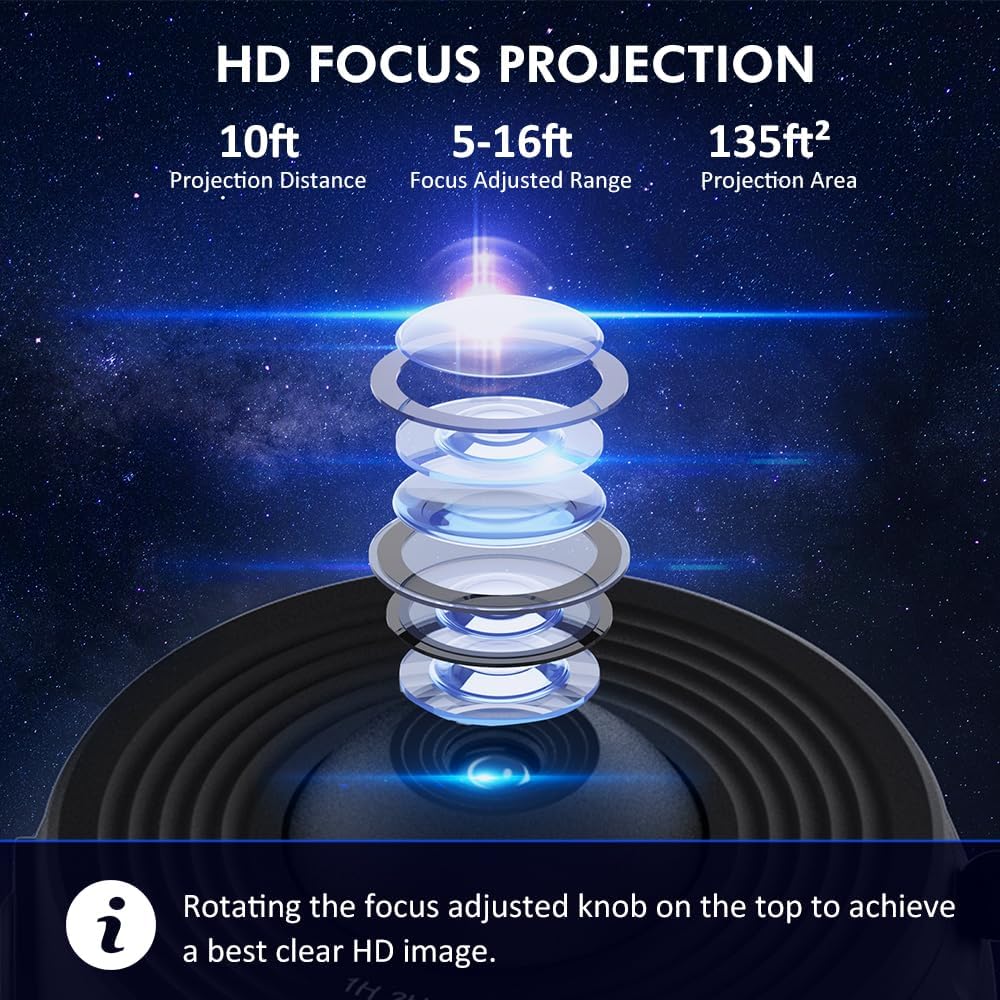
Image: An exploded view diagram of the projector's lens system, highlighting the focus adjustment mechanism.
Operating Instructions
- Power On/Off: Press the power button to turn the projector on or off.
- Projection Rotation: The projector features a 360° rotating projection. This can be activated or deactivated via the control buttons on the device.
- Timer Function: The projector includes two auto-off timer options: 1 hour and 2 hours. Press the timer button to select the desired duration. The projector will automatically turn off after the set time.
- Changing Discs: To change the projected image, turn off the projector, open the disc tray, replace the current disc with a new one, and close the tray. Then power on the projector.

Image: A visual representation of the projector's timer functions and quiet operation, showing a peaceful sleeping environment.

Image: The projector in a living room setting, demonstrating its ability to project a wide, clear image onto the ceiling, highlighting its key features.
Maintenance
- Cleaning the Projector: Use a soft, dry cloth to wipe the exterior of the projector. Do not use liquid cleaners or abrasive materials.
- Cleaning Discs: Handle the galaxy discs by their edges to avoid fingerprints. If necessary, gently wipe them with a soft, lint-free cloth. Store discs in their protective cases when not in use to prevent dust accumulation and damage.
- Storage: When not in use for extended periods, store the projector and discs in a cool, dry place away from direct sunlight.
Troubleshooting
- No Projection:
- Ensure the power cable is securely connected to both the projector and the power source.
- Verify that the power adapter is functioning correctly.
- Check if a galaxy disc is properly inserted into the tray.
- Blurry Image:
- Rotate the focus adjustment knob on the top of the projector until the image becomes clear.
- Ensure the projection surface is within the optimal projection distance (5-16 feet).
- Projection Not Rotating:
- Check the rotation setting on the projector's control panel.
Specifications
| Model Number | BL-DQY02 |
| Color | Black |
| Shape | Rectangular Prism |
| Material | Acrylonitrile Butadiene Styrene (ABS) |
| Light Source Type | LED |
| Power Source | Corded Electric |
| Item Weight | 1.17 pounds (0.53 Kilograms) |
| Product Dimensions | 5.75"L x 5.75"W x 4.61"H |
| Mounting Type | Surface Mount |
| Number of Light Sources | 1 |
| Batteries Included | No |
| UPC | 765133540525 |
Warranty and Support
For warranty information, technical support, or customer service inquiries, please refer to the official Syslux website or contact their customer support directly. Details are typically provided on the product packaging or the manufacturer's official online resources.