1. Product Overview
The UniTak3D Resin Vat is a durable aluminum UV resin tank designed as a replacement or spare for compatible Anycubic LCD 3D printers. It comes with a pre-installed FEP film, offering high light transmittance and temperature resistance for optimal printing performance.

Image: The UniTak3D Resin Vat, featuring a pre-installed FEP film and included mounting screws.
Key Features:
- Durable Construction: Made from a full metal frame for extended service life.
- Pre-assembled FEP Film: Includes a 260x180x0.15mm FEP film with high temperature resistance (up to 204℃) and over 95% light transmittance.
- Easy Resin Swapping: Serves as a convenient spare vat for quick resin color changes or material swaps, eliminating the need for frequent cleaning of a single vat.
- Clear Max Fill Line: Features a clearly marked 'MAX' line to prevent overfilling.

Image: A detailed view of the resin vat's durable full metal frame, emphasizing its robust construction and anodized surface.
2. Compatibility
This UV resin vat is specifically designed for the following Anycubic LCD 3D Printers:
- Anycubic Photon Mono X 4K & 6K
- Anycubic Photon M3 Plus
- Anycubic Photon MONO X2
Important Note: This resin vat is NOT compatible with Anycubic MONO 4K, MONO 6Ks, or Photon M3 models.

Image: Visual representation of compatible Anycubic 3D printer models: Photon Mono X, Mono X2, Photon M3 Plus, and Mono X 6K.
3. Installation & FEP Film Replacement
Initial Installation:
- Carefully unpack the resin vat and inspect for any damage.
- Before use, peel off the protective film from both sides of the pre-installed FEP film.
- Align the resin vat with the mounting points on your compatible 3D printer.
- Secure the vat using the provided screws or the printer's existing securing mechanism. Ensure it is firmly seated to prevent resin leaks during operation.
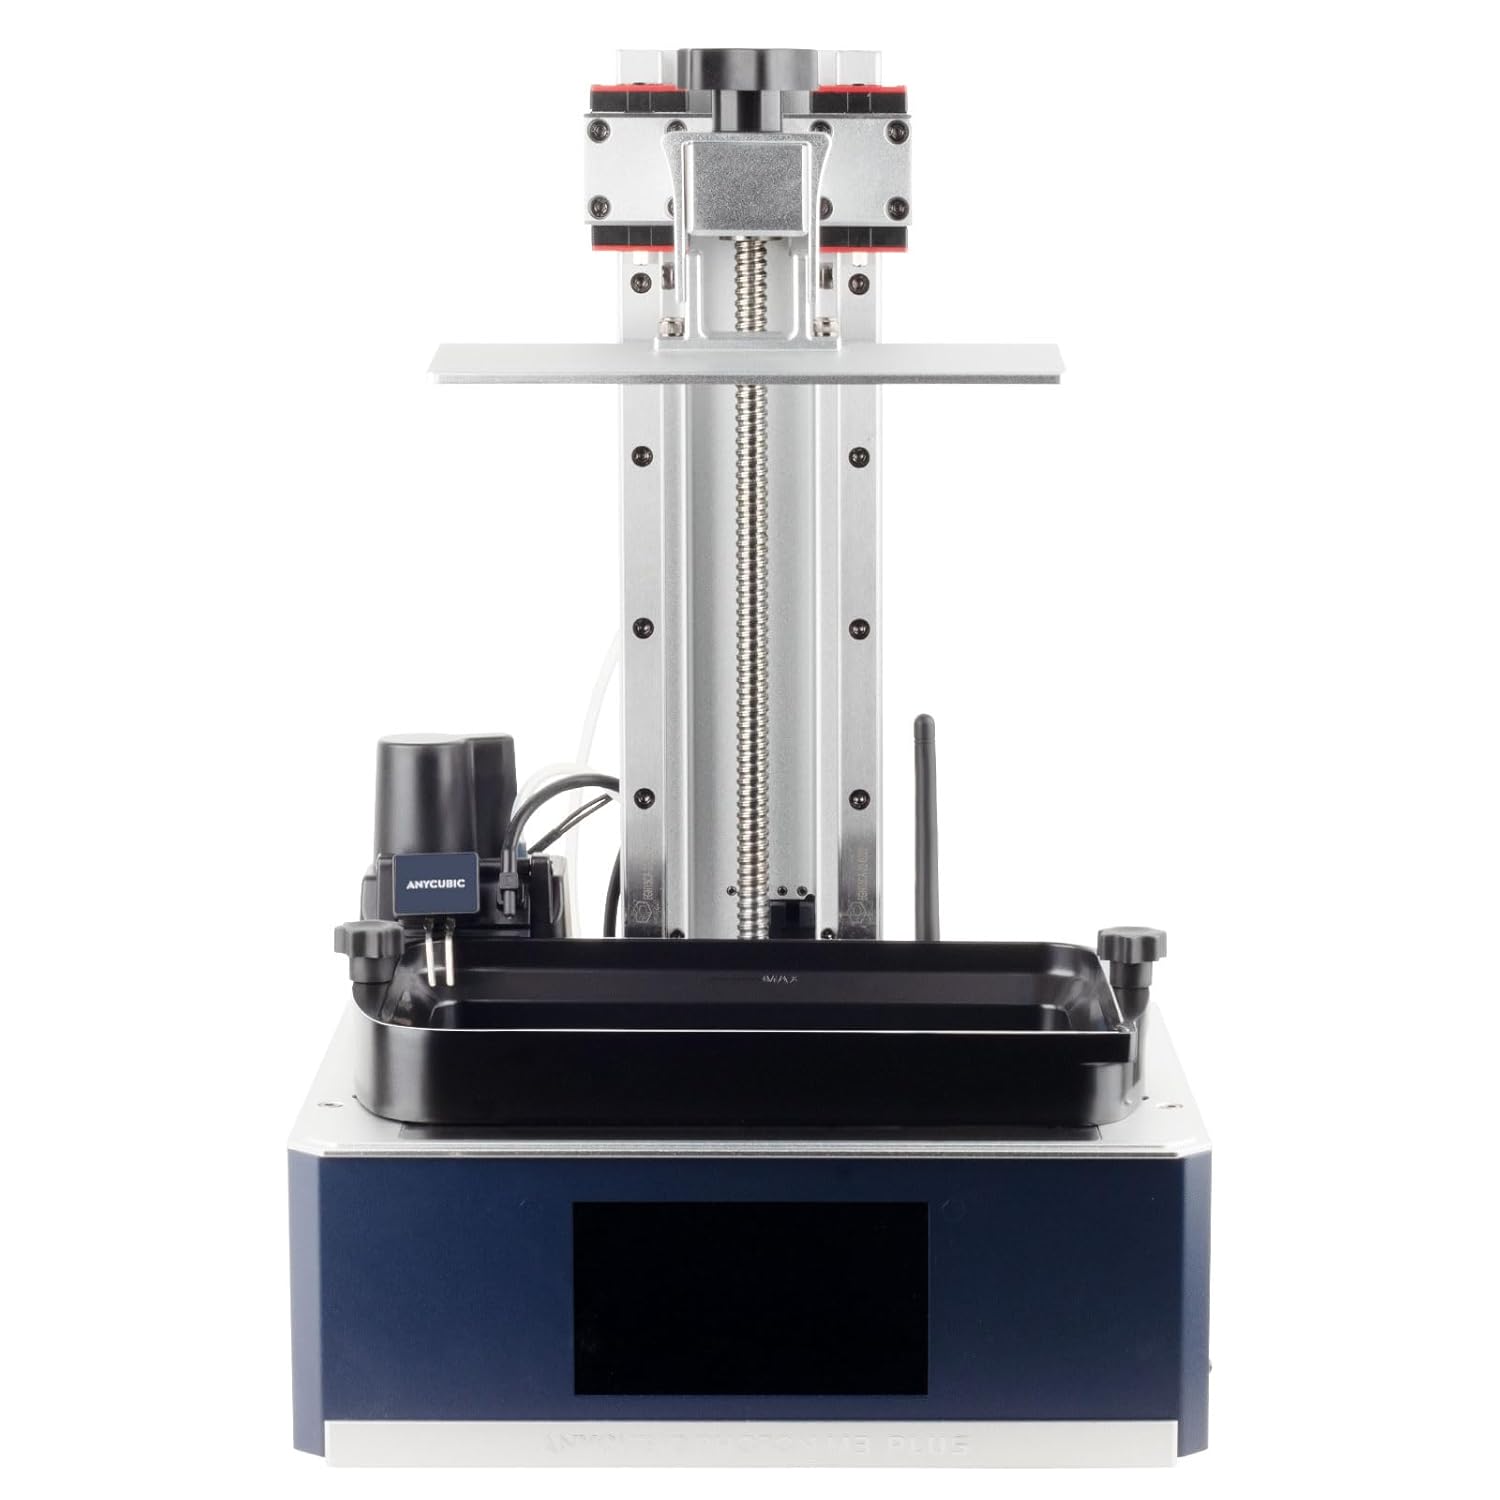
Image: The UniTak3D Resin Vat correctly installed on a compatible Anycubic 3D printer, ready for use.
FEP Film Replacement Procedure:
Over time, the FEP film may become cloudy or damaged, affecting print quality. Follow these steps to replace it:
- Remove 8 screws to detach the steel rings from the resin vat.
- Remove the 24 screws to separate the steel rings and carefully remove the old FEP film.
- Place the new FEP film in between the two steel rings.
- Install the 24 screws back, ensuring the FEP film is clean and properly tensioned. You may need to gently force the screws in to create the necessary tension.
- Install the steel rings back onto the resin vat using the remaining 8 screws.

Image: A visual guide detailing the four steps required to replace the FEP release film within the resin vat assembly.
4. Usage
Using the UniTak3D Resin Vat is straightforward, especially when leveraging it as a spare for efficiency.
Filling the Vat:
- Ensure the resin vat is clean and dry before adding resin.
- Slowly pour your desired UV resin into the vat.
- Do not exceed the 'MAX' fill line indicated on the side of the vat to prevent overflow during printing.

Image: A hand carefully pouring green UV resin into the vat, which is already mounted on a 3D printer.
Swapping Resins:
One of the primary benefits of a spare resin vat is the ability to quickly change resin types or colors without extensive cleaning downtime.
- If you need to switch resins, simply remove the current vat from the printer.
- Install a second, pre-filled resin vat with the new resin.
- This method significantly reduces the time spent on cleaning between prints, especially when using different resin types or colors.

Image: A visual comparison showing the inefficiency of cleaning a single vat versus the efficiency of swapping between multiple vats for different resins.
5. Maintenance
Proper maintenance of your resin vat ensures longevity and consistent print quality.
- Cleaning: After use, especially when changing resin types or if resin has cured in the vat, clean the vat thoroughly. Pour uncured resin back into its original bottle using a filter funnel. Use isopropyl alcohol (IPA) and a soft cloth or paper towel to wipe down the vat. Avoid abrasive materials that could scratch the FEP film.
- FEP Film Inspection: Regularly inspect the FEP film for any signs of damage, cloudiness, or punctures. A damaged FEP film can lead to print failures and resin leaks onto the LCD screen. Replace the FEP film if any damage is observed.
- Storage: When not in use, store the resin vat in a clean, dry, and dark place to prevent dust accumulation and accidental UV exposure to any residual resin.
6. Specifications
| Attribute | Value |
|---|---|
| Material | Aluminium (Full Metal Frame) |
| FEP Film Dimensions | 260 x 180 x 0.15 mm |
| FEP Film Light Transmittance | >95% |
| FEP Film Temperature Resistance | Up to 204℃ (400℉) |
| Product Dimensions (Vat) | Approx. 264mm (10.39 inch) x 168mm (6.61 inch) |
| Weight | Approx. 1.83 Pounds (0.83 kg) |
| Manufacturer | UniTak3D |

Image: Technical drawing displaying the key dimensions of the resin vat, including its length and width.
7. Troubleshooting
While the UniTak3D Resin Vat is designed for reliability, minor issues can sometimes occur. Here are some common scenarios and solutions:
Resin Leakage:
- Cause: FEP film not properly tensioned, damaged FEP film, or vat not securely seated on the printer.
- Solution: Check FEP film for tears or punctures and replace if necessary. Ensure all screws holding the FEP film are tightened evenly. Verify the vat is correctly aligned and secured to the printer's platform.
Poor Print Adhesion to FEP Film:
- Cause: FEP film is cloudy, scratched, or has residue.
- Solution: Clean the FEP film thoroughly with IPA. If cloudiness or scratches persist, consider replacing the FEP film. Ensure the build plate is properly leveled and clean.
Difficulty Removing FEP Film Screws:
- Cause: Screws may be overtightened or resin residue has hardened around them.
- Solution: Apply gentle, consistent pressure when unscrewing. If resin is present, carefully scrape it away from the screw heads before attempting to loosen them.
8. Support
For further assistance, technical support, or warranty inquiries regarding your UniTak3D Resin Vat, please contact UniTak3D customer service through their official channels or the retailer where the product was purchased.
You can visit the official UniTak3D store on Amazon for more information and product offerings: UniTak3D Amazon Store.