
1. Important Safety Instructions
Please read all instructions carefully before installation and use. Failure to follow these instructions may result in electric shock, fire, or serious injury.
- Electrical Safety: This sauna heater operates on 240V and is designed for use in the USA. Installation must be performed by a qualified electrician in accordance with all local and national electrical codes. Ensure proper grounding.
- Fire Hazard: Do not place any flammable materials on or near the heater. Maintain adequate clearance from walls and other surfaces as specified in the installation section.
- Burn Hazard: The heater surface and sauna stones become extremely hot during operation. Avoid direct contact. Keep children and pets away from the heater.
- Ventilation: Ensure the sauna room has proper ventilation as required for safe operation.
- Water Usage: Only pour water onto the sauna stones as instructed. Do not pour water directly onto the heating elements or controls.
- Maintenance: Disconnect power before performing any maintenance or cleaning.
2. Product Overview
The AYCHLG 9KW 240V Sauna Heater Stove is a wall-mounted electric heater designed for dry steam bath sauna rooms. It features a durable 430 stainless steel shell and an internal mechanical controller for convenient temperature and time adjustments.

Image 2.1: Front view of the AYCHLG 9KW 240V Sauna Heater Stove, showing the stainless steel casing and integrated control knobs.
Key Features:
- Power Output: 9KW
- Operating Voltage: 240V
- Material: 430 Stainless Steel Shell
- Controller Type: Internal Mechanical Controller
- Design: Wall-Mount
3. Specifications
| Feature | Specification |
|---|---|
| Power | 9KW |
| Working Voltage | 240V |
| Current | 40.9A |
| Controller Type | Internal Mechanical Controller |
| Shell Material | 430 Stainless Steel |
| Heating Coil Material | 316 Stainless Steel |
| Item Weight | 25.1 pounds (approx. 11.39 kg) |
| Package Dimensions | 23.5 x 17 x 13.25 inches (approx. 59.7 x 43.2 x 33.7 cm) |
4. Installation (Setup)
This sauna heater is designed for wall-mounting. Proper installation is critical for safety and performance. It is strongly recommended that installation be carried out by a certified electrician and a qualified installer.
4.1 Mounting the Heater
- Select Location: Choose a suitable wall inside the sauna room, ensuring adequate clearance from wooden surfaces and other flammable materials as per local building codes.
- Install Mounting Frame: Secure the provided mounting metal frame to the wall using appropriate fasteners. The frame includes reserved turnbuckles for concealed mounting.
- Attach Heater: Carefully lift the heater and attach it to the installed mounting frame, ensuring it is securely seated.
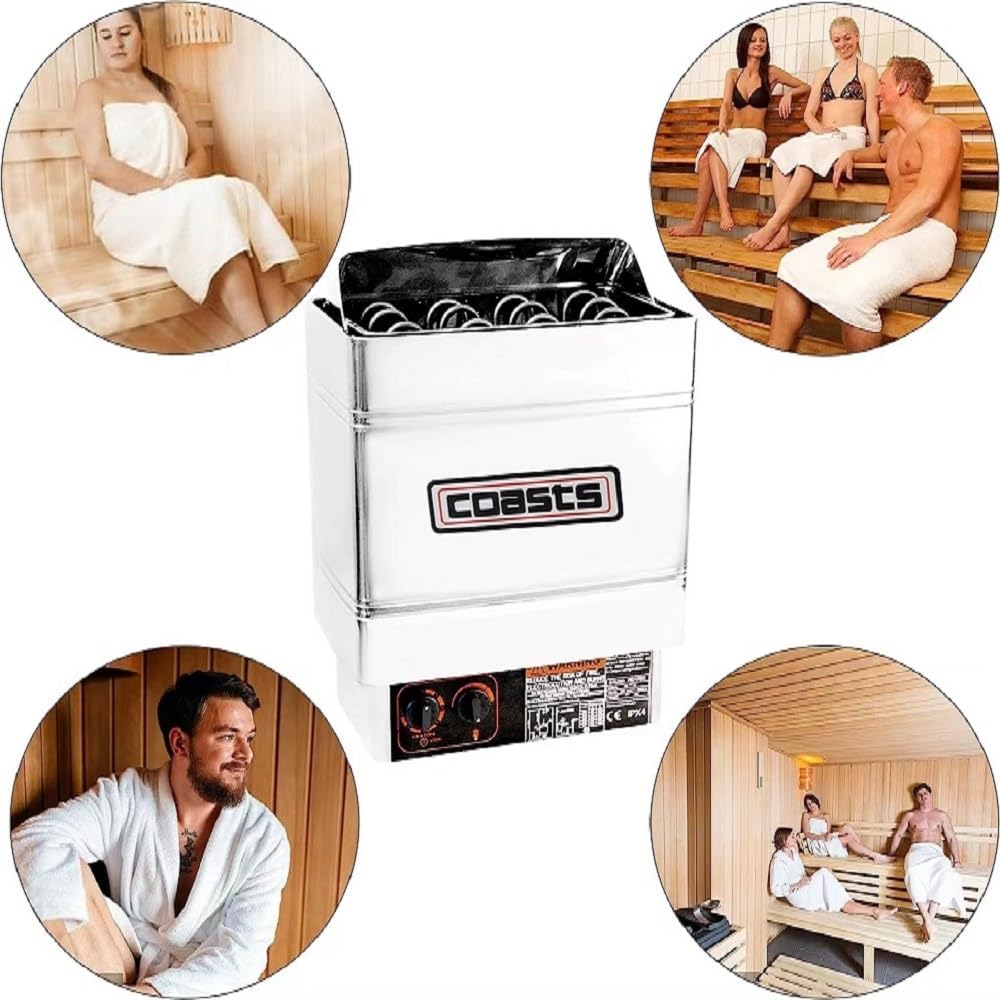
Image 4.1: Rear view of the sauna heater, illustrating the wall-mount design and mounting brackets.
4.2 Electrical Connection
WARNING: Electrical installation must be performed by a qualified electrician. Ensure the main power supply is disconnected before commencing any electrical work.
- Connect the 240V power supply to the heater's terminal block according to the wiring diagram provided in the heater's internal compartment or separate wiring instructions.
- Ensure all connections are tight and secure.
- Verify proper grounding to prevent electric shock.
4.3 Sauna Stone Placement
Place sauna stones (not included) into the heater's stone compartment. Arrange them loosely to allow for good air circulation. Do not pack them too tightly. Ensure stones cover the heating elements but do not obstruct the air vents.
5. Operation
The AYCHLG sauna heater features an internal mechanical controller for easy adjustment of temperature and operating time.

Image 5.1: Sauna room interior with the heater's temperature controller visible at the bottom.
5.1 Initial Start-up
After installation, turn on the main power supply to the sauna heater. The heater may emit a slight odor during the first few uses as manufacturing residues burn off. Ensure good ventilation during this period.
5.2 Adjusting Temperature
- Locate the temperature control knob on the front of the heater.
- Rotate the knob clockwise to increase the desired sauna temperature and counter-clockwise to decrease it.
- The heater will automatically cycle on and off to maintain the set temperature.
5.3 Setting Operating Time
- Locate the timer control knob on the front of the heater.
- Rotate the knob to set the desired operating duration. The heater will operate for the set time and then automatically shut off.
- For continuous operation, consult the specific markings on your timer knob, which may include a continuous setting.
5.4 Creating Steam (Wet Sauna)
Once the sauna stones are hot, you may carefully ladle small amounts of water onto the stones to create steam. Use only clean water. Do not pour excessive amounts of water at once, as this can cool the stones too quickly or damage the heating elements.
6. Maintenance
Regular maintenance ensures the longevity and safe operation of your sauna heater.
6.1 Cleaning
- WARNING: Always disconnect power to the heater before cleaning.
- Allow the heater to cool completely.
- Wipe the exterior stainless steel shell with a damp cloth. Do not use abrasive cleaners or solvents.
- Periodically remove the sauna stones and brush away any debris or mineral deposits from the stone compartment and heating elements.
6.2 Sauna Stone Inspection and Replacement
- Inspect sauna stones annually for signs of crumbling or deterioration.
- Replace any broken or significantly worn stones to ensure efficient heating and proper steam production.
- When replacing, ensure new stones are specifically designed for sauna heaters.
7. Troubleshooting
If you encounter issues with your sauna heater, refer to the following common problems and solutions:
| Problem | Possible Cause | Solution |
|---|---|---|
| Heater does not turn on | No power supply Circuit breaker tripped Timer not set | Check main power switch Reset circuit breaker Set the timer knob to desired operating time |
| Heater not heating sufficiently | Temperature knob set too low Insufficient sauna stones Poor air circulation | Increase temperature setting Add more sauna stones (ensure proper type) Rearrange stones for better airflow |
| Heater turns off unexpectedly | Timer expired Overheat protection activated | Reset timer Allow heater to cool down, check for obstructions around heater, ensure proper ventilation. If problem persists, contact support. |
| No steam when water is added | Stones not hot enough Insufficient water Stones packed too tightly | Allow more time for stones to heat Add a small amount more water Rearrange stones for better airflow |
If the problem persists after attempting these solutions, please contact customer support.
8. Warranty and Support
This AYCHLG sauna heater is covered by a manufacturer's warranty against defects in materials and workmanship. Specific warranty terms and duration may vary. Please retain your proof of purchase for warranty claims.
Customer Support:
For technical assistance, warranty inquiries, or replacement parts, please contact AYCHLG customer service through the retailer where the product was purchased or visit the official AYCHLG website for contact information.
When contacting support, please have your product model (9KW 240V) and purchase date available.