Introduction
This manual provides essential information for the proper use and maintenance of your Infinix Smart 8 X6525 mobile phone. Please read it carefully to ensure optimal performance and longevity of your device.
The Infinix Smart 8 features a 6.6-inch HD+ display, 13MP AI dual rear camera, 8MP front camera, 5000 mAh battery, and runs on Android 13. It supports dual nano SIM cards and Type-C charging.
Setup
1. SIM Card and Memory Card Installation
To install your SIM card(s) and an optional microSD card:
- Locate the SIM tray on the side of the device.
- Insert the SIM ejector tool into the small hole next to the tray and push gently until the tray pops out.
- Place your Nano-SIM card(s) and/or microSD card into the tray with the gold contacts facing down, ensuring they are correctly oriented as indicated on the tray.
- Carefully push the tray back into the slot until it is flush with the phone's body.

Image: Side view of the Infinix Smart 8 X6525, illustrating the location of the SIM card tray.
2. Initial Power On
Press and hold the Power button (located on the right side of the device) until the Infinix logo appears. Follow the on-screen instructions to complete the initial setup, including language selection, Wi-Fi connection, and Google account setup.
3. Charging the Device
Connect the USB Type-C cable to the phone's charging port and the other end to the power adapter. Plug the power adapter into a wall outlet. The battery indicator on the screen will show the charging status. For optimal battery life, use the provided charger and cable.
Operating Your Device
1. Basic Navigation
Your Infinix Smart 8 X6525 uses a touchscreen for navigation. Swipe up, down, left, or right to move between screens and menus. Tap icons to open applications. Use gestures or the navigation bar at the bottom of the screen for Home, Back, and Recent Apps functions.

Image: Front view of the Infinix Smart 8 X6525, showing the display and front camera.
2. Camera Usage
To open the camera, tap the Camera icon on your home screen or lock screen. The device features a 13MP AI dual rear camera and an 8MP front camera. Switch between modes like Photo, Video, Portrait, and Panorama. Tap the shutter button to capture images or start/stop video recording. The AI features automatically optimize settings for various scenes.
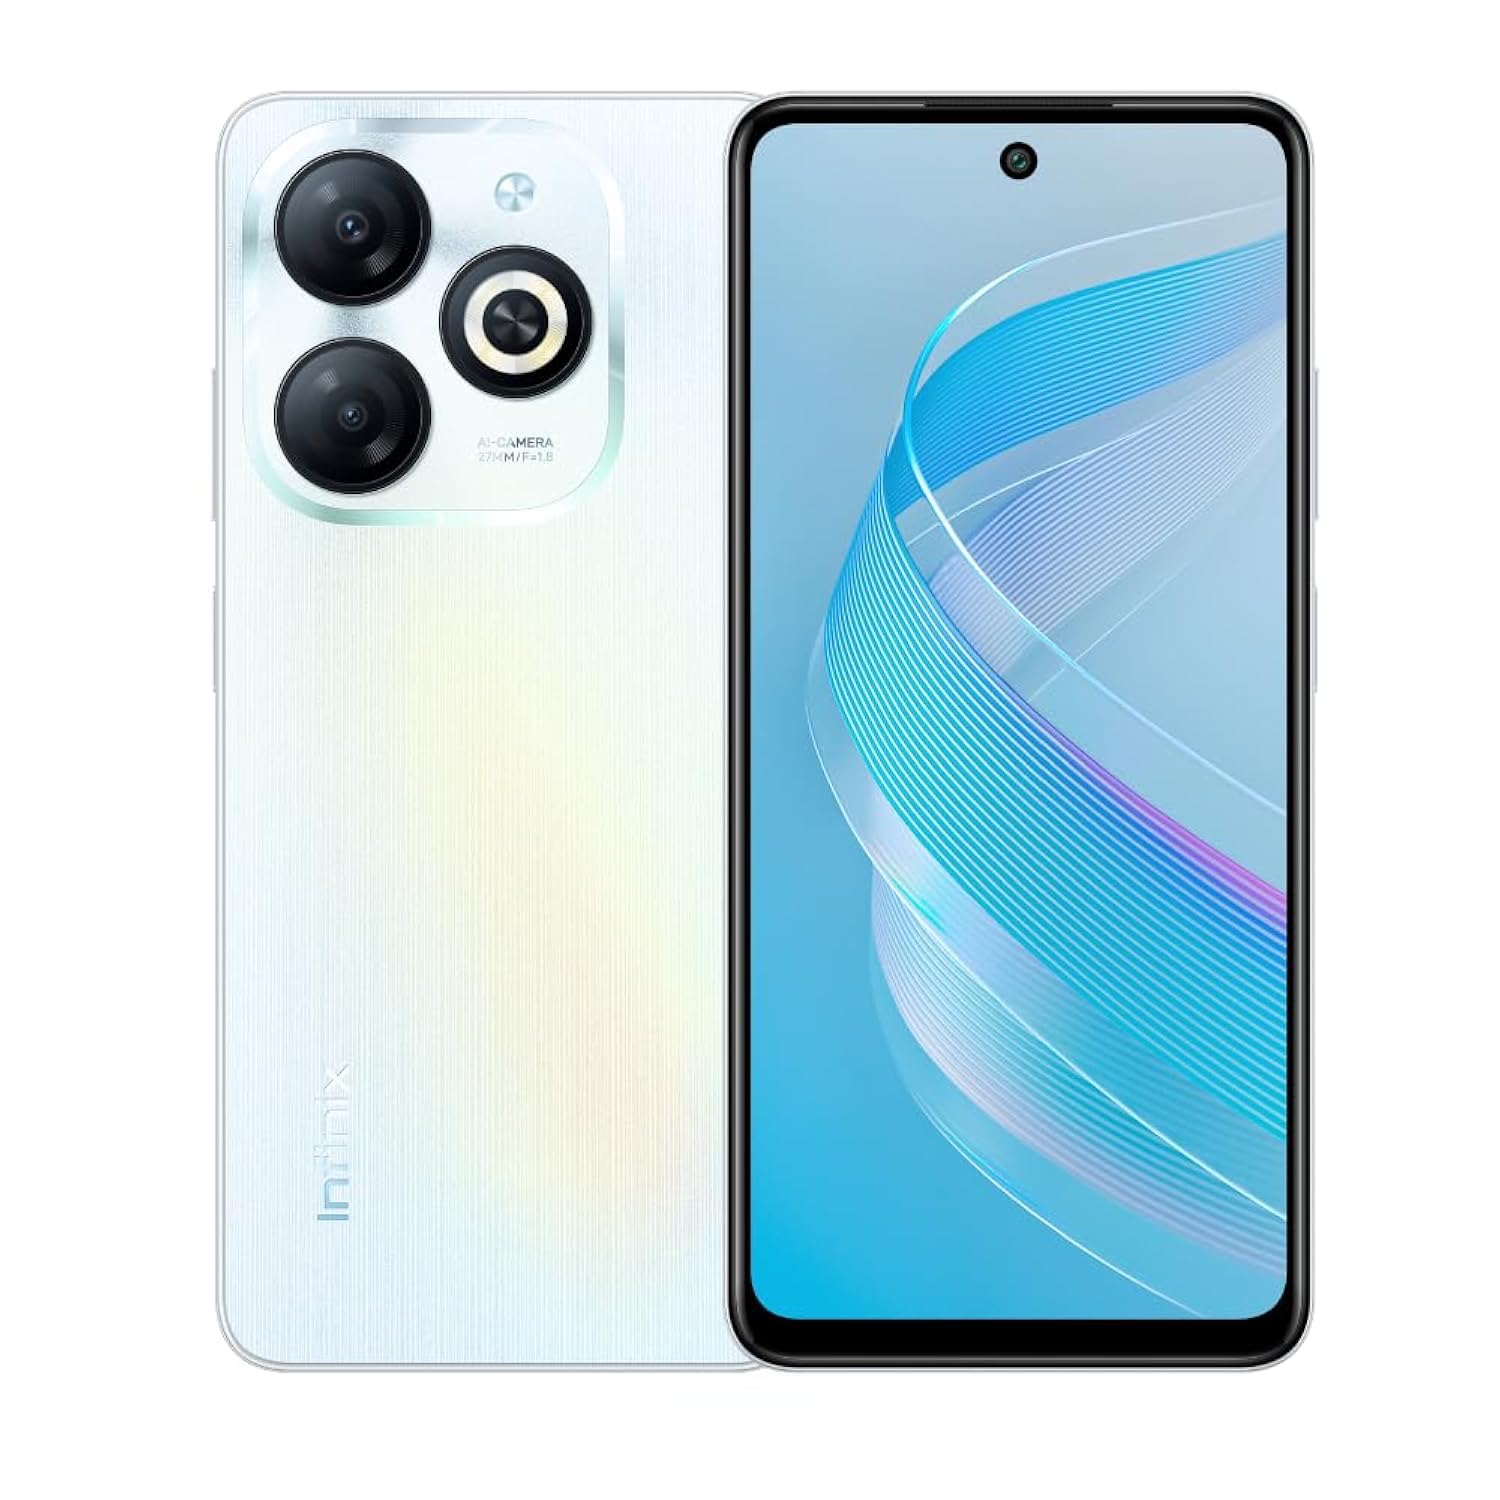
Image: Rear view of the Infinix Smart 8 X6525, highlighting the dual camera module and ring flashlight.
3. Connectivity
- Wi-Fi: Go to Settings > Network & internet > Wi-Fi to connect to available wireless networks.
- Bluetooth: Go to Settings > Connected devices > Connection preferences > Bluetooth to pair with Bluetooth devices.
- Mobile Data: Ensure your SIM card is active and go to Settings > Network & internet > Mobile network to enable or disable mobile data.
4. Security Features
The device supports a side-mounted fingerprint sensor and face unlock for enhanced security. To set them up, go to Settings > Security > Fingerprint Unlock or Face Unlock and follow the on-screen instructions.
Maintenance
1. Battery Care
- Avoid exposing the device to extreme temperatures.
- Do not fully discharge the battery regularly.
- Use only original or certified chargers and cables.
- If the device will not be used for an extended period, charge it to about 50% before storing.
2. Software Updates
Regularly check for and install software updates to ensure your device has the latest features, security patches, and performance improvements. Go to Settings > System > System update to check for updates.
3. Cleaning Your Device
Use a soft, lint-free cloth to clean the screen and body of the phone. Avoid using harsh chemicals or abrasive materials. For stubborn smudges, slightly dampen the cloth with water or a screen cleaner designed for electronics.
Troubleshooting
Common Issues and Solutions
- Device not turning on: Ensure the battery is charged. Connect the charger and wait a few minutes before attempting to power on again.
- Apps crashing or freezing: Close and restart the app. If the issue persists, clear the app's cache (Settings > Apps > [App Name] > Storage & cache > Clear cache).
- Poor battery life: Reduce screen brightness, close unused apps, disable unnecessary connectivity features (Wi-Fi, Bluetooth, GPS) when not in use.
- Network connectivity issues: Check if your SIM card is properly inserted. Try restarting the device. Ensure mobile data or Wi-Fi is enabled.
- Device unresponsive: Press and hold the Power button for about 10-15 seconds to force a restart.
Specifications
| Feature | Detail |
|---|---|
| Brand Name | Infinix |
| Model Name | Smart 8 |
| Operating System | Android 13.0 |
| Installed RAM | 4 GB |
| Memory Storage Capacity | 128 GB |
| Screen Size | 6.6 inches |
| Resolution | 720 x 1612 pixels |
| Refresh Rate | 90 Hz |
| Color | White |
| SIM Card Slot Count | Dual SIM |
| Connector Type | USB Type-C Port |
| Biometric Security Feature | Fingerprint Recognition |
| Front Photo Sensor Resolution | 8 Megapixels |
| Rear Camera Photo Sensor Resolution | 13 Megapixels |
| Camera Description | 13MP rear camera, AI dual camera with ring flashlight |
| Video Capture Resolution | 1080p |
| Display Type | LCD |
| Cellular Technology | 4G |
| Connectivity Technology | Bluetooth, Wi-Fi |
| Battery Capacity | 5000 mAh |
| Item Weight | 184 grams |
| Item Dimensions | 16.4 x 0.8 x 7.6 cm |
| Included Components | Headset, Phone Cover, USB Cable, Power Adapter, Screen Protector |
Safety Information
- Do not disassemble or attempt to repair the device yourself.
- Keep the device away from water and moisture.
- Avoid exposing the device to direct sunlight or high temperatures.
- Use only accessories approved by Infinix.
- Dispose of the device and its battery responsibly according to local regulations.
Warranty and Support
Your Infinix Smart 8 X6525 comes with a standard manufacturer's warranty. Please refer to the warranty card included in the product packaging for specific terms and conditions, including warranty period and coverage details.
For technical support, service, or further inquiries, please visit the official Infinix website or contact their customer service. Keep your proof of purchase for warranty claims.