
Introduction
This manual provides essential information for the safe and efficient use of your Hotpoint Ariston H2I HD526 AS fully integrated dishwasher. Please read these instructions carefully before installation and operation, and keep them for future reference.
Safety Information
Always follow basic safety precautions when using electrical appliances to reduce the risk of fire, electric shock, and injury to persons.
- Electrical Safety: Ensure the dishwasher is properly grounded. Do not use extension cords. Disconnect power before any maintenance.
- Water Safety: Ensure water connections are secure to prevent leaks. Do not operate if there is a water leak.
- Detergent Safety: Keep detergents and rinse aid out of reach of children. Use only detergents specifically designed for automatic dishwashers.
- Child Safety: Supervise children near the dishwasher. Do not allow children to play with the appliance.
- Sharp Objects: Load sharp items (knives, forks) with handles up to prevent injury.
Setup and Installation
The Hotpoint Ariston H2I HD526 AS is a fully integrated dishwasher designed to be concealed behind a cabinet door. Professional installation is recommended.
Unpacking
Carefully remove all packaging materials. Inspect the dishwasher for any damage during transit. Report any damage immediately to your retailer.
Positioning and Leveling
Place the dishwasher in the desired location. Use the adjustable feet to ensure the appliance is perfectly level. Proper leveling is crucial for door alignment and efficient operation.
Water and Electrical Connections
Connect the water inlet hose to a cold or hot water supply (maximum 60°C). Ensure the drain hose is properly connected to a suitable drainage system. The power cable length is 1.3m, inlet hose 1.55m, and drain hose 1.5m. Ensure all connections are tight to prevent leaks.

Image: Rear view of the dishwasher, illustrating the water inlet hose, drain hose, and electrical power cable connections. Ensure these are securely attached during installation.
First Use
Before the first wash cycle, fill the salt dispenser with dishwasher salt and the rinse aid dispenser with rinse aid. Refer to the 'Operating Instructions' section for details on filling these compartments.
Operating Instructions
This section guides you through the daily operation of your dishwasher.
Control Panel Overview
The control panel features buttons for power, program selection, delay start, half load, and a digital display. The display shows program status and remaining time.
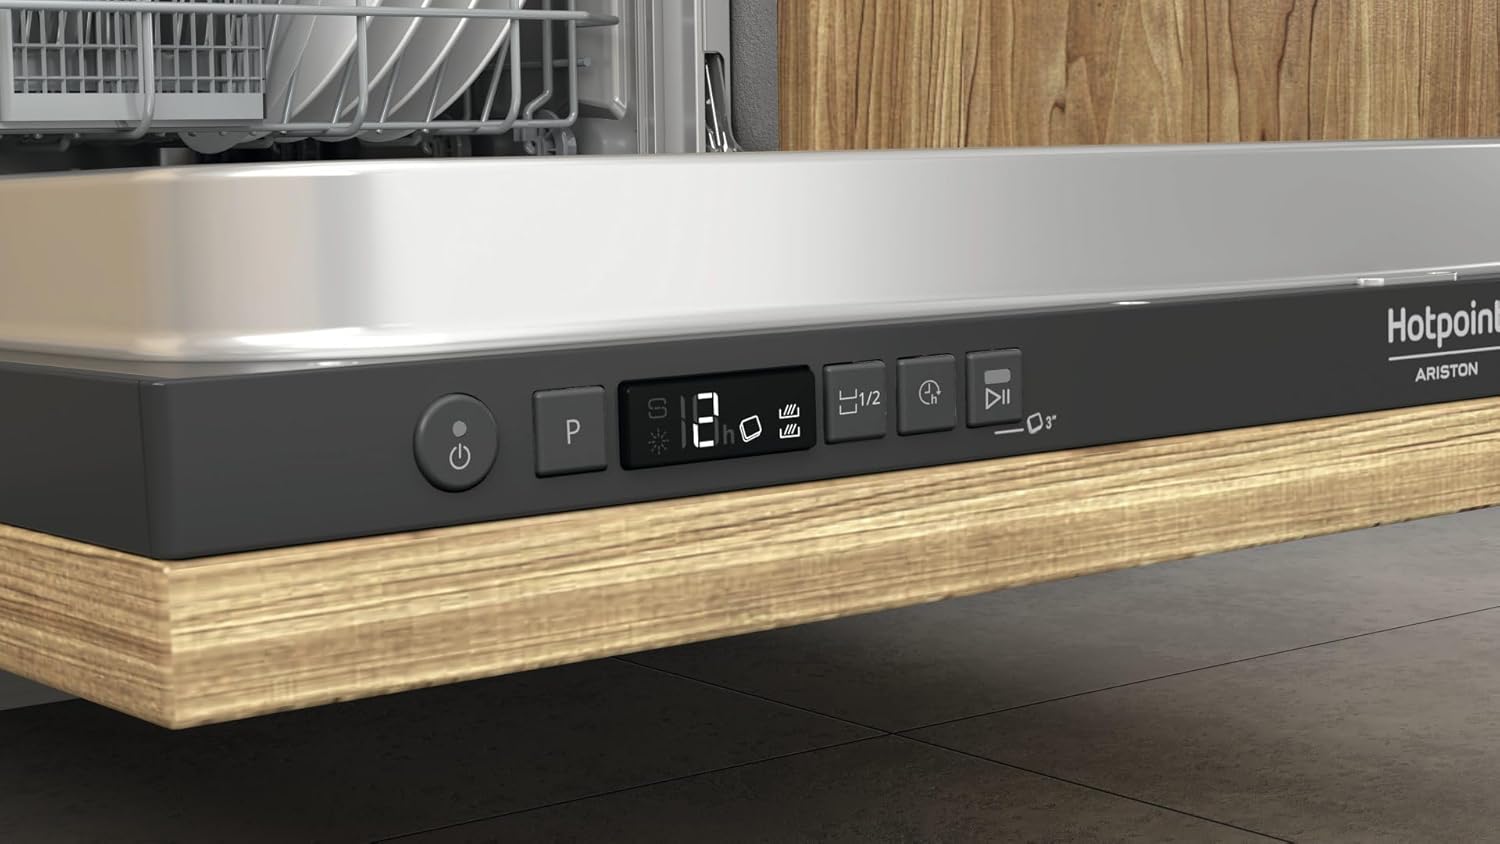
Image: A detailed view of the dishwasher's control panel, showing the power button, program selection button, digital display, delay start, and half-load options.
Loading the Dishwasher
Proper loading ensures optimal cleaning results and prevents damage to dishes. This dishwasher accommodates 14 place settings.
- Lower Basket: Ideal for large items like plates, serving dishes, pots, and pans.
- Upper Basket: Suitable for glasses, cups, smaller plates, and bowls. The upper basket is adjustable.
- Cutlery Basket: Place cutlery with handles facing down, ensuring items do not nest together.

Image: The dishwasher with its door open, revealing the upper and lower baskets fully loaded with various dishes, glasses, and cutlery, demonstrating proper loading technique.
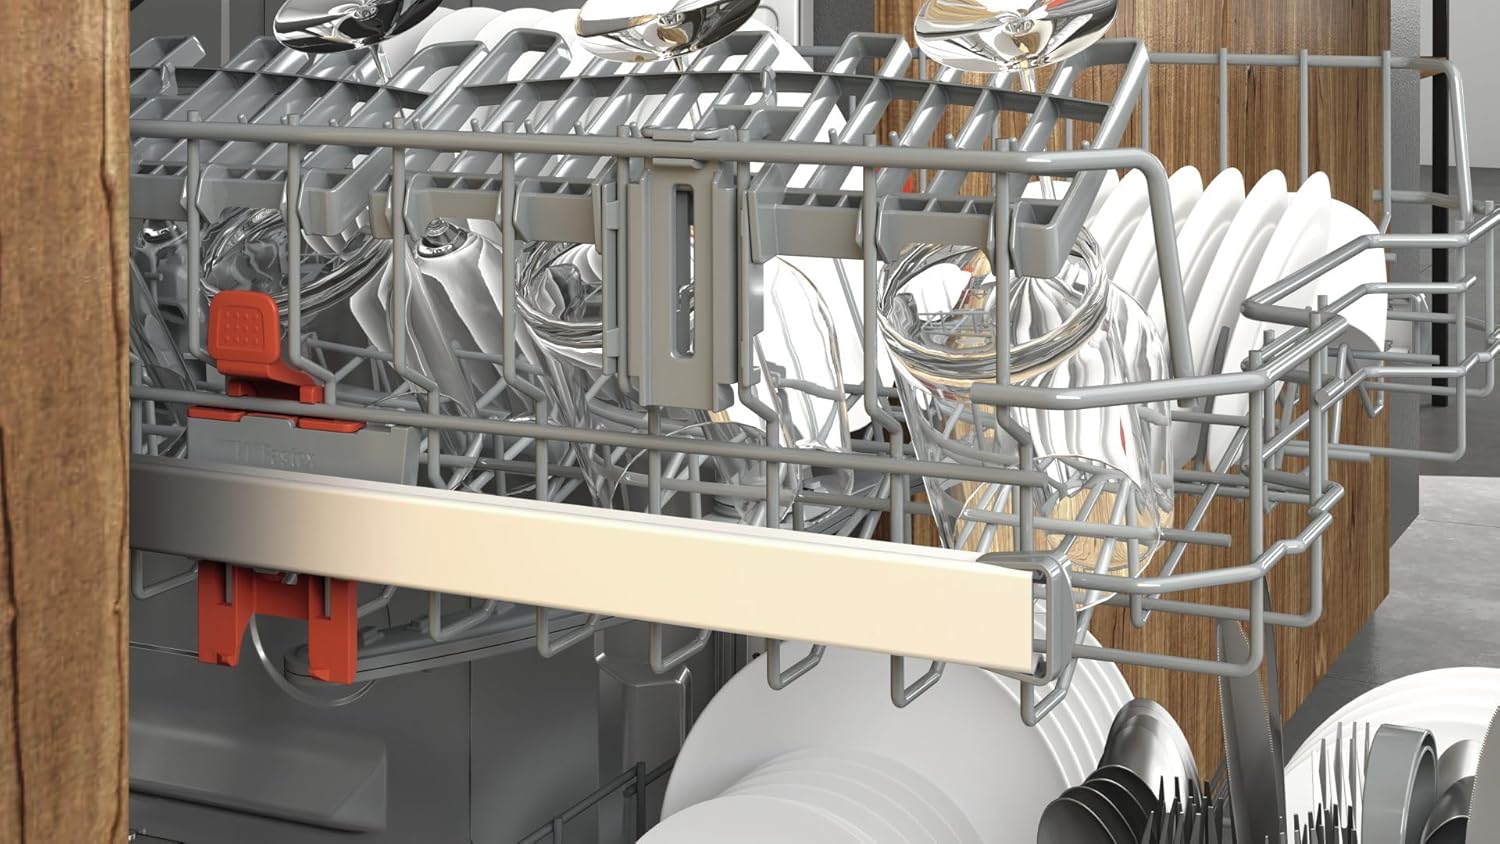
Image: A close-up view of the upper basket, showing how glasses and smaller items are arranged for washing.

Image: An overall view of both the upper and lower baskets, demonstrating a complete load of dishes, glasses, and cutlery.
Adding Detergent and Rinse Aid
Open the detergent dispenser and add the recommended amount of dishwasher detergent. Fill the rinse aid dispenser until the indicator shows full. The dishwasher has a rinse aid indicator light.
Program Selection and Start
- Load the dishwasher and add detergent/rinse aid.
- Close the dishwasher door securely.
- Press the Power button to turn on the appliance.
- Use the Program selection button to choose one of the 9 available programs.
- (Optional) Select Delay Start (up to 12 hours) or Half Load function if needed.
- Press the Start/Pause button to begin the cycle.
Available Wash Programs
The dishwasher offers 9 wash programs to suit various needs:
- Auto-mixed
- Daily 50°C
- Eco 50°C
- Hygiene
- Intensive 65°C
- Pre-wash
- Rapid
- Self-Clean 65°C
- Silent 50°C
Maintenance
Regular maintenance ensures the longevity and optimal performance of your dishwasher.
Cleaning the Filters
The filter system prevents food particles from recirculating and clogging the pump. Clean the filters regularly (weekly or bi-weekly depending on usage).
- Turn off and unplug the dishwasher.
- Remove the lower basket.
- Twist and lift out the cylindrical filter.
- Separate the coarse and micro filters.
- Rinse all filter components under running water, using a brush if necessary to remove stubborn debris.
- Reassemble the filters and place them back into the dishwasher, ensuring they are securely locked.
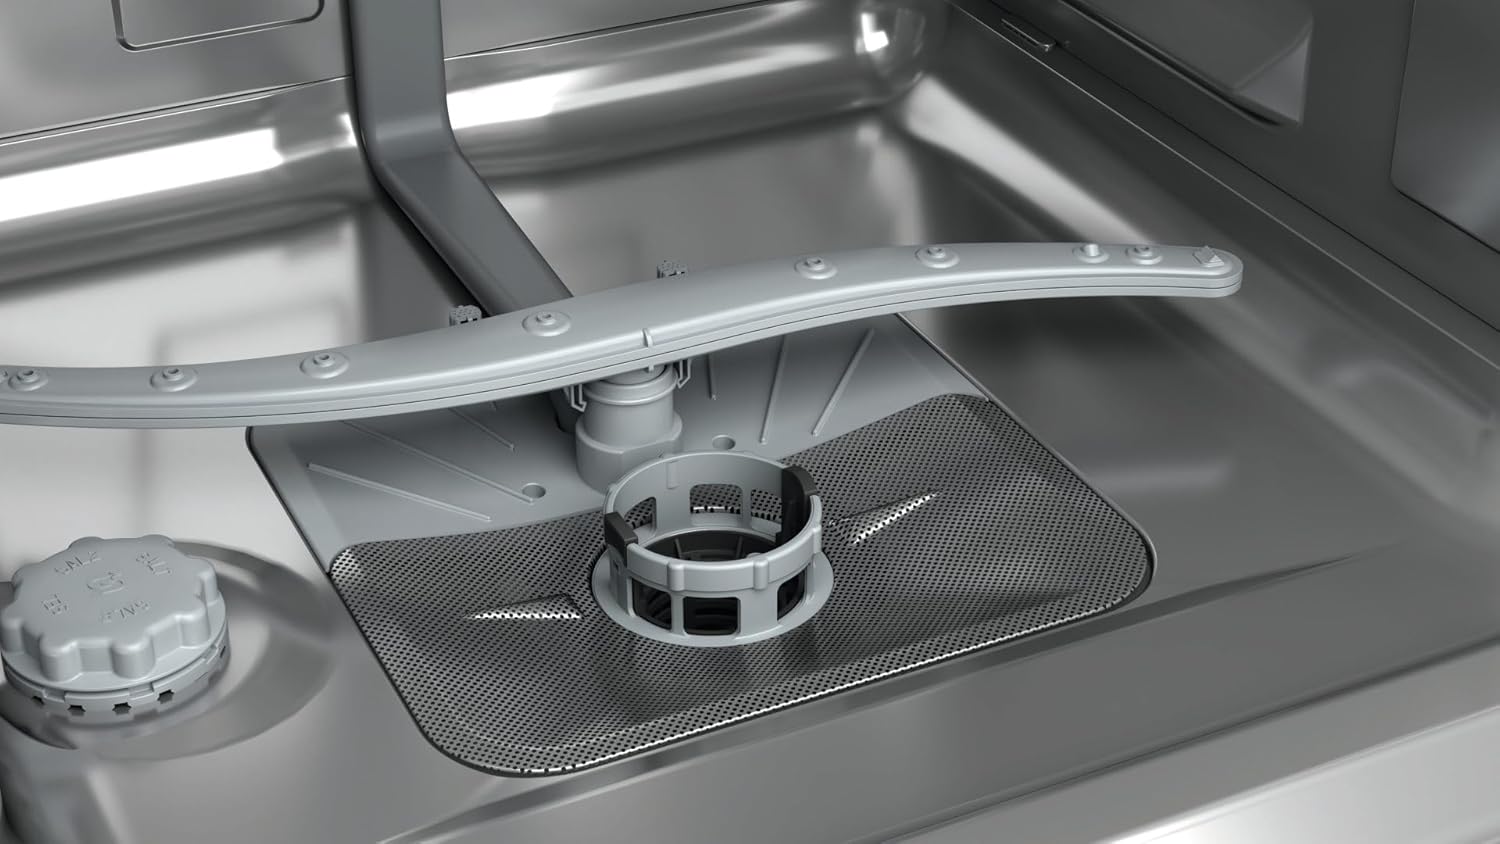
Image: A close-up of the dishwasher's interior base, highlighting the filter assembly and the lower spray arm. Regular cleaning of these components is essential.
Cleaning the Spray Arms
Check the spray arm nozzles for blockages. If blocked, remove the spray arms and clean the holes with a thin object like a toothpick.
Salt and Rinse Aid Indicators
The dishwasher is equipped with indicator lights for salt and rinse aid. Refill these compartments when the respective indicator lights illuminate on the control panel.
Self-Clean Program
Utilize the dedicated "Self-Clean 65°C" program periodically to maintain the internal hygiene of the dishwasher. Run this program without any dishes inside.
Troubleshooting
Before contacting customer service, refer to this section for solutions to common issues.
| Problem | Possible Cause | Solution |
|---|---|---|
| Dishwasher does not start | Power supply issue, door not closed properly, program not selected. | Check power connection, ensure door is latched, select a program and press start. |
| Poor cleaning results | Improper loading, clogged spray arms/filters, insufficient detergent, incorrect program. | Reload dishes correctly, clean filters and spray arms, add more detergent, select a more intensive program. |
| Water remaining in the tub | Clogged drain hose or filter, drain pump malfunction. | Clean filters, check drain hose for kinks or blockages. |
| Dishwasher leaks | Loose hose connections, damaged door seal, excessive detergent. | Check hose connections, inspect door seal for damage, reduce detergent amount. |
| Salt/Rinse Aid indicator remains on | Compartment empty, sensor malfunction. | Refill salt/rinse aid. If problem persists, contact service. |
Specifications
Key technical specifications for the Hotpoint Ariston H2I HD526 AS dishwasher.
| Feature | Value |
|---|---|
| Model Name | H2I HD526 AS |
| Installation Type | Fully Integrated |
| Place Settings | 14 |
| Energy Efficiency Class | E (Scale A to G) |
| Noise Emission Class | C |
| Noise Level | 46 dB |
| Water Consumption per Cycle | 9.5 Liters |
| Energy Consumption per 100 Cycles | 95 kWh |
| Number of Wash Programs | 9 |
| Maximum Water Temperature | 60°C |
| Cycle Duration (Eco 50°C) | 215 minutes |
| Delay Start Option | Yes (up to 12 hours) |
| Half Load Function | Yes |
| Aquastop System | Yes (Overflow protection) |
| Control Type | Buttons |
| Display Type | LCD |
| Power Cable Length | 1.3 m |
| Inlet Hose Length | 1.55 m |
| Drain Hose Length | 1.5 m |
| Material (Dishwasher Tub) | Stainless Steel |
Warranty and Support
Your Hotpoint Ariston H2I HD526 AS dishwasher comes with a manufacturer's warranty.
- Warranty Period: 2 years for private users, 1 year for businesses.
- Warranty Coverage: Covers defects in materials and workmanship under normal use. Refer to the warranty card included with your product for full terms and conditions.
- Customer Support: For technical assistance, spare parts, or warranty claims, please contact Hotpoint customer service or visit the official Hotpoint website. Have your model number (H2I HD526 AS) and serial number ready when contacting support.


