1. Introduction
This manual provides instructions for the safe and efficient operation of your IRIS OHYAMA Drip Coffee Maker, model CMS-0800-C. Please read this manual thoroughly before use and retain it for future reference.
2. Product Overview and Components
The IRIS OHYAMA Drip Coffee Maker CMS-0800-C is designed for convenient coffee brewing, allowing direct drip into mug bottles. Its compact and stylish design makes it suitable for various settings.
2.1 Main Unit and Accessories
- Coffee Maker Main Unit
- Glass Server
- Removable Water Tank
- Filter Holder
- Measuring Spoon
- Paper Filters (5 pieces)
- Stand for Mug Bottle

Image: The IRIS OHYAMA Drip Coffee Maker CMS-0800-C in ivory, showing the main unit with the glass server in place.

Image: A diagram illustrating the included components: stand, paper filters, and measuring spoon.
3. Safety Precautions
Always follow basic safety precautions when using electrical appliances to reduce the risk of fire, electric shock, and/or injury to persons.
- Do not immerse the appliance, cord, or plug in water or other liquids.
- Ensure the voltage rating on the appliance matches your local power supply.
- Keep out of reach of children.
- Do not operate the appliance with a damaged cord or plug.
- Always unplug the appliance when not in use and before cleaning.
- Use only manufacturer-recommended accessories.
- When dripping directly into a mug bottle, always remove the drinking spout/lid.
- Always use the provided stand when dripping into a mug bottle.
- Avoid using mug bottles with a small opening diameter, as coffee may splash.
- Do not use mug cups for direct dripping.
4. Setup and First Use
- Unpack: Carefully remove all packaging materials and check for any damage.
- Clean Components: Wash the glass server, water tank, and filter holder with warm, soapy water. Rinse thoroughly and dry.
- Place the Unit: Position the coffee maker on a stable, flat, heat-resistant surface.
5. Operating Instructions
5.1 Brewing Coffee
- Prepare Filter and Coffee:
Insert a paper filter into the filter holder. Add the desired amount of ground coffee using the measuring spoon.

Image: Step 1 of brewing, showing how to place a paper filter and add ground coffee with a measuring spoon.
- Fill Water Tank:
Remove the water tank and fill it with fresh water up to the desired level (max 800ml). Reattach the water tank securely to the unit. The tank is removable for easy filling and cleaning.

Image: The removable water tank being filled with water, highlighting its ease of use.
- Place Server or Mug Bottle:
Place the glass server or a compatible mug bottle (with lid removed and on the stand) onto the heating plate. Ensure it is centered under the drip nozzle.

Image: Step 3 of brewing, showing the glass server placed on the heating plate.
Mug Bottle Compatibility:
This coffee maker supports direct dripping into mug bottles. Ensure your mug bottle meets the following criteria:
- 500ml bottles: Height up to 21cm, opening diameter 4.5cm or more.
- 350ml bottles: Height up to 17cm, opening diameter 4.5cm or more.
- Always remove the drinking spout/lid before dripping.
- Always use the provided stand when dripping into a mug bottle.
- Do not use mug cups.

Image: Illustration showing compatible mug bottle sizes (350ml and 500ml) and instructions for direct dripping, including removing the lid and using the stand.
- Start Brewing:
Plug the power cord into an electrical outlet. Turn the power switch to the "ON" position. The indicator light will illuminate, and brewing will begin.

Image: Step 4 of brewing, showing the power plug being inserted into an outlet and the power switch being turned on.
5.2 Hot and Iced Coffee
This coffee maker is suitable for both hot and iced coffee. For iced coffee, brew directly into a mug bottle filled with ice, or brew into the glass server and then pour over ice.
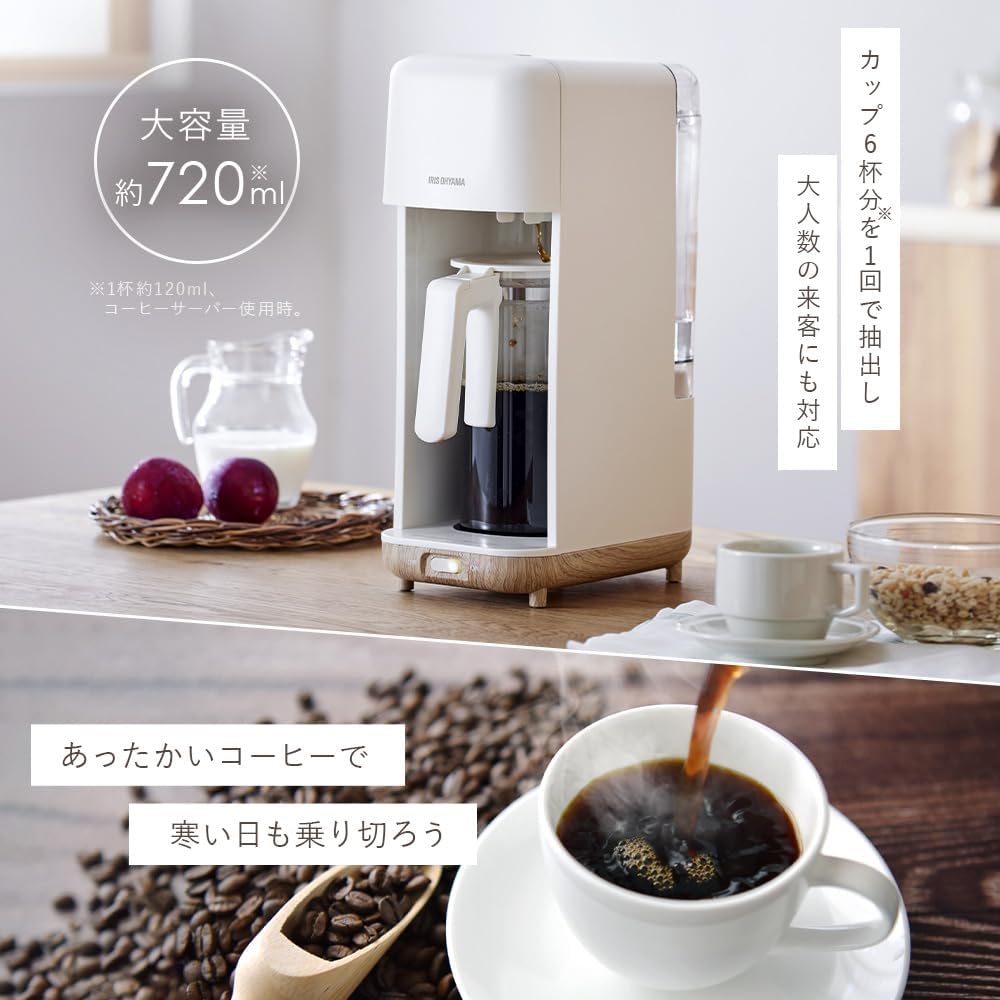
Image: A visual representation of brewing hot coffee into a cup and preparing iced coffee in a mug bottle.
6. Cleaning and Maintenance
Regular cleaning ensures optimal performance and extends the lifespan of your coffee maker.
- Unplug: Always unplug the coffee maker and allow it to cool completely before cleaning.
- Dispose of Filter: Remove and discard the used paper filter and coffee grounds.
- Wash Removable Parts: The water tank, filter holder, and glass server can be washed with warm, soapy water. Rinse thoroughly and dry. The removable water tank simplifies this process.
- Wipe Main Unit: Wipe the exterior of the coffee maker with a soft, damp cloth. Do not use abrasive cleaners or scourers.
- Descaling: Periodically descale the coffee maker to remove mineral deposits. Follow the instructions for a suitable descaling solution (e.g., white vinegar or commercial descaler).
Image: The removable water tank being easily detached for cleaning, emphasizing its user-friendly design.
7. Troubleshooting
If you encounter any issues with your coffee maker, please refer to the following common problems and solutions:
| Problem | Possible Cause | Solution |
|---|---|---|
| Coffee does not brew. | No power, water tank empty, or filter holder not correctly placed. | Check power connection, fill water tank, ensure filter holder is properly seated. |
| Coffee tastes weak. | Insufficient coffee grounds, too much water, or coarse grind. | Increase coffee grounds, reduce water, or use a finer grind. |
| Coffee overflows. | Too much water, filter clogged, or server/mug bottle not correctly placed. | Do not exceed max water level, ensure filter is not clogged, correctly position server/mug bottle. |
| Coffee splashes when dripping into mug bottle. | Mug bottle opening too small or not using the stand. | Ensure mug bottle meets size requirements (opening diameter 4.5cm+), always use the stand. |
8. Specifications
| Model Number | CMS-0800-C |
| Brand | IRIS OHYAMA |
| Power Supply | AC 100V, 50/60Hz |
| Rated Power Consumption | 650W |
| Maximum Water Capacity | 800ml |
| Product Dimensions (W x D x H) | Approx. 15.1 cm x 26 cm x 39 cm (excluding coffee server, accessories) |
| Product Weight | Approx. 1.6 kg (excluding coffee server, accessories) |
| Power Cord Length | Approx. 1.2 m |
| Included Accessories | Stand, Paper filter x 5, Measuring spoon |
| Material | Glass (server) |
| Color | Ivory |

Image: A visual representation of the product dimensions.
9. Warranty and Support
This product comes with a standard manufacturer's warranty. For warranty details, product support, or service inquiries, please refer to the warranty card included with your purchase or visit the official IRIS OHYAMA website.
Official IRIS OHYAMA Website: www.irisohyama.co.jp


