1. Introduction
This manual provides detailed instructions for the installation, operation, and maintenance of your Mars Gaming MC-MAG ATX Gaming Case. The MC-MAG case is designed for advanced gaming setups, featuring a tempered glass side panel, dual magnetic dust filters, and efficient cooling capabilities. Please read this manual thoroughly before beginning installation to ensure proper setup and optimal performance.
Key features of the MC-MAG case include:
- Full tempered glass side panel for component visibility.
- Dual magnetic grilles on the front and top panels with removable dust filters.
- Three pre-installed 120mm Fixed RGB front fans.
- Support for liquid cooling systems up to 360mm.
- Dual-chamber design for optimized cooling and space management.
- Front panel connectivity: 2x USB 2.0, 1x USB 3.0, HD Audio, Microphone.
2. Package Contents
Verify that all components are present in the package:
- Mars Gaming MC-MAG ATX Gaming Case
- Accessory kit (screws, cable ties, standoffs)
- User Manual (this document)
3. Case Overview
Familiarize yourself with the main components and features of the MC-MAG case.
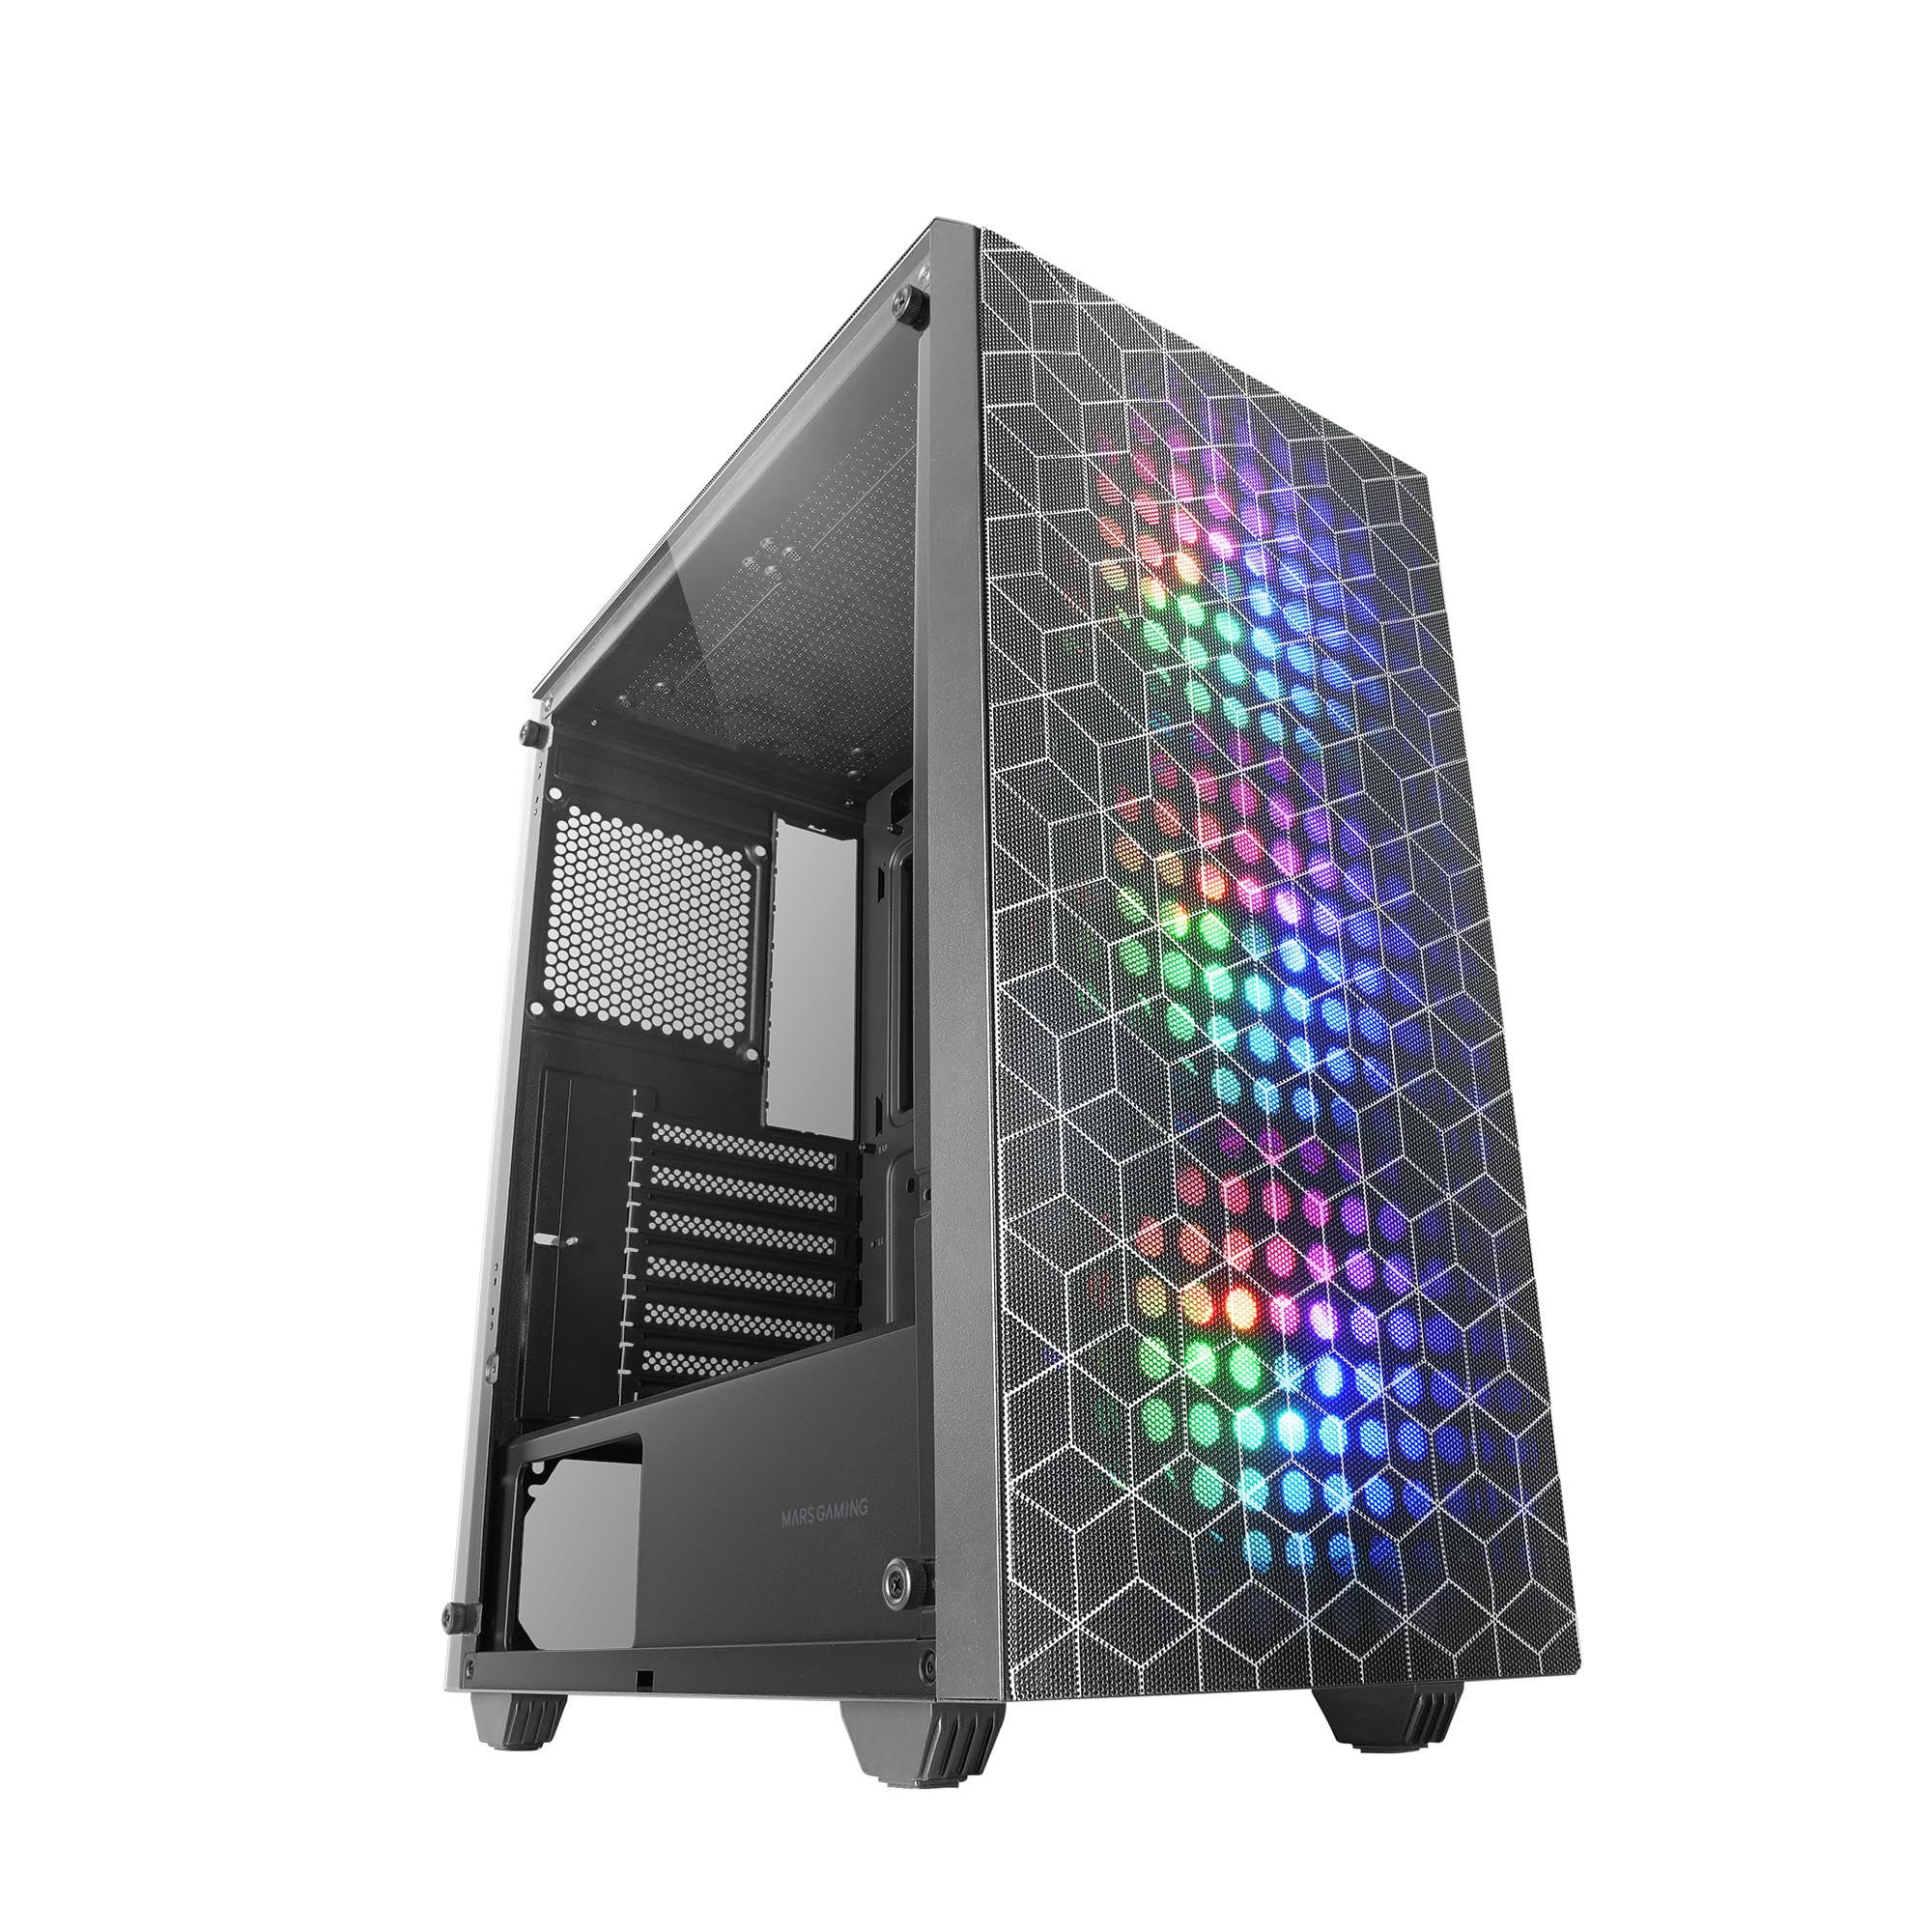
Figure 3.1: Mars Gaming MC-MAG ATX Gaming Case (Front-side view).

Figure 3.2: Tempered Glass Side Panel. This panel provides a clear view of internal components and is secured with thumbscrews.

Figure 3.3: Double Magnetic Front + Top Mesh. These removable grilles facilitate airflow and dust filtration.

Figure 3.4: Internal Layout Diagram. Illustrates fan and radiator mounting points, CPU cooler clearance (max 160mm), and VGA card length (max 350mm, 290mm with front radiator/fan).
4. Setup and Installation
Follow these steps to install your PC components into the MC-MAG case.
4.1 Preparing the Case
- Place the case on a flat, stable surface.
- Remove the tempered glass side panel by unscrewing the thumbscrews at the rear of the case and carefully sliding the panel off. Set it aside on a soft, protected surface.
- Remove the rear side panel to access the cable management area.
4.2 Motherboard Installation
- The MC-MAG case supports ATX, MicroATX, and Mini-ITX motherboards.
- Ensure the correct standoffs are installed for your motherboard size. Adjust if necessary.
- Install the I/O shield into the rear opening of the case.
- Carefully place your motherboard onto the standoffs, aligning the screw holes.
- Secure the motherboard with the provided screws.
4.3 Power Supply Unit (PSU) Installation
- The PSU mounts in the bottom rear chamber of the case.
- Slide the PSU into its designated bay from the rear of the case.
- Secure the PSU with screws from the outside rear of the case.
4.4 Storage Drive Installation
- The case supports up to 2x 3.5" HDDs and 4x 2.5" SSDs.
- 3.5" HDDs: Locate the drive cage in the PSU shroud area. Slide the HDD into the drive tray and secure it with screws.
- 2.5" SSDs: Mount SSDs to the designated brackets on the rear of the motherboard tray or within the PSU shroud area. Secure with screws.
4.5 Graphics Card (VGA) Installation
- Remove the necessary expansion slot covers from the rear of the case.
- Insert your graphics card into the PCIe slot on the motherboard.
- Secure the graphics card with the expansion slot screw.
- Note: Maximum VGA length is 350mm (290mm with front radiator/fan installed).
4.6 Cooling System Installation (Fans & Liquid Cooling)
The MC-MAG case comes with 3x 120mm Fixed RGB fans pre-installed in the front.
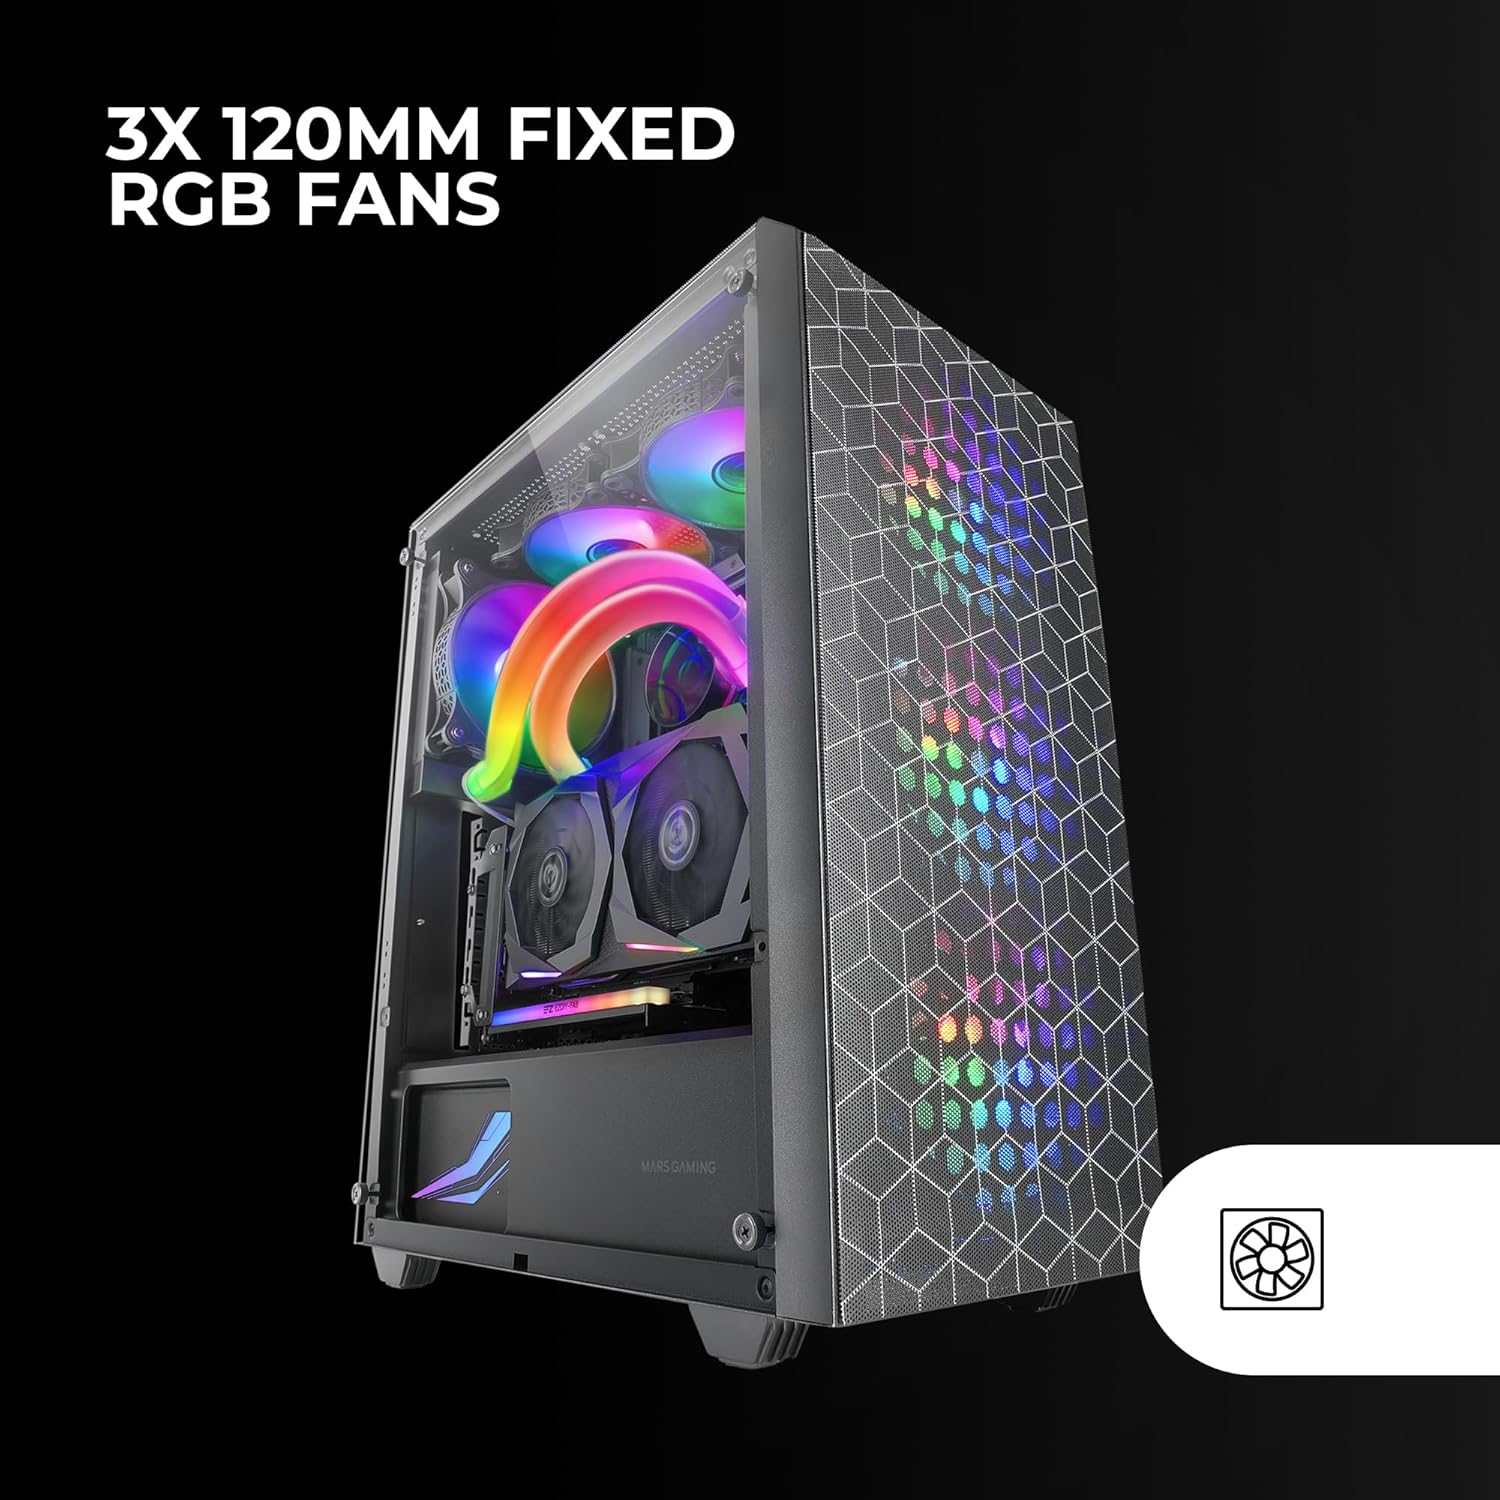
Figure 4.1: Pre-installed 3x 120mm Fixed RGB Fans.
- Additional Fans: The case supports up to 6x 120mm fans or a combination of 4x 120mm and 2x 140mm fans. Refer to Figure 3.4 for fan mounting locations.
- Liquid Cooling: The case supports liquid cooling radiators up to 360mm.

Figure 4.2: Liquid Cooling Installation. The case supports radiators up to 360mm.
- Install radiators and fans according to their respective manufacturer's instructions.
4.7 Cable Management
Utilize the cable routing cutouts and tie-down points behind the motherboard tray to organize cables. This improves airflow and aesthetics.
4.8 Connecting Front Panel I/O
Connect the front panel cables (USB 2.0, USB 3.0, HD Audio, Microphone, Power Switch, Reset Switch, Power LED, HDD LED) to the corresponding headers on your motherboard. Refer to your motherboard manual for specific header locations.
4.9 Final Assembly
- Once all components are installed and cables are managed, reattach the rear side panel.
- Carefully reattach the tempered glass side panel and secure it with the thumbscrews.
5. Operating Instructions
After successful installation, your MC-MAG case is ready for operation.
- Power On: Press the power button located on the top panel of the case.
- USB Ports: Use the front USB 2.0 and USB 3.0 ports for connecting peripherals and external devices.
- Audio Jacks: Connect your headphones and microphone to the front panel HD Audio and Microphone jacks.
- RGB Fans: The pre-installed fans feature Fixed RGB lighting. Their lighting pattern is static and does not require software control from the case itself.
6. Maintenance
Regular maintenance helps ensure optimal performance and longevity of your PC components.
- Dust Filters: The front and top panels feature magnetic dust filters. Regularly remove these filters and clean them with compressed air or by rinsing them with water (ensure they are completely dry before reattaching).
- Tempered Glass Panel: Clean the tempered glass side panel with a soft, lint-free cloth and a glass cleaner. Avoid abrasive materials that could scratch the glass.
- Interior Cleaning: Periodically open the case and use compressed air to remove dust from internal components, especially fans and heatsinks.
7. Troubleshooting
If you encounter issues, refer to the following common troubleshooting steps.
- No Power:
- Ensure the PSU is switched on and properly connected to a power outlet.
- Verify all power cables from the PSU are correctly connected to the motherboard and components.
- Check the front panel power switch cable connection to the motherboard.
- Fans Not Spinning / RGB Not Lighting Up:
- Ensure fan power cables are securely connected to the motherboard or fan controller.
- For RGB, ensure the RGB cables are correctly connected (if applicable, for the fixed RGB fans, they should light up upon power).
- Front Panel USB/Audio Not Working:
- Verify that the USB and HD Audio cables from the front panel are correctly connected to the motherboard headers.
- Overheating:
- Ensure all case fans are spinning correctly and oriented for optimal airflow (intake/exhaust).
- Clean dust filters and internal components to prevent dust buildup.
- Verify CPU cooler and GPU cooler are properly installed and functioning.
8. Specifications
| Feature | Detail |
|---|---|
| Model Name | MCMAG |
| Case Type | Mid Tower |
| Motherboard Compatibility | ATX, MicroATX, Mini-ITX |
| Material | Tempered Glass, Steel, Plastic |
| Color | Black |
| Pre-installed Fans | 3x 120mm Fixed RGB (Front) |
| Fan Support | Up to 6x 120mm or 4x 120mm + 2x 140mm |
| Liquid Cooling Support | Up to 360mm radiator |
| Max CPU Cooler Height | 160mm |
| Max VGA Card Length | 350mm (290mm with front radiator/fan) |
| Drive Bays | 2x 3.5" HDD, 4x 2.5" SSD |
| Expansion Slots | 7 |
| Front I/O Ports | 2x USB 2.0, 1x USB 3.0, HD Audio, Mic |
| Item Weight | 3.96 Kilograms |
9. Warranty and Support
Mars Gaming products are manufactured to high-quality standards. For information regarding warranty coverage, terms, and conditions, please refer to the warranty card included with your product or visit the official Mars Gaming website.
For technical support, troubleshooting assistance beyond this manual, or to inquire about replacement parts, please contact Mars Gaming customer support through their official channels.
Mars Gaming Official Website: www.marsgaming.eu