THR-BLADE
Generic Throwerblade Snowplow Kit
Model: THR-BLADE User Manual
1. Introduction
The Generic Throwerblade Snowplow Kit is designed to convert your 2-stage or 3-stage snowblower into an efficient snowplow. This attachment is compatible with snowblowers ranging from 22 to 32 inches in width, enabling quick and effective snow, slush, and ice removal from various surfaces.
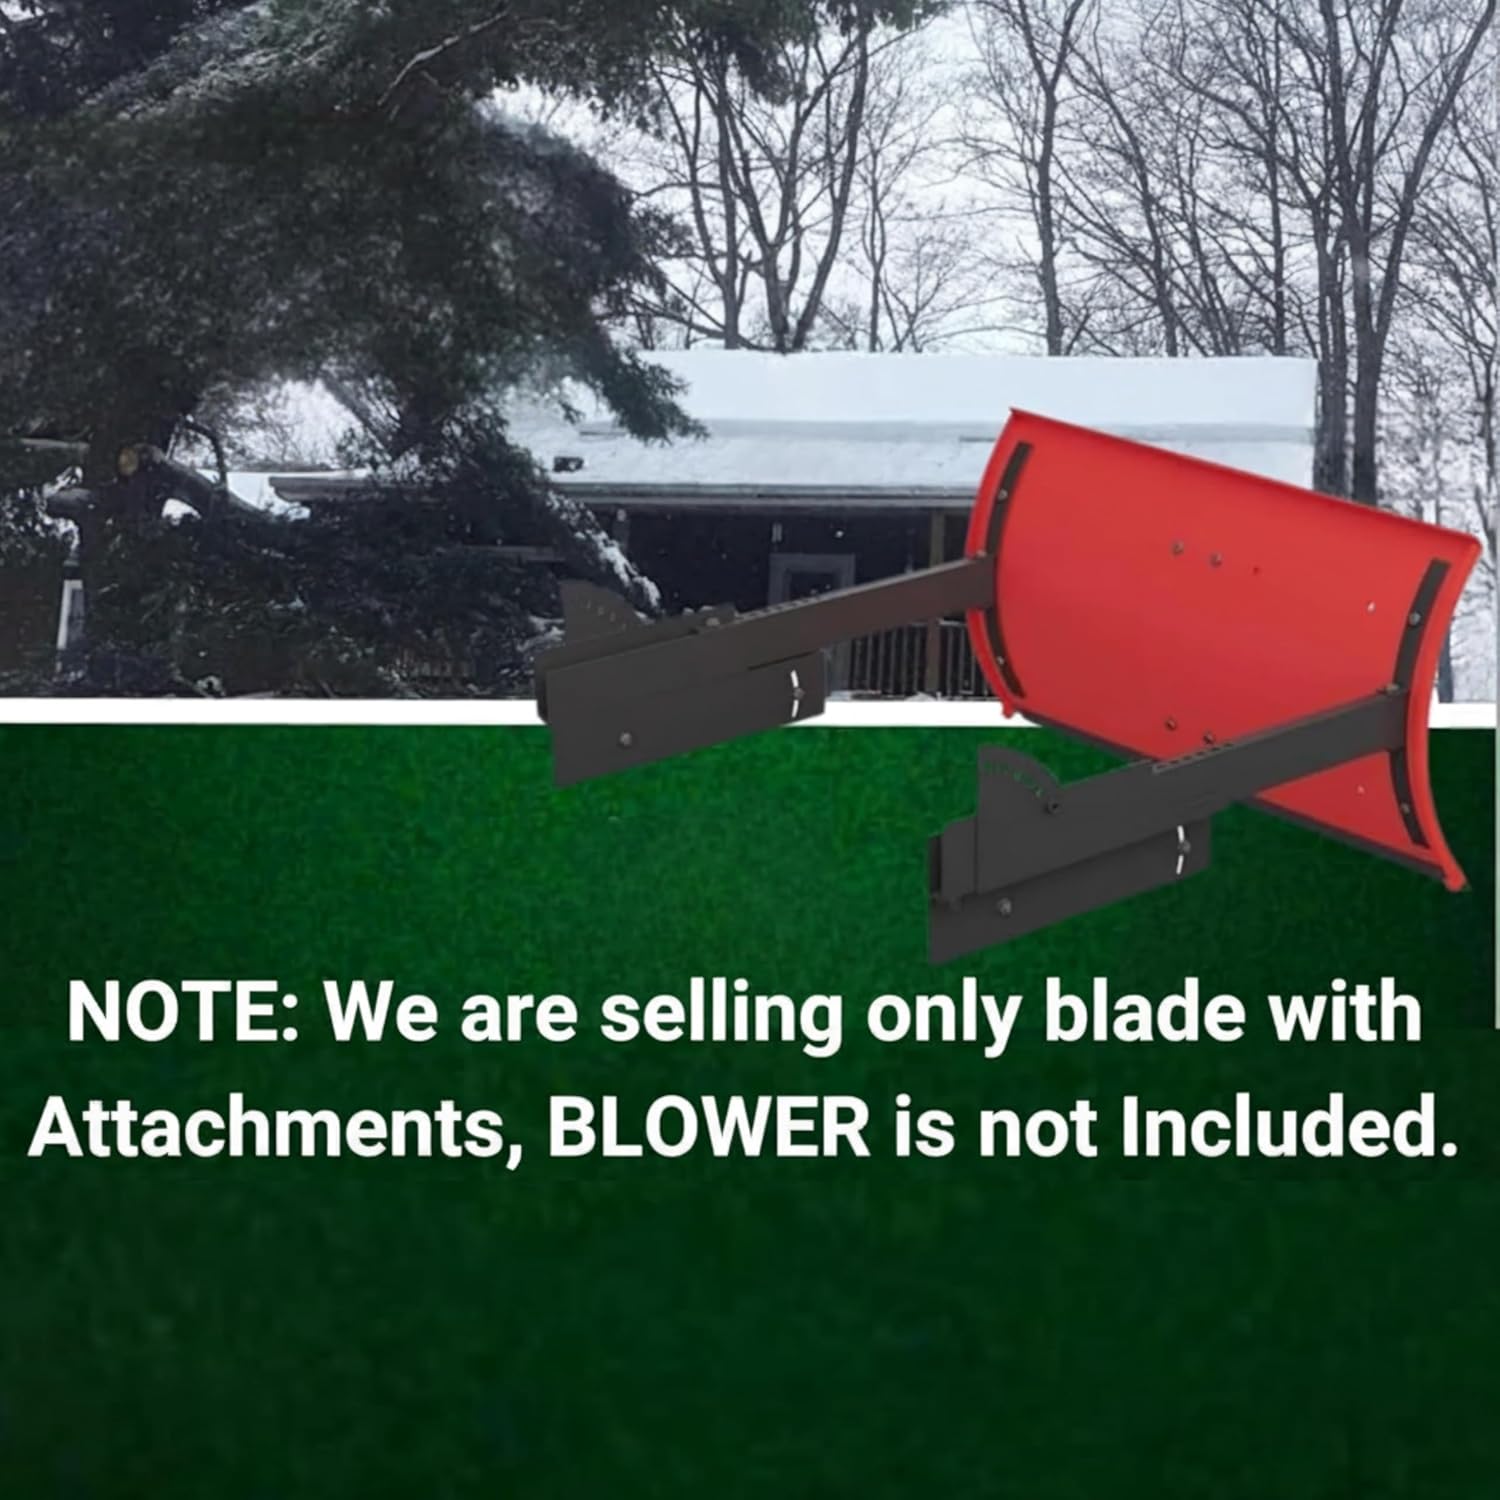
Image: The Throwerblade transforms your snowblower into a personal snow-plow.

Image: Important note: Only the blade and attachments are included; the snowblower is sold separately.
2. Safety Information
WARNING: This snowplow attachment is compatible with gas and electric-powered 2 and 3 stage snow blowers. Using snow blowers can pose potential hazards such as injury from rotating parts and carbon monoxide poisoning from gasoline models. Always wear protective equipment like gloves and eye protection while operating and maintaining the snow blower. Follow the manufacturer's instructions for safe handling and storage of the snow blower and its fuel.
To ensure safe operation and prevent injury or damage, please observe the following guidelines:
- Read and understand all instructions in this manual and your snowblower's manual before assembly or operation.
- Always wear appropriate personal protective equipment, including safety glasses, gloves, and sturdy footwear.
- Ensure the snowblower engine is off and cooled before performing any installation, adjustment, or maintenance.
- Keep hands, feet, and clothing away from moving parts.
- Do not allow children or untrained individuals to operate the snowplow kit or snowblower.
- Inspect the snowplow kit and snowblower for any damage or loose parts before each use.
3. Package Contents
Verify that all components are present in your package:
- Snowplow Blade
- Mounting Brackets (Left and Right)
- Connecting Arms
- Hardware Kit (bolts, nuts, washers, pins)
4. Setup and Installation
The Throwerblade Snowplow Kit is designed for quick and efficient installation on compatible snowblowers. All necessary hardware is included.

Image: Easy installation with all hardware included.

Image: Attaching the snowplow blade to the snowblower.
Installation Steps:
- Prepare Snowblower: Ensure your snowblower is turned off, spark plug wire is disconnected, and the engine is cool. Clear any snow or debris from the auger housing area.
- Attach Auger Brackets: Secure the provided auger brackets to the sides of your snowblower's auger housing using the supplied hardware. These brackets are designed to fit universally on 22-32 inch models.
Note: Some snowblower models, especially older ones, may require additional spacers or longer bolts if the auger shaft protrudes significantly. Measure carefully to ensure a secure and flush fit. A common measurement for drilling holes is approximately 7.5 inches from the ground, but always verify against your specific snowblower's design. - Connect Plow Blade: Attach the snowplow blade to the connecting arms, then secure the connecting arms to the auger brackets. Ensure all bolts are tightened securely.
- Adjust Blade Width: The blade is adjustable to fit snowblowers with widths ranging from 22 to 32 inches. Customize the blade width to match your snowblower for optimal performance.
- Verify Movement: Test the blade's ability to lock up and down, and angle left and right using the Angle Lock Pins and Lift Lock Pins. Ensure smooth movement and secure locking in desired positions.
5. Operating Instructions
Once installed, the Throwerblade allows for efficient snow removal. Familiarize yourself with its functions before operating.

Image: The Throwerblade in action, plowing through snow.
Using the Snowplow:
- Engage Blade: Lower the blade to the plowing position using the Lift Lock Pins.
- Angle Adjustment: Use the two Angle Lock Pins on either side to set the blade at multiple degrees to the left or right, directing snow away from your path.
- Plowing Technique: For optimal results, push snow in straight lines. Overlapping passes will ensure complete coverage. Adjust your speed based on snow depth and density.
- Heavy Snow: In very deep or heavy snow, it may be necessary to make multiple passes or use the snowblower's auger function in conjunction with the blade.
- Lifting Blade: When not actively plowing or for transport, lift and lock the blade out of the way using the Lift Lock Pins.
6. Maintenance
Regular maintenance ensures the longevity and optimal performance of your Throwerblade Snowplow Kit.

Image: The Throwerblade can be conveniently disconnected and folded for easy storage.
Care and Storage:
- Cleaning: After each use, clean the blade and all components to remove snow, ice, and salt residue. Use a damp cloth and mild detergent if necessary.
- Inspection: Periodically inspect all bolts, nuts, and pins for tightness. Tighten any loose fasteners. Check the blade for wear or damage.
- Lubrication: Apply a light coat of lubricant to moving parts and pivot points to ensure smooth operation and prevent rust.
- Storage: When not in use, especially during off-season, disconnect the Throwerblade from the snowblower. The design allows it to fold away for compact storage in a dry, protected area.
- Rust Prevention: The Throwerblade features powder-coated steel construction. If any scratches or chips occur, touch up with rust-inhibiting paint to prevent corrosion.
7. Troubleshooting
Refer to the table below for common issues and their potential solutions.
| Problem | Possible Cause | Solution |
|---|---|---|
| Blade does not clear snow effectively. | Incorrect blade height; too much snow for a single pass; incorrect angle. | Adjust blade height to ensure proper ground clearance. Make multiple, shallower passes. Adjust blade angle to direct snow efficiently. |
| Difficulty installing brackets on snowblower. | Auger shaft protrusion; incompatible bolt size. | Use appropriate spacers and/or longer bolts if the snowblower's auger shaft interferes with bracket placement. Ensure correct measurement for drilling holes. |
| Blade feels loose or wobbly. | Loose fasteners; incorrect assembly. | Check and tighten all bolts, nuts, and pins. Review installation steps to ensure correct assembly. |
| Blade does not lock securely in position. | Pins not fully engaged; obstruction. | Ensure Angle Lock Pins and Lift Lock Pins are fully inserted and engaged. Clear any debris preventing full engagement. |
| Missing parts upon delivery. | Packaging error. | Contact customer support immediately with your purchase details to request replacement parts. |
8. Specifications
| Feature | Detail |
|---|---|
| Brand | Generic |
| Model Number | THR-BLADE |
| Compatibility | 22-32 inch 2-Stage and 3-Stage Snowblowers (Gas or Electric) |
| Material | Powder-coated Steel |
| Item Weight | 38 Pounds |
| Product Dimensions | 31.5 x 5 x 15.75 inches |
| Color | Red |
| UPC | 195893096268 |
9. Warranty Information
This product is manufactured to high-quality standards. For specific warranty details, including coverage period and terms, please refer to the documentation included with your purchase or contact the seller directly. Keep your proof of purchase for any warranty claims.
10. Customer Support
If you have any questions regarding the installation, operation, maintenance, or troubleshooting of your Throwerblade Snowplow Kit, please contact our customer support team. Provide your model number (THR-BLADE) and purchase date for faster assistance.
For support, please refer to the contact information provided by your retailer or on the product packaging.
Ask a question about this manual
Ask about setup, troubleshooting, compatibility, parts, safety, or missing instructions. Manuals+ will review the question and use this page’s manual context to help answer it.