Introduction
This manual provides instructions for the proper setup, operation, and maintenance of the Clover Flex Gen 3 Charging Cradle Kit. This kit is designed to provide a stable and reliable charging solution for your Clover Flex Gen 3 device. Please read this manual thoroughly before use to ensure optimal performance and safety.
What's in the Box
The Clover Flex Gen 3 Charging Cradle Kit includes the following components:
- Charging Cradle
- Power Brick
- Power Cord
- Hex Driver
Note: The Clover Flex Gen 3 device is not included with this kit.

Image: All components included in the kit, laid out on a white surface. This includes the white charging cradle, a black power brick, a black power cord, and a small green hex driver.
Setup
- Unpack Components: Carefully remove all items from the packaging.

Image: The charging cradle, power brick, power cord, and hex driver are shown unpacked and ready for assembly.
- Connect Power Brick to Power Cord: Connect the power cord to the power brick. Ensure a secure connection.
- Connect Power Brick to Charging Cradle: Insert the output cable from the power brick into the power input port on the back of the charging cradle.

Image: The power brick is shown connected to the charging cradle via its cable, with the power cord also attached to the brick. The hex driver is also visible.
- Plug into Power Outlet: Plug the power cord into a standard electrical wall outlet.
- Place Cradle on Stable Surface: Position the charging cradle on a flat, stable surface, such as a countertop or desk.
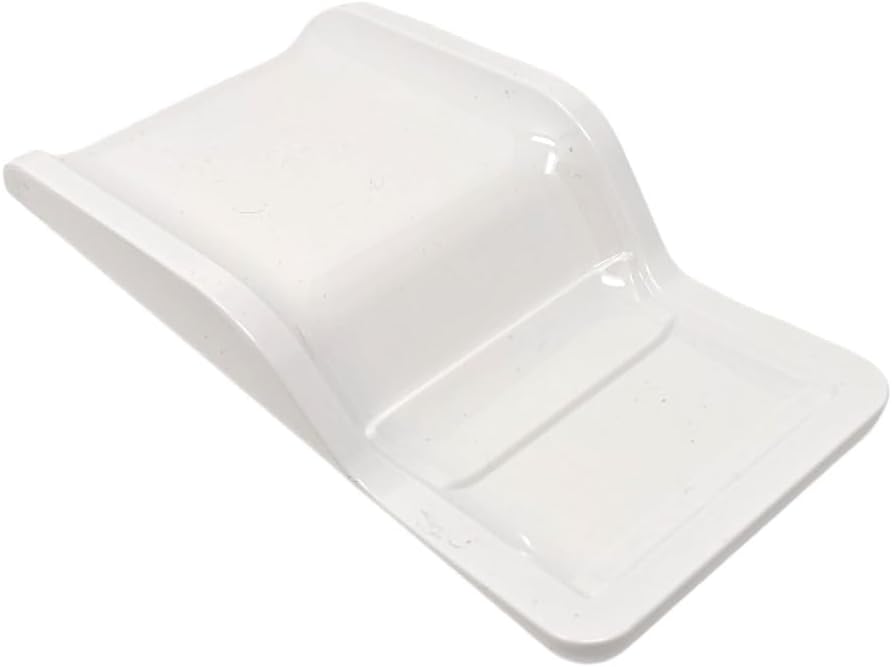
Image: A white charging cradle for the Clover Flex Gen 3, viewed from an angled perspective, showing its curved design.
Operating Instructions
- Insert Clover Flex Gen 3 Device: Gently place your Clover Flex Gen 3 device into the charging cradle, ensuring the charging contacts on the device align with those on the cradle. The device should sit securely in the cradle.
- Verify Charging: The Clover Flex Gen 3 device should indicate that it is charging (e.g., a charging icon on its screen).
- Remove Device: To remove the device, simply lift it out of the cradle.
Maintenance
- Cleaning: Disconnect the cradle from power before cleaning. Use a soft, dry, lint-free cloth to wipe down the exterior of the charging cradle. Do not use abrasive cleaners, solvents, or spray directly onto the device.
- Storage: When not in use for extended periods, store the charging cradle in a cool, dry place away from direct sunlight and extreme temperatures.
- Hex Driver: The included hex driver is for specific maintenance or assembly tasks as indicated by Clover. Refer to your Clover Flex Gen 3 device's manual for details on its use.
Troubleshooting
| Problem | Possible Cause | Solution |
|---|---|---|
| Device not charging |
|
|
| Cradle appears unstable |
|
|
Specifications
| Model Number | 25YJ6AK0050 |
| Brand | Generic |
| Package Dimensions | 10.7 x 8.7 x 2.4 inches |
| Item Weight | 2.9 pounds |
| Connectivity Technology | USB |
| Connector Type | USB Type C |
| Compatible Devices | Clover Flex Gen 3 devices, USB Type C compatible devices |
| Color | White |
| Mounting Type | Tabletop Mount |
| Total USB Ports | 1 |
| Wattage | 40W |
Warranty and Support
For warranty information and technical support, please refer to the documentation provided with your Clover Flex Gen 3 device or contact the manufacturer of the Clover Flex system directly. This charging cradle kit is a third-party accessory.
For product-specific inquiries regarding this charging cradle kit, please contact the seller or manufacturer listed on your purchase receipt.