
1. Introduction
This manual provides detailed instructions for the safe installation, operation, and maintenance of your Living District Rohan 36-inch 6-Light Transitional Metal Chandelier. Please read all instructions carefully before beginning installation and retain this manual for future reference.
The Rohan chandelier features a satin gold finish and is designed to enhance various indoor spaces such as living rooms, dining rooms, and foyers. It accommodates six E12 candelabra-style bulbs (not included) and offers dimmable functionality.
2. Safety Information
WARNING: RISK OF ELECTRIC SHOCK. Ensure power is turned off at the main circuit breaker before installation or servicing.
- Always consult a qualified electrician for installation if you are unsure about the wiring process.
- This fixture is intended for indoor, dry location use only. Do not expose to moisture or water.
- Use only E12 base bulbs. Do not exceed the maximum wattage of 40W per bulb.
- Ensure all connections are secure and properly insulated.
- Do not hang anything from the fixture.
- Keep flammable materials away from the light bulbs.
3. Package Contents
Carefully unpack all components and inspect for any damage. Keep all packaging materials until you are satisfied with the product.
- Chandelier Frame (with 6 arms)
- 60-inch Matching Finish Chain
- Canopy
- Mounting Hardware Kit
- Instruction Manual
Note: Light bulbs are not included and must be purchased separately.

Image 3.1: Complete Chandelier Fixture
4. Setup and Installation
Follow these steps for proper installation. It is recommended to have two people for installation due to the size of the fixture.
4.1 Pre-Installation
- Turn off power: Locate the circuit breaker that supplies power to the installation location and turn it off.
- Prepare the mounting surface: Ensure the junction box is securely mounted and capable of supporting the chandelier's weight.
- Determine hanging height: The chandelier offers an adjustable hanging height from a minimum of 27 inches to a maximum of 81 inches. Adjust the 60-inch chain length as needed to achieve your desired height.

Image 4.1: Chandelier Chain and Rod Connection
4.2 Mounting the Fixture
- Attach the mounting bracket to the junction box using the provided screws.
- Thread the electrical wires through the center of the chain and the canopy.
- Connect the chain to the chandelier's top rod and the mounting loop on the canopy.
- Wiring: Connect the fixture's wires to the house wires according to standard electrical codes (black to black, white to white, ground to ground). Use wire nuts to secure connections.
- Carefully push the wired connections into the junction box.
- Secure the canopy to the mounting bracket, ensuring it sits flush against the ceiling. The canopy dimensions are 1.5"H x 5.2"W x 5.2"D.
This chandelier can be installed on sloped ceilings, providing flexibility for various room designs.

Image 4.2: Chandelier Central Hub Detail
4.3 Bulb Installation
- Once the fixture is securely mounted and wired, screw six E12 base bulbs (not included) into the sockets.
- Ensure bulbs are fully seated but do not overtighten.
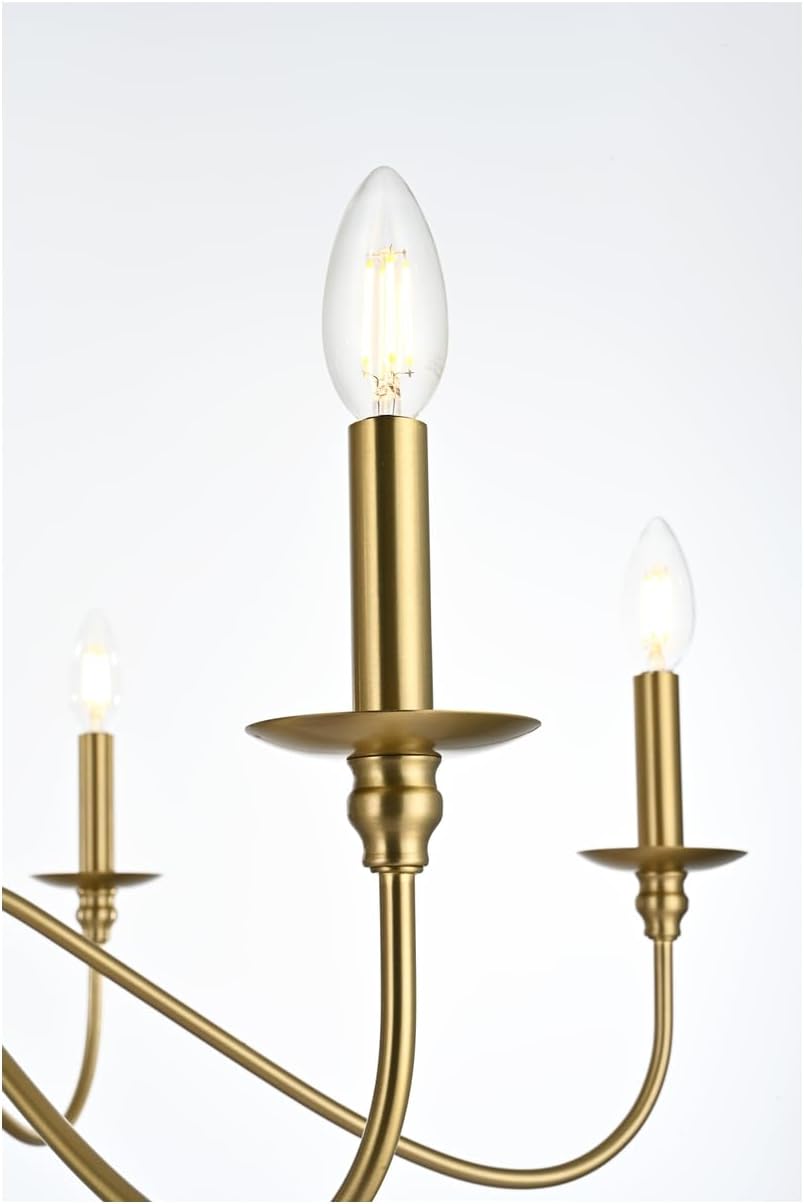
Image 4.3: Bulb Socket Detail
5. Operating Instructions
After installation is complete and power is restored, your chandelier is ready for use.
- Power On/Off: Operate the chandelier using a standard wall switch.
- Dimmable Function: This chandelier is fully dimmable. To utilize this feature, ensure you are using dimmable E12 bulbs and have a compatible dimmer switch installed (sold separately).
- Light Direction: The light is directed upwards, providing ambient illumination.
6. Maintenance
Regular maintenance will help preserve the appearance and functionality of your chandelier.
- Cleaning: Disconnect power before cleaning. Wipe the fixture with a soft, dry cloth. Do not use abrasive cleaners or solvents, as they may damage the finish.
- Bulb Replacement: Ensure power is off and bulbs have cooled before replacing. Screw in new E12 bulbs, ensuring they do not exceed 40W each.
- Inspection: Periodically check all connections and hanging components for tightness and wear.
7. Troubleshooting
If you encounter issues with your chandelier, refer to the following common problems and solutions:
| Problem | Possible Cause | Solution |
|---|---|---|
| Light does not turn on | No power to fixture; Loose wiring; Faulty bulb; Faulty switch | Check circuit breaker; Verify wire connections; Replace bulb; Test switch |
| Lights flicker | Loose bulb; Incorrect bulb type for dimmer; Loose wiring | Tighten bulb; Ensure dimmable bulbs are used with dimmer; Check wiring connections |
| Humming sound | Incompatible dimmer switch; Loose wiring | Replace dimmer with a compatible one; Check wiring connections |
If the problem persists after attempting these solutions, contact customer support or a qualified electrician.
8. Specifications
| Feature | Detail |
|---|---|
| Model Number | LD5006D36SG |
| Brand | Living District |
| Material | Metal (Iron) |
| Finish | Satin Gold |
| Dimensions (Fixture) | 36"W x 36"D x 19"H |
| Canopy Dimensions | 5.2"W x 5.2"D x 1.5"H |
| Adjustable Hanging Height | 27" to 81" |
| Chain Length | 60" |
| Wire Length | 79" |
| Number of Lights | 6 |
| Bulb Base | E12 (Candelabra) |
| Max Wattage (per bulb) | 40W |
| Voltage | 110V - 125V |
| Dimmable | Yes (with compatible bulbs and dimmer switch) |
| Location Rating | Dry Location |
| Product Weight | 6 lbs (fixture only) / 16 ounces (item weight from spec, likely package weight) |
| UPC | 196683014950 |
9. Warranty and Support
This Living District Rohan Chandelier comes with a 1-year limited warranty from the date of purchase. This warranty covers defects in materials and workmanship under normal use.
For warranty claims, technical assistance, or missing parts, please contact Living District customer support. Refer to your purchase documentation or the Living District website for current contact information.
Please retain your proof of purchase for warranty validation.