1. Introduction
Welcome to the user manual for your new H-TECH 9-inch Android Multimedia System. This system is designed to provide advanced entertainment, navigation, and connectivity features for your Volkswagen Gol, Saveiro, or Voyage G6. Please read this manual carefully before installation and operation to ensure proper use and to maximize your experience with the product. Keep this manual for future reference.
2. Product Overview
The H-TECH Multimedia System is an advanced in-car entertainment and information unit featuring a 9-inch touchscreen display. It operates on the Android 12 system, offering a wide range of functionalities including GPS navigation, Bluetooth connectivity, USB media playback, and smartphone mirroring. The system comes with a custom panel frame designed to seamlessly integrate into compatible VW G6 vehicles.
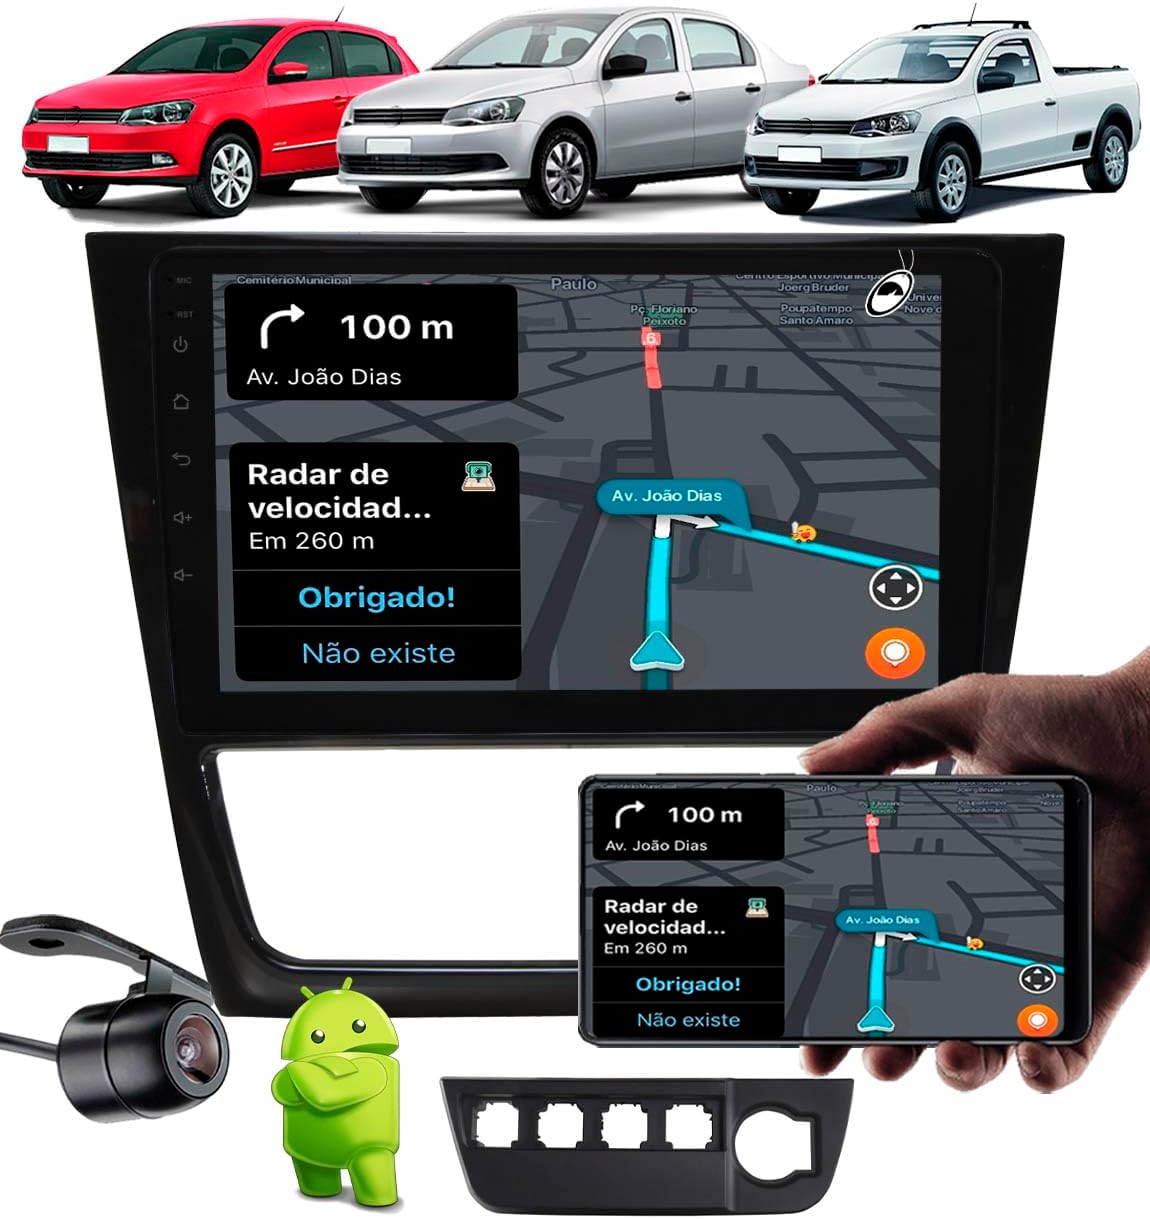
Image: The H-TECH 9-inch Android Multimedia System showcasing its large display with navigation, smartphone mirroring, and the included rear camera. Compatible VW Gol, Saveiro, and Voyage G6 vehicles are shown in the background.
Key Features:
- 9-inch Full Touch IPS Glass Display with 1024x600 resolution.
- Android 12 Operating System.
- 1GB RAM and 32GB Internal Storage.
- Integrated Bluetooth 4.1 for hands-free calls and audio streaming.
- Built-in Wi-Fi for internet access and app downloads.
- GPS functionality (maps sold separately).
- Two USB inputs for media and charging.
- Support for rear and front cameras.
- Smartphone mirroring via EasyConnect app (Android and iOS compatible).
- Quad-core processor with 4x60W RMS audio output.
- Steering wheel control compatibility (up to 10 functions).
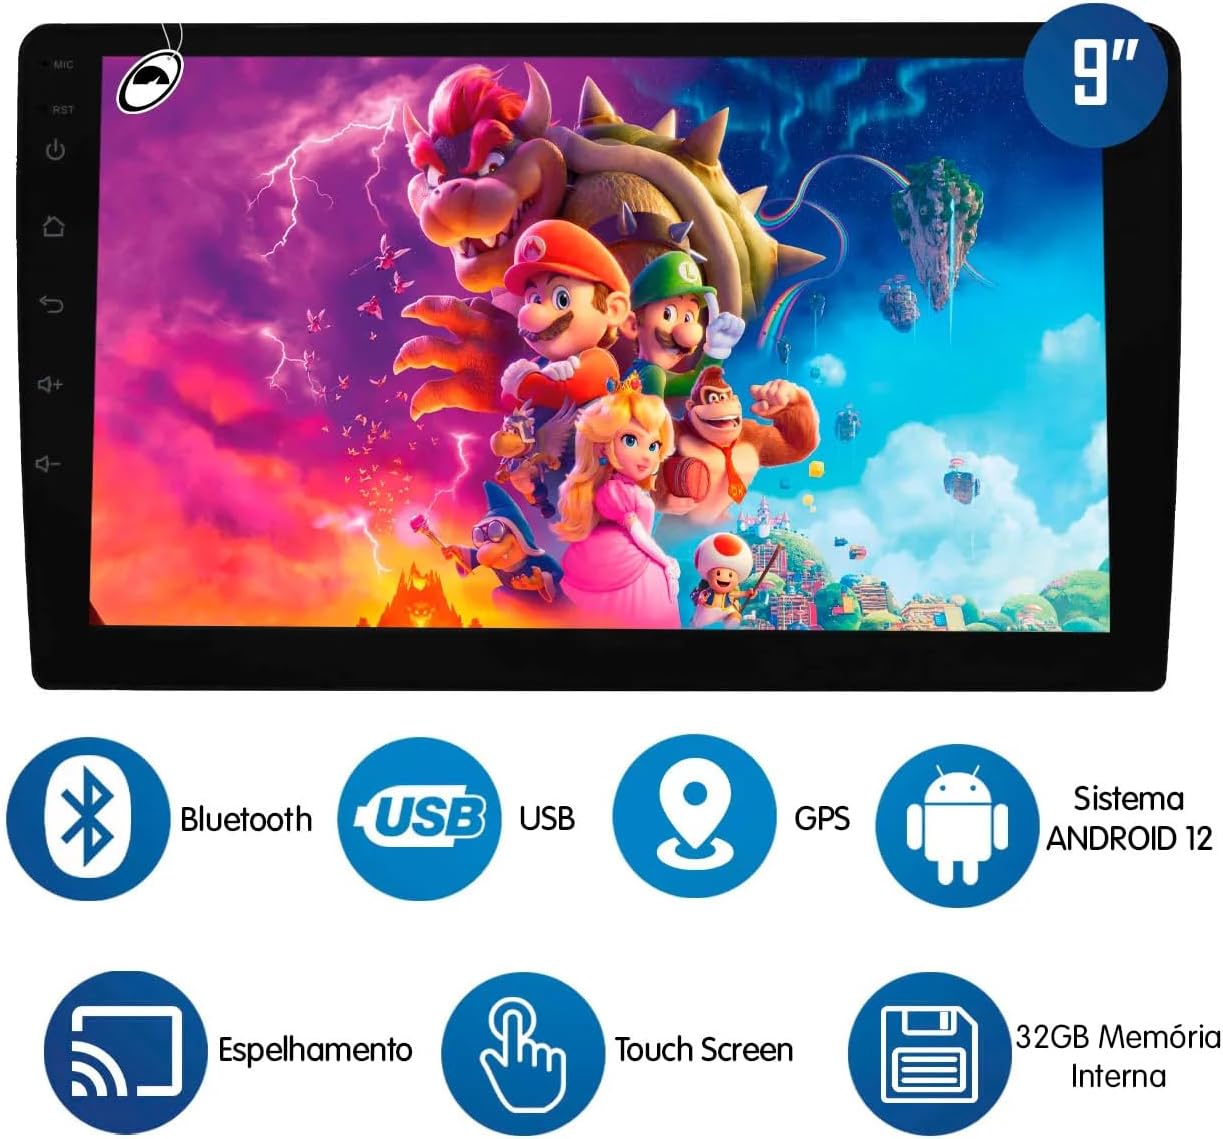
Image: Visual representation of the H-TECH multimedia system's core features, including Bluetooth, USB connectivity, GPS, Android 12 OS, screen mirroring, touchscreen interface, and 32GB internal memory.
3. Specifications
| Feature | Detail |
|---|---|
| Display Size | 9 Inches |
| Display Type | IPS Glass Full Touch |
| Resolution | 1024x600 |
| Operating System | Android 12 |
| RAM | 1GB |
| Internal Storage | 32GB |
| Processor | Quad-core |
| Bluetooth Version | 4.1 |
| Wi-Fi | Integrated |
| GPS | Integrated (maps not included) |
| USB Inputs | 2 |
| Camera Inputs | 1x Rear Camera, 1x Front Camera |
| Audio/Video Inputs | 1 |
| Audio/Video Outputs | 1 |
| Subwoofer Output | 1 |
| Power Output | 4x60W RMS |
| Steering Wheel Control | 2 SWC wires (supports up to 10 functions) |
| Smartphone Mirroring | EasyConnect App (Android/iOS) |
| Panel Frame Color | Gray (for this specific model) |
| Product Weight | 1.56 kg |
| ANATEL Certification | 14755-22-14701 |
4. Package Contents
Upon opening your H-TECH Multimedia System package, please verify that all the following items are included:
- 1x H-TECH 9-inch Android Multimedia Unit
- 1x 9-inch Panel Frame (Gray for this model)
- Installation Accessories (wiring harnesses, mounting brackets)
- 1x User Manual (this document)
- 1x Butterfly Rear View Camera
- 1x Support for 4 buttons + 12V input support

Image: This image displays the various color options available for the panel frame. The specific model you purchased includes the Gray frame.
5. Vehicle Compatibility
This H-TECH Multimedia System, along with its included panel frame, is specifically designed for the following Volkswagen G6 vehicle models and years:
- VW Gol G6: Model years 2013 to 2016
- VW Saveiro G6: Model years 2013 to 2016
- VW Voyage G6: Model years 2013 to 2016
Ensure your vehicle falls within these specifications for proper fitment and functionality.
6. Setup and Installation
Installation of the H-TECH Multimedia System requires technical knowledge and experience with automotive electronics. It is highly recommended that installation be performed by a qualified professional to avoid damage to the unit or your vehicle's electrical system.
6.1 Pre-Installation Checks
- Disconnect the vehicle's battery before starting any electrical work.
- Ensure all components listed in the "Package Contents" section are present.
- Familiarize yourself with your vehicle's dashboard and existing wiring.
6.2 Removing the Factory Radio
Carefully remove the existing factory radio and dashboard trim. Refer to your vehicle's service manual for specific instructions on trim removal to prevent damage.

Image: A visual comparison of a VW Gol G6 dashboard before and after the installation of the H-TECH 9-inch multimedia system, demonstrating the integrated fit.
6.3 Wiring Connections
Connect the provided wiring harnesses to the multimedia unit and your vehicle's existing wiring. Pay close attention to the labels on the connectors. The back of the unit provides various ports for power, speakers, USB, cameras, and other accessories.
- Power Wires: Connect the constant 12V (yellow), accessory 12V (red), and ground (black) wires.
- Speaker Wires: Connect the speaker outputs to your vehicle's speakers, ensuring correct polarity.
- SWC (Steering Wheel Control) Wires: Connect the two SWC wires to your vehicle's steering wheel control interface, if applicable.
- USB Cables: Route the USB extension cables to a convenient location in your dashboard or glove compartment.
- GPS Antenna: Connect the GPS antenna and mount it in a location with a clear view of the sky (e.g., on the dashboard near the windshield).
- Rear Camera: Connect the rear camera video input and power wires. Ensure the camera's trigger wire is connected to the reverse light signal for automatic activation.
- Front Camera (Optional): Connect the front camera video input if you are installing one.

Image: The rear panel of the H-TECH multimedia unit, illustrating the layout of its various connectors for power, speakers, USB, GPS antenna, and camera inputs.
6.4 Installing the Panel Frame and Unit
Once all wiring is connected, carefully fit the multimedia unit into the provided 9-inch panel frame. Then, install the assembled unit and frame into your vehicle's dashboard opening, securing it with the appropriate mounting brackets and screws.
6.5 Post-Installation Checks
- Reconnect the vehicle's battery.
- Turn on the ignition and power on the multimedia system.
- Test all functions: radio, Bluetooth, USB, GPS, steering wheel controls, and cameras.
- Ensure all trim pieces are reinstalled securely.
7. Operating Instructions
This section provides general guidance on operating your H-TECH Android Multimedia System. Due to the Android operating system, specific app interfaces may vary.
7.1 Power On/Off
- Power On: Turn your vehicle's ignition to the ACC or ON position. The system should power on automatically.
- Power Off: Turn off your vehicle's ignition. The system will power off after a short delay.
- Standby: Briefly press the power button on the unit to put it into standby mode. Press again to wake up.
7.2 Touchscreen Navigation
The 9-inch IPS display is fully touch-sensitive. Use gestures similar to a smartphone:
- Tap: Select an icon or option.
- Swipe: Navigate between home screens or scroll through lists.
- Drag: Move app icons on the home screen.
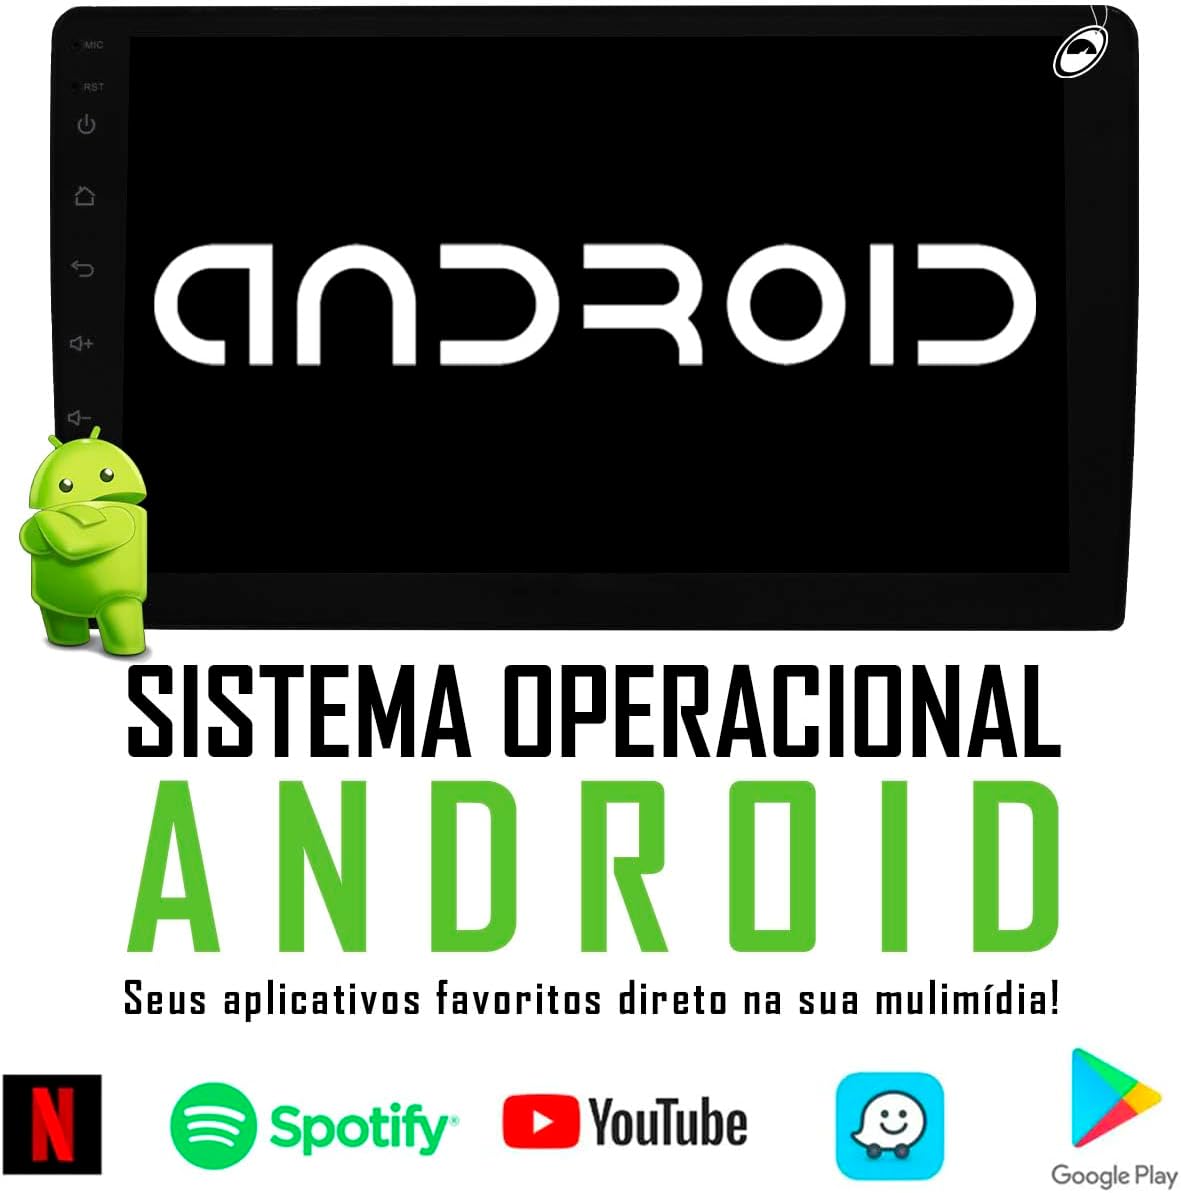
Image: The Android operating system interface on the H-TECH multimedia screen, displaying various entertainment and utility applications.
7.3 Bluetooth Connectivity
Pair your smartphone via Bluetooth for hands-free calling and audio streaming.
- Go to the "Bluetooth" application on the multimedia system.
- Enable Bluetooth on your smartphone and search for available devices.
- Select the multimedia system (usually named "Car BT" or similar) from your phone's list.
- Confirm the pairing code on both devices.
- Once paired, you can make/receive calls and play music through the car's speakers.

Image: The Bluetooth function in use, showing a smartphone connected to the multimedia system for music playback.
7.4 USB Media Playback
Insert a USB drive into one of the provided USB ports. The system will automatically detect the drive and allow you to browse and play audio or video files.
7.5 GPS Navigation
The system has an integrated GPS module. You will need to install a compatible navigation application (e.g., Google Maps, Waze) and download maps for offline use, or use online navigation with a Wi-Fi connection.
7.6 Wi-Fi Connection
Connect to a Wi-Fi network (e.g., mobile hotspot) to access online features, download apps, and update software.
- Go to "Settings" > "Network & Internet" > "Wi-Fi".
- Turn on Wi-Fi and select your desired network.
- Enter the password if prompted.
7.7 Smartphone Mirroring (EasyConnect)
Use the EasyConnect application to mirror your smartphone's screen onto the multimedia system. This feature is compatible with both Android and iOS devices.
- Download and install the EasyConnect app on your smartphone.
- Open the EasyConnect app on the multimedia system.
- Follow the on-screen instructions to connect your phone via USB or Wi-Fi.

Image: The screen mirroring function in action, showing a smartphone's display replicated on the multimedia unit, compatible with both Android and iOS devices.
7.8 Rear and Front Cameras
When the vehicle is put into reverse gear, the rear camera view will automatically display on the screen. If a front camera is installed, you may access its view through a dedicated app or input selection on the system.
8. Maintenance
Proper maintenance ensures the longevity and optimal performance of your H-TECH Multimedia System.
- Screen Cleaning: Use a soft, lint-free cloth slightly dampened with water or a screen cleaner specifically designed for electronic displays. Do not use abrasive cleaners or solvents.
- General Cleaning: Wipe the unit's exterior with a soft, dry cloth. Avoid spraying liquids directly onto the unit.
- Software Updates: Periodically check for system software updates via Wi-Fi to ensure you have the latest features and security patches.
- Avoid Extreme Temperatures: Do not expose the unit to extreme heat or cold for extended periods, as this can affect performance and lifespan.
- Protect from Moisture: Keep the unit dry and away from liquids.
9. Troubleshooting
If you encounter issues with your multimedia system, refer to the following common problems and solutions before contacting support.
9.1 No Power
- Check Vehicle Ignition: Ensure the vehicle's ignition is on.
- Check Fuses: Verify the vehicle's fuse box and the inline fuse on the multimedia system's power wire are intact. Replace if blown.
- Wiring Connections: Confirm all power wires (constant 12V, accessory 12V, ground) are securely connected.
9.2 No Sound
- Volume Level: Check if the volume is turned up and not muted.
- Speaker Connections: Ensure all speaker wires are correctly connected and not short-circuited.
- Audio Source: Verify the correct audio source (e.g., Radio, Bluetooth, USB) is selected.
- Amplifier (if applicable): If an external amplifier is used, check its power and connections.
9.3 Bluetooth Not Connecting
- Bluetooth Enabled: Ensure Bluetooth is enabled on both the multimedia system and your smartphone.
- Visibility: Make sure the multimedia system is discoverable.
- Forget Device: On your smartphone, "forget" or "unpair" the multimedia system, then try pairing again.
- Restart Devices: Restart both the multimedia system and your smartphone.
9.4 GPS Signal Issues
- Antenna Placement: Ensure the GPS antenna is mounted in a location with a clear view of the sky, away from metal obstructions.
- Antenna Connection: Check that the GPS antenna is securely connected to the unit.
- GPS App: Verify that your navigation application is properly installed and configured.
9.5 Touchscreen Unresponsive
- Restart System: Try restarting the multimedia system.
- Clean Screen: Ensure the screen is clean and free of debris or moisture.
- Factory Reset: As a last resort, perform a factory reset (refer to system settings), but be aware this will erase all user data and settings.
10. Warranty and Support
Your H-TECH Multimedia System comes with a manufacturer's warranty. Please retain your proof of purchase for warranty claims.
- Warranty Period: Refer to the warranty card included with your product or contact the seller for specific details regarding the warranty duration.
- Return Policy: The product is subject to a 7-day return/replacement policy from the date of purchase, as per standard retail terms.
- Quality Assurance: This product has undergone quality checks to ensure reliable performance.
Customer Support
For any questions, technical assistance, or warranty claims, please contact the seller or manufacturer directly. You can find contact information on your purchase invoice or the product packaging.

Image: Icons indicating key aspects of the product and service, including manufacturer warranty and availability for customer inquiries.